
1. Introduction
Thank you for choosing the Almighty Tools 3-in-1 Digital Laser Tape Measure. This versatile tool combines a 197ft (60m) laser distance meter, a 16ft (5m) self-locking digital tape measure, and a cross-line laser for precise measurements in various applications. This manual provides detailed instructions for safe and effective operation.

Figure 1: Overview of 3-in-1 functions.
2. Safety Information
Please read and understand all safety warnings and instructions before using this product. Failure to follow these instructions may result in laser radiation exposure, electric shock, fire, and/or serious injury.
2.1 Laser Safety
- This device uses a Class II laser (<1mW, 630-670nm).
- WARNING: Do not stare directly into the laser beam. Direct eye exposure to the laser beam may cause eye injury.
- Do not aim the laser beam at people or animals.
- Avoid using the device in areas where the laser beam could reflect off highly reflective surfaces and cause accidental eye exposure.
- Keep the device out of reach of children.
2.2 General Safety
- Do not modify or disassemble the device.
- Use only the specified battery type (2xAAA).
- Store the device in a dry, cool place away from direct sunlight.
- Clean the device with a soft, dry cloth. Do not use abrasive cleaners or solvents.
3. Package Contents
- 1 x Almighty Tools 3-in-1 Digital Laser Tape Measure
- 2 x AAA Batteries
- 1 x Screwdriver (for battery compartment)
- 1 x User Manual
4. Product Overview

Figure 2: Device components and display icons.
4.1 Device Components
- ON/OFF/Clear Button
- Function Switch/Unit Switch Button
- Baseline / Data Storage Button
- Battery Compartment
- Measurement Button (MEAS)
- Cross Level Switch
- Cross Level Head
- Steel Tape Blade
- Laser Emitter
- Tape Measure Auto Lock Button
- Display Screen
4.2 Display Icons
- Data Storage Icon
- Laser On Indicator
- Measure Baseline (Front)
- Measure Baseline (Back)
- Area/Volume/Pythagorean Mode Indicator
- Enter Distance Measurement Indicator
- Battery Status Indicator
- Current Data Display
- Previous Measurement Data Display
- Previous Measurement Data Display
- Data Record Indicator
5. Setup
5.1 Battery Installation
- Locate the battery compartment (4) on the side of the device.
- Use the provided screwdriver to open the battery compartment cover.
- Insert two AAA batteries, ensuring correct polarity (+/-).
- Replace the battery compartment cover and secure it with the screw.

Figure 3: Battery installation and belt clip attachment.
6. Operating Instructions
6.1 Power On/Off
- Press the ON/OFF/Clear button (1) to power on the device.
- To power off, press and hold the ON/OFF/Clear button (1) for 3 seconds. The device will also auto-off after 180 seconds of inactivity.
6.2 Using the Digital Tape Measure
- Pull out the steel tape blade (8) to extend the tape.
- The tape features an AutoLock mechanism (10) to hold the measurement in place.
- Press the AutoLock button (10) to retract the tape smoothly.
- The tape has a magnetic tip for easy attachment to metal surfaces.

Figure 4: Self-locking tape blade.
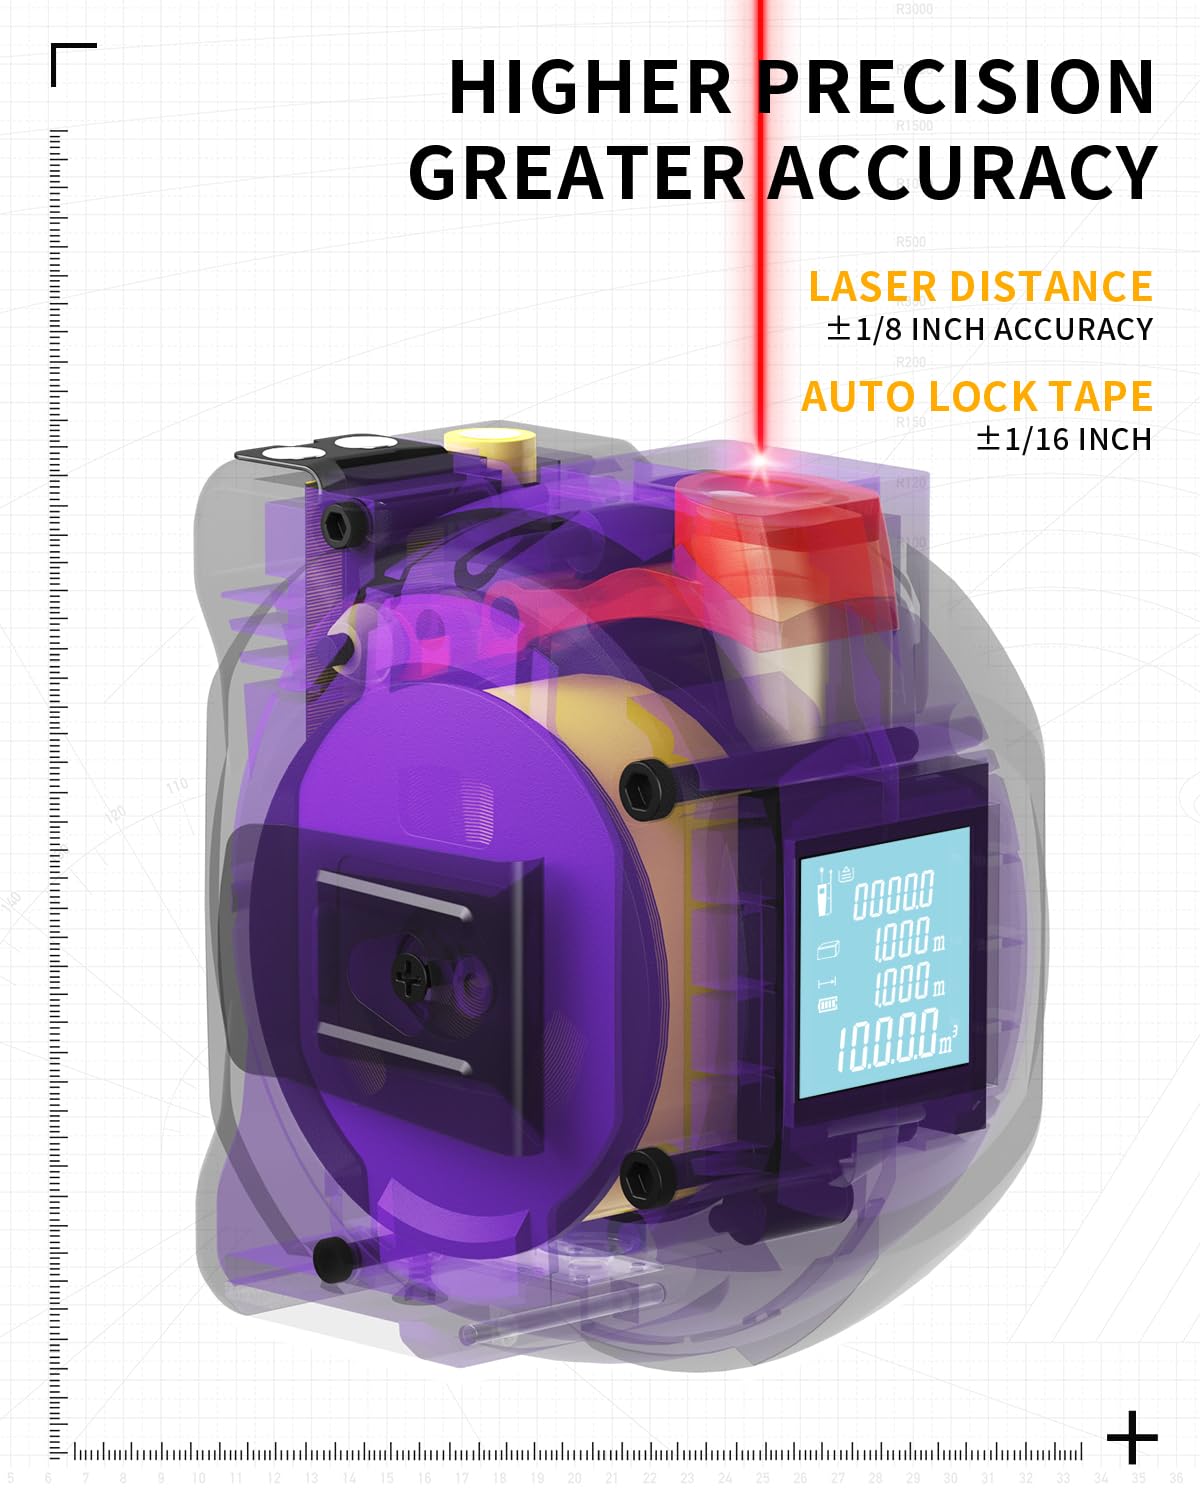
Figure 5: Magnetic movable hook for accurate measurements.
6.3 Using the Laser Distance Meter
- Ensure the device is powered on.
- Press the Measurement button (5) to activate the laser. The laser dot will appear on the target surface.
- Press the Measurement button (5) again to take a single distance measurement. The result will be displayed on the screen (11).
6.4 Cross-Line Laser Function
- Press the Cross Level Switch button (6) to activate the cross-line laser.
- The device will project horizontal and vertical laser lines onto a surface, useful for alignment tasks.
- Press the Cross Level Switch button (6) again to turn off the cross-line laser.

Figure 6: Cross-line laser in use.
6.5 Measurement Modes
The device offers 6 measurement modes:
- Distance: Single point-to-point measurement.
- Continuous: Real-time distance tracking as the device moves.
- Area: Calculates the area of a rectangular space (length x width).
- Volume: Calculates the volume of a space (length x width x height).
- Pythagorean (2-point & 3-point): Calculates indirect measurements using the Pythagorean theorem.

Figure 7: Available measurement modes.
To switch between modes, press the Function Switch/Unit Switch button (2) repeatedly until the desired mode icon appears on the display.
6.6 Unit Conversion
To switch between measurement units (m/ft/in/ft+in), press and hold the Function Switch/Unit Switch button (2).

Figure 8: Unit conversion options.
6.7 Reference Point Adjustment
The device allows you to set the measurement baseline from either the front or the back of the device. Press the Baseline / Data Storage button (3) to toggle between front and back reference points. The active reference point will be indicated on the display.
6.8 Data Storage
The device can store up to 40 sets of measurement data. To access stored data, press and hold the Baseline / Data Storage button (3). Use the Function Switch/Unit Switch button (2) to navigate through the stored measurements.

Figure 9: Data storage display.
7. Maintenance
- Keep the device clean and dry. Wipe the surface with a soft, damp cloth.
- Do not immerse the device in water or other liquids.
- Regularly check the battery compartment for corrosion. Replace batteries when the low battery indicator appears on the display.
- Avoid exposing the device to extreme temperatures or direct sunlight for prolonged periods.
8. Troubleshooting
| Problem | Possible Cause | Solution |
|---|---|---|
| Device does not power on | Low or dead batteries; Incorrect battery installation | Replace batteries; Check battery polarity |
| Laser beam is weak or not visible | Low batteries; Bright ambient light | Replace batteries; Use in lower light conditions or closer to target |
| Inaccurate laser measurements | Unstable surface; Obstruction in laser path; Target surface too reflective/absorbent | Ensure stable placement; Clear laser path; Use a target plate for difficult surfaces |
| Tape measure does not retract smoothly | Dirt or debris in mechanism | Gently clean the tape blade and retraction mechanism |
9. Specifications
| Feature | Specification |
|---|---|
| Model Number | ALMT-01 |
| Laser Measure Range | 0.2 ~ 60m (197ft) |
| Laser Accuracy | ±1/8" (±2mm+5x10^-5) |
| Tape Measure Length | 5m (16ft) |
| Tape Measure Accuracy | ±1/16" |
| Units | m/ft/in/ft+in |
| Laser Type | Class II, <1mW, 630-670nm (Red Beam) |
| Battery Type | 2 x AAA (included) |
| Auto-Off | 180s (Laser/Display) |
| Work Temperature | -10°C ~ 40°C |
| Data Storage | 40 sets |
| Case Material | ABS Plastic |
| Item Weight | 0.77 Pounds (12.3 ounces) |
| Product Dimensions | 3.38"L x 3.15"W |
10. Warranty and Support
Almighty Tools products are designed for quality and durability. For warranty information, technical support, or service inquiries, please refer to the contact information provided with your purchase or visit the official Almighty Tools website.
Please retain your proof of purchase for warranty claims.