
1. Introduction
This manual provides essential information for the M5Stack Tab5 IoT Controller/Development Kit, an advanced device designed for Internet of Things (IoT) applications and embedded system development. The Tab5 integrates an ESP32-P4 dual-core microcontroller, a 5-inch IPS TFT display, and various connectivity options, making it suitable for a wide range of projects from smart home control to industrial automation. Please read this manual thoroughly before using the device to ensure proper operation and to maximize its capabilities.
2. Product Overview
2.1 Key Features
- Processor: ESP32-P4NRW32 (RISC-V 32-bit dual-core 400 MHz + LP single-core 40 MHz)
- Wireless Connectivity: ESP32-C6-MINI-1U (Wi-Fi 6 @ 2.4 GHz / Thread / ZigBee)
- Display: 5-inch IPS TFT (1280 × 720 resolution) with GT911 multi-touch controller
- Memory: 16 MB Flash, 32 MB PSRAM
- Camera: SC2356 @ 2 MP (1600 × 1200), via MIPI-CSI
- Interfaces: USB-A Host, USB-C OTG, RS-485, 3.5mm audio jack, 2x MIC, Speaker
- Antenna: Built-in 3D antenna & 2 × MMCX external-antenna ports
- Power: Supports NP-F550 series battery (7.4V 2000mAh NP-F550 battery included)
2.2 Components Included
The M5Stack Tab5 IoT Controller/Development Kit includes the main Tab5 unit and a 7.4V 2000mAh NP-F550 battery. A 1.25-6P single-ended terminal cable is also provided for external connections.
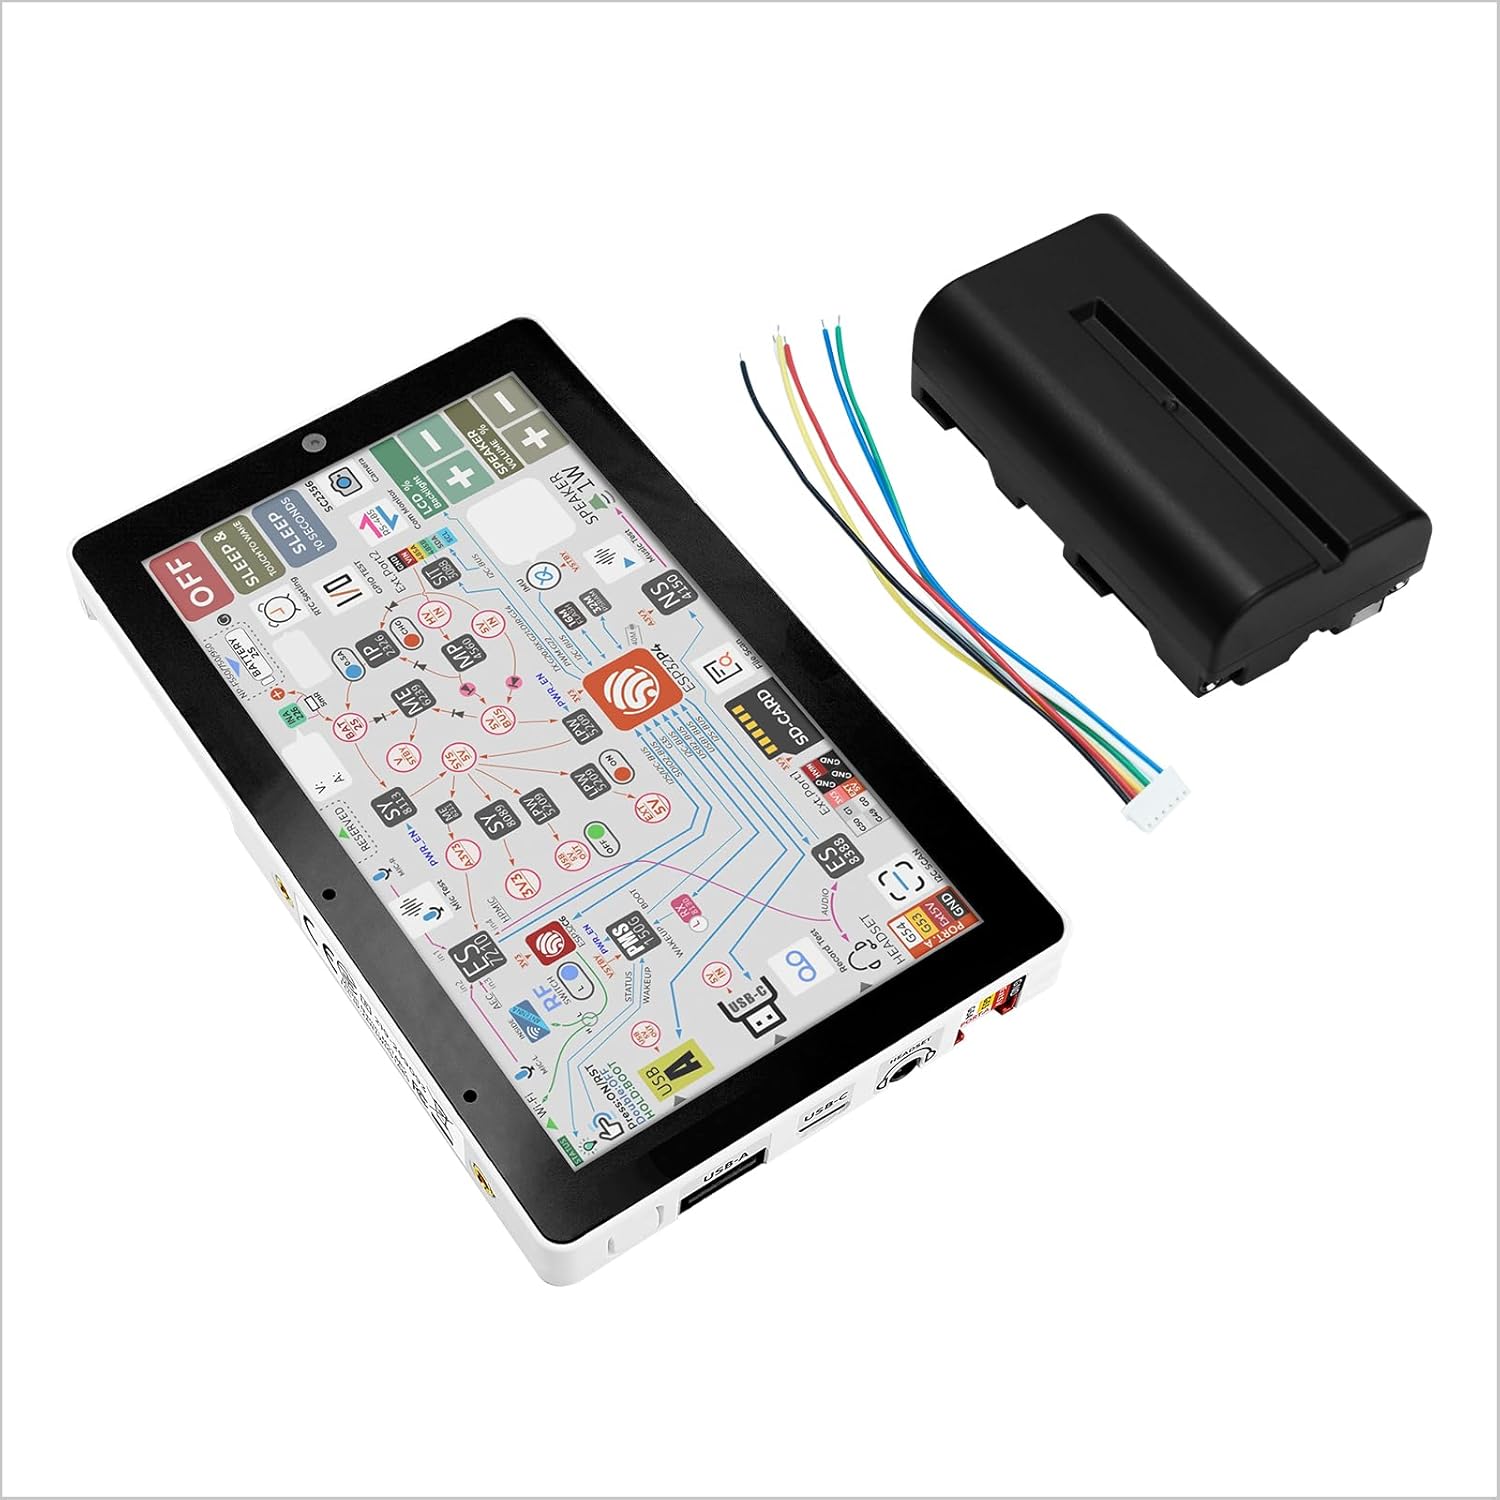
Figure 2.2.1: M5Stack Tab5 IoT Controller with included NP-F550 battery and connection wires. This image shows the main Tab5 unit, the external battery, and a cable for connecting the battery to the device.

Figure 2.2.2: Exploded view of M5Stack Tab5 showing internal components, ports, and battery installation. This detailed diagram highlights the 5-inch TFT touch display, 1W speaker, USB-A, USB-C, 3.5mm headset jack, MMCX antenna ports, M-Bus connectors, PWR485, and the NP-F550 battery compartment. It also indicates the ESP32-P4 and ESP32-C6 chips.

Figure 2.2.3: M5Stack Tab5 dimensions. The device measures approximately 128mm (5.03 inches) in length, 80mm (3.14 inches) in width, and 12mm (0.47 inches) in thickness.
3. Setup
3.1 Battery Installation
- Locate the battery compartment on the rear of the Tab5 unit. Refer to Figure 2.2.2 for visual guidance.
- Insert the provided NP-F550 battery into the compartment, ensuring correct orientation. The battery should click securely into place.
- Connect the battery's power cable to the designated power input port on the Tab5, if not already pre-connected.
3.2 Initial Power-On
After installing the battery, press and hold the power button (typically located on the side or top edge, refer to Figure 2.2.2 for exact location) for a few seconds until the display illuminates. The device will boot up, and the default operating system or pre-loaded application will appear.
3.3 Connecting Peripherals
- USB Devices: Use the USB-A host port for connecting external USB devices such as keyboards, mice, or storage. The USB-C port supports OTG (On-The-Go) functionality for data transfer and power.
- Audio: Connect headphones or external speakers to the 3.5mm audio jack.
- External Antennas: For enhanced wireless performance, connect external antennas to the MMCX ports.
- Expansion Modules: The Tab5 features M-Bus connectors for integrating M5Stack's modular expansion units.
4. Operation
4.1 User Interface Navigation
The Tab5 features a 5-inch multi-touch display. Navigate the user interface by tapping, swiping, and pinching gestures, similar to a smartphone or tablet. Specific application controls will vary based on the loaded firmware or operating system.
4.2 Development Environment
As a development kit, the Tab5 supports various programming environments and frameworks compatible with ESP32-P4 and ESP32-C6 microcontrollers. Users can typically connect the device to a computer via the USB-C port for programming and debugging. Refer to the M5Stack official documentation for detailed guides on setting up development environments such as Arduino IDE, ESP-IDF, or MicroPython.
4.3 Power Management
- Power On/Off: Press and hold the power button to turn the device on or off.
- Sleep Mode: Short press the power button to enter or exit sleep mode, conserving battery life.
- Charging: Connect a compatible USB-C power adapter to charge the internal battery.
5. Specifications
| Feature | Detail |
|---|---|
| Main Controller SoC | ESP32-P4NRW32 (RISC-V 32-bit dual-core 400 MHz + LP single-core 40 MHz) |
| Wireless Module SoC | ESP32-C6-MINI-1U (Wi-Fi 6 @ 2.4 GHz / Thread / ZigBee) |
| Antenna | Built-in 3D antenna & 2 × MMCX external-antenna ports |
| Flash Memory | 16 MB |
| PSRAM | 32 MB |
| Display | 5-inch IPS TFT (1280 × 720) |
| Touch Controller | GT911 multi-touch controller (I²C) |
| Camera | SC2356 @ 2 MP (1600 × 1200), via MIPI-CSI |
| Connectivity | USB-A Host, USB-C OTG, RS-485 |
| Audio | 3.5mm audio jack, 2x MIC, 1W Speaker |
| Battery | 7.4V 2000mAh NP-F550 (included) |
| Operating System | Linux (default, customizable) |
| Dimensions | 128mm x 80mm x 12mm (approx.) |
| Weight | Approximately 9.9 ounces (280g) |
6. Maintenance
- Cleaning: Use a soft, dry cloth to clean the device. For the screen, a microfiber cloth is recommended. Avoid abrasive cleaners or solvents.
- Storage: Store the Tab5 in a cool, dry place away from direct sunlight and extreme temperatures.
- Battery Care: For optimal battery life, avoid fully discharging the battery frequently. If storing for extended periods, charge the battery to approximately 50-70%.
- Firmware Updates: Regularly check the M5Stack official website for firmware updates to ensure optimal performance and access to new features.
7. Troubleshooting
- Device Not Powering On:
- Ensure the battery is correctly installed and charged.
- Verify that the power button is pressed and held for the required duration.
- If using external power, check the USB-C cable and power adapter.
- Display Issues:
- If the screen is unresponsive, try restarting the device.
- Ensure the display cable connections are secure (if applicable for advanced users disassembling the unit).
- Connectivity Problems (Wi-Fi/Bluetooth):
- Check network settings and ensure correct credentials are entered.
- Verify that external antennas (if used) are properly connected to the MMCX ports.
- Development Environment Issues:
- Ensure correct drivers are installed on your computer for USB communication.
- Refer to M5Stack's online documentation for specific development environment setup and common issues.
- Note for ESPHome Users: As of November 2025, the touchscreen driver has changed from GT911 to ST7123. Compatibility with ESPHome may require updated support for the ST7123 driver. Consult ESPHome documentation or community forums for the latest information.
8. Support and Resources
For further assistance, detailed tutorials, and community support, please visit the official M5Stack website.

Figure 8.1: Steps to access M5Stack tutorials and documentation online.
Official Website: https://www.m5stack.com/
Documentation: Look for the "DOCUMENT" section on the website for product-specific guides, datasheets, and programming examples.
9. Warranty Information
M5Stack products typically come with a standard manufacturer's warranty. For detailed information regarding warranty terms, conditions, and duration, please refer to the warranty card included with your product or visit the official M5Stack website's support section. Keep your proof of purchase for warranty claims.


