
1. Introduction
Thank you for choosing the Whirlpool 7.5 Kg StainWash Magic Clean PRO Fully Automatic Top Load Washing Machine with In-Built Heater. This manual provides essential information for the safe and efficient operation, installation, maintenance, and troubleshooting of your new appliance. Please read this manual thoroughly before using the washing machine and retain it for future reference.
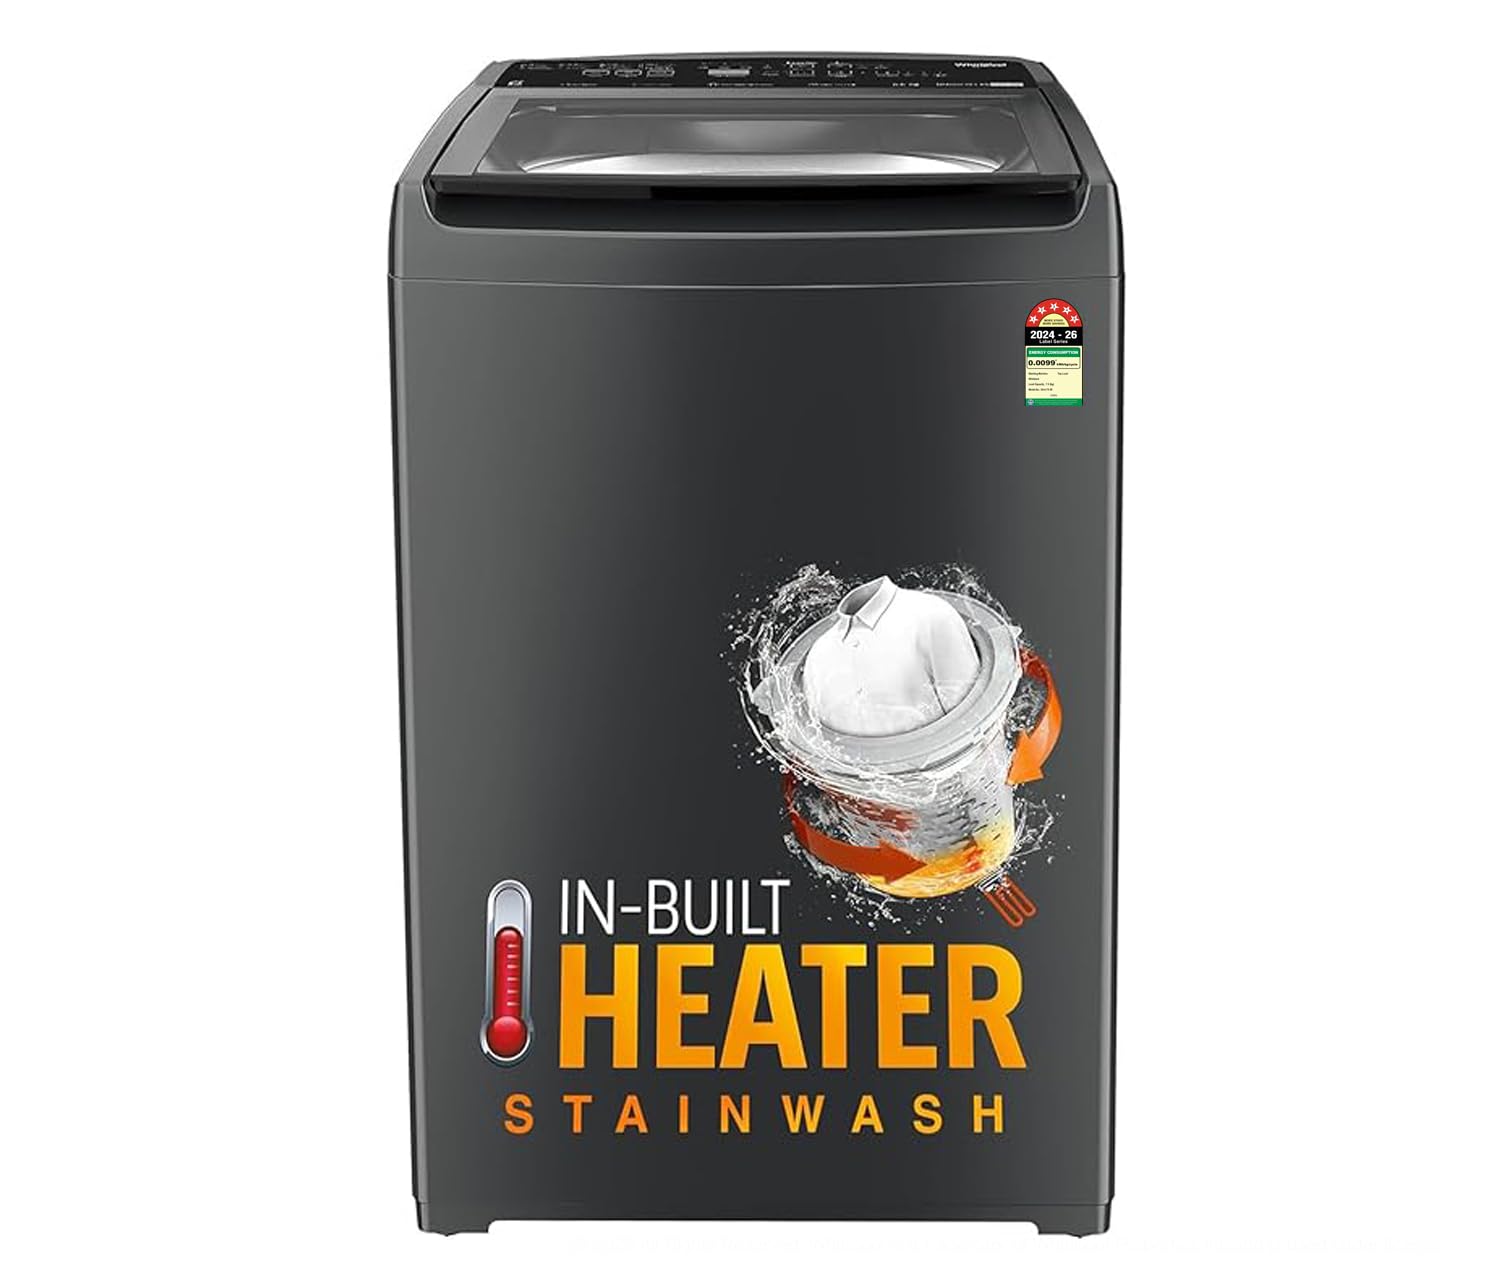
Image 1.1: Front view of the Whirlpool 7.5 Kg StainWash Magic Clean PRO Washing Machine.
2. Safety Information
To reduce the risk of fire, electric shock, or injury, follow these basic precautions:
- Read all instructions before using the appliance.
- Do not wash articles that have been previously cleaned, washed, soaked in, or spotted with gasoline, dry-cleaning solvents, or other flammable or explosive substances.
- Do not allow children to play on or in the appliance. Close supervision is necessary when the appliance is used near children.
- Do not reach into the appliance if the tub or agitator is moving.
- Do not install or store this appliance where it will be exposed to the weather.
- Do not tamper with controls.
- Do not repair or replace any part of the appliance or attempt any servicing unless specifically recommended in this manual or in published user-repair instructions that you understand and have the skills to carry out.
- Always disconnect the appliance from the power supply before cleaning or performing any maintenance.
3. Product Overview
3.1. Components Included
Your washing machine package includes the following items:
- 1 Washing Machine Unit
- User Manual (this document)
- Drain Hose
- Inlet Pipe
- Detergent Cup
- Rat Mesh
3.2. Control Panel
The control panel allows you to select wash programs, adjust settings, and monitor the wash cycle. Familiarize yourself with the buttons and indicators.

Image 3.1: Detailed view of the control panel with various program options and settings.
4. Setup & Installation
This washing machine is designed for freestanding installation. Ensure the appliance is placed on a firm, level surface to minimize vibration and noise during operation.
4.1. Unpacking
- Remove all packaging materials, including the base packaging and any internal packing.
- Inspect the machine for any damage incurred during transit. Contact customer service if damage is found.
4.2. Positioning
- Place the washing machine in a location with adequate space for operation and ventilation.
- Ensure the machine is level using the adjustable feet. A spirit level can assist in this process.
4.3. Water Connection
Connect the inlet pipe to a cold water tap and the designated inlet on the washing machine. Ensure all connections are secure to prevent leaks.

Image 4.1: Zero Pressure Fill Technology ensures the tub fills even with low water pressure.
The machine features Zero Pressure Fill (ZPF) Technology, allowing it to fill the wash tub efficiently even when water pressure is low.
4.4. Drain Hose Installation
Securely attach the drain hose to the machine and route it to a suitable drain point, ensuring it is not kinked or obstructed.
4.5. Power Connection
Plug the power cord into a grounded electrical outlet. The machine operates on 240 Volts.
5. Operating Instructions
5.1. Loading Laundry
- Sort laundry by fabric type, color, and soil level.
- Open the lid and load clothes loosely into the wash tub. Do not overload the machine. The capacity is 7.5 kg.
5.2. Adding Detergent
Add the appropriate amount of detergent to the detergent dispenser. Refer to your detergent packaging for recommended quantities.
5.3. Selecting a Wash Program
Your washing machine offers 12 standard wash cycles. Use the control panel to select the desired program based on your laundry type.

Image 5.1: The 12 pre-programmed wash options cater to various garment types.
Available programs include:
- Woolens
- Bedsheets
- Daily
- Delicates
- Eco Wash
- Heavy
- Stainwash+
- Whites
- Anti Bac
- Rinse+Dry
- Dry Only
- Wash Only
5.4. Special Features
This washing machine is equipped with advanced features for enhanced cleaning performance:
- In-Built Heater: Provides 3 Hot Water Modes (Allergen Free, Hot, Warm) for superior stain removal and sanitization, removing up to 99.9% of germs and allergens.
- Hard Water Wash Program: Adapts the wash cycle to effectively clean clothes even in hard water conditions.
- 6th Sense Technology: Senses wash requirements and automatically adjusts wash settings to suit your needs, optimizing water and energy usage.
- Spiro Wash: Provides a unique circular motion for thorough cleaning.
- Express Wash: For quick washing of lightly soiled clothes.
- Delay Wash: Allows you to set a delayed start time for the wash cycle.
- Auto Tub Clean: Automatically cleans the wash tub to prevent odor and maintain hygiene.

Image 5.2: The in-built heater offers three hot water modes for various cleaning needs.

Image 5.3: Hard Water Wash Technology adjusts the cycle for optimal cleaning in hard water.

Image 5.4: 6th Sense Technology intelligently adapts wash settings.
5.5. Starting the Wash Cycle
After selecting the program and any desired options, press the 'Start/Pause' button to begin the wash cycle.
6. Maintenance & Care
Regular maintenance ensures the longevity and optimal performance of your washing machine.
6.1. Cleaning the Exterior
Wipe the exterior surfaces with a soft, damp cloth. Avoid abrasive cleaners or solvents.
6.2. Cleaning the Detergent Dispenser
Periodically remove and clean the detergent dispenser to prevent residue buildup.
6.3. Tub Cleaning
Utilize the 'Auto Tub Clean' program regularly to clean the inner tub and prevent mold and odor buildup.
6.4. Lint Filter Cleaning
Check and clean the lint filter after every few washes to ensure efficient drainage and prevent lint transfer to clothes.
7. Troubleshooting
Before contacting customer service, refer to the following table for common issues and their solutions.
| Problem | Possible Cause | Solution |
|---|---|---|
| Machine does not start | Power cord unplugged; Lid not closed properly; Power outage | Check power connection; Ensure lid is fully closed; Check household circuit breaker |
| Water not filling | Water tap closed; Inlet hose kinked; Water supply issue | Open water tap; Straighten inlet hose; Check household water supply |
| Machine not draining | Drain hose kinked or blocked; Lint filter clogged | Straighten or clear drain hose; Clean lint filter |
| Excessive vibration/noise | Machine not level; Load unbalanced | Adjust leveling feet; Redistribute laundry evenly in the tub |
8. Specifications
Key technical specifications for the Whirlpool 7.5 Kg StainWash Magic Clean PRO Washing Machine:
| Feature | Detail |
|---|---|
| Model Name | MAGIC CLEAN PRO SW 7.5 (H) |
| Capacity | 7.5 kg |
| Energy Rating | 5 Star |
| Max Rotational Speed | 740 RPM |
| Product Dimensions (D x W x H) | 58D x 54W x 101H Centimeters |
| Item Weight | 32000 Grams |
| Material Type | Stainless Steel (Drum) |
| Special Feature | Inbuilt Heater |
| Operation Mode | Fully Automatic |
| Number of Standard Cycles | 12 |
| Voltage | 240 Volts |
| Color | MidnightGrey |
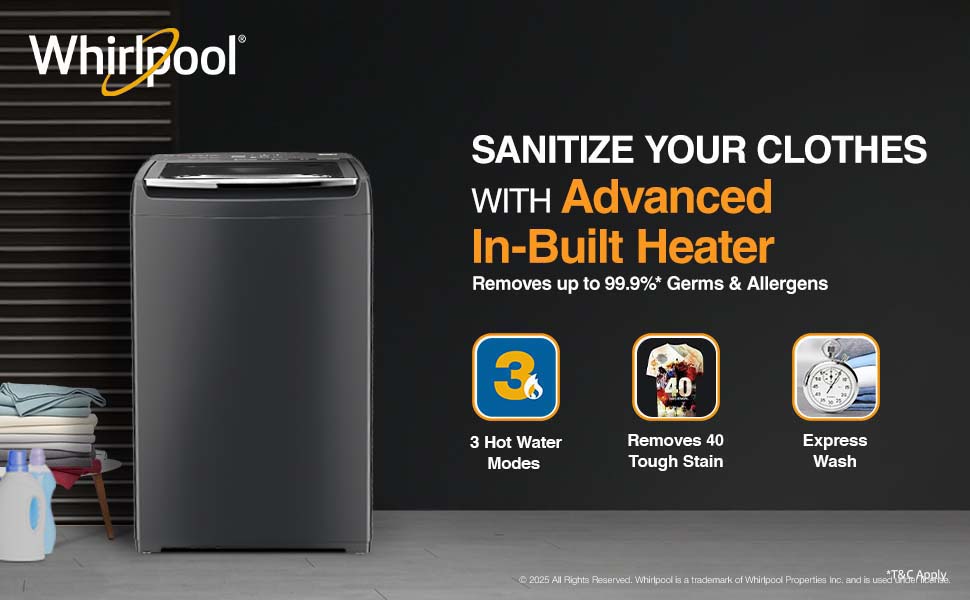
Image 8.1: Energy efficiency label indicating 5-star rating and low energy consumption.

Image 8.2: Product dimensions for installation planning.
9. Warranty & Support
9.1. Warranty Information
Your Whirlpool washing machine comes with a 2 Years Comprehensive Warranty on the entire unit and an additional 10 years warranty on the Motor & Prime Mover from the date of purchase.
9.2. Customer Support
For any service, installation, or support inquiries, please contact Whirlpool customer service. Ensure you have your model number (MAGIC CLEAN PRO SW 7.5 (H)) and purchase details ready.
Manufacturer Contact Information: Whirlpool of India Limited, Plot No. A- 4, MIDC, Ranjangaon, Taluka- Shirur, Pune District, Maharashtra, India.
Service and installation coverage is available across all Indian PIN Codes.

