1. Introduction
The ELEGOO Centauri Carbon 3D Printer is a high-performance FDM (Fused Deposition Modeling) machine designed for both beginners and experienced users. It features a CoreXY motion system for high-speed printing, automatic calibration, and an enclosed build chamber with a 320°C nozzle for compatibility with advanced technical filaments. This manual provides essential information for safe operation, setup, maintenance, and troubleshooting to ensure optimal performance and longevity of your printer.
2. Safety Instructions
Please read and understand all safety warnings before operating the printer to prevent injury or damage.
- Always operate the printer in a well-ventilated area to dissipate fumes from heated plastics.
- Keep hands clear of moving parts, such as the print head and build plate, during operation.
- The nozzle and print bed reach high temperatures during operation; avoid direct contact to prevent burns.
- Use only recommended filaments and the original power supply provided with the printer.
- Do not leave the printer unattended during long prints, especially when operating with new materials or settings.
- Keep the printer out of reach of children and pets.
- Do not attempt to modify the printer's hardware or software unless instructed by official ELEGOO support.
3. Package Contents
Verify that all items are present in the package:
- ELEGOO Centauri Carbon 3D Printer
- Power Cable
- USB Cable
- Tool Kit (e.g., spatula, pliers, nozzle cleaning needle, Allen wrenches)
- Sample Filament
- User Manual (this document)
4. Product Overview
The ELEGOO Centauri Carbon is engineered for efficiency, precision, and versatility in 3D printing.
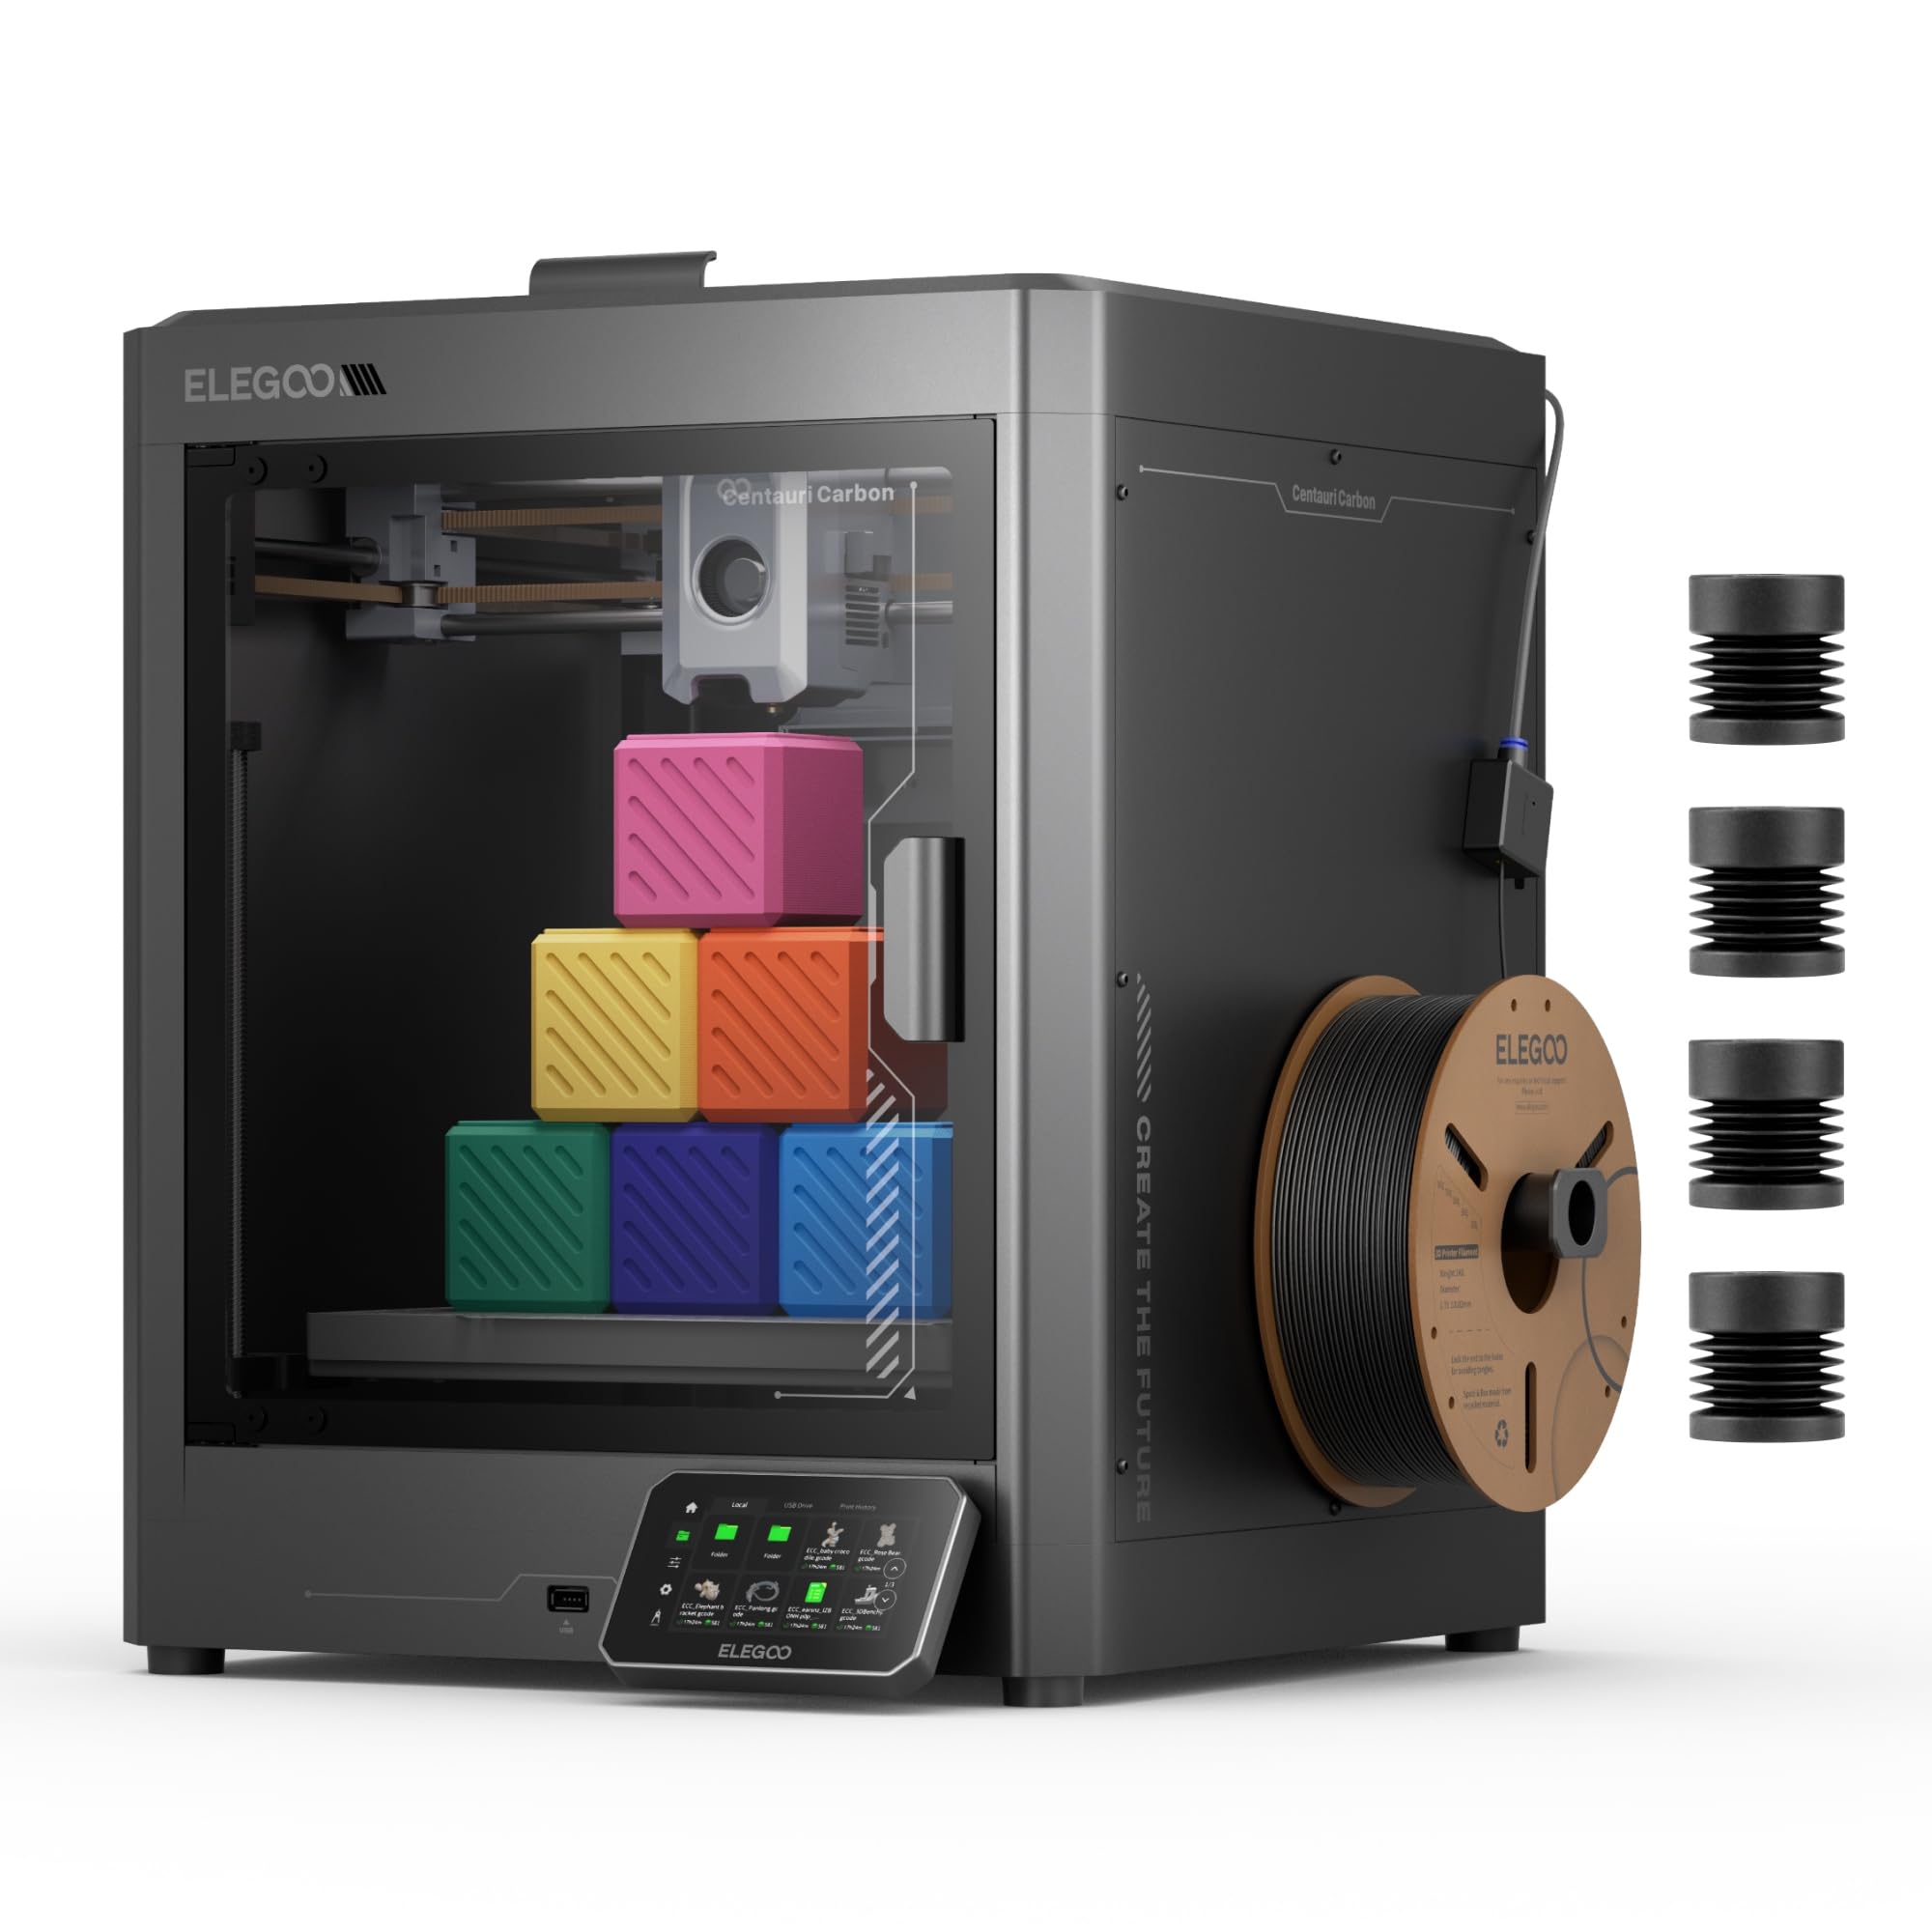
Image: The ELEGOO Centauri Carbon 3D Printer, showcasing its sleek design and enclosed build chamber.
Key Features:
- High-Speed Printing: Utilizes an advanced CoreXY motion system, achieving impressive print speeds up to 500 mm/s and acceleration of 20,000 mm/s². This allows for rapid production of both large and detailed parts.
- Advanced Material Compatibility: Equipped with a hardened steel and brass nozzle capable of reaching 320°C, and an enclosed chamber with optimized cooling. This design supports printing with high-performance filaments like carbon fiber reinforced materials, enabling the creation of strong, lightweight, and heat-resistant parts.
- Robust Construction: Features a rigid molded aluminum frame to minimize vibrations, ensuring stable and consistent print quality even at high speeds. Automatic vibration compensation and pressure advance further contribute to smooth first layers and overall print consistency.
- Automatic Calibration: The printer comes fully assembled and pre-calibrated. Its automatic leveling system and intuitive touchscreen simplify the setup process, making it ready for use right out of the box.
- Integrated Monitoring: An integrated camera and dual LED lighting allow for real-time print monitoring, time-lapse video creation, and remote adjustments, providing complete control over your prints.
- Generous Build Volume: Offers a substantial print volume of 256 x 256 x 256 mm (10" x 10" x 10"), accommodating a wide range of projects.

Image: Diagram illustrating the CoreXY motion system and its high-speed capabilities (500 mm/s print speed, 20,000 mm/s² acceleration).

Image: Close-up view of the printer's hotend and the interior of the enclosed build chamber, highlighting its high-temperature capabilities.

Image: The ELEGOO Centauri Carbon printer with an object inside, illustrating its 256x256x256 mm build volume.
5. Setup
The Centauri Carbon is designed for quick and easy setup, allowing you to start printing almost immediately.
- Unboxing: Carefully remove the printer and all accessories from its packaging. Inspect for any signs of damage during transit.
- Placement: Place the printer on a stable, level, and heat-resistant surface. Ensure there is adequate space around the printer for ventilation and access during operation and maintenance.
- Power Connection: Connect the provided power cable to the printer's power input and then to a suitable electrical outlet.
- Initial Power On: Turn on the printer using the main power switch. The touchscreen will illuminate.
- Automatic Calibration: The printer is pre-calibrated from the factory. Follow any on-screen prompts for initial setup. The automatic leveling system will perform necessary adjustments to the print bed, ensuring optimal first layer adhesion without manual intervention.

Image: A user interacting with the printer's touchscreen, illustrating the 'Print Out of the Box' readiness.
6. Operating Instructions
Follow these steps to prepare and start your 3D prints.
- Prepare 3D Model: Use a compatible slicing software (e.g., Elegoo Cura, PrusaSlicer) to convert your 3D model file (STL, OBJ) into G-code. Ensure your slicing profile matches the Centauri Carbon's specifications and the filament you are using.
- Load Filament:
- Ensure the nozzle is at room temperature or preheated to the filament's loading temperature (check filament manufacturer's recommendations).
- Place the filament spool onto the designated holder.
- Feed the filament into the extruder's input until it is gripped by the gears.
- Use the touchscreen interface to initiate the filament loading process. The printer will automatically heat the nozzle and extrude a small amount of filament to prime it.
- Start Printing:
- Transfer the prepared G-code file to the printer via USB drive or network connection.
- Select the desired file from the printer's intuitive touchscreen interface.
- Confirm the print settings and initiate the print. The printer will automatically heat the print bed and nozzle to the required temperatures before starting the print.
- Monitor Print:
- Utilize the integrated camera for real-time monitoring of the print progress. This allows you to check for issues and ensure a successful print.
- The touchscreen displays print status, current temperatures, and estimated remaining print time.
- Adjust settings such as print speed or fan speed if necessary, directly from the touchscreen or connected software.
- Remove Print: Once the print is complete and the print bed has cooled down, carefully remove the printed object from the flexible print plate. The plate's design facilitates easy removal of prints.

Image: Close-up of the integrated camera and the flexible, double-sided print plate, highlighting monitoring and print removal features.
7. Maintenance
Regular maintenance ensures consistent print quality and extends the lifespan of your ELEGOO Centauri Carbon 3D Printer.
- Cleaning the Print Bed: After each print, allow the print bed to cool and then clean it with isopropyl alcohol to remove any residue and ensure optimal adhesion for future prints.
- Nozzle Maintenance: Periodically check the nozzle for clogs. Use the provided cleaning needle to clear any blockages. If printing with abrasive filaments (e.g., carbon fiber reinforced), inspect the hardened steel nozzle for wear and replace it if necessary.
- Extruder Cleaning: Keep the extruder gears free of filament debris to ensure smooth filament feeding. Use a small brush or compressed air if needed.
- Lubrication: Apply a small amount of lubricant (e.g., lithium grease) to the Z-axis lead screws and other moving parts as recommended by ELEGOO to maintain smooth motion.
- Firmware Updates: Regularly check the official ELEGOO website for any available firmware updates. Keeping your printer's firmware up-to-date can provide performance improvements, new features, and bug fixes.
- General Cleaning: Keep the printer's exterior and interior free of dust and filament scraps. Use a soft, dry cloth for cleaning.
8. Troubleshooting
This section addresses common issues you might encounter and their potential solutions.
| Problem | Possible Cause | Solution |
|---|---|---|
| Poor First Layer Adhesion | Dirty print bed, incorrect Z-offset, insufficient bed temperature. | Clean the print bed with isopropyl alcohol. Re-run auto-calibration or manually adjust Z-offset. Increase bed temperature slightly in slicing software. |
| Filament Not Extruding | Clogged nozzle, tangled filament, incorrect extruder temperature. | Clear the nozzle with the provided cleaning needle. Ensure filament is loaded correctly and not tangled. Verify extruder temperature is appropriate for the filament type. |
| Print Quality Issues (e.g., layer shifting, stringing) | Loose belts, excessive print speed, incorrect retraction settings, unstable printer surface. | Check and tighten belt tension. Reduce print speed. Adjust retraction settings in your slicing software. Ensure the printer is on a stable surface to minimize vibrations. |
| Printer Not Powering On | Loose power cable, faulty power outlet. | Check all power cable connections. Verify the power outlet is functional. If the issue persists, contact ELEGOO customer support. |
9. Specifications
Detailed technical specifications for the ELEGOO Centauri Carbon 3D Printer.
| Feature | Detail |
|---|---|
| Brand | ELEGOO |
| Model | Centauri Carbon (FR-EHJ-3DF-CC) |
| Color | Black |
| Print Technology | FDM (Fused Deposition Modeling) |
| Build Volume | 256 x 256 x 256 mm (10" x 10" x 10") |
| Max Print Speed | 500 mm/s |
| Max Acceleration | 20,000 mm/s² |
| Nozzle Temperature | Up to 320°C |
| Nozzle Material | Hardened Steel and Brass |
| Frame Structure | Molded Aluminum |
| Connectivity | USB |
| Compatible Devices | Laptop, PC, Smartphone |
| Supported File Formats | STL, OBJ, GCODE |
| Item Weight | 17.5 kg |
| Product Dimensions | 56P x 47.5l x 48H cm |
10. Warranty and Support
For assistance with your ELEGOO Centauri Carbon 3D Printer, please refer to the following information:
- Manufacturer Warranty: The ELEGOO Centauri Carbon 3D Printer comes with a 1-year manufacturer warranty. Please retain your proof of purchase for all warranty claims.
- Technical Support: For technical assistance, troubleshooting, or warranty inquiries, please visit the official ELEGOO website for up-to-date contact information and support resources.
- Digital Manual: A digital version of this user manual is available for download at: ELEGOO Centauri Carbon User Manual (PDF).


