
1. Important Safety Information
Read all instructions thoroughly before installing, operating, or performing maintenance on this product. Failure to follow these instructions could result in serious injury or property damage.
- Electrical Safety: Always disconnect power before servicing. Ensure the pump is connected to a properly grounded 115V electrical outlet. Do not use extension cords.
- Water Safety: Never operate the pump dry. Ensure the pool water level is adequate before starting the system.
- Chemical Safety: Handle pool chemicals with care and follow manufacturer guidelines.
- Children and Pets: Keep children and pets away from the pool equipment during operation.
- Installation: Install the filter system on a firm, level surface with adequate drainage.
- Pressure: Do not exceed the maximum operating pressure of the filter system.
2. Package Contents
Verify that all components are present before beginning installation:
- Sand Filter Tank (16-inch)
- Pool Pump (3/4HP)
- Multi-port Valve
- Pressure Gauge
- Hose Connections (1.5-inch)
- Pump Strainer Basket
- Base for Filter Tank
- User Manual
3. Product Overview
The VINGLI 16-inch Sand Pool Filter system is designed for efficient water circulation and purification in above-ground swimming pools. It features a durable sand tank, a powerful 3/4HP pump, and a versatile 7-function multi-port valve to maintain crystal-clear pool water. An integrated 24-hour timer allows for automated operation.
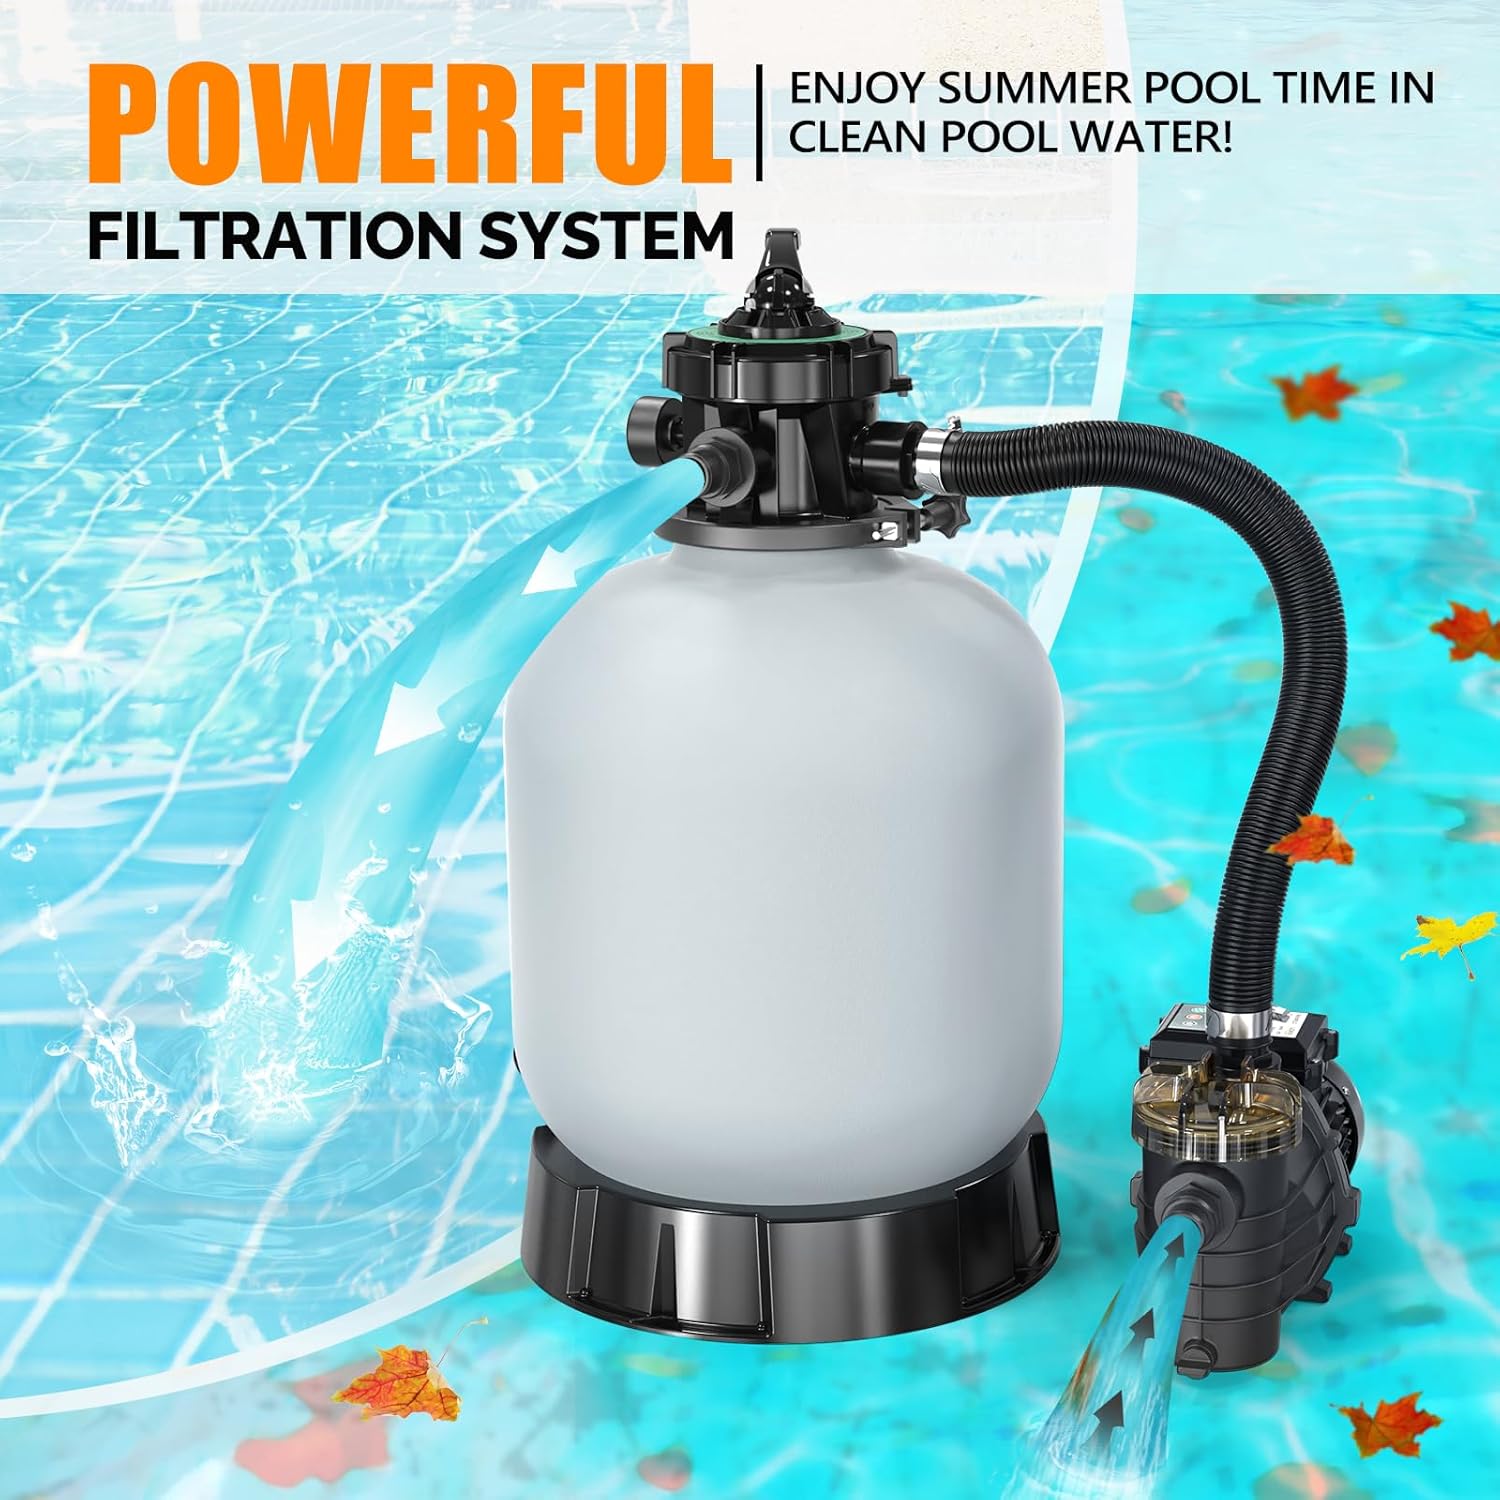
Image: The VINGLI Sand Pool Filter system demonstrating its powerful filtration capabilities, with water flowing through the tank and pump.

Image: The complete VINGLI 16-inch Sand Pool Filter and 3/4HP pump assembly, ready for installation.
4. Setup and Installation
Follow these steps for proper installation of your VINGLI Sand Pool Filter system:
- Unpacking: Carefully remove all components from the packaging and inspect for any damage.
- Positioning: Place the filter system on a firm, level surface, ideally close to the pool and a grounded electrical outlet. Ensure the location allows for proper drainage when backwashing.
- Assembling the Base: Securely attach the filter tank to its designated base.
- Filling with Filter Media:
- Remove the multi-port valve from the top of the tank.
- Place the standpipe inside the tank, ensuring the opening is covered to prevent sand from entering.
- Slowly add the recommended amount of filter sand (approximately 88 lbs for the 16-inch model) or filter balls. Ensure the media level is appropriate, typically about 2/3 full.
- Remove the standpipe cover.
- Installing the Multi-port Valve: Carefully place the multi-port valve onto the tank, aligning it with the standpipe. Secure the valve with the provided clamp or bolts, ensuring a tight seal.
- Connecting the Pump:
- Attach the pump to the multi-port valve's port labeled "PUMP".
- Connect the pump's suction port to the pool's skimmer line.
- Connect the multi-port valve's port labeled "RETURN" to the pool's return line.
- Connect the multi-port valve's port labeled "WASTE" to a suitable waste line or drainage area.
- Secure all hose connections with clamps to prevent leaks.
- Electrical Connection: Ensure the pump is connected to a properly grounded 115V electrical outlet.

Image: The VINGLI Sand Pool Filter system properly installed and connected to an above-ground pool, ready for operation.

Image: Illustration indicating that both sand and filter balls can be used as filter media for the system.
5. Operating Instructions
Before Operation:
- Ensure the pool is filled to the proper operating level.
- Prime the pump by filling the pump's strainer basket with water.
- Ensure all valves in the plumbing system are open to allow water flow.
Multi-port Valve Functions:
Important: Always turn off the pump before changing the multi-port valve position to prevent damage.

Image: The multi-port valve clearly showing its seven operational settings.
- FILTER: This is the normal operating position for daily filtration. Water flows through the filter media, and clean water is returned to the pool.
- BACKWASH: Used for cleaning the filter media. Water flow is reversed, flushing accumulated debris out through the waste port. Run until the water running clear in the sight glass.
- RINSE: Used after backwashing to flush any remaining dirty water from the valve and lines to the waste port. Run for 30-60 seconds.
- RECIRCULATE: Water circulates through the pump and valve, returning to the pool without passing through the filter media. Useful for distributing chemicals quickly.
- WASTE: Drains water directly from the pool to the waste port, bypassing the filter. Useful for lowering pool water level or vacuuming heavy debris directly to waste.
- CLOSED: Shuts off all water flow through the filter and pump. Use this position only when performing maintenance or servicing the system.
- WINTER: Used for draining water from the filter system for storage during cold weather to prevent freezing damage.
24-Hour Timer Operation:
The integrated digital timer allows you to set automatic operation cycles for your pump. The timer can be set for 1 to 20 hours or for continuous operation.

Image: The electronic digital display and control buttons for setting the 24-hour timer on the pump.
- Refer to the pump's digital display and control buttons for specific setting instructions.
- Typically, pressing the timer button will cycle through preset durations (e.g., 1H, 2H, ..., 20H) or continuous mode. Select your desired operating time.
6. Maintenance
Regular maintenance ensures optimal performance and longevity of your VINGLI Sand Pool Filter system:
- Regular Backwashing: Backwash the filter when the pressure gauge reads 8-10 PSI above its clean starting pressure, or when you notice a decrease in water flow. Always follow backwashing with a rinse cycle.
- Pump Strainer Basket: Regularly check and clean the pump's strainer basket for leaves and other debris. Turn off the pump before opening the basket.
- Filter Media Replacement: Filter sand typically needs replacement every 3-5 years, depending on usage and water quality. If using filter balls, refer to their specific replacement guidelines.
- Winterizing: In regions with freezing temperatures, it is crucial to properly winterize your pool filter system. Drain all water from the pump, filter tank, and plumbing lines. Store the pump and multi-port valve indoors in a dry, protected area.
7. Troubleshooting
Refer to this section for common issues and their potential solutions:
- Low Water Flow:
- Check the pump strainer basket for debris and clean if necessary.
- Perform a backwash and rinse cycle.
- Inspect for air leaks in the suction lines.
- Ensure all plumbing valves are fully open.
- Cloudy Pool Water:
- Backwash and rinse the filter thoroughly.
- Test and adjust pool chemical balance.
- Ensure the filter system is running for adequate periods each day.
- Check the filter sand for channeling or if it needs replacement.
- Pump Not Priming:
- Ensure the pump basket is completely filled with water before starting.
- Check for air leaks in the suction line, especially around connections.
- Verify that the pool water level is sufficient.
- Pump Not Starting:
- Check the electrical connection and ensure the circuit breaker has not tripped.
- Verify that the 24-hour timer is set correctly and not in an 'off' cycle.
8. Specifications
| Feature | Specification |
|---|---|
| Brand | VINGLI |
| Model | Sand Pool Filter 16in-2 |
| Tank Size | 16 inches |
| Pump Horsepower | 3/4 HP |
| Max Flow Rate | 3435 GPH |
| Voltage | 115V |
| Power Source | Electric |
| Material | Plastic |
| Item Weight | 39.6 Pounds |
| Recommended Max Pool Size | 15,000 gallons |
| Sand Required (16in model) | 88 lbs |
| Hose Connections | 1.5 inches |
| Certifications | UL/ETL |

Image: A detailed table outlining specifications for various VINGLI sand filter tank sizes, including recommended pool size, flow rate, pump horsepower, and sand requirements.
9. Warranty and Support
For warranty information, technical assistance, or any questions regarding your VINGLI Sand Pool Filter system, please contact VINGLI customer support. Refer to your purchase documentation for specific warranty terms and contact details.