1. Introduction
This manual provides essential information for setting up, operating, and maintaining your Hisense L9Q Ultra Short Throw Triple Laser Projector. Please read it thoroughly before use to ensure optimal performance and safety.
What's in the Box
- Projector
- Power Cord
- Remote
- User Manual
- Cleaning Kit

Figure 1: Front view of the Hisense L9Q Projector.
2. Setup
2.1 Placement
The Hisense L9Q is an Ultra Short Throw projector, designed to project a large image from a very short distance to the screen or wall. For optimal viewing, place the projector on a flat, stable surface directly in front of your projection area. The throw ratio of 0.18 allows for a massive 80-inch to 200-inch display with minimal distance.
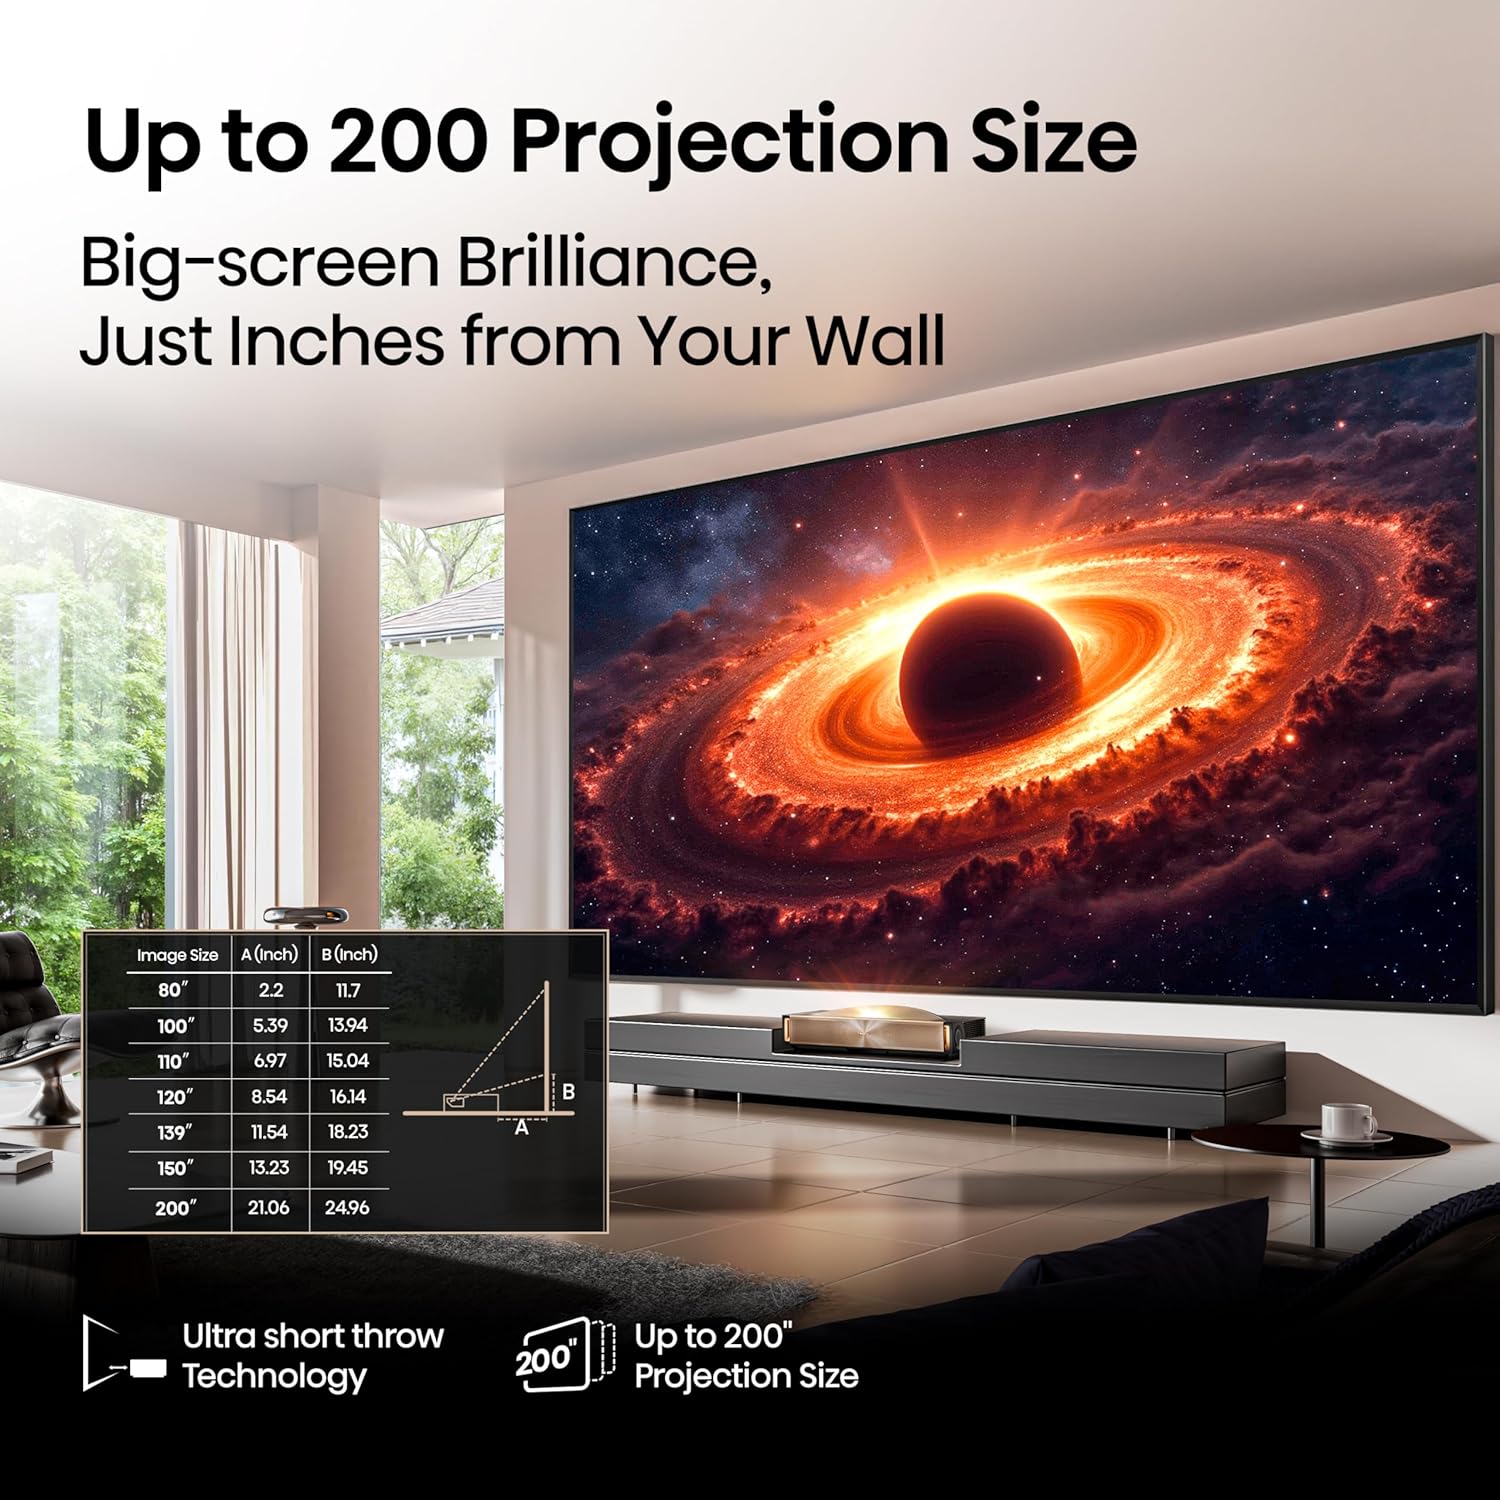
Figure 2: Ultra-short throw technology allows for large images from a short distance.
2.2 Connections
Connect your devices to the projector using the available ports:
- HDMI: For high-definition audio and video sources (e.g., Blu-ray players, gaming consoles). The projector features multiple HDMI ports, including eARC for enhanced audio return.
- USB: For connecting USB storage devices to play media files.
- Ethernet (LAN): For wired network connection.
- Digital Audio Out: For connecting to external audio systems.
- Wi-Fi & Bluetooth: For wireless network and accessory connections.

Figure 3: Rear panel connections of the L9Q projector.
2.3 Initial Power On & Auto Screen Fit
After connecting the power cord, press the power button on the projector or remote control. The projector will initiate the startup sequence. The L9Q features an Auto Screen Fit function (for screens up to 120 inches) that automatically detects the screen position and calibrates the image for a perfect fit. For larger screens or manual adjustments, refer to the on-screen menu for keystone correction and focus settings.
Video 1: Official product video demonstrating the Hisense L9Q's features and ease of setup.
3. Operating Instructions
3.1 Google TV Interface
The Hisense L9Q runs on Google TV, providing access to a wide range of streaming services, apps, and content. Navigate the interface using the provided remote control. Utilize Google Assistant for voice commands and personalized recommendations.
3.2 Picture and Sound Modes
Customize your viewing experience with various picture and sound modes:
- Picture Modes: Select from standard, vivid, sport, game, and Filmmaker Mode to optimize visuals for different content types.
- Game Mode: Reduces input lag to 12ms for a smoother gaming experience.
- Sound Modes: The integrated 6.2.2 channel audio system, tuned by Devialet, supports Dolby Atmos for immersive sound. Adjust sound profiles for movies, music, or speech.
4. Key Features
4.1 LPU Digital Laser Engine 2.0
The L9Q utilizes an advanced triple laser light source (Red, Green, Blue) combined with a high-performance chipset and precision-engineered lens. This technology delivers ultra-realistic color, covering 110% of the BT.2020 color space, and enhances brightness and contrast.
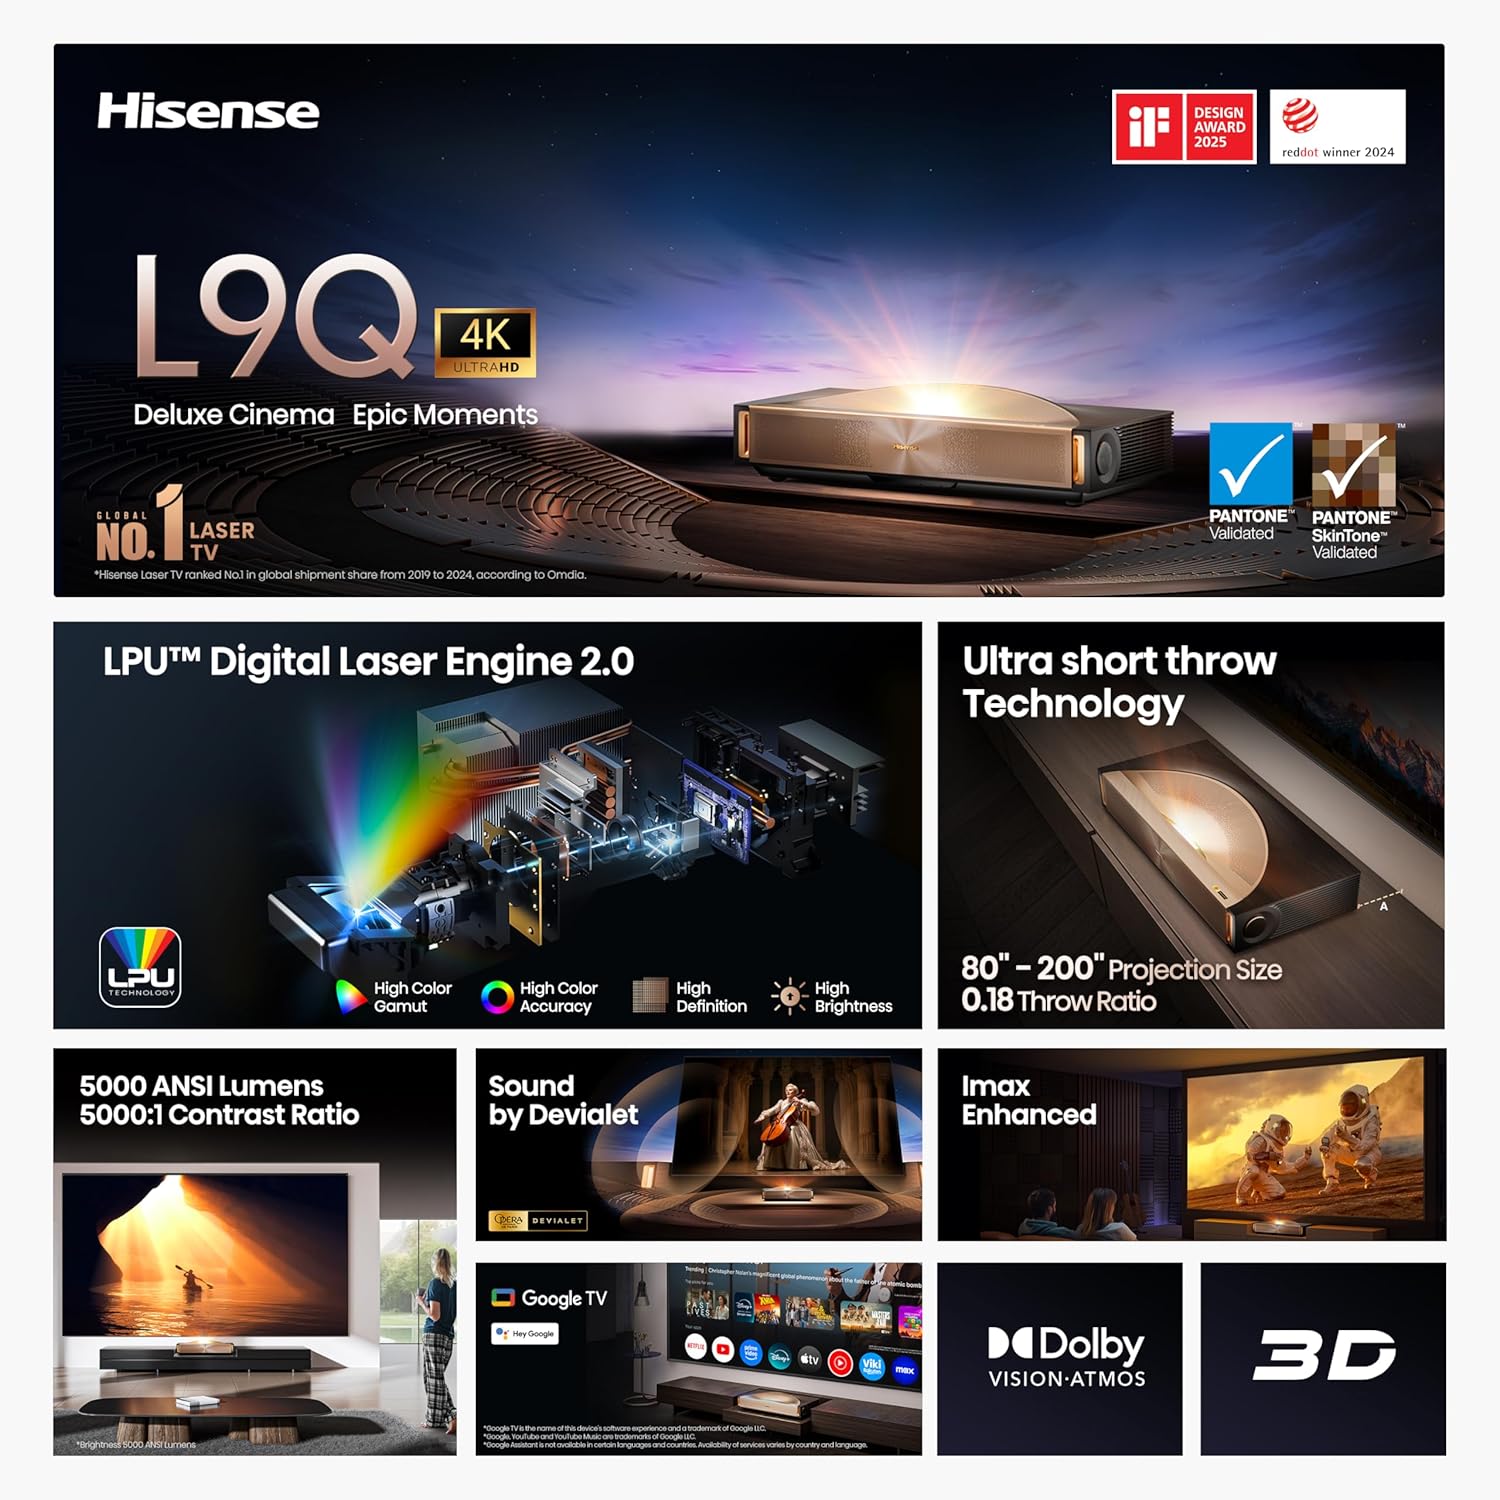
Figure 4: Internal view of the LPU Digital Laser Engine 2.0.
4.2 4K UHD Resolution & High Brightness/Contrast
Experience stunning 4K Ultra High Definition visuals. With 5,000 ANSI Lumens of brightness and a 5000:1 contrast ratio, the projector delivers clear, vivid images with deep blacks and bright whites, even in well-lit environments.
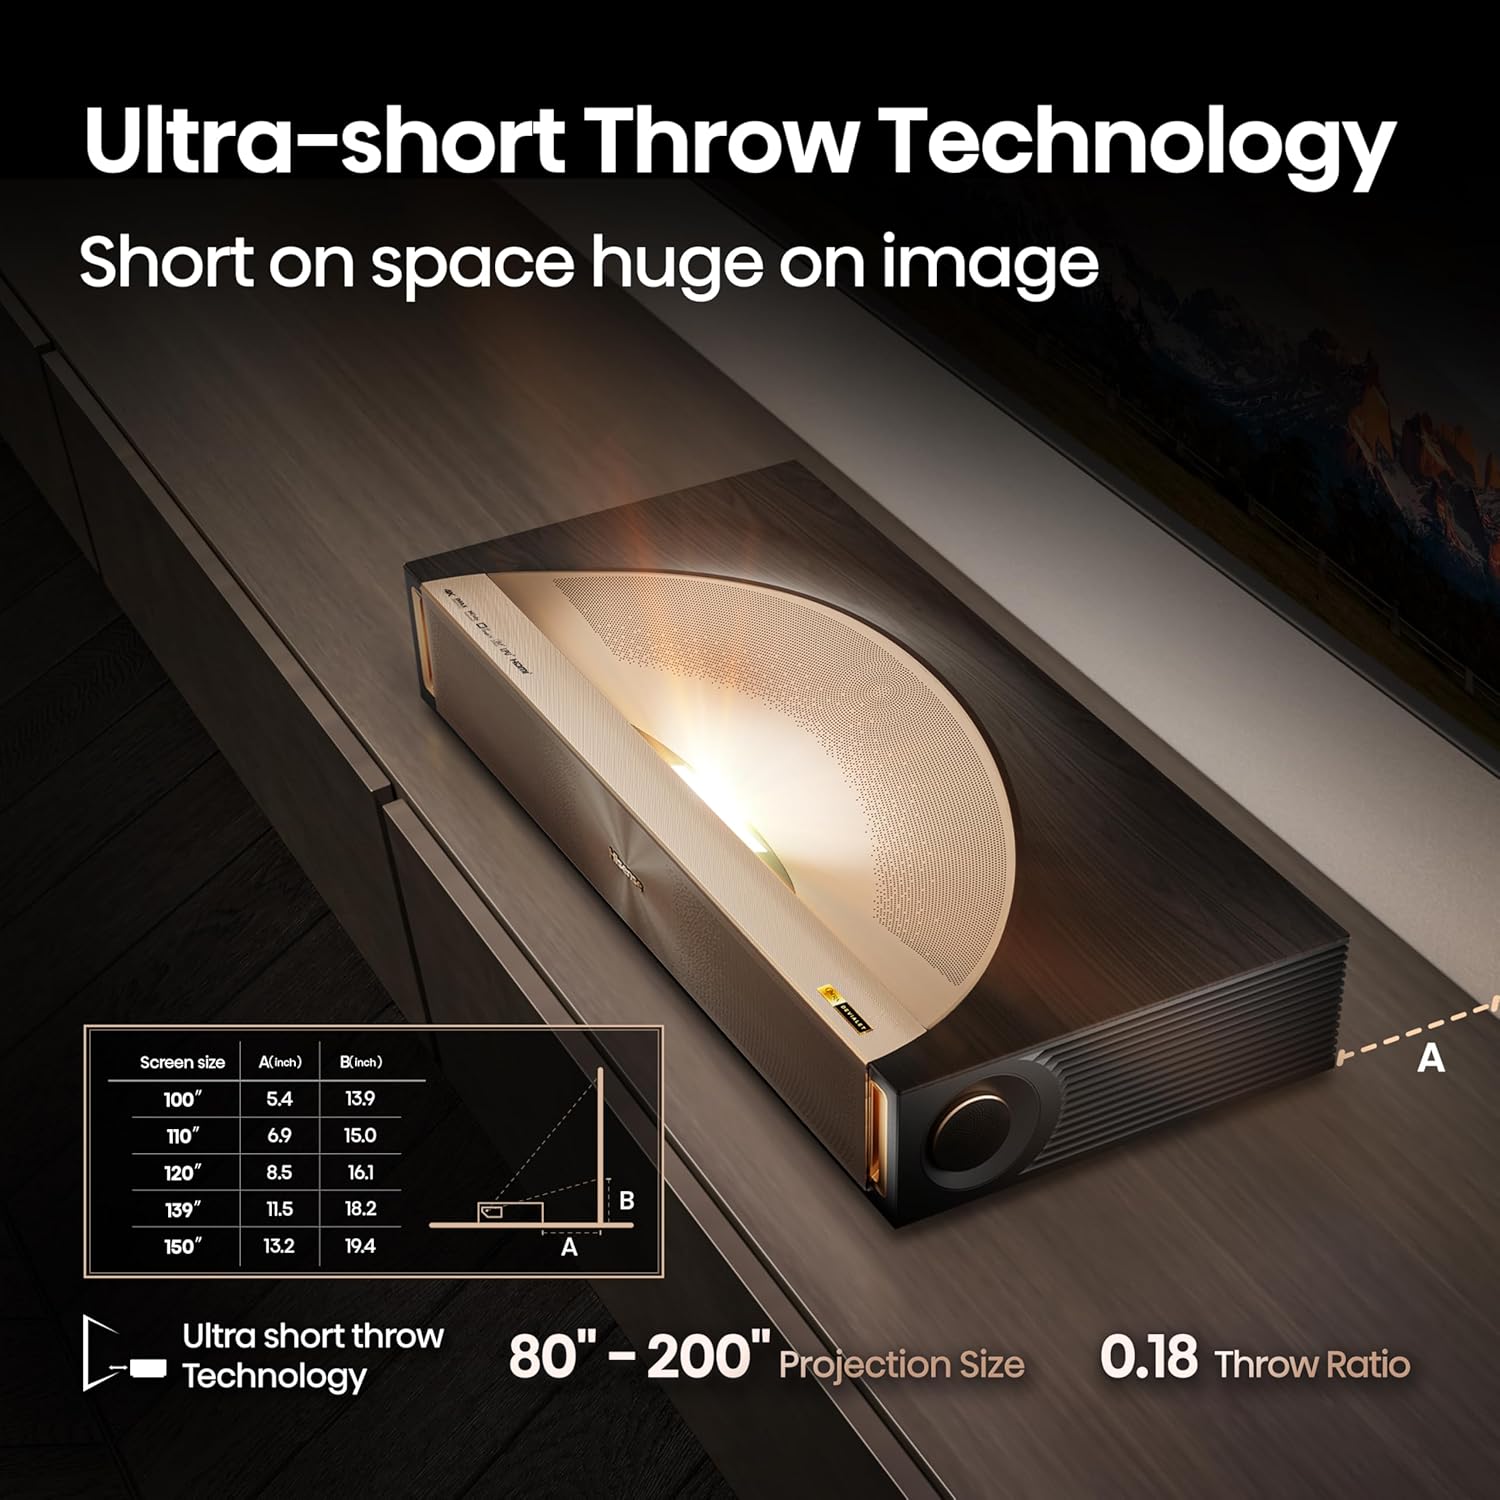
Figure 5: Example of the L9Q's 5,000 ANSI Lumens brightness and 5000:1 contrast.
4.3 Pantone Validated Color
The L9Q is Pantone Validated, ensuring accurate and true-to-life color reproduction, including skin tones. This validation guarantees that colors displayed are consistent with industry standards.
Video 2: Demonstration of the L9Q's color accuracy and Pantone validation process.
4.4 IMAX Enhanced & Dolby Vision/Atmos
Enjoy a premium cinematic experience with IMAX Enhanced certification, offering optimized picture and sound for IMAX content. Dolby Vision and Dolby Atmos support provide dynamic HDR visuals and immersive, multi-dimensional audio.
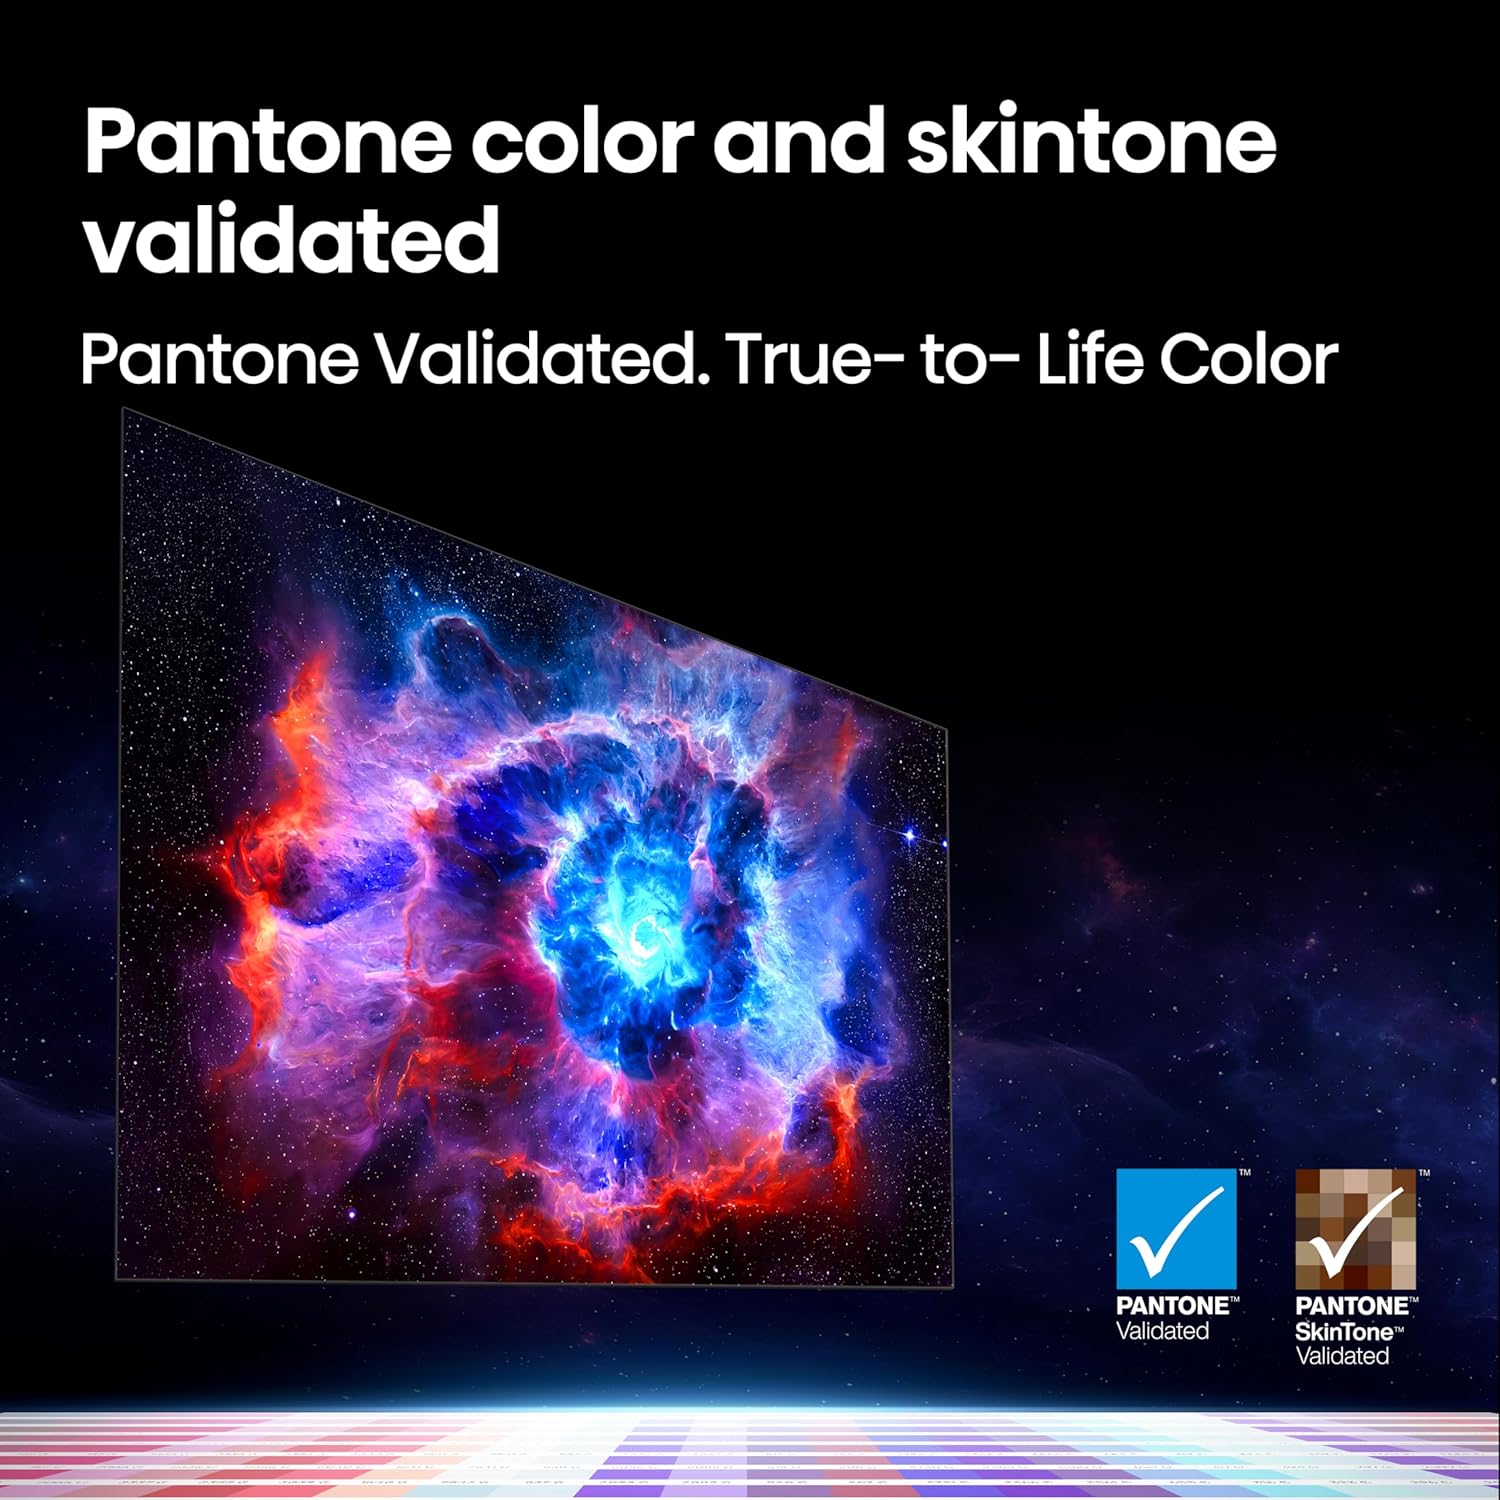
Figure 6: IMAX Enhanced experience on the L9Q projector.
4.5 3D Support
The projector supports 3D content, allowing for an immersive viewing experience with compatible 3D glasses (sold separately).

Figure 7: 3D content viewing on the L9Q projector.
4.6 AI-Powered Picture Enhancement
Advanced AI algorithms continuously refine contrast, color, and brightness in real-time. This includes upscaling resolution, reducing noise, and optimizing HDR for a vibrant and detailed picture.
4.7 Eye Comfort
Designed with user safety in mind, the L9Q emits 0% harmful blue light, reducing eye strain and fatigue during extended viewing sessions.
5. Specifications
| Feature | Detail |
|---|---|
| Model Number | L9Q |
| Display Resolution | 3840 x 2160 (4K UHD) |
| Brightness | 5,000 ANSI Lumens |
| Contrast Ratio | 5000:1 |
| Projection Size | 80" - 200" |
| Throw Ratio | 0.18 |
| Color Gamut | 110% BT.2020 |
| Connectivity | Bluetooth, Ethernet, HDMI, USB, Wi-Fi |
| Operating System | Google TV |
| Audio | 6.2.2 Channel, Sound by Devialet, Dolby Atmos |
| Special Features | LPU Digital Laser Engine 2.0, Pantone Validated, IMAX Enhanced, Dolby Vision, 3D Support, AI-powered PQ Enhancement, 12ms Input Lag (Game Mode), Auto Screen Fit, Eye Comfort |
| Product Dimensions | 24.6 x 12.5 x 6.5 inches |
| Item Weight | 28.4 pounds |
6. Maintenance
6.1 Cleaning the Projector
- Gently wipe the exterior of the projector with a soft, dry cloth.
- For the lens, use a lens cleaning cloth and specialized lens cleaning solution. Avoid abrasive materials.
- Ensure ventilation openings are clear of dust and obstructions.
6.2 General Care
- Avoid placing the projector in direct sunlight or near heat sources.
- Do not block the air vents during operation.
- Store the projector in a cool, dry place when not in use for extended periods.
7. Troubleshooting
7.1 No Power
- Check if the power cord is securely connected to the projector and the power outlet.
- Ensure the power outlet is functional.
- Press the power button on the projector or remote control.
7.2 No Image or Poor Picture Quality
- Verify that the input source is correctly selected.
- Check HDMI or other video cables for secure connections.
- Adjust focus and keystone correction settings via the projector's menu.
- Ensure the lens is clean.
- Reduce ambient light in the room for optimal contrast.
7.3 No Sound
- Check the volume level on the projector and any connected audio devices.
- Verify audio output settings in the projector's menu.
- If using external speakers, ensure they are properly connected and powered on.
8. Warranty and Support
For warranty information, technical support, or service inquiries, please refer to the official Hisense website or contact their customer service directly. Keep your purchase receipt and product serial number handy for faster assistance.


