Introduction
This manual provides essential information for the safe and efficient operation of your VEVOR Solar Fence Charger (Model TT-P9). This device is designed to provide a powerful electric pulse to deter animals from entering or exiting a fenced area, ensuring the security of crops, livestock, and pets. Please read these instructions thoroughly before installation and use.
Safety Information
- Always disconnect the energizer from the fence and power source before performing any maintenance or repairs.
- Do not connect the energizer to mains-operated equipment, including battery chargers, unless specifically instructed.
- Ensure proper grounding of the electric fence system. A dedicated grounding stake is crucial for effective operation and safety.
- Keep children and unauthorized personnel away from the electric fence. Post warning signs at appropriate intervals.
- Avoid touching the fence wires directly when the energizer is active.
- Do not install the energizer in areas prone to flooding or excessive moisture without adequate protection. The unit has an IP65 rating, but extreme conditions should be avoided.
Package Contents
The VEVOR Solar Fence Charger package includes the following items:
- 1 x Solar Fence Charger (Model TT-P9)
- Connection cables (red for fence, black for ground)
- Power adapter for initial charging (if applicable, check specific model)
- Instruction Manual
Video Description: This video provides an unboxing of a Solar Fence Charger S50, demonstrating the contents of the package and initial setup steps. While the model number differs, the general components and unboxing process are similar to the VEVOR TT-P9.
Specifications
| Feature | Specification |
|---|---|
| Model Number | TT-P9 |
| Output Voltage | Up to 10 kV |
| Output Energy | 1 Joule |
| Discharge Interval | 2 seconds per pulse |
| Pulse Width | <1 ms |
| Battery Type | Built-in Lithium Battery |
| Battery Capacity | 8100mAh |
| Battery Life (without sun) | 4-5 days |
| Solar Panel Power | 10W |
| Waterproof Rating | IP65 (Outdoor Waterproof) |
| Operating Temperature | -20°C to +50°C (-4°F to 122°F) |
| Recommended Effective Range | 1-3 kilometers |
| Main Material | ABS |
| Product Dimensions (L x W x H) | 10.24 x 8.27 x 3.54 inches (260 x 210 x 90 mm) |
| Solar Panel Dimensions (L x W x H) | 11.02 x 9.45 x 0.71 inches (280 x 240 x 18 mm) |
| Product Net Weight | 5.93 lbs (2.69 kg) |

Image Description: A detailed graphic displaying the dimensions of the VEVOR Solar Fence Charger and its solar panel, along with key specifications like model number, battery type, voltage, and materials.
Setup and Installation
Proper installation is crucial for the effective and safe operation of your solar fence charger. Follow these steps carefully:
1. Initial Charging
Before first use, fully charge the energizer using the provided DC adapter for 5-7 hours. This ensures the internal lithium battery is at optimal capacity.
Video Description: This video demonstrates the installation process for a solar fence charger, including initial charging, mounting, grounding, and connecting to the fence. The model shown is similar in function and design.
Video Description: This video illustrates the battery installation process for a solar electric fence charger. It shows how to access the battery compartment, connect the battery wires, and secure the battery within the unit.
2. Mounting the Energizer
Mount the charger on a sturdy post (e.g., Y/T post) in a location that receives maximum direct sunlight throughout the day. The solar panel can rotate 180° to optimize sun exposure.
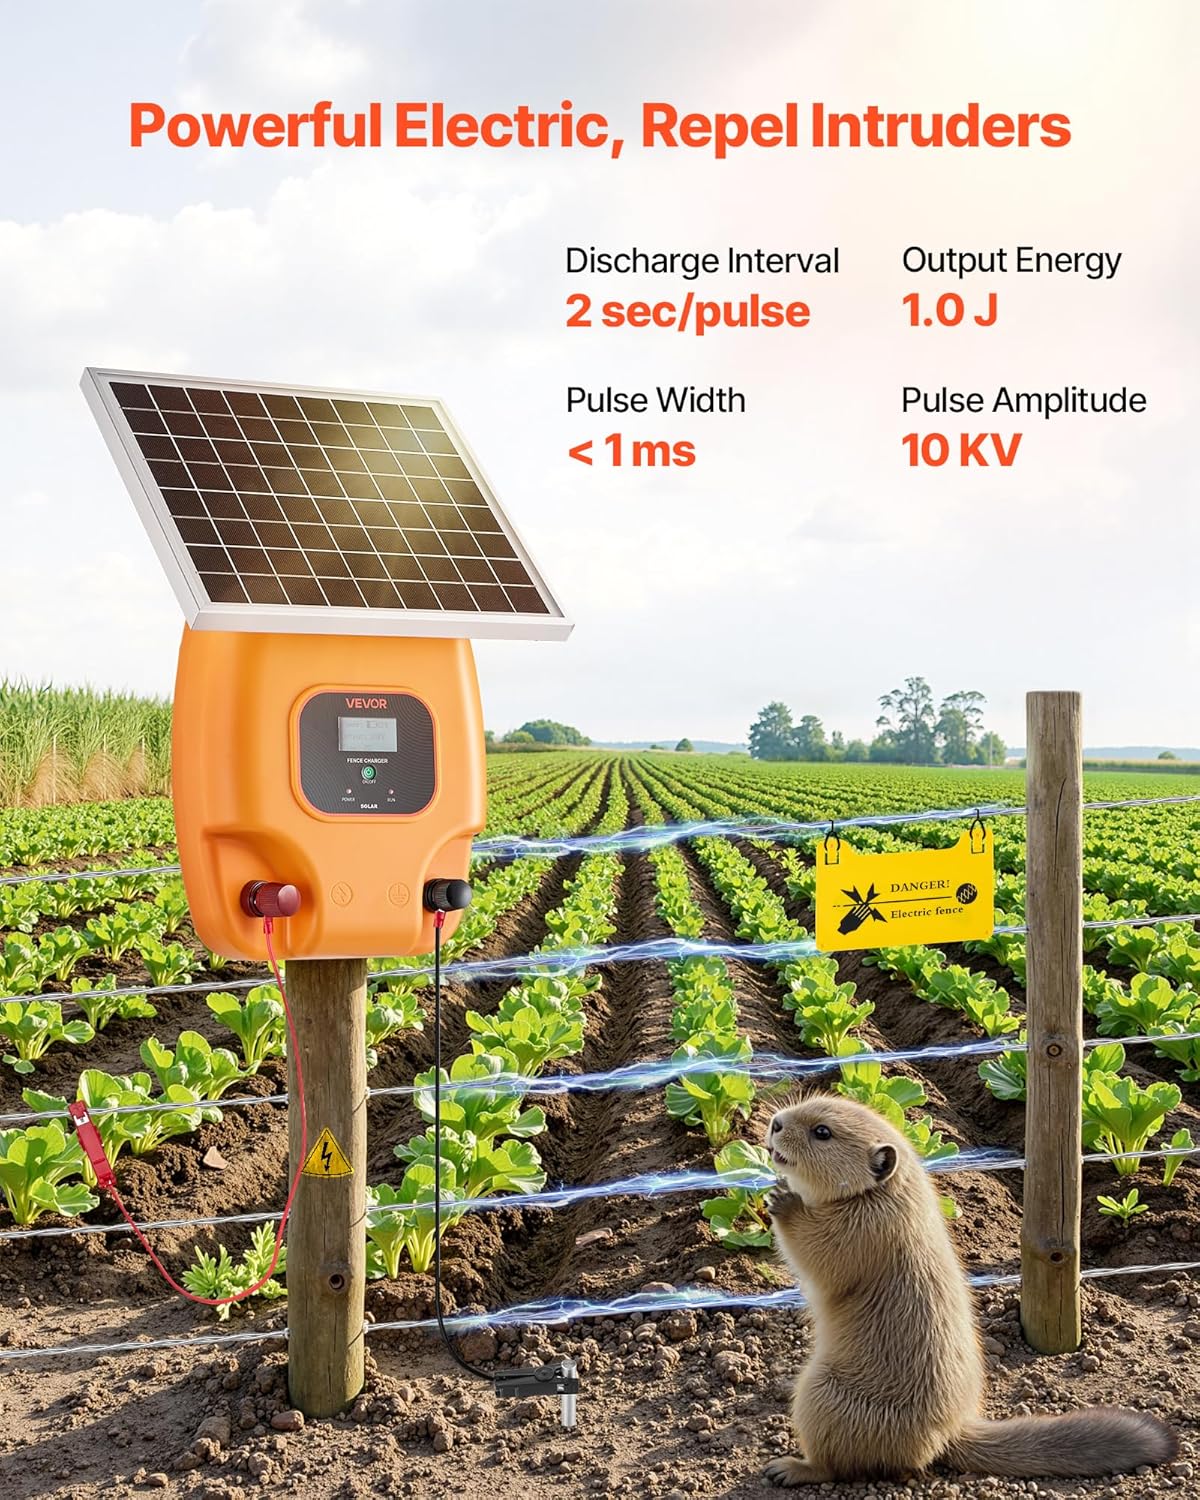
Image Description: The VEVOR Solar Fence Charger is shown mounted on a wooden post, connected to an electric fence protecting a crop field from a gopher. This illustrates a typical installation scenario.
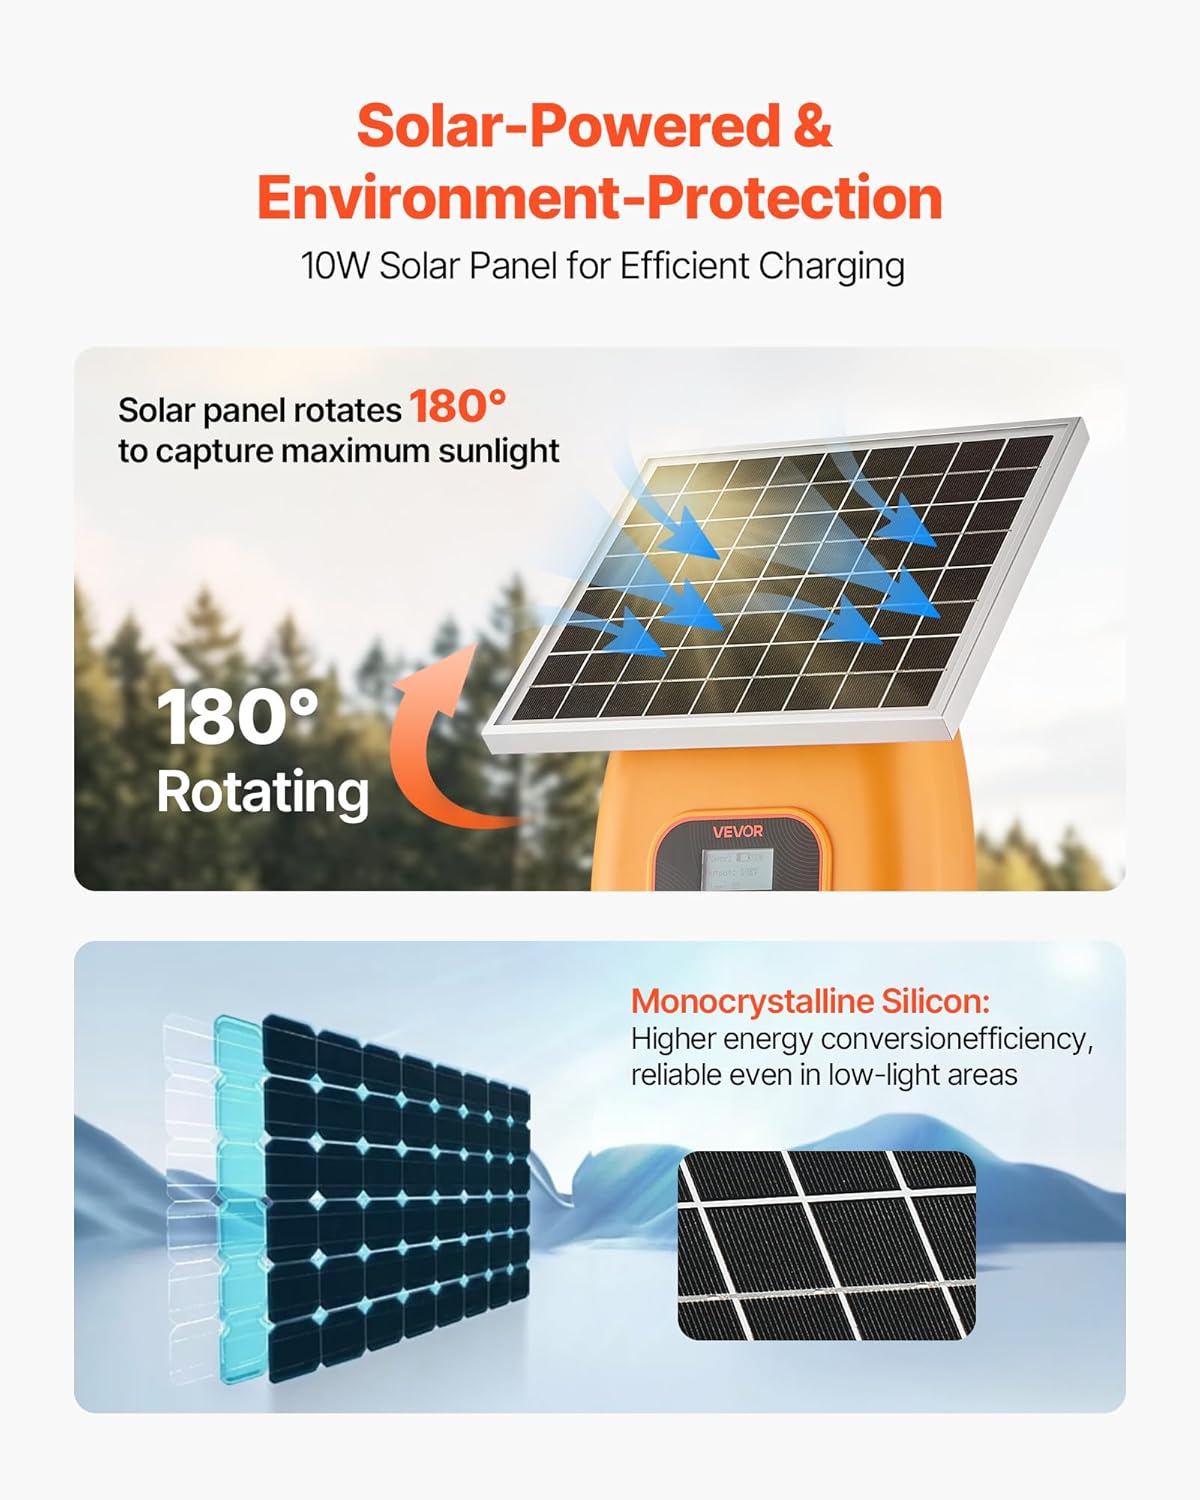
Image Description: A visual representation highlighting the 180° rotation feature of the solar panel, allowing users to adjust its angle for maximum sunlight absorption and efficient charging.
3. Grounding
Proper grounding is essential. Place the grounding stake on moist ground for better conductivity. The recommended depth for stakes (copper/iron) is 31.5-39.37 inches (80-100 cm) for optimal grounding.
4. Connecting to the Fence
Connect the red output terminal of the energizer to the electric fence wire. Connect the black ground terminal to the grounding stake. Ensure all connections are secure.
Video Description: This video demonstrates the installation and pre-use charging of an S800 Solar Fence Charger, covering mounting, wiring, and initial power-up. The principles apply to the VEVOR TT-P9 model.
Operating Instructions
Once installed and connected, the VEVOR Solar Fence Charger operates automatically. The integrated solar panel charges the internal battery during the day, and the energizer delivers a consistent electric pulse to the fence.
- Power On: Ensure the unit is switched on. The automatic pulse function will begin, delivering up to 10kV voltage and 1J of shock energy with a 2-second discharge interval.
- Solar Charging: The 10W high-efficiency monocrystalline silicon solar panel charges the 8100mAh lithium battery. This allows for continuous operation without external power sources, even in low-light conditions.
- Extended Runtime: The built-in battery provides 4-5 days of power, ensuring stable operation during cloudy or sunless periods.
- Pulse Function: The automatic pulse function provides a stable output designed to deter animals effectively without causing permanent harm.

Image Description: The VEVOR Solar Fence Charger is shown in an outdoor setting with sheep, emphasizing its IP65 waterproof design and wide operating temperature range for reliable protection in various weather conditions.

Image Description: A comparative image illustrating the advantages of the VEVOR Solar Fence Charger's lithium battery (lasts 4-5 days in rainy weather, longer lifespan, solar-powered & lightweight) over traditional lead-acid batteries.

Image Description: This graphic presents various fence wiring configurations (single-wire, multi-wire) and recommended spacing (5-10m between posts) for effective wildlife deterrence using the VEVOR Solar Fence Charger.
Maintenance
To ensure the longevity and optimal performance of your VEVOR Solar Fence Charger, regular maintenance is recommended:
- Clean Solar Panel: Periodically clean the solar panel surface to remove dust, dirt, or debris that may reduce charging efficiency. Use a soft, damp cloth.
- Check Connections: Regularly inspect all electrical connections (fence wire, ground wire, battery terminals) to ensure they are tight and free from corrosion.
- Inspect Fence Line: Keep the fence line clear of vegetation, which can reduce the effectiveness of the electric pulse by grounding the fence.
- Battery Health: While the lithium battery is designed for long life, monitor its performance. If the energizer's output weakens significantly or runtime decreases, ensure the solar panel is receiving adequate sunlight and consider a full charge via the DC adapter.
Troubleshooting
If you encounter issues with your VEVOR Solar Fence Charger, consider the following common troubleshooting steps:
- No Pulse/Weak Pulse:
- Check all connections: Ensure the fence wire, ground wire, and battery connections are secure.
- Verify Grounding: Make sure the grounding stake is firmly in moist soil and adequately deep.
- Inspect Fence Line: Clear any vegetation touching the fence wires.
- Check Battery Charge: Ensure the battery is fully charged. Allow the solar panel to charge for a full day in direct sunlight or use the DC adapter.
- Solar Panel Obstruction: Ensure the solar panel is clean and free from obstructions.
- Short Runtime:
- Insufficient Sunlight: Relocate the unit to an area with more direct sunlight or adjust the solar panel angle.
- Excessive Load: Check for shorts or excessive current draw on the fence line.
- Aging Battery: If the battery is old, its capacity may have diminished.
Warranty and Support
For warranty information, technical support, or service inquiries, please refer to the contact details provided with your purchase documentation or visit the official VEVOR website. Keep your proof of purchase for warranty claims.


