
Introduction
This instruction manual provides detailed guidance for the BINBOK VR 18-in-1 Pro Controllers Accessories Bundle designed for the Nintendo Switch 2. This comprehensive kit enhances your gaming experience by offering protection, improved control, and expanded multiplayer options. Please read this manual thoroughly to ensure proper setup, operation, and maintenance of all included accessories.
What's Included
Your 18-in-1 accessory bundle includes the following items:
- 1 × Carrying Case
- 2 × Pro Controllers
- 1 × Auto-Align Screen Protector
- 1 × Console Protective Cover Shell
- 2 × Cases for Joy-Con
- 2 × Grips for Joy-Con
- 2 × Steering Wheels
- 4 × Thumb Stick Caps
- 1 × Game Card Case
- 1 × Charging Cable
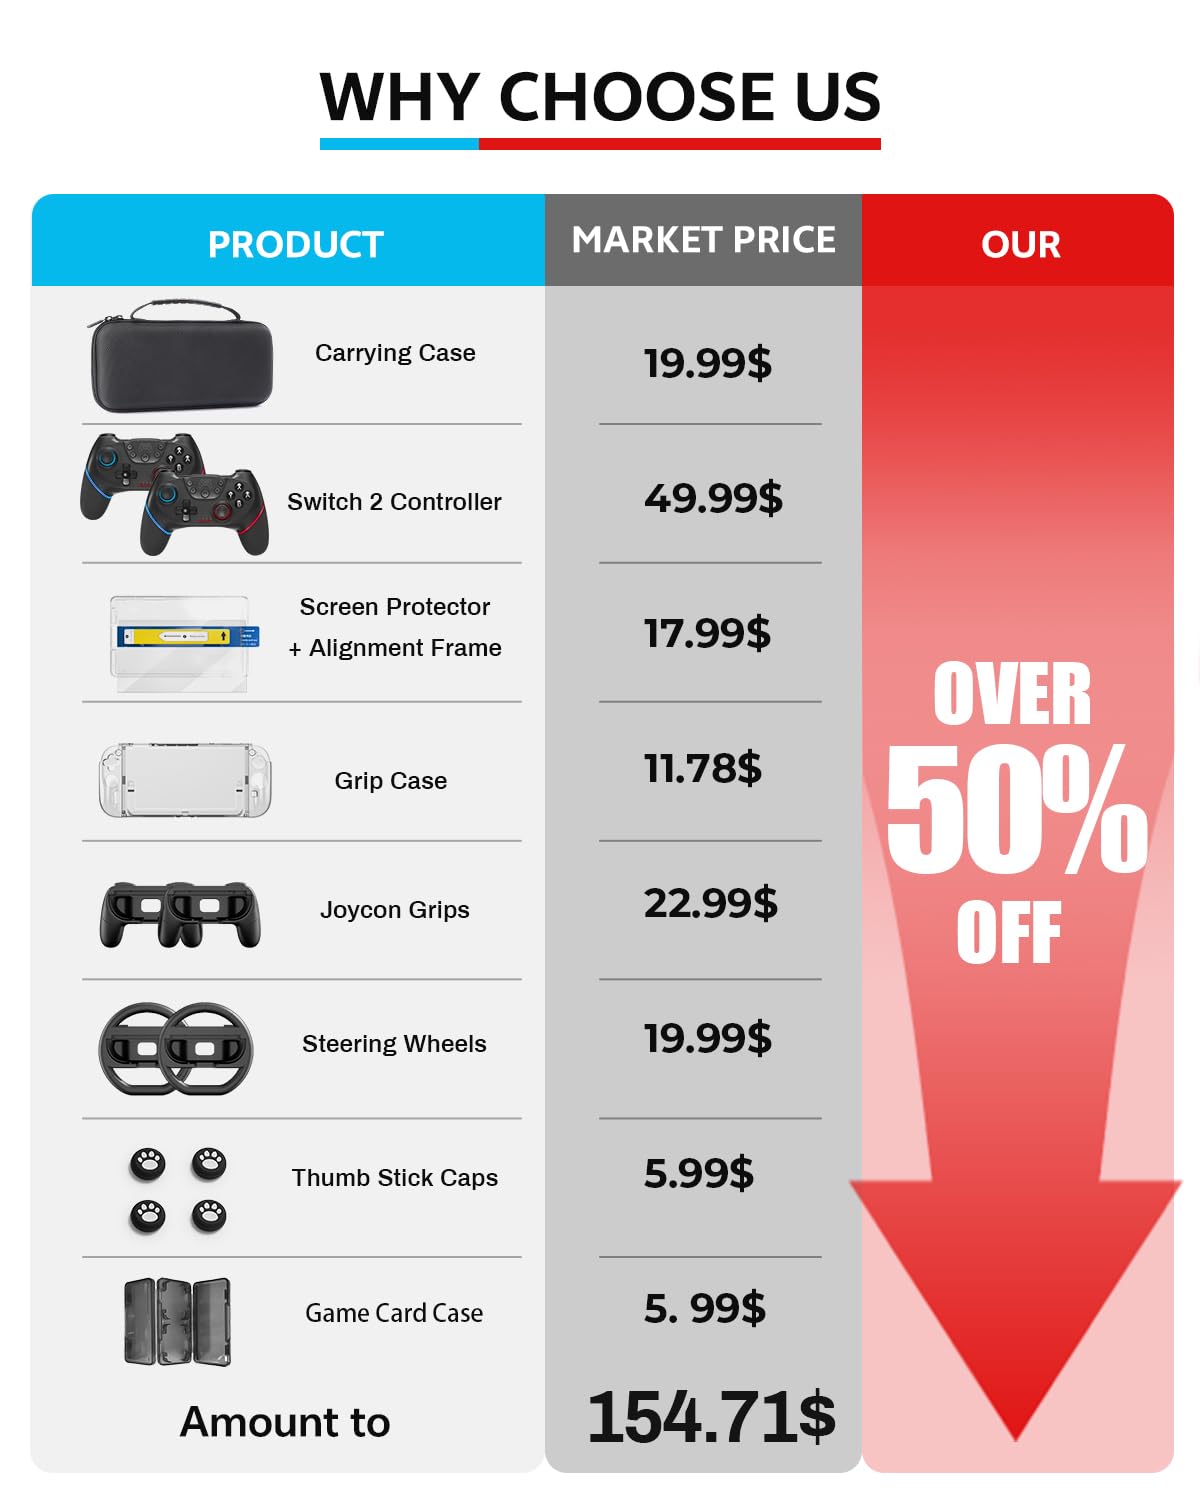
Image: A complete overview of the BINBOK VR 18-in-1 accessories bundle for Nintendo Switch 2, showcasing all included components neatly arranged.
Video: An official BINBOK VR video demonstrating the various components of the Multiplayer Accessories Bundle, highlighting their features and how they fit together.
Components Overview
Pro Controllers
The bundle includes two Pro Controllers designed for enhanced gaming. These controllers feature dual vibration for immersive feedback, 6-axis motion controls for precise movements, turbo modes for rapid input, and customizable buttons. The sweat-resistant leather grip ensures comfort during extended play sessions, and instant wireless connectivity provides lag-free gaming.
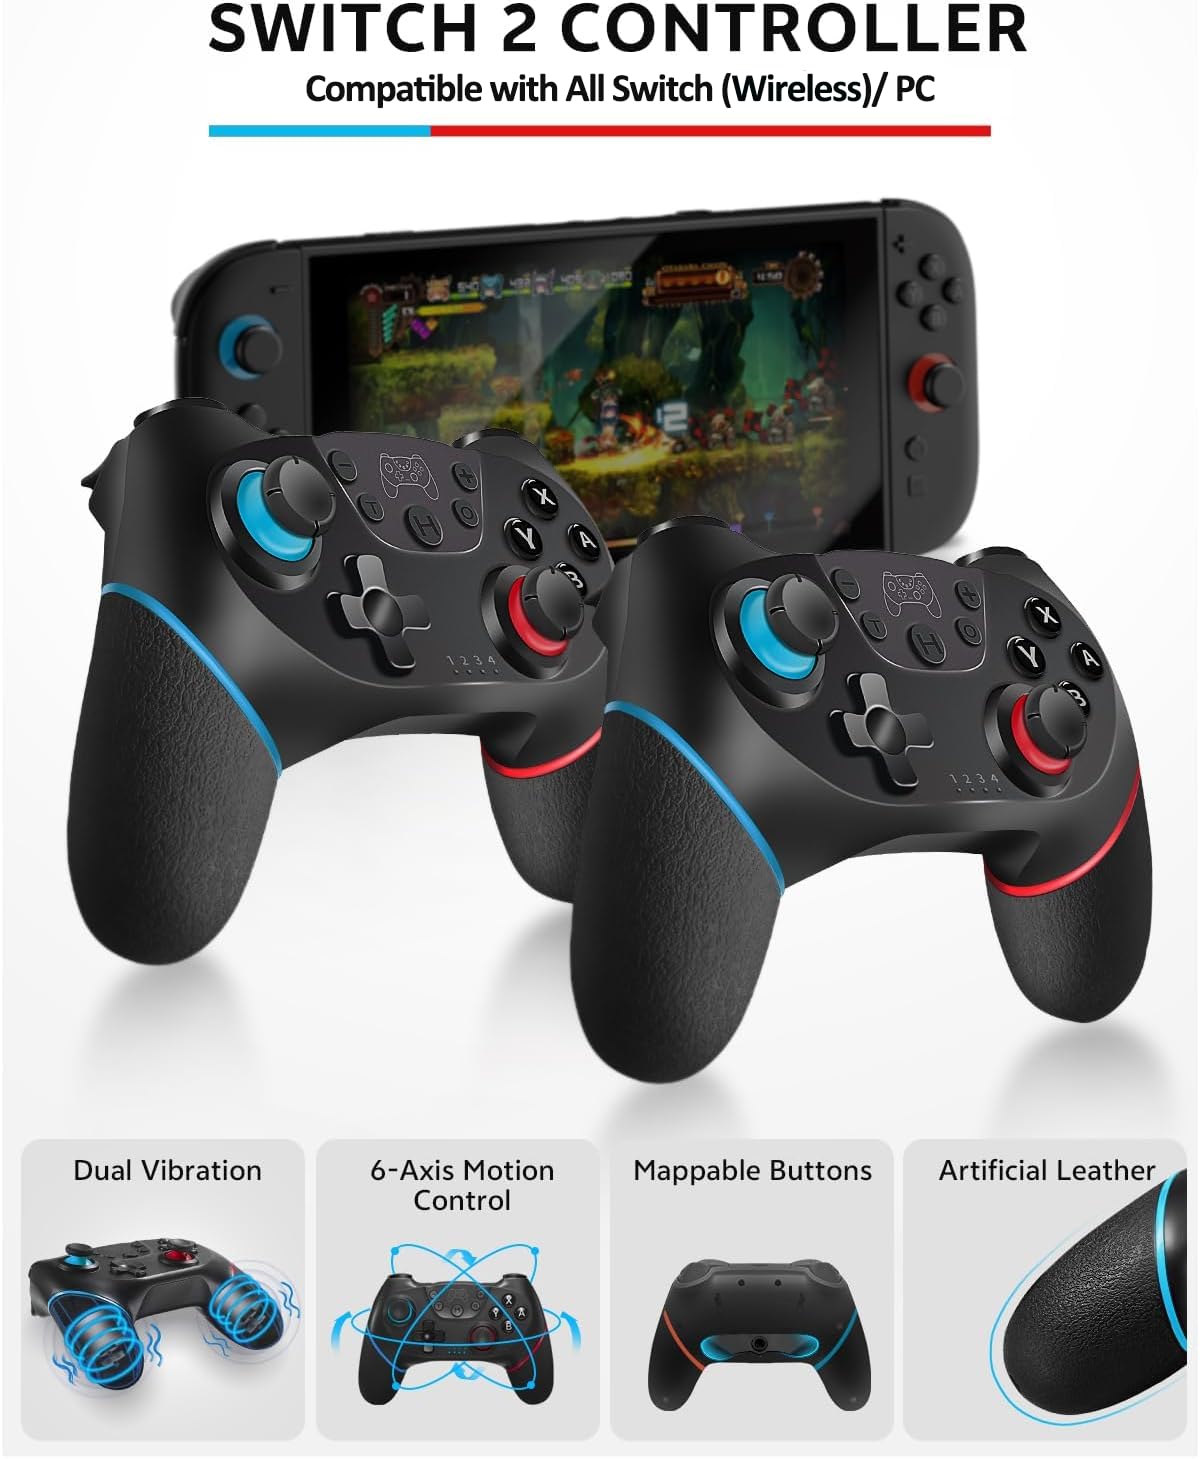
Image: A detailed view of one of the Pro Controllers, emphasizing its ergonomic shape and button configuration.
Carrying Case
The robust carrying case is constructed with a rugged EVA shell (75 hardness) and waterproof Oxford fabric, offering superior drop-proof and shockproof protection for your Nintendo Switch 2. It features a reinforced handle for portability, a mesh storage pocket for cables and small accessories, and 12 dedicated game card slots, making it ideal for travel and organized storage.

Image: The carrying case opened, revealing the interior layout with slots for game cards and a mesh pocket for other items, with a Nintendo Switch 2 console placed inside.
Auto-Align Screen Protector
A bubble-free screen protector is included, featuring an alignment frame for easy installation. This protector offers anti-scratch properties, maintains touch sensitivity, and is oil-repellent to keep your screen clean and clear.
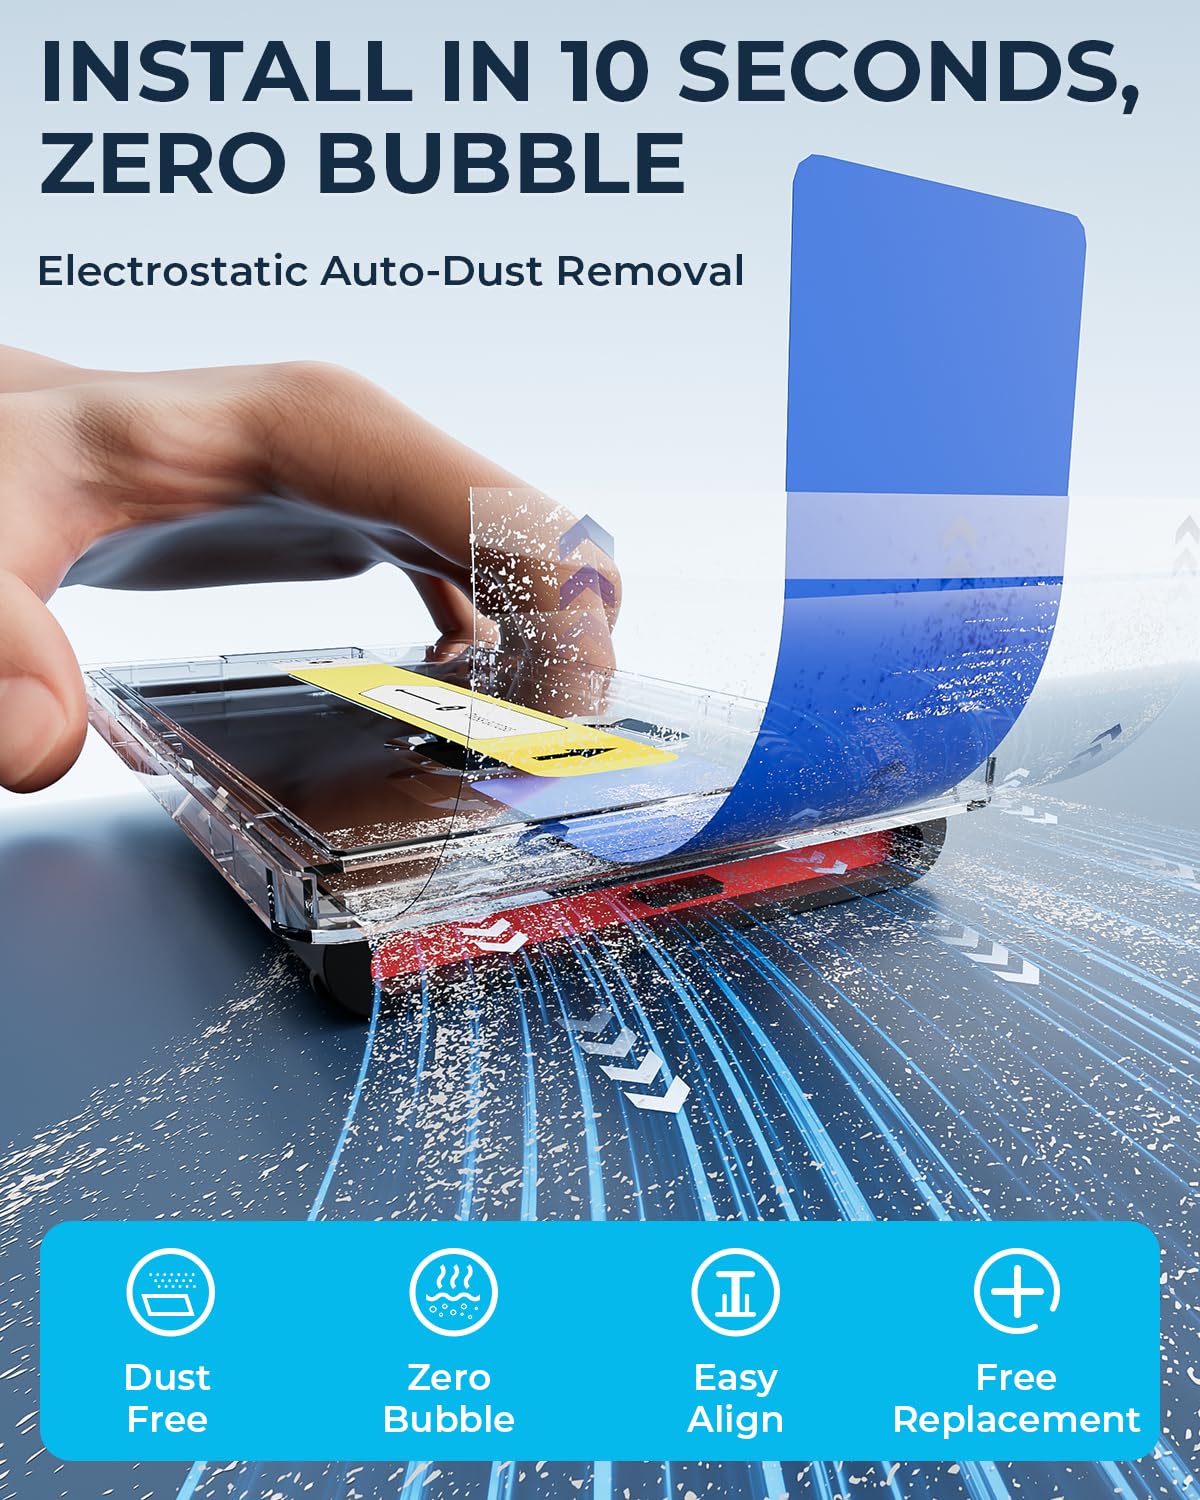
Image: A visual guide demonstrating the simple, one-touch application process of the screen protector with the alignment frame.
Video: An official BINBOK VR video demonstrating the easy, auto-align installation of the screen protector, ensuring a bubble-free application.
Console Protective Cover Shell
The included console cover provides all-around protection with a snug fit and precise cutouts, ensuring full access to all buttons and ports. Its design allows the Nintendo Switch 2 to remain dockable even with the cover installed.

Image: The Nintendo Switch 2 console fitted with the clear protective cover, demonstrating its compatibility with the docking station.
Joy-Con Grips
Two ergonomic grips are provided for your Joy-Con controllers, offering superior comfort and a secure hold during gameplay. These improve the handling of individual Joy-Cons.

Image: A pair of Joy-Con grips, ready to enhance the comfort and control of your individual Joy-Cons.
Steering Wheels
Two steering wheel attachments are included, designed to provide a more realistic and immersive control experience for racing games. Simply insert your Joy-Cons into these wheels.
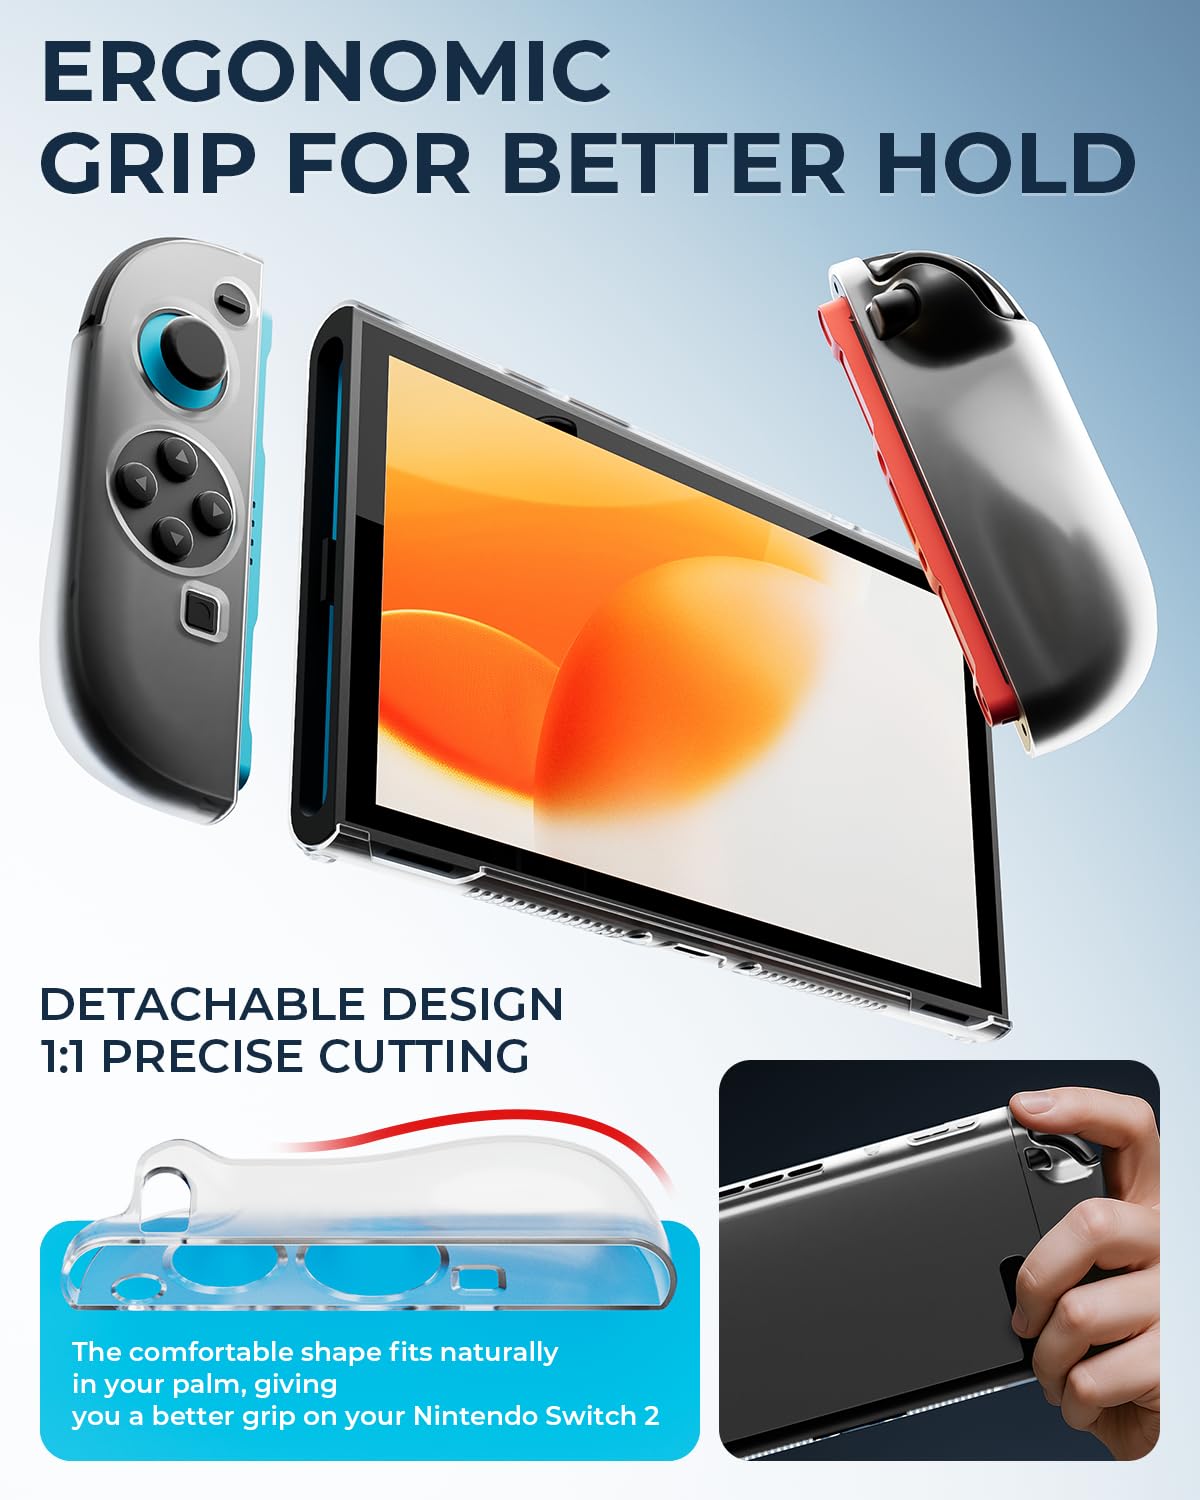
Image: Two black steering wheel accessories, designed to hold Joy-Cons for a more engaging racing game experience.
Thumb Stick Caps
Four thumb stick caps are provided to enhance grip and comfort on your controller's analog sticks, preventing slippage during intense gaming sessions.

Image: A set of four thumb stick caps, featuring a paw print design, for improved grip and comfort on controller joysticks.
Game Card Case
A compact game card case is included, capable of holding multiple game cartridges securely, ensuring your games are organized and protected while on the go.
Setup
Screen Protector Installation
- Clean the Screen: Use the provided cleaning wipes and microfiber cloth to thoroughly clean the Nintendo Switch 2 screen, removing any dust, smudges, or fingerprints.
- Align the Frame: Place the auto-align installation frame over your Switch 2 console. Ensure it snaps securely into place, aligning perfectly with the screen.
- Apply the Protector: Gently pull the blue tab through the gap in the alignment frame. This will slowly apply the screen protector to the screen, pushing out air bubbles as it goes.
- Press and Secure: Once the protector is mostly applied, gently press along the arrow indicated on the frame to ensure full adhesion and remove any remaining small bubbles.
- Remove Frame and Film: Carefully remove the alignment frame. Then, peel off the yellow protective film from the screen protector.
Pro Controller Pairing
- Power On: Ensure your Nintendo Switch 2 console is powered on.
- Access Controller Settings: From the HOME Menu, select 'Controllers' > 'Change Grip/Order'.
- Pair Controller: On the Pro Controller, press and hold the SYNC Button for at least one second. The Player LED(s) on the bottom of the controller will begin to flash. Once paired, the Player LED(s) corresponding to the controller number will remain lit.
Attaching Joy-Con Grips and Steering Wheels
To use the Joy-Con grips or steering wheels, simply slide your individual Joy-Con controllers into the designated slots until they click securely into place. Ensure the orientation is correct for proper button alignment.
Operating Instructions
Pro Controller Usage
The Pro Controllers offer a traditional gaming experience. Utilize the analog sticks for movement, face buttons for actions, and shoulder buttons/triggers for additional commands. The 6-axis motion controls allow for intuitive in-game interactions, and the dual vibration provides tactile feedback for a more immersive experience. Turbo mode can be activated for rapid button presses in compatible games.
Steering Wheel Usage
For racing games, insert your Joy-Cons into the steering wheel attachments. Hold the steering wheel like a real steering wheel and use motion controls to steer your vehicle in-game. The Joy-Con buttons will function as acceleration, braking, and other in-game actions.
Maintenance
- Cleaning: Use a soft, dry cloth to clean the controllers, cases, and other accessories. For stubborn dirt, a slightly damp cloth can be used, followed by immediate drying. Avoid harsh chemicals or abrasive materials.
- Storage: When not in use, store your Nintendo Switch 2 and all accessories in the provided carrying case to protect them from dust, scratches, and accidental damage.
- Battery Care: For the Pro Controllers, ensure they are charged regularly using the provided USB-C cable. Avoid completely draining the battery frequently to prolong its lifespan.
Troubleshooting
- Controller Not Connecting: Ensure the Pro Controller is charged. Try re-pairing the controller via the Switch 2's 'Change Grip/Order' menu. If issues persist, restart both the console and the controller.
- Screen Protector Bubbles: Small bubbles may disappear over 24-48 hours. If large bubbles remain immediately after installation, gently lift the nearest edge of the protector and reapply slowly, pushing the bubble out with a soft cloth.
- Console Not Fitting in Dock with Cover: The protective cover shell is designed to be dockable. Ensure it is correctly installed and that no foreign objects are obstructing the dock.
Specifications
- ASIN: B0FH7KDR4K
- Release Date: December 24, 2025
- Package Dimensions: 11.65 x 7.8 x 4.72 inches
- Item Weight: 2.86 pounds
- Manufacturer: BINBOK VR
- Batteries: 1 Nonstandard Battery required (included)
- First Available: June 1, 2025
Warranty and Support
This BINBOK VR product is typically covered by a 12-month warranty from the date of purchase. For any support inquiries, troubleshooting assistance, or warranty claims, please refer to the contact information provided in your product packaging or visit the official BINBOK VR website.