
GeekTale Fingerprint Door Lock K11 Instruction Manual
Model: K11
1. Product Overview
The GeekTale K11 Fingerprint Door Lock is a smart biometric door knob designed for enhanced security and convenient access. It offers multiple unlocking methods including fingerprint, mobile application, passcode, and traditional backup keys. This manual provides detailed instructions for installation, operation, and maintenance.

Figure 1: GeekTale K11 Fingerprint Door Lock, showing both the exterior knob with fingerprint sensor and the interior knob, alongside a smartphone displaying the lock's control application.
Key Features:
- Multiple Unlock Methods: Fingerprint, App, Passcode, Backup Keys.
- Fingerprint Capacity: Stores up to 20 unique fingerprints.
- Passcode Access: Supports 20 access codes (4-8 digits) with anti-peep function.
- App Control: Manage users, add/delete fingerprints, set passcodes, view access logs via Bluetooth.
- Remote Access (Optional): Requires a separately sold gateway for remote unlock and voice control integration (Alexa/Google Home via Smart Life app).
- Three Lock Modes: Auto Lock, Passage Mode, Privacy Mode.
- Rechargeable Battery: Built-in Lithium Ion battery with Type-C charging port and low battery warning.
2. Setup and Installation
2.1 Pre-Installation Checks
Before installation, verify your door dimensions to ensure compatibility with the GeekTale K11 lock.
- Door Thickness: 1-3/8" to 2-1/8" (35mm to 54mm)
- Backset: 2-3/4" or 2-3/8" (70mm or 60mm)
- Door Hole Diameter: 2-1/8" (54mm)

Figure 2: Door measurement guidelines and lock dimensions for the K11.
2.2 Physical Installation
Follow these steps to install the door lock. Ensure the door remains open until installation is complete.
- Install the exterior door knob: Position it vertically. Ensure the exterior knob keyhole and Type-C charge port face downward.
- Pull out the interior knob pin: Use the provided pin tool.
- Connect the cables: Carefully connect the cables between the exterior and interior components.
- Install the interior door knob: Secure it with screws. Ensure the 'UP' indicator is correctly oriented.
- Close the lid of the interior door knob: Once secured, attach the cover.

Figure 3: Detailed installation steps for the GeekTale K11 door lock.
2.3 App Setup and User Management
Download the GeekTale app (or Smart Life app for gateway integration) from your device's app store. Follow the in-app instructions to pair your lock via Bluetooth and begin user management.
- Add Fingerprints: The lock supports up to 20 fingerprint users. Follow the app's prompts to register fingerprints.
- Set Passcodes: Create 4-8 digit passcodes. The anti-peep function allows you to enter random digits before or after your actual code for added security.
- Manage Users: Add or delete users, assign specific access methods, and view access logs through the app.
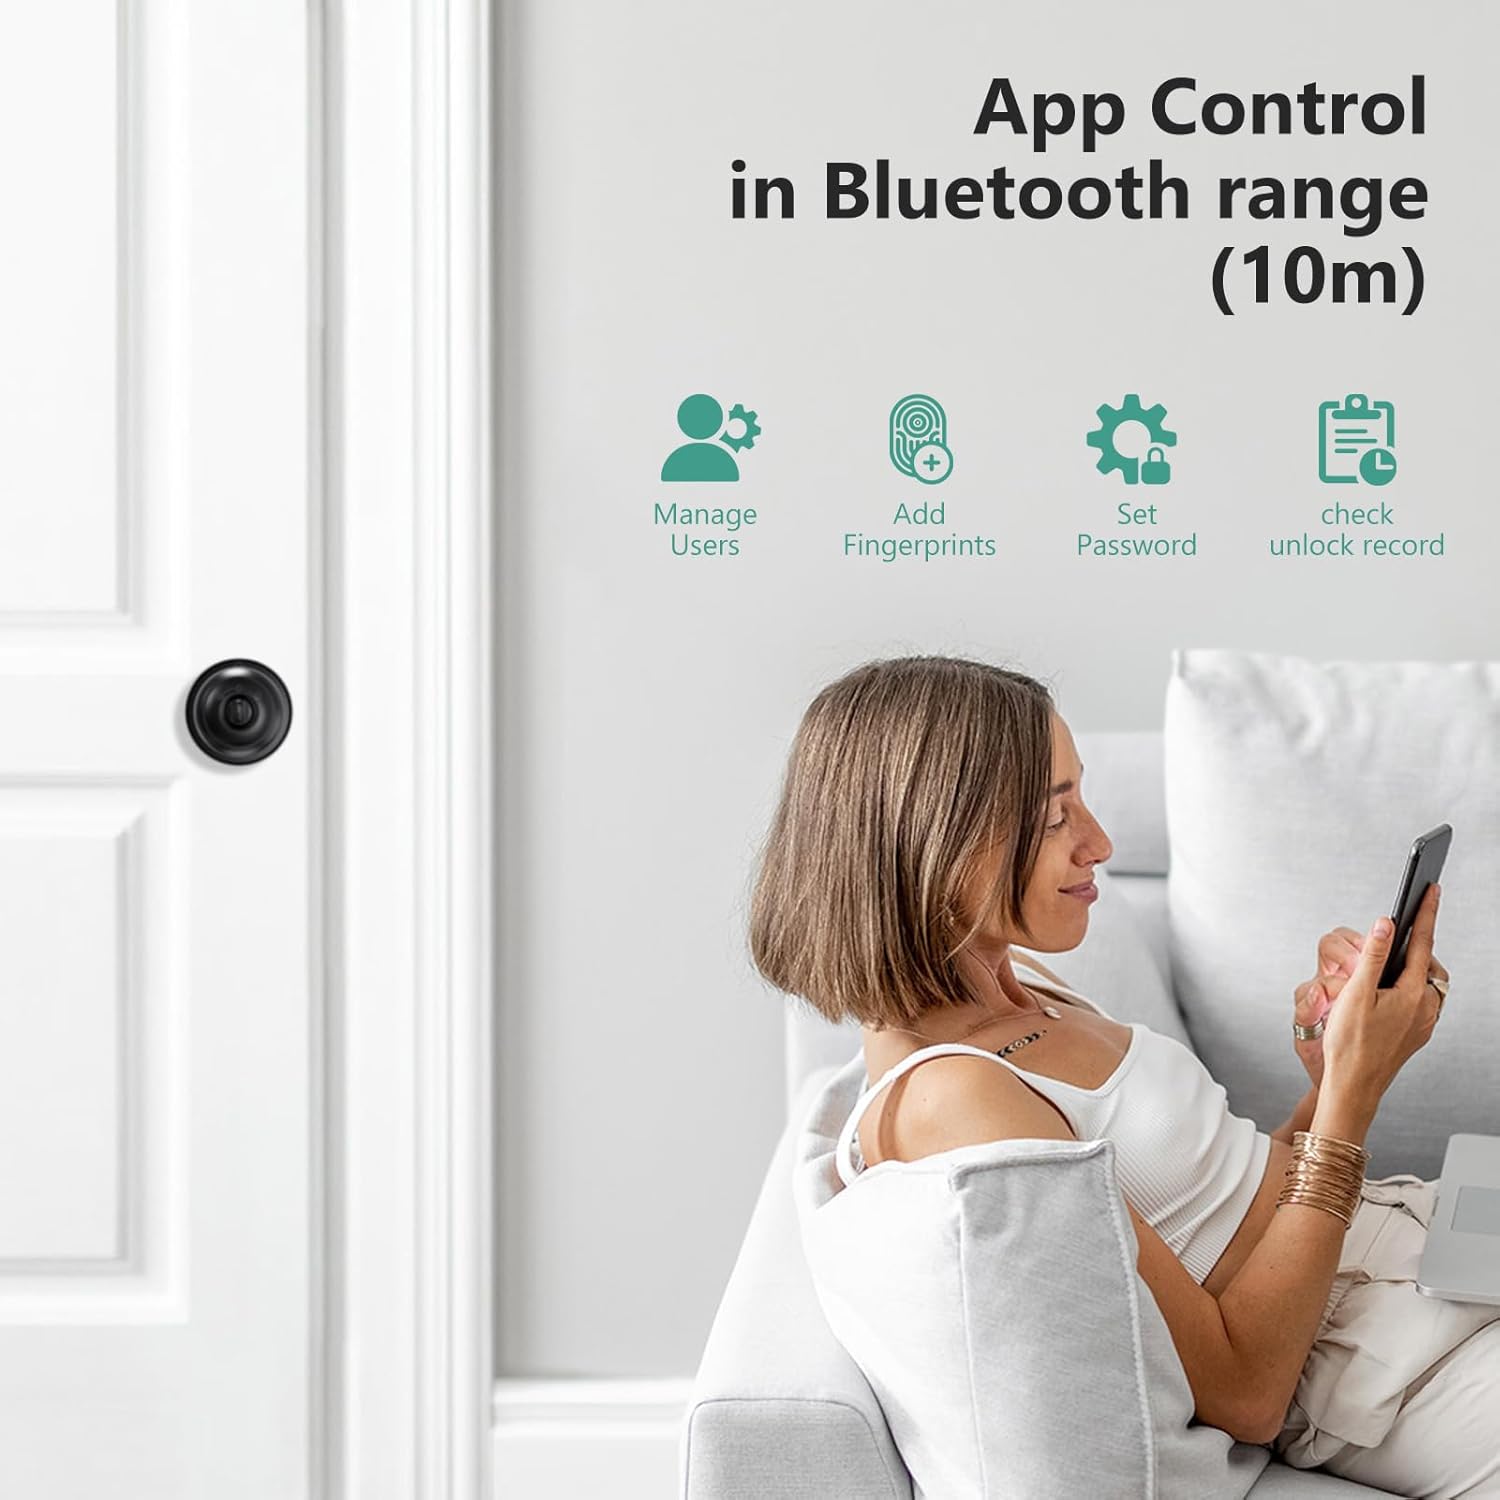
Figure 4: App interface for managing lock functions and users.
3. Operating the Lock
3.1 Unlocking Methods
- Fingerprint: Place your registered finger on the sensor for instant unlock.
- App: Open the GeekTale app on your smartphone and tap the unlock icon within Bluetooth range.
- Passcode: Enter your 4-8 digit passcode on the keypad. You can include random digits before or after your actual code to prevent others from guessing it.
- Backup Keys: In case of emergency or battery depletion, use the provided physical keys to unlock the door.

Figure 5: Overview of the four available unlocking methods.
3.2 Lock Modes
The lock offers three operational modes, adjustable via a button on the interior knob:
- Auto Lock: The door will automatically lock after 5 seconds of being closed.
- Passage Mode: The door remains unlocked on both sides. To activate, unlock with a fingerprint or the app, then turn the button on the interior knob to Passage Mode.
- Security Mode: Only the app or an administrator fingerprint can unlock the door.

Figure 6: Explanation of the three lock modes and how to switch between them.
3.3 Remote Control and Voice Control (with Gateway)
To enable remote unlocking and voice control features, a GeekTale gateway (sold separately) is required. Connect the gateway to your home Wi-Fi network and link it with your lock via the Smart Life app. This allows you to:
- Unlock the door remotely from anywhere.
- Receive instant notifications regarding lock activity.
- Integrate with voice assistants like Amazon Alexa or Google Home using the "Smart Life" skill.

Figure 7: Remote control and notification features enabled by a gateway.
4. Maintenance
4.1 Battery Charging
The GeekTale K11 features a built-in rechargeable Lithium Ion battery. It is recommended to fully charge the lock before initial installation. A full charge typically lasts approximately 8 months.
- Charging Port: Use the Type-C USB port located on the exterior knob for charging.
- Low Battery Alert: The lock will provide a low battery warning when charging is required.
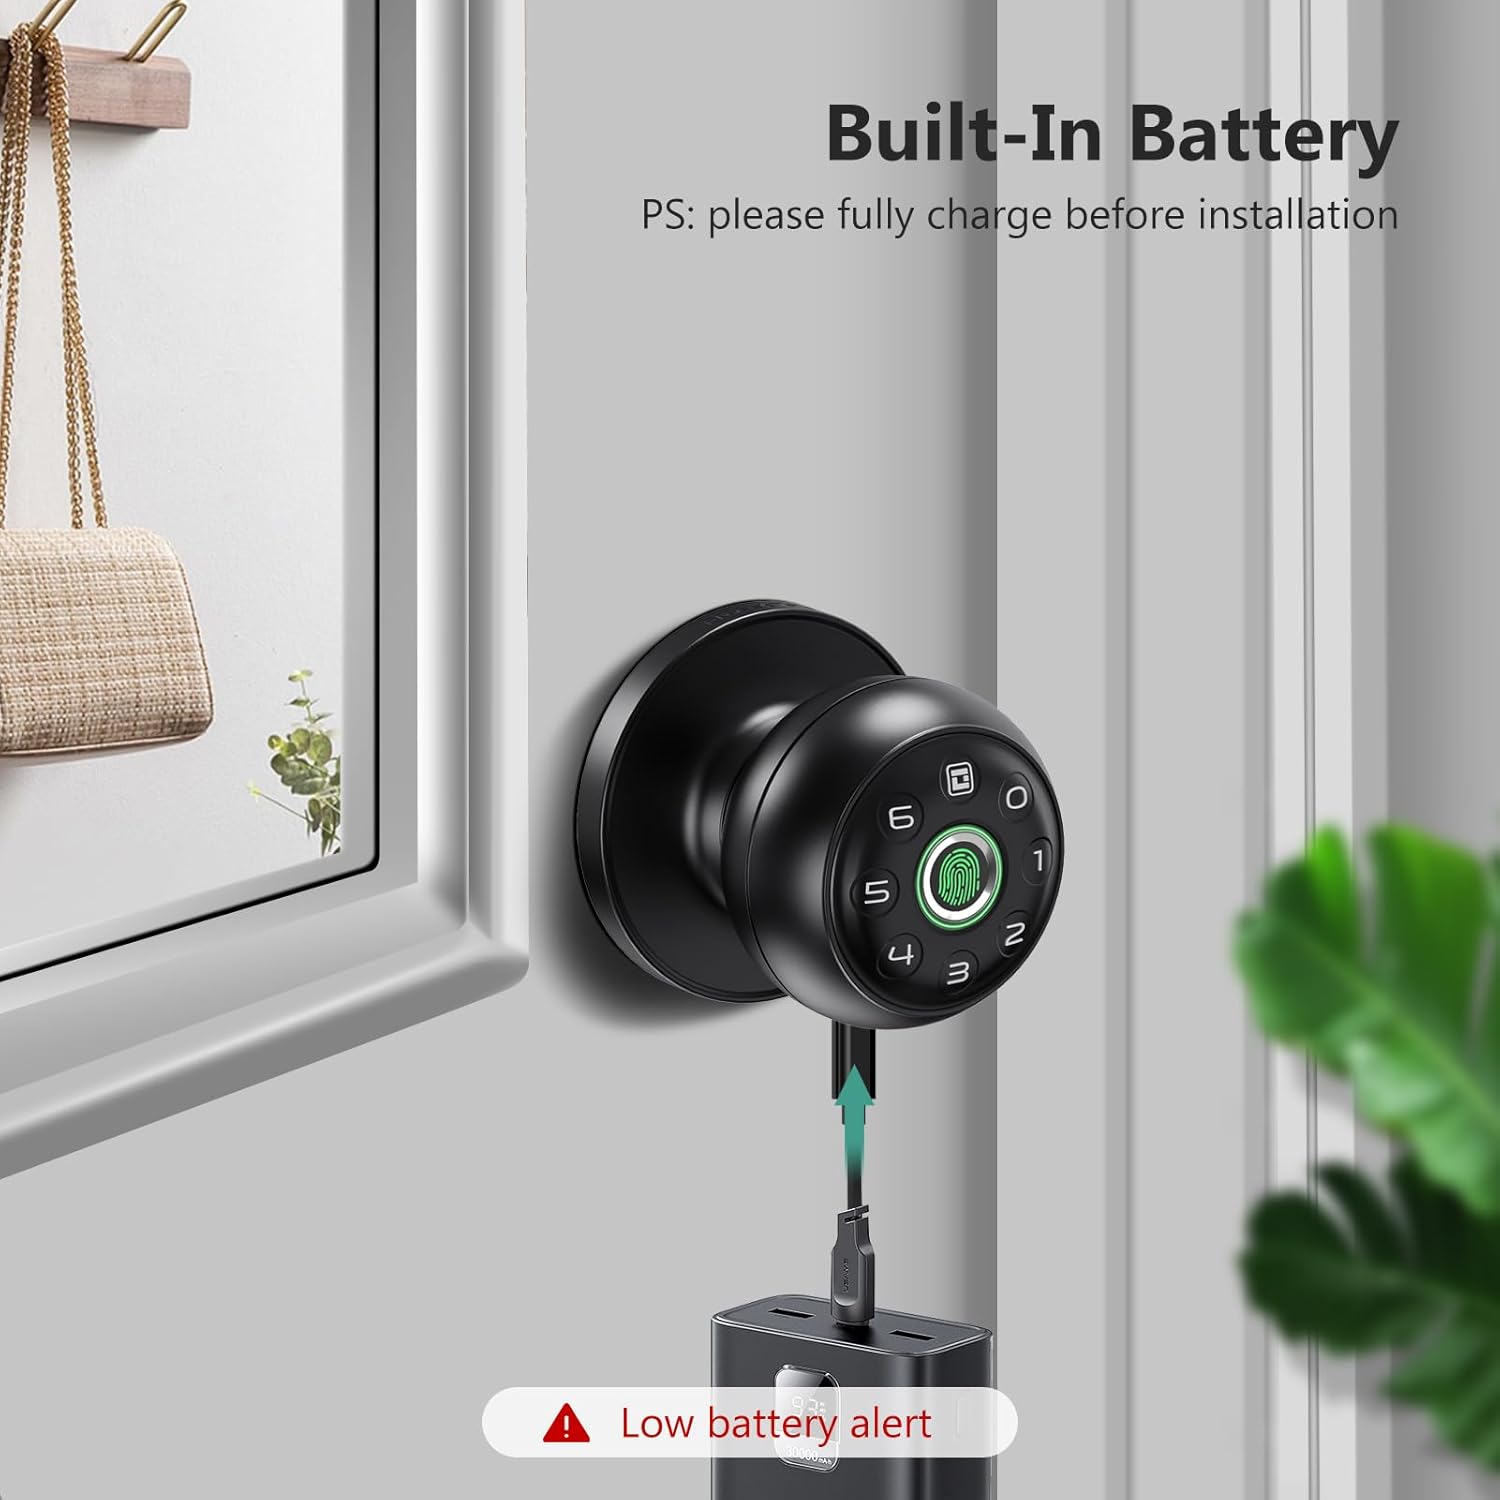
Figure 8: Charging the GeekTale K11 lock via its Type-C port.
4.2 Cleaning
Wipe the lock's surface and fingerprint sensor with a soft, dry cloth. Avoid using abrasive cleaners or solvents that could damage the finish or electronic components.
5. Troubleshooting
If you encounter issues with your GeekTale K11 lock, refer to the following common problems and solutions:
- Fingerprint Not Recognized:
Solution: Ensure your finger is clean and dry. Try re-registering your fingerprint in the app. Ensure proper placement on the sensor. - App Connectivity Issues:
Solution: Ensure Bluetooth is enabled on your smartphone and you are within range of the lock. Close and reopen the app. If prompted for a password repeatedly, verify your account credentials. - Lock Not Responding:
Solution: Check the battery level. If the battery is low or depleted, charge the lock using the Type-C port. If the lock remains unresponsive after charging, contact customer support. - Remote Unlock Not Working:
Solution: Verify that your gateway is properly connected to your Wi-Fi network and paired with the lock. Ensure your smartphone has an active internet connection. - Passcode Entry Issues:
Solution: Double-check the passcode. Ensure you are pressing the correct sequence.
6. Specifications
| Brand | GeekTale |
| Model Name | K11 |
| Lock Type | Biometric |
| Style | Smart Door Knob |
| Color | Black |
| Number of Pieces | 1 |
| Included Components | Lock And Key |
| Controller Type | Bluetooth |
| Control Method | App, Touch |
| Connectivity Protocol | Bluetooth |
| Item Weight | 1.79 pounds |
| Package Dimensions | 8.86 x 5.16 x 4.09 inches |
| Batteries | 1 Lithium Ion battery required (included) |
| Battery Cell Type | Lithium Ion |
7. Warranty and Support
For warranty information, technical support, or any inquiries regarding your GeekTale K11 Fingerprint Door Lock, please contact GeekTale customer service. Refer to the product packaging or the official GeekTale website for contact details.


