
1. Product Overview
The Rfiver UT5003OAK TV Stand is designed to securely hold televisions and monitors ranging from 26 to 55 inches, with a maximum load capacity of 40 kg. It features an oval wooden base for stability and a sleek design. This stand offers adjustable height and swivel capabilities to optimize your viewing experience.
Before assembly, please ensure all parts are present and undamaged. Refer to the parts list provided in the packaging.
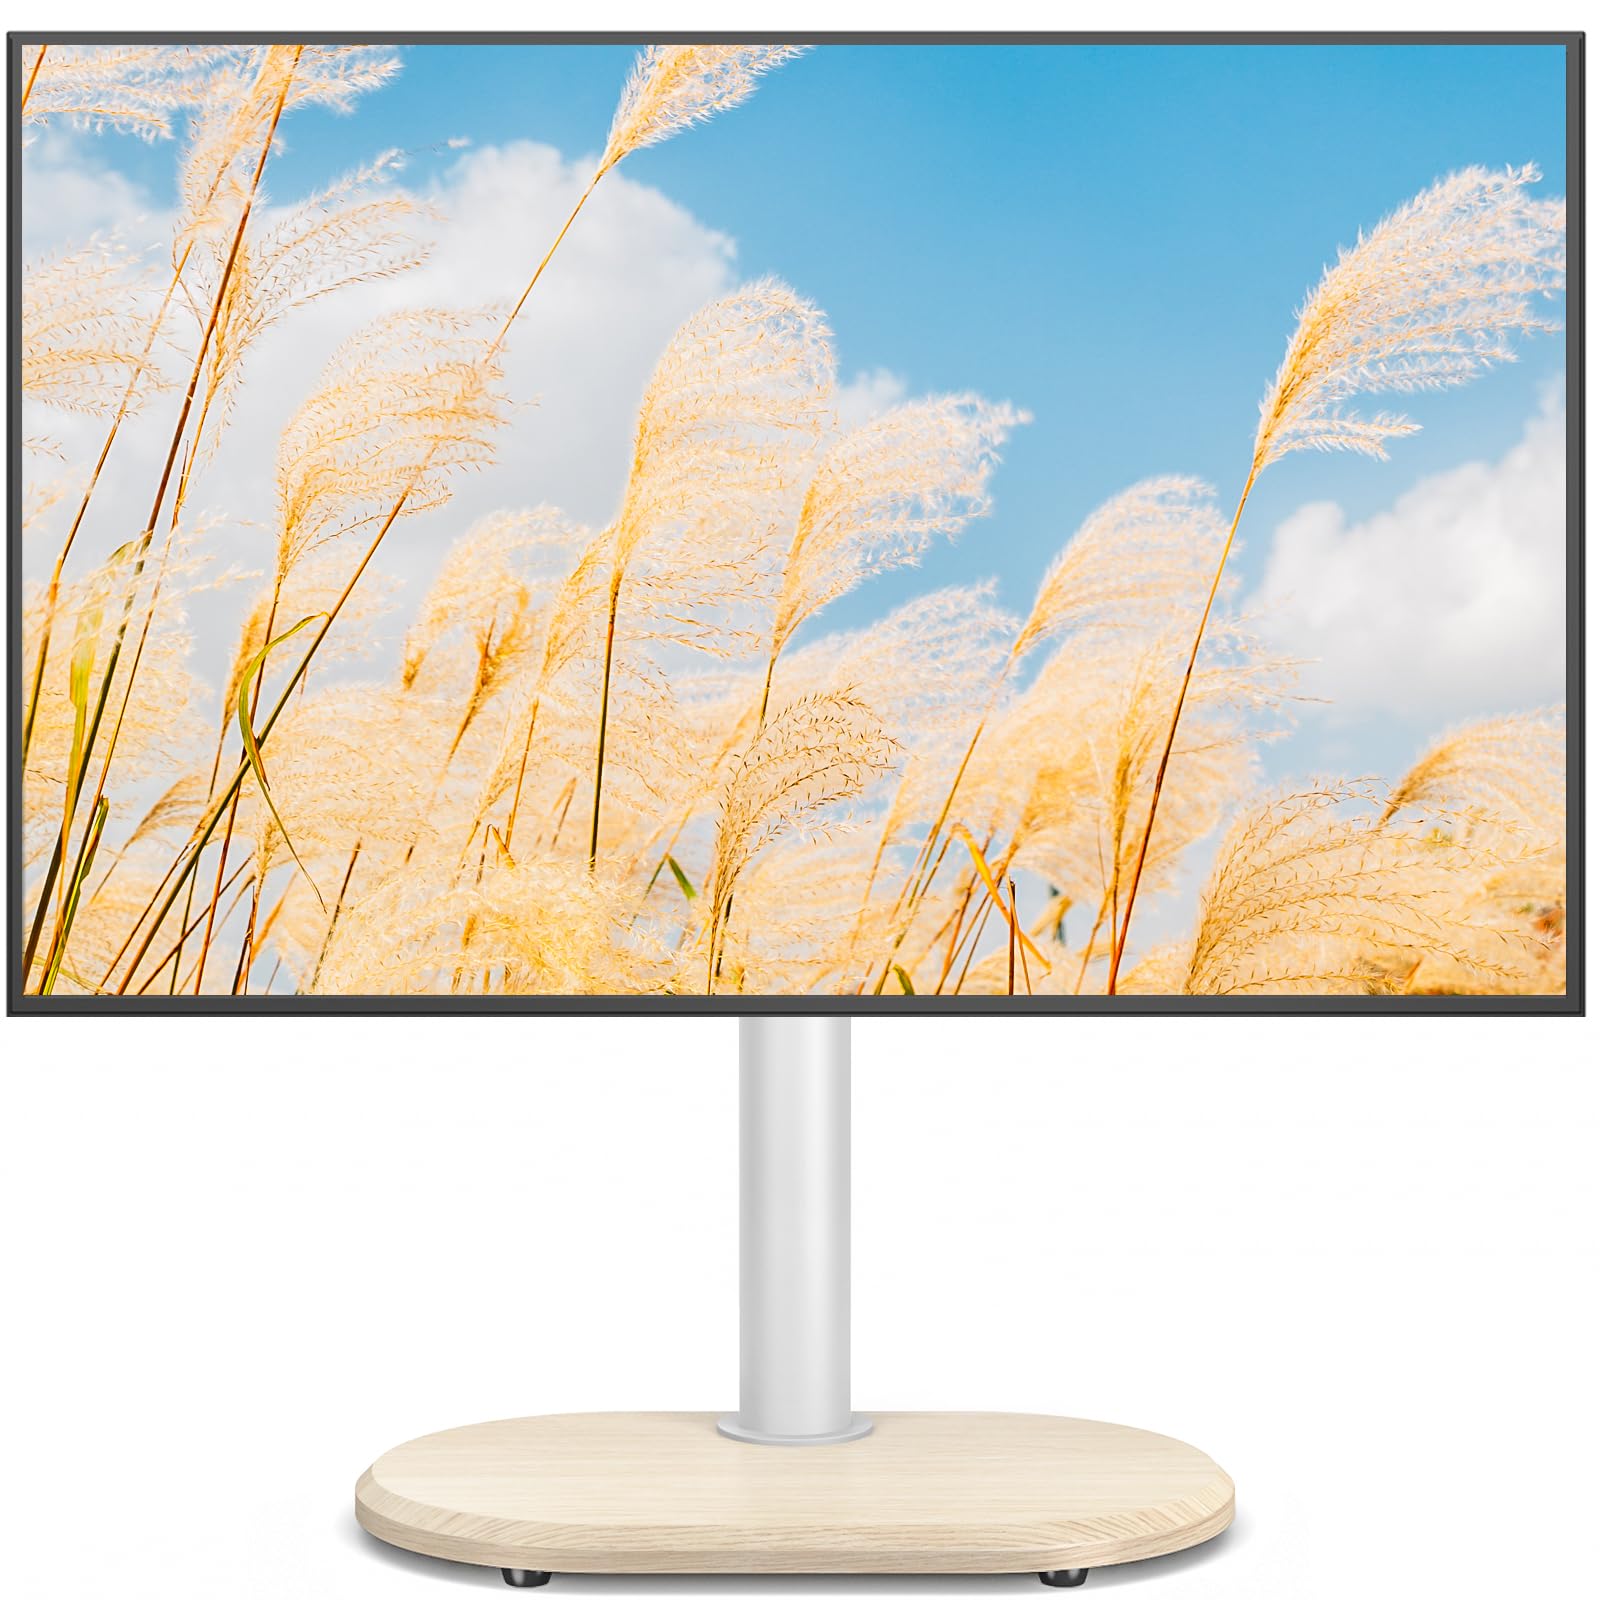
Image: The Rfiver UT5003OAK TV Stand supporting a television in a modern bedroom. The stand features a light wood oval base and a white central pole, blending with the room's decor.
2. Safety Information
- Do not exceed the maximum load capacity of 40 kg (88 lbs).
- Ensure your TV's VESA pattern is compatible (100x100mm to 400x400mm).
- Always assemble the stand on a soft, clean surface to prevent scratches.
- Keep children and pets away during assembly.
- Periodically check all screws and connections to ensure they remain tight.
3. Package Contents
Please verify that all components are included in your package:
- TV Stand Base (Oval Wooden Base)
- Support Pole
- TV Mounting Bracket
- Hardware Kit (various screws, washers, spacers, and an Allen key)
- Cable Management Clips
- Instruction Manual
If any parts are missing or damaged, please contact customer support.
4. Setup Instructions
Follow these steps for proper assembly. It is recommended to have two people for TV mounting.
4.1. Attach the Support Pole to the Base
- Place the oval wooden base on a flat, stable surface.
- Align the support pole with the designated holes on the base.
- Secure the pole to the base using the provided screws and an Allen key. Ensure it is tightened firmly for stability.

Image: A detailed view of the stable oval wooden base of the TV stand, emphasizing its robust construction over a fragile glass alternative.
4.2. Attach TV Brackets to Your TV
- Carefully place your TV face down on a soft, clean surface.
- Identify the VESA mounting holes on the back of your TV.
- Select the appropriate screws, washers, and spacers from the hardware kit that fit your TV's VESA pattern.
- Attach the two vertical TV brackets to the back of your TV. Ensure they are securely fastened but do not overtighten.

Image: An illustration detailing the compatibility of the TV stand, showing it supports TVs from 26 to 55 inches, with a maximum weight of 40 kg, and VESA mounting patterns between 10x10 cm and 40x40 cm.
4.3. Mount the TV to the Stand
- With assistance, carefully lift the TV and hook the attached brackets onto the horizontal bar of the stand's mounting plate.
- Ensure the TV is centered and level.
- Secure the TV to the mounting plate using the safety screws or locking mechanism provided.

Image: A user demonstrating the easy installation of the TV onto the stand, highlighting that no wall drilling is required.
5. Operating Instructions
5.1. Height Adjustment
The TV stand allows for 6 levels of height adjustment, ranging from 490mm to 650mm (from the base to the center of the TV). To adjust the height:
- Loosen the height adjustment screws on the back of the support pole.
- Carefully slide the TV mounting plate up or down to your desired height.
- Retighten the height adjustment screws firmly to secure the TV at the new position.

Image: A visual guide demonstrating the height adjustment feature of the TV stand, showing how it can be set to different levels (50.1cm to 65.1cm) for comfortable viewing from various seating positions.
5.2. Swivel Function
The TV can be swiveled up to 35 degrees left or right to achieve an optimal viewing angle from different positions in the room.
- Gently grasp the sides of the TV.
- Rotate the TV to the left or right as desired. The stand is designed for smooth, controlled movement.

Image: The TV stand demonstrating its 35-degree left and right swivel function, allowing for flexible viewing. The image also highlights integrated cable management clips on the support pole.
5.3. Cable Management
Use the provided cable management clips to organize and conceal cables along the support pole for a tidy appearance.
- Gather all TV and device cables.
- Attach the cable clips to the support pole.
- Route the cables through the clips to keep them neat and out of sight.
6. Maintenance
- Cleaning: Wipe the stand with a soft, dry cloth. Avoid abrasive cleaners or solvents that may damage the finish.
- Inspection: Periodically check all screws and connections to ensure they are secure. Retighten if necessary.
- Weight Limit: Do not place items heavier than 40 kg on the stand.
7. Troubleshooting
| Problem | Possible Cause | Solution |
|---|---|---|
| TV is wobbly or unstable. | Screws are loose; TV is too heavy or too large; stand is on an uneven surface. | Ensure all assembly screws are tightened. Verify TV weight and size are within specifications. Move stand to a level surface. |
| Cannot adjust TV height. | Height adjustment screws are too tight. | Loosen the height adjustment screws before attempting to slide the TV. |
| TV does not swivel smoothly. | Excessive friction or obstruction. | Ensure no cables or objects are obstructing the swivel mechanism. |
| Missing parts. | Packaging error. | Contact Rfiver customer support immediately for replacement parts. |
8. Specifications
- Model: UT5003OAK
- Brand: Rfiver
- Material: Iron, Wood (Oak finish)
- Color: Oak
- Mounting Type: Tabletop Mount
- Movement Type: Fixed (TV mount swivels)
- Compatible Devices: Televisions, Monitors
- Compatible TV Sizes: 26 - 55 inches
- Maximum Load Capacity: 40 kg (88 lbs)
- VESA Compatibility: 100x100mm to 400x400mm (Horizontal x Vertical)
- Height Adjustment: 6 levels, from 490mm to 650mm (center of TV)
- Swivel Angle: Up to 35 degrees left and right
- Product Weight: 2.95 kg
- Included Components: Stand body, Screws
- Country of Origin: China

Image: A technical diagram illustrating the dimensions of the TV stand, including the base width (38.0cm), depth (23.0cm), and the adjustable height range of the TV mounting plate (50.1cm to 65.1cm).
9. Warranty and Support
This Rfiver product comes with a 5-year warranty from the date of purchase.
For warranty claims, technical support, or missing parts, please contact Rfiver customer service. Please have your model number (UT5003OAK) and proof of purchase ready.
You can find more information and contact details on the official Rfiver website or through your retailer.