
1. Introduction
This manual provides detailed instructions for the assembly, operation, and maintenance of your Breezz 8X10FT Outdoor Steel Storage Shed. Please read all instructions carefully before beginning assembly and retain this manual for future reference.
Key Features:
- Compact Storage Solution: Designed to maximize outdoor space for garden tools, bicycles, and other essentials.
- Durable Construction: Manufactured from galvanized steel for rust-resistance and weather protection.
- Lockable Double Doors: Provides secure storage and easy access to contents.
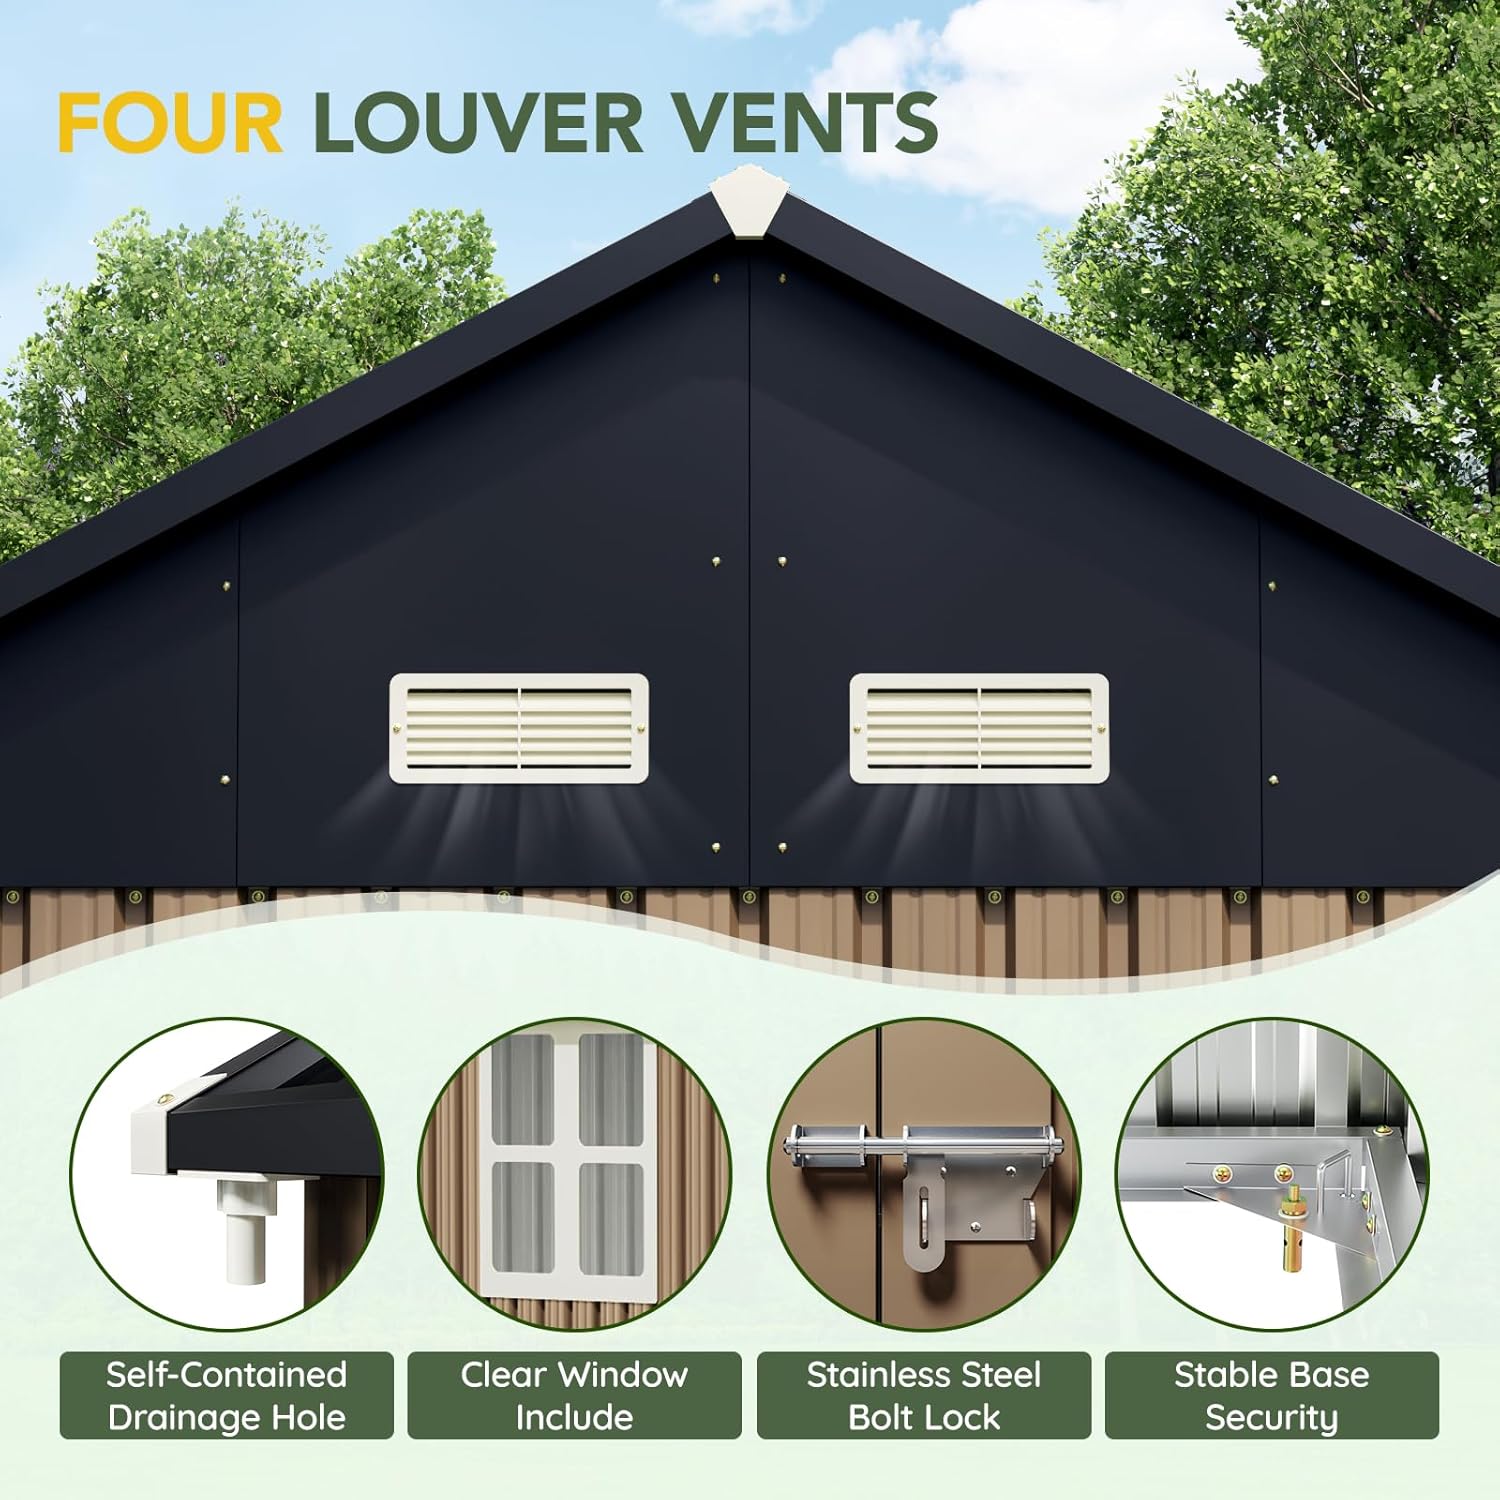
- Integrated Clear Window: Allows natural light into the shed interior.
- Four Louver Vents: Promotes air circulation to maintain indoor freshness.
2. Safety Information
Always prioritize safety during assembly and use. Safety warnings are provided with the product. Ensure all components are securely fastened before use. Wear appropriate personal protective equipment, such as gloves, during assembly to prevent cuts or injuries. This product does not include flooring; a suitable base must be prepared separately.
3. Product Overview and Dimensions
The Breezz 8X10FT Outdoor Steel Storage Shed offers ample space for various storage needs. Its robust design ensures stability and weather resistance.


4. Assembly Instructions
Assembly requires careful attention to detail and may require two or more people. Ensure you have all necessary tools, including a power drill, scissors, and a hobby knife. Wear the included gloves to prevent cuts during installation.

Assembly Video Guide:
For a visual step-by-step guide, please refer to the official assembly video below. This video covers the entire assembly process from base installation to door setup.
General Assembly Steps:
- Base Installation: Assemble the base frame according to the provided diagrams, ensuring it is square before tightening all bolts.
- Wall Panel Installation: Attach the wall panels to the base frame, securing them with the designated screws and washers.
- Frame Reinforcement: Install internal frame supports to enhance the structural integrity of the shed.
- Triangular Panel Installation: Secure the triangular panels for the roof gables, ensuring proper alignment for the roof structure.
- Roof Frame Installation: Assemble and attach the roof frame components.
- Roof Panel Installation: Carefully place and secure the roof panels, ensuring overlap for weather resistance.
- Door Installation: Attach the door hinges and install the doors, ensuring smooth operation and proper latch alignment.
5. Operating Instructions
Doors:
The shed features lockable double doors. To open, disengage the bolt lock and pull the doors outwards. To close, push the doors shut and engage the bolt lock for security. Ensure the doors are fully closed and locked to protect contents from weather and theft.

Vents:
The shed is equipped with four louver vents located on the gable ends. These vents are fixed and designed to provide continuous air circulation, reducing condensation and maintaining freshness inside the shed.
6. Maintenance
Regular maintenance will extend the life of your storage shed.
- Cleaning: Clean the shed exterior periodically with mild soap and water. Avoid abrasive cleaners or harsh chemicals that could damage the galvanized steel finish.
- Fasteners: Periodically check all screws and bolts to ensure they remain tight. Re-tighten as necessary to maintain structural integrity.
- Drainage: Ensure the self-contained drainage holes and roof slope are clear of debris to facilitate rapid water drainage and prevent accumulation.
- Snow Load: In areas with heavy snowfall, regularly clear snow from the roof to prevent excessive load, which could compromise the structure.
7. Troubleshooting
Common Issues:
- Panels Not Aligning: Ensure the base frame is perfectly square and level before attaching wall and roof panels. Slight adjustments to the base can resolve alignment issues.
- Water Leakage: Verify that all screws are tightened and washers are correctly placed. Check for any gaps in panel overlaps and apply silicone sealant if necessary. Ensure proper roof panel installation for effective water runoff.
- Door Sticking/Misalignment: Check door hinges for proper installation and tightness. Adjust the door frame or hinges if needed to ensure smooth opening and closing.
8. Specifications
| Attribute | Detail |
|---|---|
| Brand | BreezZ |
| Model Number | 97103 |
| Product Dimensions | 89.4"D x 114.7"W x 92.1"H |
| Base Material | Alloy Steel |
| Top Material Type | Metal |
| Frame Material | Alloy Steel |
| Assembly Required | Yes |
| Color | Brown |
9. Warranty and Support
For warranty information or technical support, please refer to the documentation included with your purchase or contact BreezZ customer service directly. Keep your proof of purchase for any warranty claims.