
1. Introduction
Thank you for choosing the Ollygrin 20 Bar Espresso Machine. This manual provides essential information for the safe and efficient operation, maintenance, and troubleshooting of your new espresso machine. Please read it thoroughly before first use and keep it for future reference.
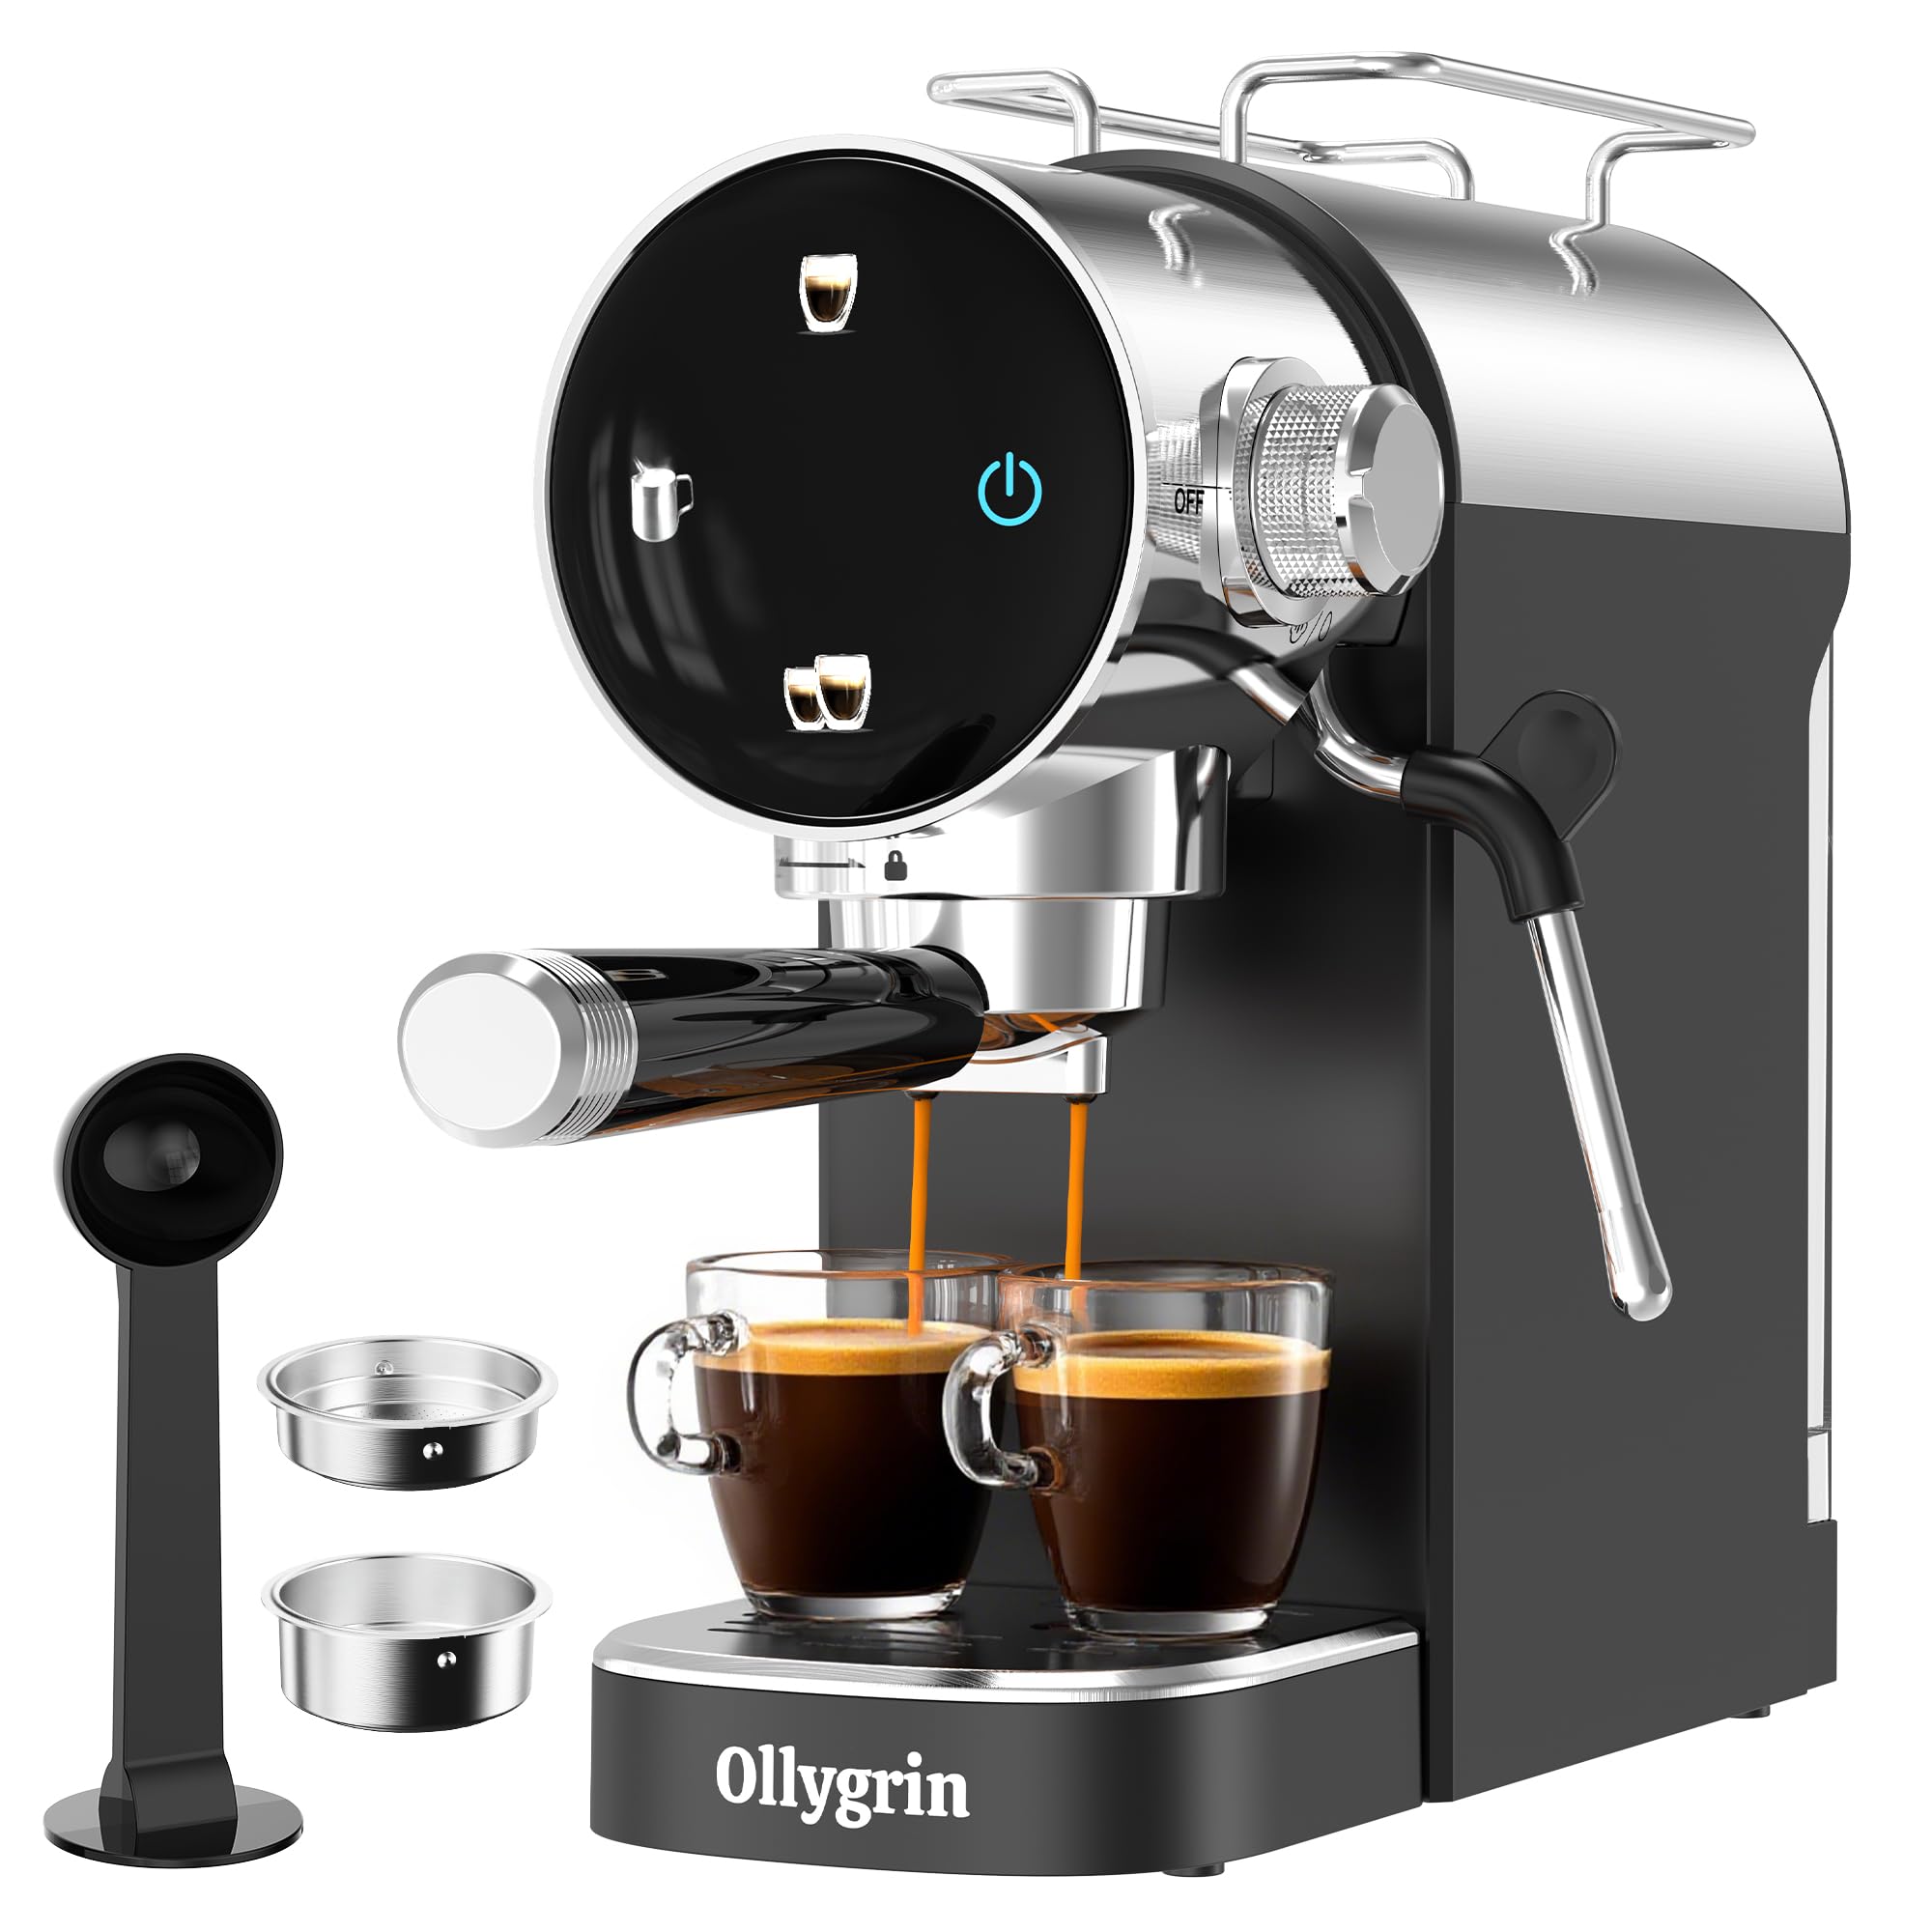
The Ollygrin 20 Bar Espresso Machine, designed for home use.
2. Important Safety Instructions
When using electrical appliances, basic safety precautions should always be followed to reduce the risk of fire, electric shock, and/or injury to persons, including the following:
- Read all instructions carefully.
- Do not touch hot surfaces. Use handles or knobs.
- To protect against fire, electric shock, and injury to persons, do not immerse cord, plugs, or appliance in water or other liquid.
- Close supervision is necessary when any appliance is used by or near children.
- Unplug from outlet when not in use and before cleaning. Allow to cool before putting on or taking off parts, and before cleaning the appliance.
- Do not operate any appliance with a damaged cord or plug or after the appliance malfunctions, or has been damaged in any manner.
- The use of accessory attachments not recommended by the appliance manufacturer may result in fire, electric shock, or injury to persons.
- Do not use outdoors.
- Do not let cord hang over edge of table or counter, or touch hot surfaces.
- Do not place on or near a hot gas or electric burner, or in a heated oven.
- Always attach plug to appliance first, then plug cord into the wall outlet. To disconnect, turn any control to 'off', then remove plug from wall outlet.
- Do not use appliance for other than intended use.
3. Product Overview
The Ollygrin 20 Bar Espresso Machine is designed to deliver rich espresso with a powerful 20-bar pump and a milk frother for various coffee beverages. Key components include a removable water tank, detachable drip tray, and a user-friendly touch panel.

Overview of the espresso machine's main components and dimensions.
Components Included:
- Espresso Machine Unit
- Portafilter
- Single Shot Filter Basket (7-9g ground coffee)
- Double Shot Filter Basket (13-15g ground coffee)
- Measuring Spoon/Tamper
- Removable Water Tank (37.2 oz capacity)
- Detachable Drip Tray

Machine dimensions and included accessories.
4. Setup
4.1 Initial Cleaning
Before first use, wash the water tank, portafilter, filter baskets, and drip tray with warm soapy water. Rinse thoroughly and dry all parts.
4.2 Water Tank Installation
Fill the removable water tank with fresh, cold water. Ensure the tank is properly seated at the back of the machine.

The removable water tank and detachable drip tray for easy cleaning and refilling.
4.3 Filter Basket Installation
Select either the single or double shot filter basket. Align the small gap on the filter basket with the corresponding notch in the portafilter, then press it firmly into place.
Video demonstrating how to change the one or double cup filter baskets in the portafilter.

Visual guide for installing and removing the filter basket.
4.4 Portafilter Installation
Insert the portafilter into the brew head. Turn the handle to the right until it is securely locked into position, aligning with the 'lock' symbol.
Video demonstrating how to install the portafilter into the espresso machine's brew head.

Visual guide for locking the portafilter into place.
4.5 First Use / Priming
Before brewing coffee for the first time, run a cycle with only water to prime the system and clean any manufacturing residue. Fill the water tank, place a cup under the portafilter, and run a double shot cycle without coffee grounds.
5. Operating Instructions
5.1 Power On/Off
Press the power button on the touch panel to turn the machine on or off. The machine will preheat automatically.

The touch panel for simple operation.

Touch screen controls for various functions.
5.2 Brewing Espresso
- Ensure the water tank is filled and the machine is preheated.
- Grind fresh coffee beans to a fine consistency suitable for espresso.
- Place the desired filter basket (single or double) into the portafilter.
- Add ground coffee to the filter basket (7-9g for single, 13-15g for double).
- Use the tamper to press the coffee grounds evenly and firmly.
- Attach the portafilter securely to the brew head.
- Place your espresso cup(s) on the drip tray beneath the portafilter.
- Press the single or double shot button on the touch panel to start brewing. The machine features pre-infusion for optimal flavor extraction.
- The machine will automatically stop when the cycle is complete.

Dosing control for single or double shots.

The 20 Bar pump and pre-infusion system for rich crema.
5.3 Using the Steam Wand / Milk Frother
The integrated steam wand allows you to froth milk for lattes, cappuccinos, and other milk-based beverages. It can also dispense hot water.
- Ensure the machine is powered on and preheated.
- Fill a stainless steel frothing pitcher with cold milk (dairy or non-dairy).
- Position the steam wand into the milk, just below the surface.
- Press the steam/hot water button on the touch panel. The machine will begin to produce steam.
- Move the pitcher up and down to create micro-foam.
- Once desired texture and temperature are reached, turn off the steam function.
- Immediately wipe the steam wand with a damp cloth to prevent milk residue from drying.

The professional steam wand for frothing milk or dispensing hot water.

The 360-degree rotating steam wand for flexible use.
5.4 Coffee Types
Your Ollygrin espresso machine can create a variety of coffee beverages:
- Espresso: A concentrated coffee shot.
- Latte: Espresso with steamed milk and a thin layer of foam.
- Cappuccino: Espresso with equal parts steamed milk and frothed milk.
- Americano: Espresso diluted with hot water.

Examples of coffee beverages you can make.

Variety of coffee drinks possible with your machine.
6. Maintenance
6.1 Daily Cleaning
- Portafilter and Filter Baskets: After each use, remove the portafilter, discard coffee grounds, and rinse the portafilter and filter basket under running water.
- Steam Wand: Immediately after frothing milk, wipe the steam wand with a damp cloth to remove any milk residue. Purge a small amount of steam to clear the nozzle.
- Drip Tray: Empty and clean the detachable drip tray regularly to prevent overflow and maintain hygiene.
- Water Tank: Rinse the water tank daily and refill with fresh water.
6.2 Descaling
Over time, mineral deposits (limescale) can build up in the machine, affecting performance and coffee taste. Descale your machine every 2-3 months, or more frequently if you have hard water.
- Prepare a descaling solution according to the descaler manufacturer's instructions (or use a mixture of white vinegar and water).
- Fill the water tank with the descaling solution.
- Place a large container under the brew head and steam wand.
- Run several cycles through the brew head and steam wand until the water tank is empty.
- Rinse the water tank thoroughly and refill with fresh water.
- Run several cycles with fresh water to flush out any remaining descaling solution.
7. Troubleshooting
| Problem | Possible Cause | Solution |
|---|---|---|
| No coffee dispenses / Slow flow | Water tank empty; Coffee grounds too fine or tamped too hard; Machine clogged with limescale. | Refill water tank; Use coarser grind or lighter tamp; Descale the machine. |
| Coffee is weak / Watery | Coffee grounds too coarse or too little coffee; Not enough pressure. | Use finer grind or more coffee; Ensure portafilter is securely locked. |
| Milk frother not producing steam | Steam wand clogged; Not enough preheating time. | Clean steam wand nozzle; Allow machine to fully preheat before steaming. |
| Water leaking from machine | Water tank not properly seated; Drip tray full; Seal around portafilter worn. | Ensure water tank is correctly installed; Empty drip tray; Contact customer support for seal replacement. |
8. Specifications
| Feature | Detail |
|---|---|
| Brand | Ollygrin |
| Model Name | US-KFJ-EM1511N-001 |
| Coffee Maker Type | Espresso Machine |
| Color | Black |
| Product Dimensions | 12.16"D x 5.13"W x 12.5"H |
| Item Weight | 7.34 pounds |
| Voltage | 120 Volts |
| Capacity | 2 Cups (Water Tank: 37.2 oz) |
| Special Feature | Milk Frother, Touch Panel, Cup Warmer, Pre-Infusion |
| Included Components | Milk Frother, Portafilter, Single/Double Shot Filter Baskets, Measuring Spoon/Tamper |
9. Warranty and Support
This Ollygrin espresso machine comes with a standard manufacturer's warranty. Please refer to the warranty card included in your product packaging for specific terms and conditions, including coverage duration and limitations.
For technical support, service, or warranty claims, please contact Ollygrin customer service through the retailer where the product was purchased or visit the official Ollygrin website for contact information.
Please have your model number (US-KFJ-EM1511N-001) and purchase date available when contacting support.