
1. Introduction
This manual provides detailed instructions for the Yamnweo K-8 4-Channel Wireless Microphone System. Please read this manual thoroughly before operating the system to ensure proper use and optimal performance. This system is designed for various applications including karaoke, weddings, DJ events, presentations, church services, and classroom use, offering reliable and clear audio transmission.

Figure 1: Yamnweo K-8 4-Channel Wireless Microphone System components.
2. What's in the Box
Upon unpacking, verify that all the following items are included:
- 1 x Wireless Receiver
- 4 x Handheld Transmitters (Microphones)
- 1 x User's Manual (This document)
- 1 x Power Adapter
- 4 x Anti-skid Rings
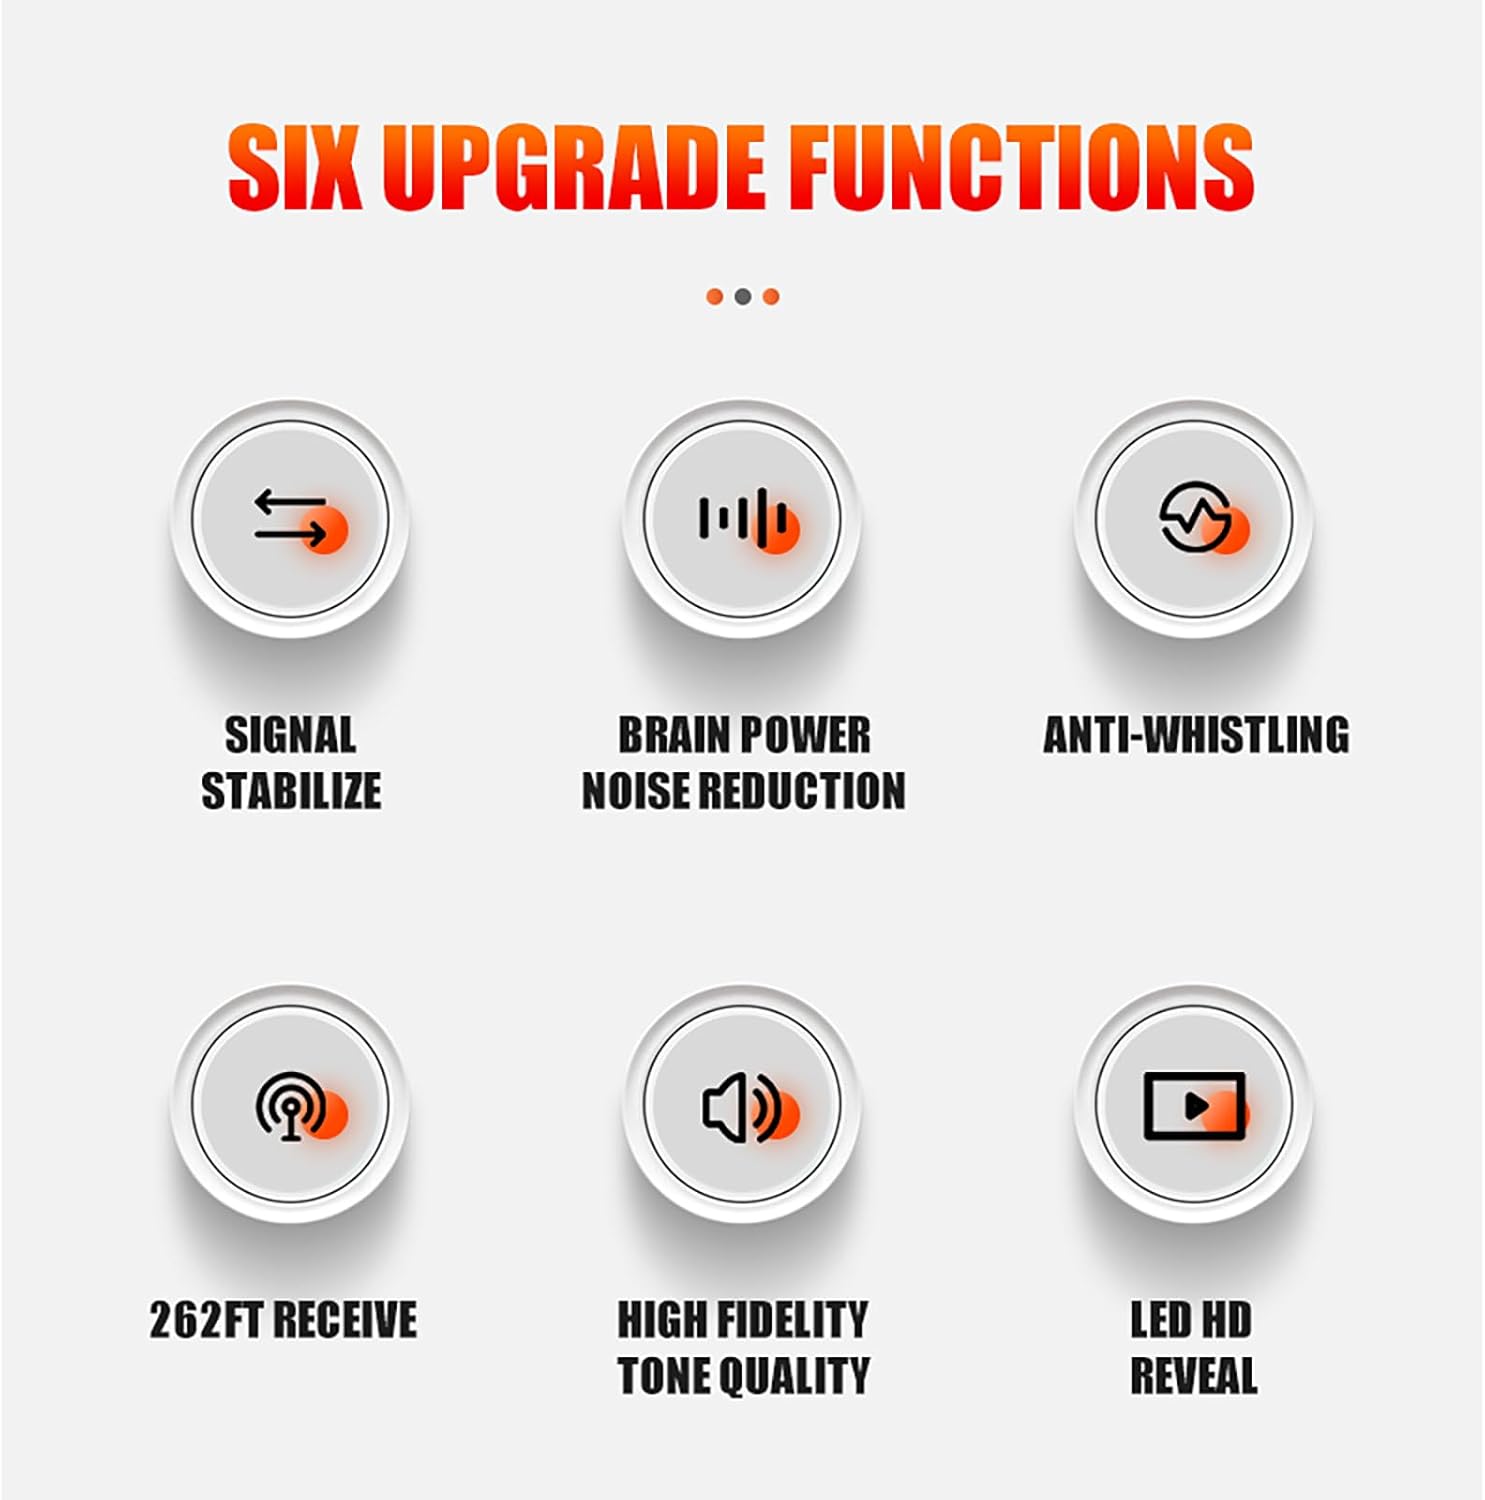
Figure 2: Package contents of the K-8 Wireless Microphone System.
3. Product Overview
3.1. Wireless Receiver
The receiver unit manages the wireless connection with the microphones and outputs the audio signal. It features controls for individual microphone volumes and a display for channel and frequency information.

Figure 3: Front and Rear Panels of the Wireless Receiver.
Front Panel:
- RF Indicators: Lights up when a microphone is connected and transmitting.
- Display Screen: Shows channel number and frequency for each microphone.
- Channel Control Knobs (CH-A/B/C/D): Adjust individual microphone volumes.
- Power Switch: Turns the receiver on or off.
Rear Panel:
- Antenna Ports: Connect the two included antennas for optimal signal reception.
- Balanced XLR Outputs (A/B): For professional audio connections.
- Mixed Output (6.35mm Jack): Combines all microphone signals into a single output.
- Power Connector (DC IN): Connect the provided power adapter.
3.2. Handheld Transmitters (Microphones)
The system includes four handheld microphones, each designed for clear vocal pickup and robust wireless transmission.

Figure 4: Handheld Microphone Features.
- Power Switch: Turns the microphone on or off.
- Display Screen: Shows channel and frequency information.
- Metal Microphone Grill: Durable protection for the microphone capsule.
- Dynamic Coil Core: High-fidelity pickup for clear sound.
- Anti-skid Ring: Provides grip and prevents rolling.
4. Setup Guide
- Connect Antennas: Screw the two antennas onto the corresponding ports on the rear panel of the wireless receiver. Ensure they are securely tightened and positioned upright for optimal signal reception.
- Power Connection: Connect the provided power adapter to the DC IN port on the receiver's rear panel, then plug the adapter into a power outlet.
- Audio Output: Connect the receiver to your audio system (mixer, amplifier, PA speaker, karaoke machine) using either the balanced XLR outputs or the mixed 6.35mm jack output.
- Insert Batteries (Microphones): Open the battery compartment of each handheld microphone and insert the required batteries (8 AA batteries required for the system, typically 2 per microphone).
- Power On Receiver: Press the power switch on the front panel of the receiver to turn it on. The display screens should illuminate.
- Power On Microphones: Press the power switch on each handheld microphone. The microphone display will show its channel and frequency. The system is designed for automatic pairing upon startup.
- Volume Adjustment: Adjust the individual volume knobs on the receiver for each microphone (VOL A+, VOL B+, VOL C+, VOL D+) to a suitable level. Adjust the master volume on your connected audio system as needed.
Video 1: Demonstration of the Professional Wireless Microphone System setup and automatic connection.
5. Operating Instructions
5.1. Using the Microphones
- Power On/Off: Press the power button on the microphone handle to turn it on or off.
- Automatic Pairing: The microphones are designed to automatically connect to the receiver upon power-up. Ensure the receiver is also powered on.
- Holding the Microphone: For best sound quality, hold the microphone approximately 2-6 inches from your mouth. Avoid covering the microphone grill with your hand.
- Anti-skid Rings: Place the provided anti-skid rings on the microphones to prevent them from rolling off surfaces.
5.2. Adjusting Receiver Settings
- Volume Control: Use the individual channel volume knobs (VOL A+, VOL B+, VOL C+, VOL D+) on the receiver's front panel to adjust the output level of each microphone.
- Monitoring: Observe the RF indicators on the receiver. A lit RF indicator confirms a stable connection with the corresponding microphone.
5.3. Range and Interference
The system offers a stable transmission range of up to 160 feet (approximately 50 meters). To minimize interference:
- Keep the receiver away from other wireless devices, Wi-Fi routers, and large metal objects.
- Ensure a clear line of sight between the microphones and the receiver antennas.
- Avoid placing the receiver in enclosed spaces.

Figure 5: Wireless reception range illustration.
6. Key Features
- 4-Channel Wireless Design: Supports simultaneous use of four microphones with automatic pairing, simplifying setup for multi-user scenarios.
- Extended Transmission Range: Provides stable signal coverage up to 160 feet, ensuring clear audio in various environments.
- Professional Sound Quality: Features a high-fidelity pickup core and noise reduction technology to deliver clear vocals with low latency and no echo.
- Long Battery Life: Microphones are equipped with high-capacity batteries, offering 4-6 hours of continuous use on a single charge.
- Frequency Groups: Supports 4x10 frequency groups, allowing for the simultaneous use of multiple systems (up to 4 sets) without interference.
- Battery Indicator Light: Provides visual indication of microphone battery status.
- Volume Control: Individual volume control for each microphone on the receiver.

Figure 6: Receiver display showing active channels and frequencies.
7. Specifications
| Model Name | K-8 |
| Brand | Yamnweo |
| Number of Channels | 4 |
| Connectivity Technology | Wireless (UHF), 6.35 mm Jack, XLR |
| Frequency Response | 16000 Hz |
| Maximum Frequency | 580 MHz |
| Minimum Frequency | 530 MHz |
| Polar Pattern | Unidirectional |
| Power Source | Battery Powered (8 AA batteries required for microphones) |
| Enclosure Material | Metal, Plastic |
| Item Weight | 1.91 Kilograms |
| Item Dimensions | 12.91 x 9.72 x 4.88 inches |

Figure 7: System dimensions.
8. Maintenance
- Cleaning: Use a soft, dry cloth to clean the receiver and microphones. Avoid using liquid cleaners or solvents.
- Battery Replacement: Replace microphone batteries when the battery indicator shows low power to ensure uninterrupted performance.
- Storage: When not in use for extended periods, store the system in a dry, cool place, away from direct sunlight and extreme temperatures. Remove batteries from microphones if storing for a long time.
- Antenna Care: Handle antennas carefully to prevent bending or breakage.
9. Troubleshooting
| Problem | Possible Cause | Solution |
|---|---|---|
| No sound from microphone | Microphone off, low battery, receiver off, incorrect volume, out of range, interference. | Ensure microphone and receiver are on. Replace batteries. Check receiver volume and master volume on audio system. Move closer to receiver. Reduce interference sources. |
| Poor sound quality/Interference | Obstructions, other wireless devices, weak signal. | Ensure clear line of sight between microphone and receiver. Move receiver away from other electronics. Check antenna connections. |
| Microphone not connecting | Microphone or receiver not powered on, frequency mismatch (rare, as it auto-pairs). | Ensure both microphone and receiver are powered on. The system is designed for automatic pairing. If issues persist, power cycle both devices. |
10. Warranty and Support
The Yamnweo K-8 4-Channel Wireless Microphone System comes with a 1 Year Manufacturer Warranty. For warranty claims, technical support, or any inquiries, please contact Yamnweo customer service through your purchase platform or the official Yamnweo website.
Please retain your proof of purchase for warranty validation.