
1. Introduction
Thank you for choosing the PXBNIUYA 3 Pack 600 LED Solar Starburst Sphere Lights. This manual provides essential information for the safe and efficient use of your new lighting product. Please read these instructions carefully before installation and operation, and retain them for future reference.
2. Product Overview
2.1 Components Included
The package includes the following items:
- 3 x Solar Starburst Sphere Lights (each with 200 LED bulbs, totaling 600 LEDs)
- 1 x Solar Panel (1200mAh capacity)
- 1 x Remote Control
- 3 x Hooks for hanging
- 1 x Ground Plug for solar panel installation
- 2 x Screws for alternative solar panel mounting
- 1 x User Manual (this document)

Figure 1: Included Components
This image displays all the items you should find in your package: three individual starburst lights, a solar panel unit, a remote control, three hanging hooks, a ground stake for the solar panel, and two screws for wall mounting the solar panel.
2.2 Key Features
- Solar Powered: Equipped with an upgraded solar panel for efficient charging.
- Remote Control: Manage lighting modes, brightness, and timing from a distance of approximately 33 feet.
- 8 Lighting Modes: Various flashing and steady-on options to suit different occasions.
- 4 Brightness Adjustments: Dimmable feature for customizable illumination.
- Timing Function: Set lights to automatically turn off after 3, 5, or 8 hours.
- Flexible Copper Wires: Bendable wires allow for shaping the lights into desired forms.
- Waterproof Design: IP67 rated copper wire and IP65 rated solar panel for outdoor use in various weather conditions.
- Automatic Operation: Built-in light sensor automatically turns lights on at dusk and off at dawn.

Figure 2: Product Features Overview
This image displays the main features of the solar starburst lights, including their timer function, solar power capability, 1200mAh battery, and the high flexibility of the copper wires for shaping.
3. Setup Instructions
3.1 Solar Panel Installation
- Choose Location: Select a location for the solar panel that receives direct sunlight for at least 6-8 hours daily. Avoid shaded areas.
- Mounting Options:
- Ground Stake: Attach the ground plug to the solar panel and firmly insert it into the ground.
- Wall Mount: Use the provided screws to secure the solar panel to a wall or other suitable surface.

Figure 3: Solar Panel and Light Connection Diagram
This diagram illustrates the connection between the solar panel and the three starburst lights, showing the cable lengths for proper placement. The solar panel should be positioned to maximize sun exposure.
3.2 Assembling the Starburst Lights
- Unpack: Carefully remove the starburst lights from their packaging. The copper wires will be bundled.
- Shape: Gently spread and bend the individual copper wires to create your desired starburst or sphere shape. The wires are flexible and can be molded.
- Hang: Use the provided hooks to hang the lights in your desired locations.
3.3 Connecting the Lights to the Solar Panel
- Connect Cable: Locate the removable port on the solar panel and the corresponding connector on the light string.
- Secure Connection: Screw the connector firmly into the solar panel's port to ensure a waterproof and secure connection.

Figure 4: Solar Panel Connection Detail
This image provides a detailed view of how the light string connects to the solar panel via a secure, screw-on port, ensuring a reliable and waterproof connection.
3.4 Initial Charging
Before first use, ensure the solar panel is placed in direct sunlight for at least 8-10 hours with the "ON/OFF" switch on the solar panel set to "ON". This allows the internal battery to fully charge.
4. Operating Instructions
4.1 Solar Panel Controls
The solar panel has two buttons and three indicator lights:
- ON/OFF Switch: Press to turn the lights on or off.
- MODE Button: Press to cycle through the 8 different lighting modes.
- Indicator Lights:
- Red: Indicates the lights are ON and flashing with the selected mode.
- Green: Indicates the solar panel is currently charging.
4.2 Remote Control Functions
The remote control provides convenient access to all lighting features:
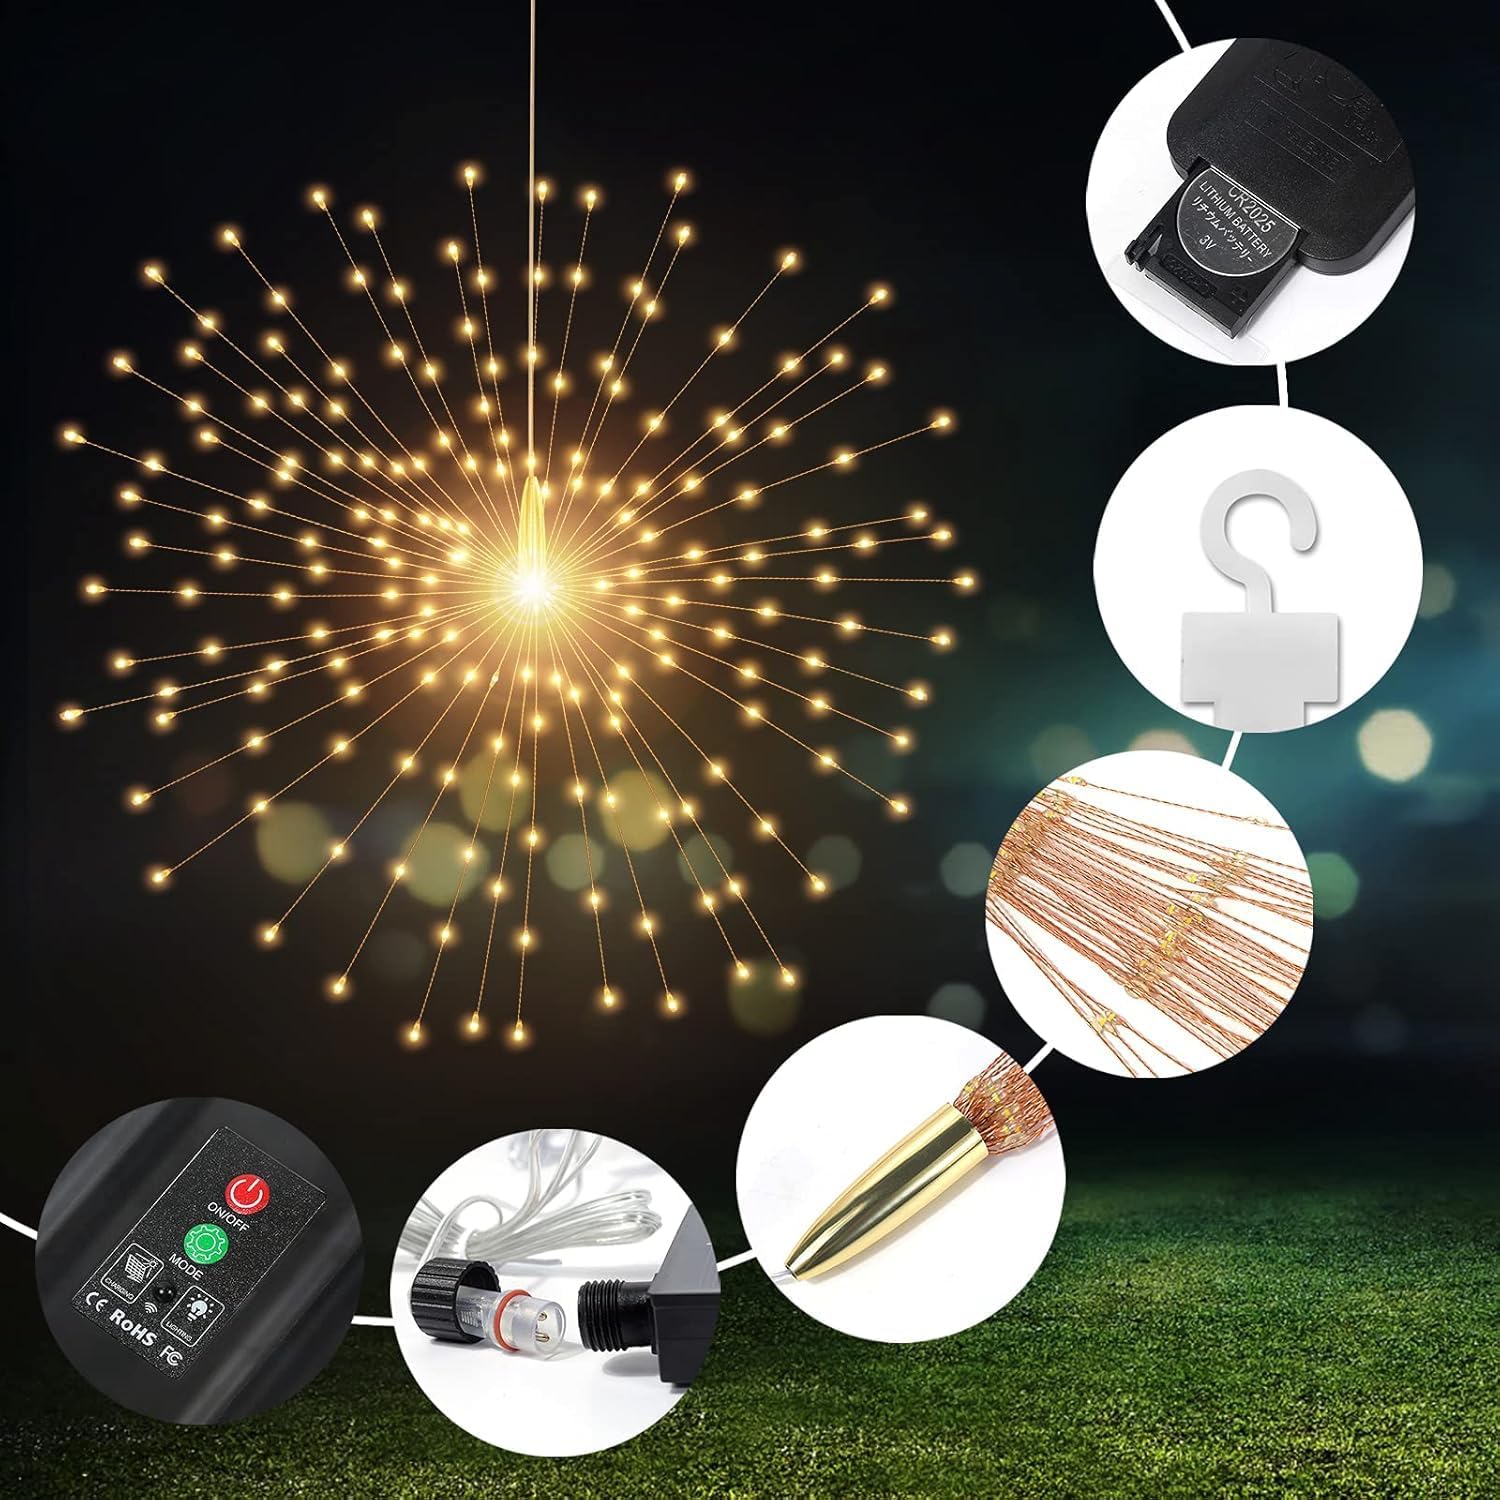
Figure 5: Remote Control Layout
This image displays the remote control, detailing its various buttons for power, timer settings (4, 6, or 8 hours), brightness adjustment, and selection of 8 distinct lighting modes.
- ON/OFF: Turns the lights on or off.
- TIMER (4H, 6H, 8H): Activates the timer function. The lights will stay on for the selected duration and then automatically turn off.
- DIM (+/-): Adjusts the brightness level (4 settings).
- MODE (1-8): Selects one of the 8 available lighting modes.
- TIME OFF: Deactivates the timer function.
- RESET: Resets the light settings to default.
Ensure the remote control is pointed towards the solar panel for optimal signal reception.
4.3 Automatic Operation
With the solar panel switch set to "ON", the built-in light sensor will automatically turn the lights on when it gets dark and turn them off when daylight returns, provided the battery has sufficient charge.
5. Maintenance
- Clean Solar Panel: Regularly wipe the solar panel surface with a soft, damp cloth to remove dust, dirt, or debris. A clean panel ensures maximum charging efficiency.
- Inspect Connections: Periodically check all connections, especially the one between the light string and the solar panel, to ensure they remain secure and waterproof.
- Battery Life: The LED bulbs are designed for long-term use, lasting over 10,000 hours. The internal rechargeable battery in the solar panel is also designed for durability.
- Storage: If storing the lights for an extended period, ensure the solar panel is fully charged before storage. Store in a cool, dry place.
6. Troubleshooting
| Problem | Possible Cause | Solution |
|---|---|---|
| Lights do not turn on at night. | Solar panel not receiving enough sunlight. ON/OFF switch is off. Battery is depleted. | Relocate solar panel to an area with direct sunlight. Ensure the ON/OFF switch on the solar panel is set to "ON". Allow solar panel to charge for 8-10 hours in direct sunlight. |
| Lights are dim or flicker. | Insufficient charge in the battery. Dirty solar panel. Loose connection. | Ensure solar panel receives adequate sunlight. Clean the solar panel surface. Check the connection between the light string and solar panel. |
| Remote control not working. | Remote battery depleted. Obstruction between remote and solar panel. | Replace the remote control battery. Ensure clear line of sight to the solar panel. |
7. Specifications
- Model Number: YHD-001
- Light Source: LED
- Total LED Bulbs: 600 (3 packs of 200 LEDs each)
- Power Source: Solar Powered
- Solar Panel Battery: 1200mAh
- Waterproof Rating: IP67 (copper wire), IP65 (solar panel)
- Remote Control Distance: Approximately 33 ft
- Timer Settings: 3H, 5H, 8H
- Brightness Levels: 4 adjustable levels
- Item Weight: 13.7 ounces
- Package Dimensions: 10.67 x 3.74 x 2.4 inches
- UPC: 7688255545013
8. Warranty and Support
For any product inquiries, technical support, or warranty information, please contact PXBNIUYA customer service. Please refer to your purchase documentation for specific warranty details.
You can visit the official PXBNIUYA store for more information: PXBNIUYA Store on Amazon