
1. Introduction
Thank you for purchasing the Seeday Nightstand with Charging Station and 3 Drawers. This manual provides essential information for the safe assembly, operation, and maintenance of your new furniture. Please read these instructions carefully before use and retain them for future reference.
2. Safety Information
WARNING: To prevent serious injury, always follow these safety precautions.
- Ensure all parts are present and undamaged before assembly. Do not use if any parts are missing or broken.
- Assemble the unit on a soft, clean surface to prevent scratches.
- Do not overtighten screws, as this may damage the material.
- Keep small parts away from children during assembly.
- This product is designed for indoor use only.
- Do not exceed the weight capacity of the tabletop or drawers.
- For electrical components: Do not expose the charging station to moisture. Ensure the power cord is not pinched or damaged. Unplug the unit before cleaning or if not in use for extended periods.
- This product may include warnings about pinch points, weight limits, proper assembly, and electrical safety.
3. Package Contents
Please verify that all components listed below are included in your package. If any parts are missing or damaged, please contact customer support.
- Wooden Panels: Top, Bottom, Side Panels, Drawer Fronts, Drawer Sides, Drawer Backs, Drawer Bottoms.
- Hardware: Screws, Dowels, Cam Locks, Cam Bolts, Drawer Slides, Handles.
- Electrical Components: Integrated Charging Station (1 USB port, 1 USB-C port, 2 AC outlets), Power Cord.

Image: Detailed dimensions of the Seeday Nightstand and its individual drawers.
4. Assembly Instructions
Assembly is straightforward with the provided step-by-step instructions and clearly labeled components. Tools recommended for assembly include a hammer, screwdriver, and wrench (not included).
- Prepare Components: Unpack all parts and lay them out on a soft, clean surface. Identify each component using the labels.
- Attach Drawer Slides to Side Panels: Secure the drawer slides to the inner sides of the main side panels using the designated screws.
- Assemble Frame: Connect the top, bottom, and side panels to form the main frame of the nightstand using dowels, cam locks, and cam bolts.
- Install Back Panel: Secure the back panel to the assembled frame using small nails or screws. Ensure the cutout for the power cord is correctly oriented.
- Assemble Drawers: For each of the three drawers, connect the front, back, and side panels. Insert the drawer bottom into the grooves. Attach the remaining drawer slides to the sides of the assembled drawers.
- Install Charging Station: Carefully insert the integrated charging station into the pre-cut opening on the top panel. Connect the power cord.
- Insert Drawers: Slide the assembled drawers into the nightstand frame, aligning the drawer slides.
- Final Checks: Ensure all connections are secure and the drawers operate smoothly.
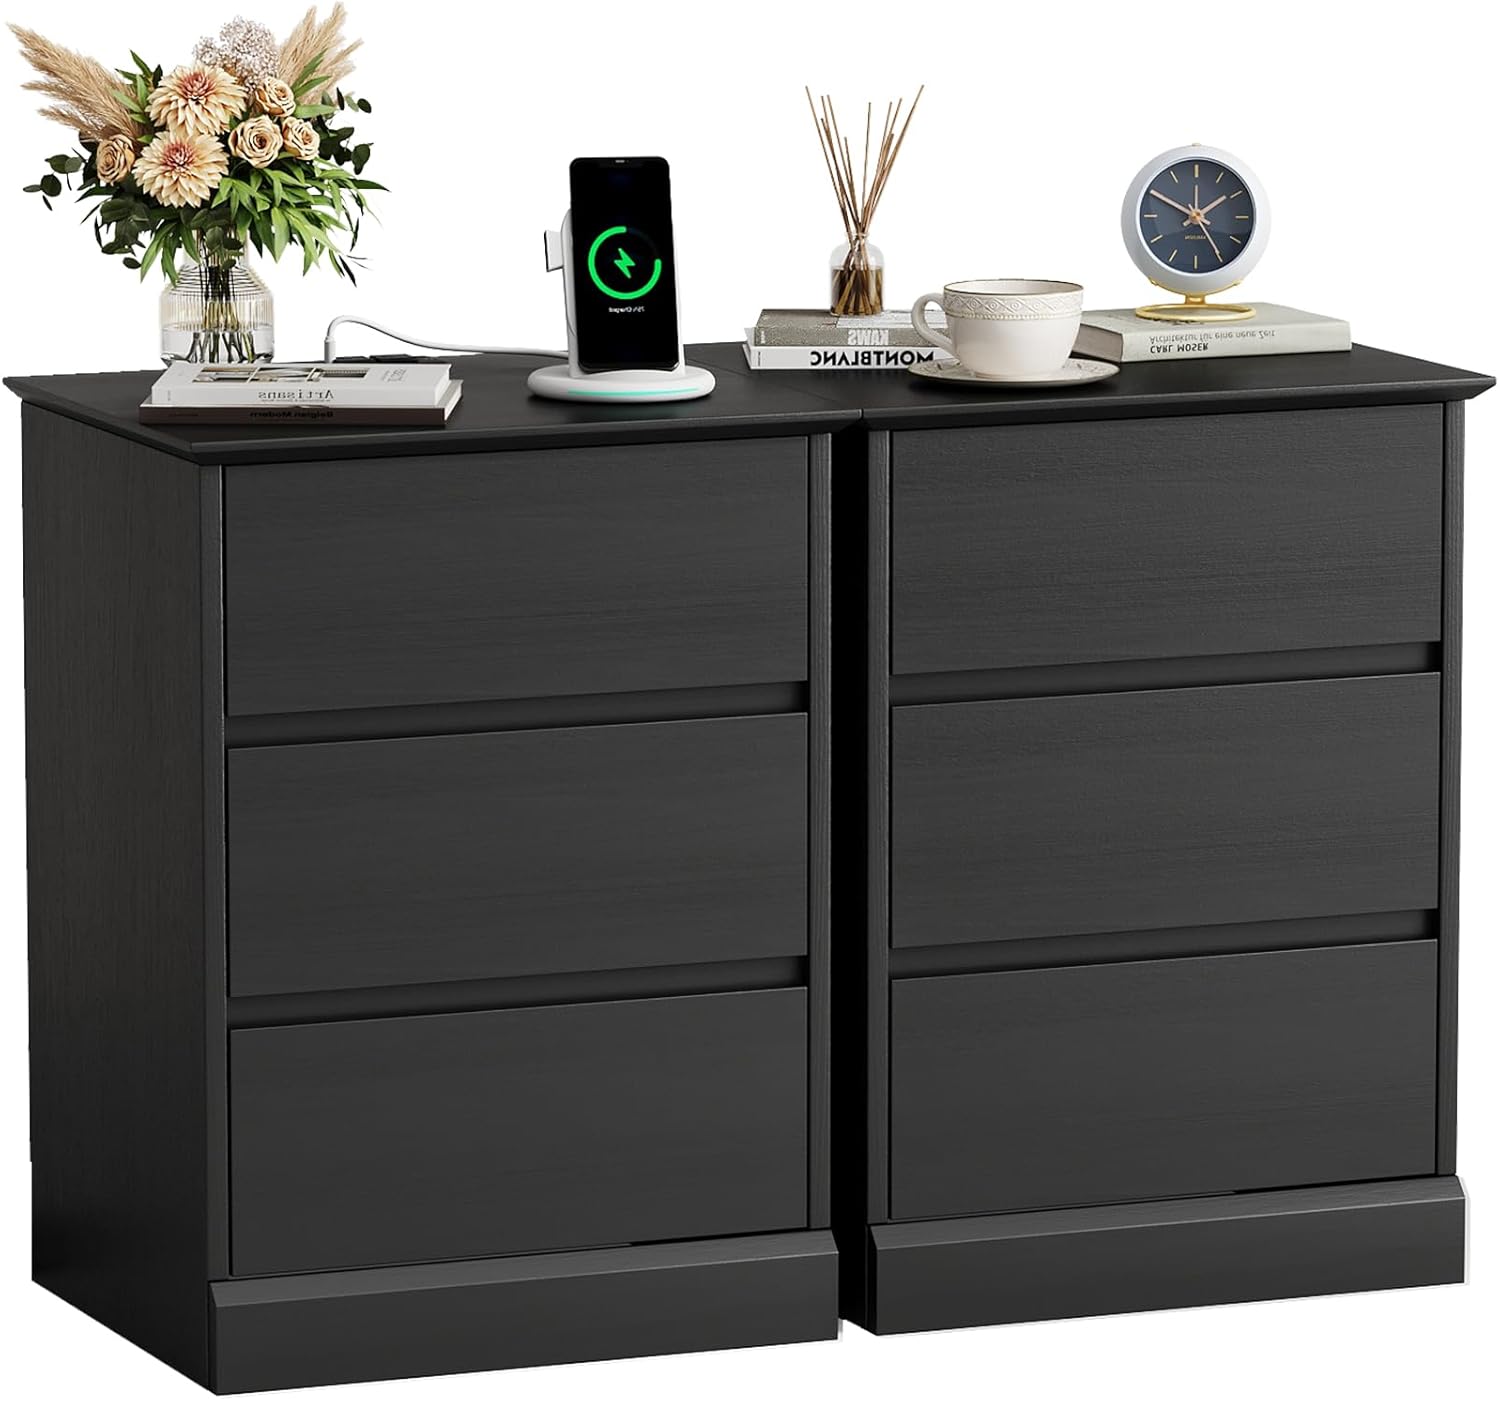
Image: The assembled Seeday Nightstand, showcasing its design and functionality.
5. Operating Instructions
5.1. Charging Station
- Power Connection: Plug the nightstand's power cord into a standard wall outlet.
- AC Outlets: Use the two 125V/12A AC outlets to power lamps, alarm clocks, or other small appliances.
- USB Ports: The nightstand includes one USB port and one USB-C port (5V/2A) for charging smartphones, tablets, smartwatches, and other USB-powered devices.
- Wireless Charging: If your nightstand model includes a wireless charging pad, place your compatible device directly on the pad to initiate charging.

Image: The integrated charging station in use, powering multiple devices.
5.2. Drawer Usage
- The three drawers provide ample storage for personal items.
- To open a drawer, gently pull the top edge of the drawer front. The hidden handle design allows for a clean aesthetic.
- The drawers operate on smooth metal glides for easy opening and closing.

Image: Detail of the drawer mechanism and handle design.
6. Maintenance
- Cleaning: Wipe the surface with a soft, damp cloth. Avoid harsh chemicals or abrasive cleaners. The surface is designed to resist water and stains, making cleaning easy.
- Dusting: Regularly dust the nightstand with a dry, soft cloth.
- Drawer Slides: Periodically check drawer slides for smooth operation. If they become stiff, a small amount of silicone lubricant can be applied.
- Electrical Components: Keep the charging station clean and free of dust. Do not attempt to disassemble or repair the electrical components yourself.
7. Troubleshooting
- Device not charging:
- Ensure the nightstand's power cord is securely plugged into a working wall outlet.
- Check if the device is properly connected to the USB/USB-C port or correctly placed on the wireless charging pad.
- Verify that your device is compatible with wireless charging if using that feature.
- Drawers are stiff or misaligned:
- Check if any items are obstructing the drawer slides.
- Ensure all assembly screws for the drawer slides are tightened.
- Apply a small amount of silicone lubricant to the drawer slides if necessary.
- Unit feels unstable:
- Verify that all cam locks and bolts are fully tightened.
- Ensure the nightstand is placed on a flat, level surface.
8. Specifications
| Brand | Seeday |
| Model Number | CTG-PB-0011-2-1 |
| Color | Black |
| Material | Wood (MDF) |
| Number of Drawers | 3 |
| Item Height | 25 inches |
| Charging Station | 1 USB Port, 1 USB-C Port, 2 AC Outlets |
| Power Cord Length | 4.9 feet |
| Indoor/Outdoor Usage | Indoor |
9. Warranty and Support
For any questions regarding assembly, missing parts, or product functionality, please contact Seeday customer support. While specific warranty details are not provided in this manual, please refer to your purchase documentation or the retailer's website for information on applicable warranties or protection plans.
For additional support, visit the Seeday Store on Amazon.