Introduction
The MERIOR 3L Compact Electric Composter is designed to efficiently convert daily food scraps into nutrient-rich compost. This smart compost bin features dual processing modes, an activated carbon filter for odor control, and a self-cleaning function, making it suitable for kitchen and garden use. This manual provides essential information for the safe and effective operation and maintenance of your composter.
Important Safety Information
- Always use protective gloves when handling food waste and the composter.
- Keep the composter clean and dry to prevent the growth of harmful microorganisms.
- Do not compost sharp objects or materials that may attract pests.
- Always unplug the composter before cleaning or maintaining it.
- Keep the composter in a well-ventilated area and avoid placing it in direct sunlight or near heat sources.
- Ensure the lid is securely closed before operating the composter.
- Do not immerse the main unit in water.
- Keep out of reach of children and pets.
Product Components
Familiarize yourself with the main parts of your MERIOR Electric Composter.

Image: An exploded view of the MERIOR Electric Composter showing its internal components, including the outer casing, inner bucket, and motor assembly.
- Main Unit: The primary housing of the composter.
- Inner Bucket: Removable 3L capacity bucket for food waste.
- Lid: Covers the inner bucket and contains the control panel.
- Control Panel: Features Quick, Standard, Time Remaining display, Clean, and Power buttons.
- Activated Carbon Filter: Located within the unit to neutralize odors.
Setup Instructions
- Unpack: Carefully remove all components from the packaging.
- Placement: Place the composter on a stable, flat surface in a well-ventilated area, away from direct sunlight or heat sources.
- Insert Inner Bucket: Place the 3L inner bucket into the main unit. Ensure it is seated correctly.
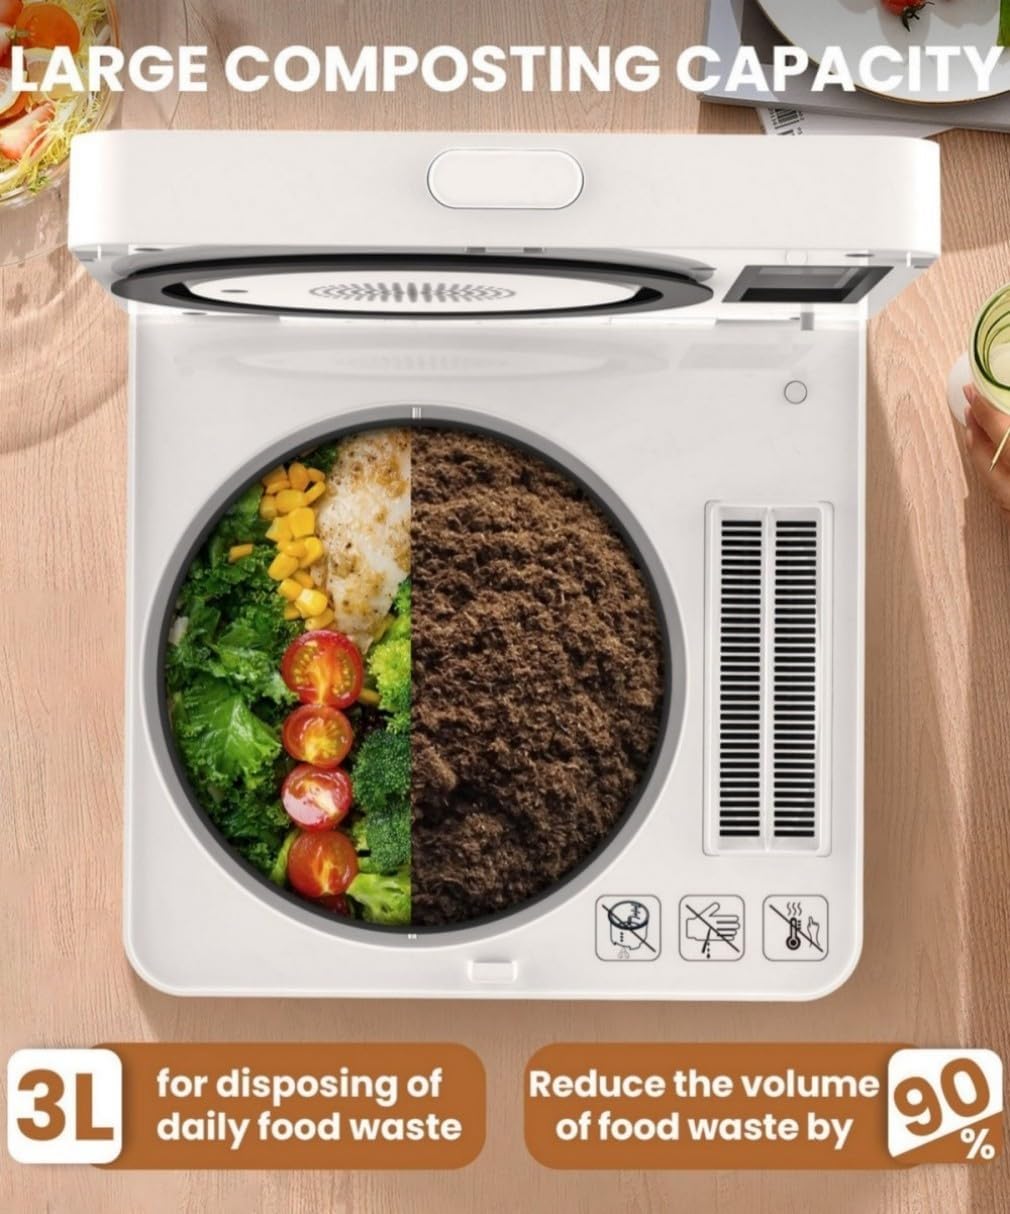
Image: A person placing the black inner bucket into the white composter unit.
- Install Carbon Filter: Open the filter compartment on the lid and insert the activated carbon filter pack. Close the compartment securely.

Image: A person inserting the white activated carbon filter box into its designated slot on the composter's lid.
- Power Connection: Plug the power cord into a suitable electrical outlet.
Operating Instructions
1. Adding Food Waste
- Open Lid: Press the lid release button to open the composter lid.
- Fill Bucket: Add your food scraps into the inner bucket. Do not overfill beyond the maximum fill line.

Image: A person adding various food scraps, including fruits and vegetables, into the composter's inner bucket.
- Close Lid: Close the lid securely until it clicks into place.
2. Selecting a Composting Mode
The composter offers two processing modes:
- Quick Mode (4 hours): Ideal for smaller loads or when faster processing is desired.
- Standard Mode (6 hours): Recommended for larger loads or general use.
- Power On: Press the Power button on the control panel.
- Select Mode: Press either the Quick or Standard button to start the composting cycle. The digital display will show the remaining time.

Image: A close-up of the composter's control panel, highlighting the Quick, Standard, Time Remaining, Clean, and Power buttons.
- Cycle Completion: The composter will automatically stop when the cycle is complete.
3. Using the Finished Compost
The output from the composter is a dry, nutrient-rich material that can be used to enrich soil.
- Mix the processed material directly into garden soil or potting mix.
- For optimal results, allow the processed material to further cure for a few weeks before extensive use, especially for sensitive plants.

Image: The MERIOR Electric Composter shown with a pile of finished, dry compost next to it, along with the inner bucket and carbon filter box.
Video: Demonstrates the composting process from adding food waste to using the finished product.
This video illustrates the step-by-step process of using the MERIOR Electric Composter, from loading food scraps to the final output and its application in gardening. It highlights the ease of operation and the transformation of waste into usable fertilizer.
Maintenance
1. Auto-Cleaning Function
The composter features an auto-clean function for convenient maintenance.
- Empty Bucket: Ensure the inner bucket is empty of composted material.
- Add Water: Pour a small amount of water into the inner bucket.
- Start Clean Cycle: Close the lid and press the Clean button on the control panel. The composter will run a 15-minute cleaning cycle.

Image: An animated depiction of the composter's internal cleaning process, showing water circulating to clean the inner bucket.
- Drain Water: After the cycle, remove the inner bucket and discard the cleaning water.
- Wipe Dry: Wipe the inner bucket and main unit interior dry with a clean cloth.
2. Deep Cleaning
For a more thorough cleaning, the inner bucket is dishwasher-safe.
- Remove the inner bucket from the main unit.
- Wash by hand with soap and water or place in a dishwasher.
- Ensure the bucket is completely dry before returning it to the composter.
3. Activated Carbon Filter Replacement
The activated carbon filter should be replaced approximately every 6 months, depending on usage, to maintain optimal odor neutralization.
- Open the filter compartment on the lid.
- Remove the old carbon filter pack and dispose of it.
- Insert a new activated carbon filter pack.
- Close the filter compartment securely.
Troubleshooting
| Problem | Possible Cause | Solution |
|---|---|---|
| Composter does not power on. | Not plugged in; power switch off; power outage. | Ensure the unit is securely plugged in. Check the power switch at the back. Verify power supply. |
| Unpleasant odors during operation. | Carbon filter needs replacement; lid not properly closed; excessive moisture in waste. | Replace the activated carbon filter. Ensure the lid is securely latched. Reduce the amount of very wet food waste. |
| Food waste not fully processed. | Overfilled bucket; incorrect mode selected; very dense or large items. | Do not overfill the bucket. Select the appropriate mode (Standard for larger loads). Break down larger food items before adding. |
| Unit is unusually noisy. | Improperly seated inner bucket; foreign object inside. | Ensure the inner bucket is correctly placed. Unplug and check for any obstructions. |
Specifications
- Brand: MERIOR
- Model: HQD-260-f
- Capacity: 3 Liters
- Material: Aluminum
- Product Dimensions: 9.05"L x 9.05"W x 10.23"H
- Item Weight: 13.67 pounds (6.21 Kilograms)
- Processing Modes: Quick (4 hours), Standard (6 hours)
- Odor Control: Activated Carbon Filter
- Cleaning: Auto-clean function, Dishwasher-safe inner bucket
- UPC: 797465306678
- Manufacturer: Shenzhen Beeco Enviromental Technology Co., Ltd
Warranty and Support
For warranty information, technical support, or to purchase replacement parts (such as activated carbon filters), please contact MERIOR customer service through the retailer where the product was purchased or visit the official MERIOR website.
MERIOR Store: Visit the MERIOR Store on Amazon


