
1. Introduction
Welcome to the user manual for your new E GATE Atom 2X Smart Android Projector. This guide provides essential information for setting up, operating, maintaining, and troubleshooting your device. Please read this manual thoroughly before using the projector to ensure optimal performance and longevity.
The E GATE Atom 2X is a versatile smart projector featuring a 180° rotatable design, 200 ISO brightness, 4K decoding support, and an integrated Android operating system. Enjoy a cinematic experience with automatic keystone correction and seamless connectivity.
2. Product Overview
2.1 Key Features
- 180° Built-in Stand: Flexible multi-angle projection for various surfaces.
- 200 ISO Brightness: Delivers bright and vivid projections.
- 4K Decoding Support: Supports 4K content for high-resolution viewing.
- Automatic & 4D Keystone Correction: Ensures a perfectly rectangular image from various angles.
- Android TV AOSP: Built-in operating system with access to Netflix, Prime Video, YouTube, and 9000+ apps.
- Allwinner H713 Chip: Quad-core processor with 1GB RAM and 8GB ROM for smooth performance.
- Dual Band WiFi6 (2.4+5 GHz) & Bluetooth 5.0: Enhanced wireless connectivity.
- Screen Mirroring: Project content from smartphones and tablets.
- 720P Native Resolution: Provides clear and detailed images.
- Integrated Speaker: Built-in audio for convenience.
2.2 Box Contents
Verify that all items are present in the package:
- E GATE Atom 2X Projector
- Power Cord
- Remote Control
- Warranty Card

Image: Front view of the E GATE Atom 2X Smart Android Projector.
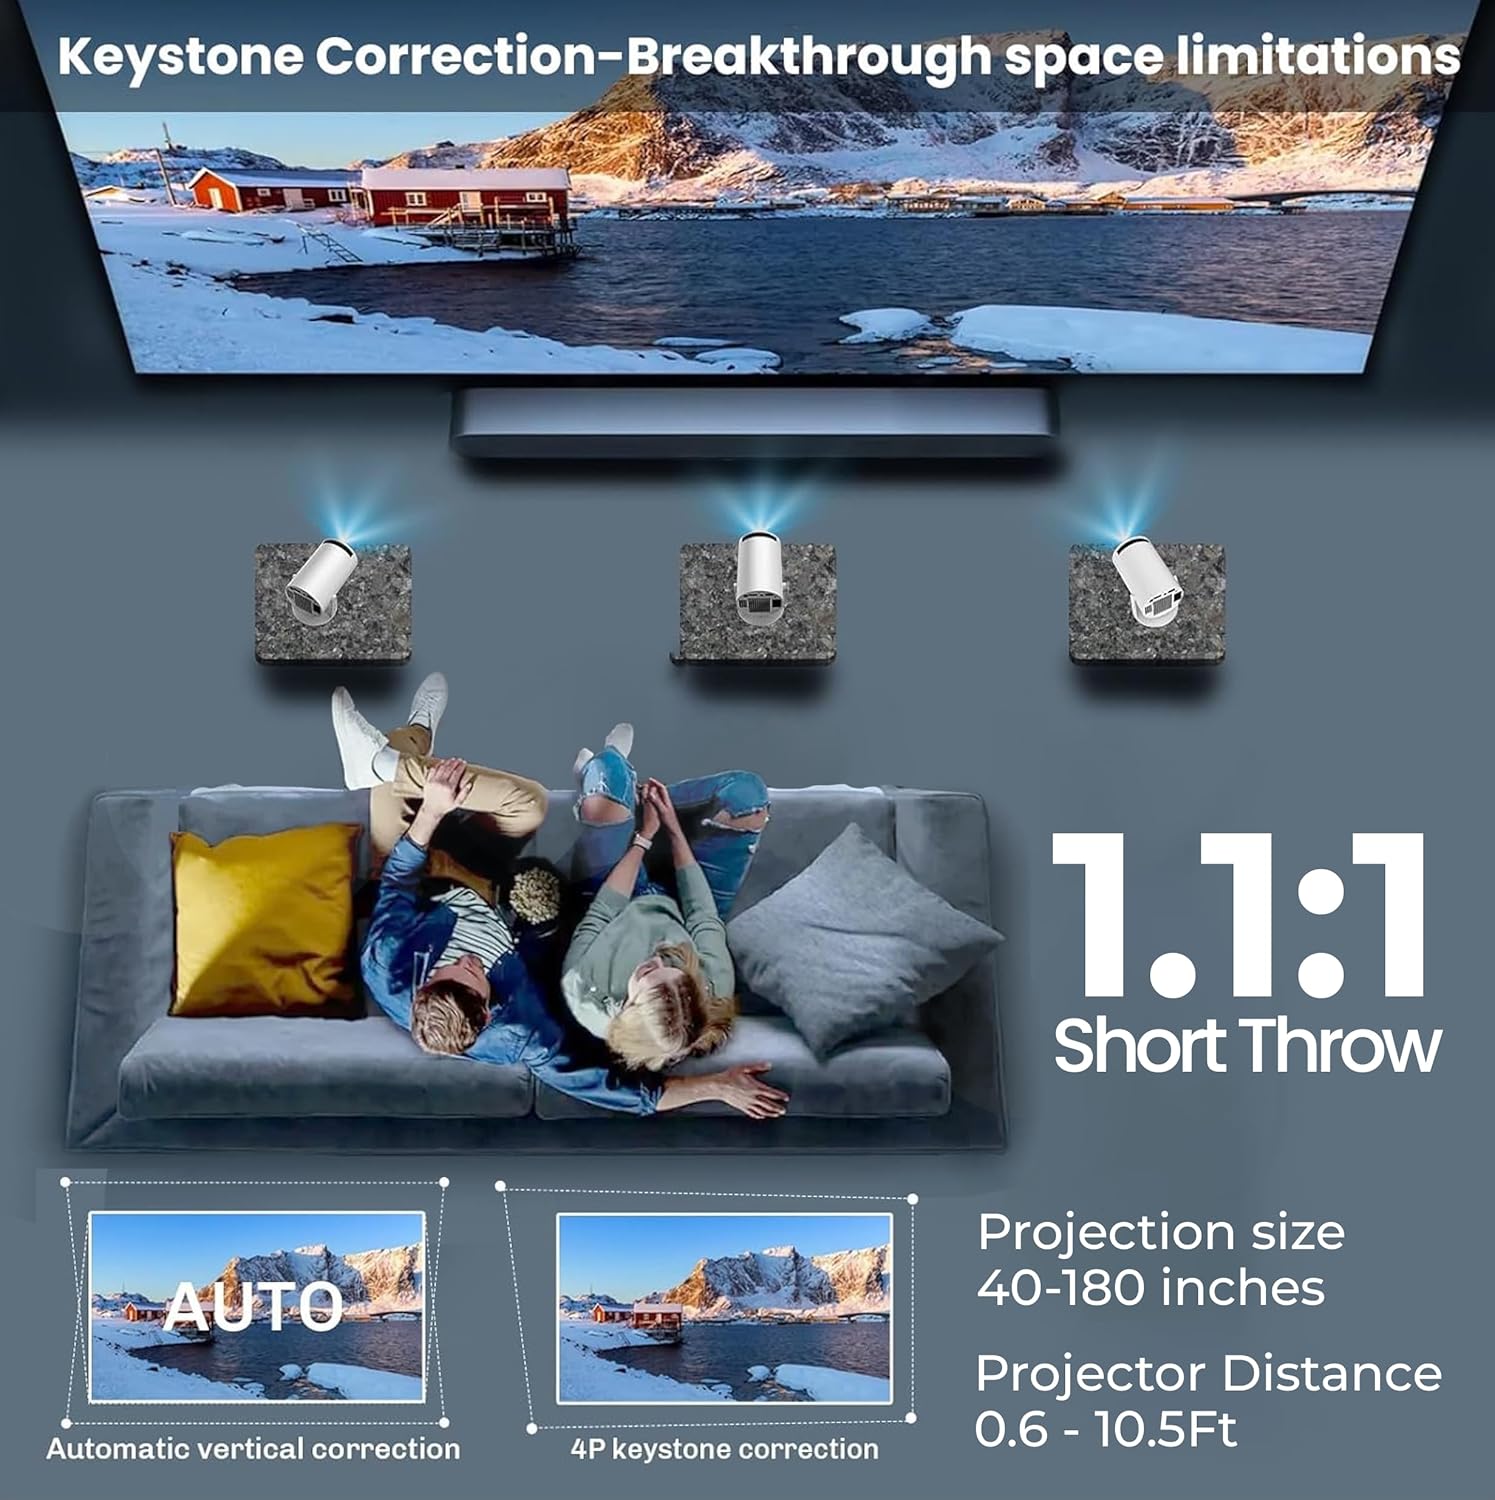
Image: Rear view of the E GATE Atom 2X Projector showing connectivity ports.
3. Setup Guide
3.1 Unpacking
Carefully remove the projector and all accessories from the packaging. Retain the packaging for future storage or transport.
3.2 Placement
Place the projector on a stable, flat surface. The Atom 2X features a 180° rotatable design, allowing projection onto walls, ceilings, or floors. Ensure adequate ventilation around the projector.
- Projection Distance: The optimal projection distance ranges from 4 feet to 12 feet, producing an image size from 50 inches to 180 inches.
- Angle Adjustment: Utilize the 180° rotation feature to direct the projection as needed.

Image: Diagram illustrating the 180-degree rotation capability of the projector.

Image: Illustration of short throw projection, showing how distance affects screen size.
3.3 Power Connection
Connect the provided power cord to the projector's power input port, then plug the other end into a suitable electrical outlet.
3.4 Initial Power On
Press the power button on the projector or the remote control to turn on the device. The projector will boot up and display the Android TV AOSP interface.
4. Operating Instructions
4.1 Remote Control
Use the included remote control to navigate the projector's interface. Ensure the remote has fresh batteries and is pointed towards the projector's IR receiver.
4.2 Navigation (Android TV AOSP)
The projector runs on Android TV AOSP, providing a user-friendly interface. Use the remote's directional buttons to navigate through menus and select applications. Pre-loaded applications include Netflix, Prime Video, and YouTube. You can also access and download additional apps from the app store.
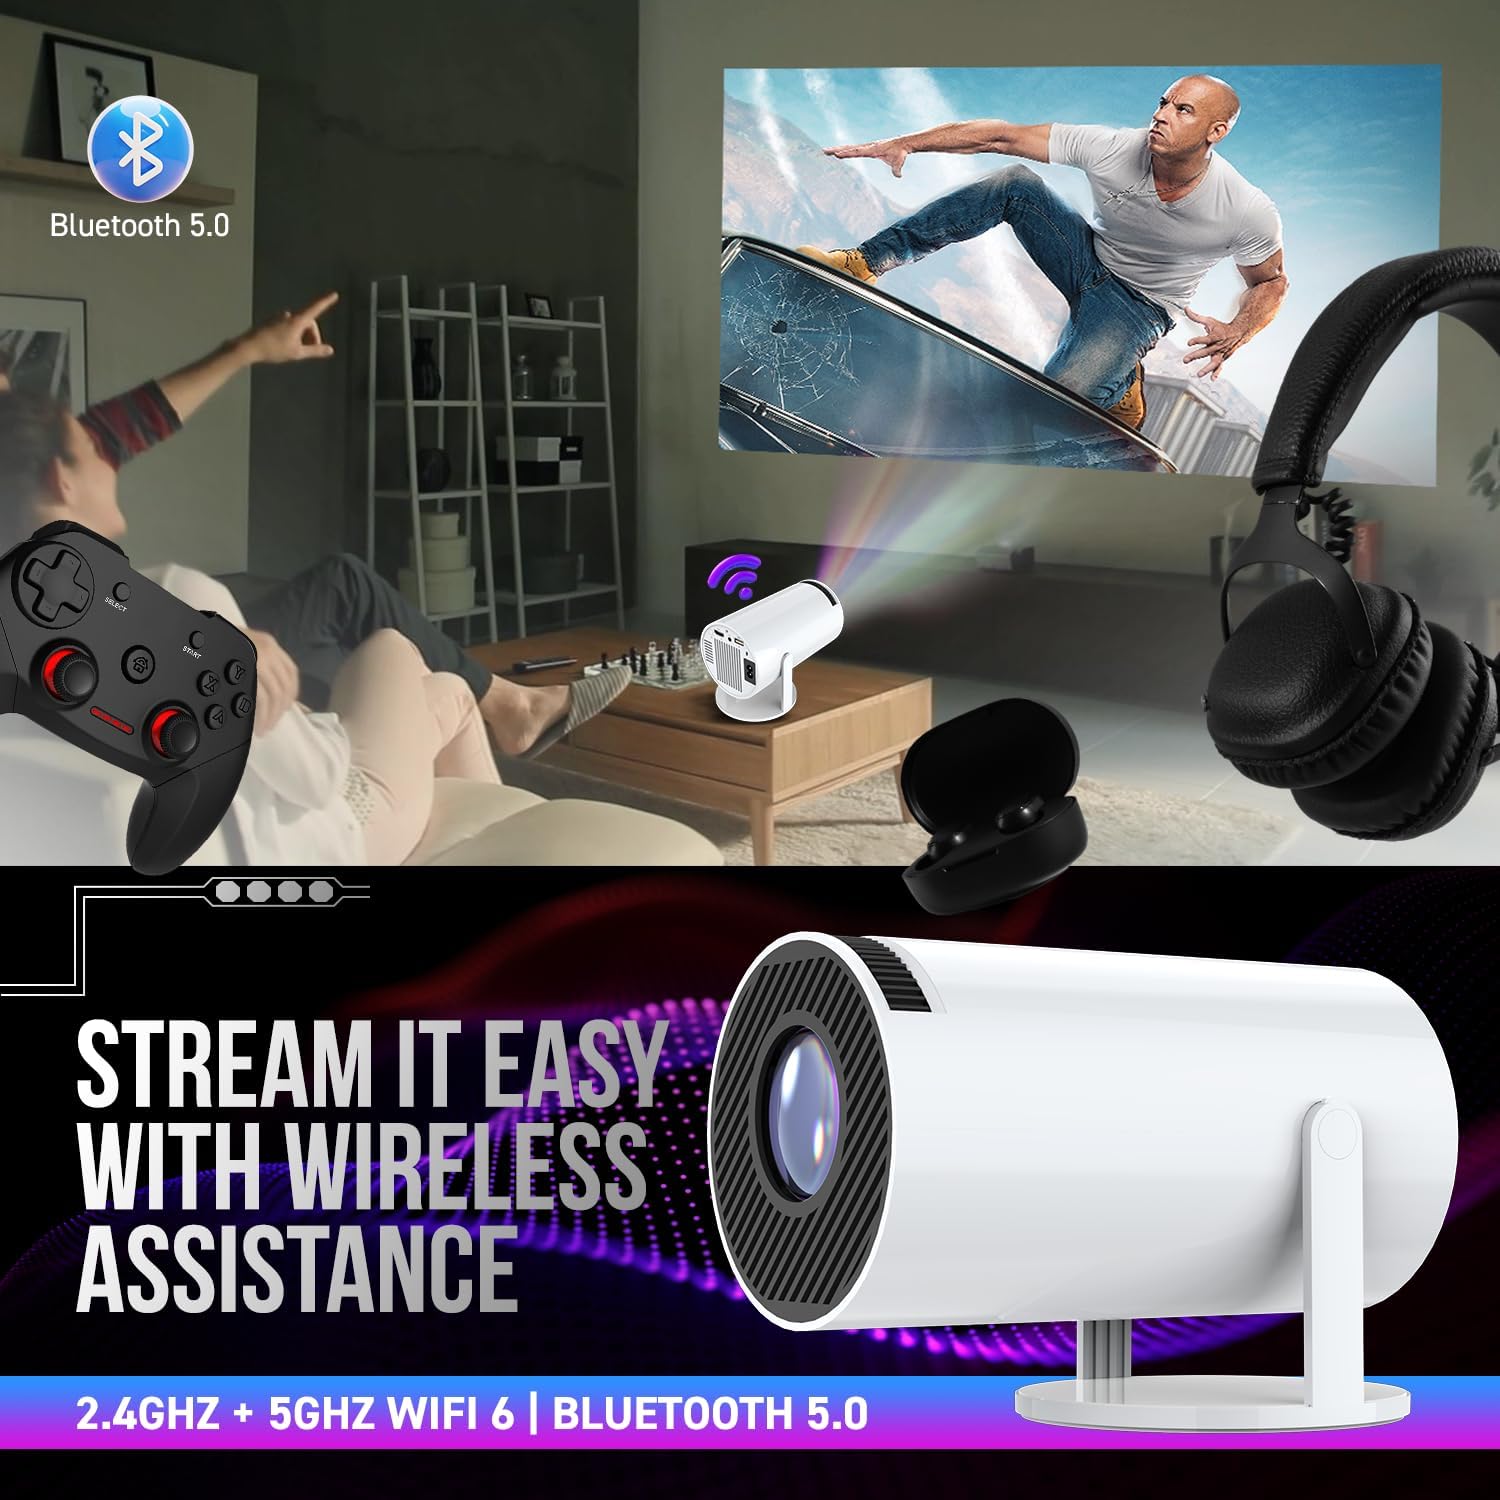
Image: The projector displaying the Android TV AOSP home screen with various app icons.
4.3 Connectivity
- Wi-Fi Connection: Go to Settings > Network & Internet to connect to your home Wi-Fi network. The projector supports Dual Band WiFi6 (2.4GHz and 5GHz).
- Bluetooth Devices: To pair Bluetooth speakers, headphones, or game controllers, go to Settings > Connected Devices > Pair new device.
- HDMI/USB Input: Connect external devices such as laptops, gaming consoles, or USB drives to the HDMI or USB ports. Select the appropriate input source from the projector's menu.

Image: The projector connected wirelessly to a game controller and headphones, demonstrating Bluetooth 5.0 and WiFi 6 capabilities.
4.4 Image Adjustment
- Automatic Keystone Correction: The projector features automatic keystone correction (4P 4D control) to adjust the image shape for a perfect rectangle, even when projected at an angle. This typically activates automatically upon startup or movement.
- Manual Focus: Use the precision focus wheel located on the projector to sharpen the image until it is clear.

Image: Diagram illustrating automatic vertical correction and 4P keystone correction features.
4.5 Screen Mirroring
The projector supports screen mirroring from compatible devices. Access the screen mirroring function from the main menu and follow the on-screen instructions to connect your smartphone or tablet.
5. Maintenance
5.1 Cleaning
- Lens: Use a soft, lint-free cloth specifically designed for optical lenses to gently wipe the projector lens. Avoid abrasive materials or harsh chemicals.
- Exterior: Wipe the projector's exterior with a soft, dry cloth. Do not use liquid cleaners directly on the device.
5.2 Storage
When not in use for extended periods, store the projector in a cool, dry place, away from direct sunlight and extreme temperatures. Use the original packaging or a protective case to prevent dust accumulation and damage.
5.3 Lamp Life
The projector's LED lamp is designed for long-term use, with an estimated lifespan of up to 50,000 hours, minimizing the need for lamp replacement.
6. Troubleshooting
If you encounter issues with your E GATE Atom 2X projector, refer to the table below for common problems and solutions.
| Problem | Possible Cause | Solution |
|---|---|---|
| No Power | Power cord not connected; Power outlet faulty; Projector off. | Ensure power cord is securely connected. Test outlet with another device. Press power button on projector or remote. |
| No Image | Input source incorrect; Lens cap on; Device not connected. | Select correct input source (HDMI, USB). Remove lens cap. Ensure external device is properly connected and powered on. |
| Blurred Image | Focus not adjusted; Keystone not corrected. | Adjust the manual focus wheel. Allow automatic keystone correction to activate or manually adjust if needed. |
| No Sound | Volume too low; Muted; External audio device not connected/selected. | Increase volume. Unmute. Check if Bluetooth audio is connected and selected as output. |
| Wi-Fi/Bluetooth Connection Issues | Incorrect password; Device out of range; Interference. | Verify Wi-Fi password. Move projector closer to router/Bluetooth device. Reduce interference from other wireless devices. |
| Apps Crashing or Lagging | Insufficient memory; App compatibility issue; Software glitch. | Close background apps. Clear app cache. Restart the projector. Ensure apps are updated. |
7. Technical Specifications
Below are the detailed technical specifications for the E GATE Atom 2X Smart Android Projector:
| Feature | Detail |
|---|---|
| Brand | E GATE |
| Model Name | Atom 2X |
| Model Number | EGP9 |
| Native Resolution | 1280 x 720 (720p) |
| Maximum Display Resolution | 1080p Full HD Pixels (Supports 4K Decoding) |
| Brightness | 200 ISO Lumens (200 ANSI Lumens) |
| Display Type | LCD |
| Processor | Allwinner H713 Chip Quad Core Processor, ARM Cortex 450 GPU |
| Memory (RAM/ROM) | 1GB RAM / 8GB ROM |
| Operating System | Android 11.0 (Android TV AOSP) |
| Connectivity Technology | Bluetooth 5.0, Dual Band Wi-Fi 6 (2.4GHz + 5GHz), HDMI, USB |
| Keystone Correction | Automatic & 4P 4D Digital Control |
| Projection Size | 50 - 180 Inches |
| Throw Distance | 4 - 12 Feet |
| Controller Type | Remote Control |
| Item Dimensions (L x W x H) | 11.8L x 21.8W x 15.5H Centimeters |
| Item Weight | 600 Grams |
| Lamp Life | 50,000 Hours |
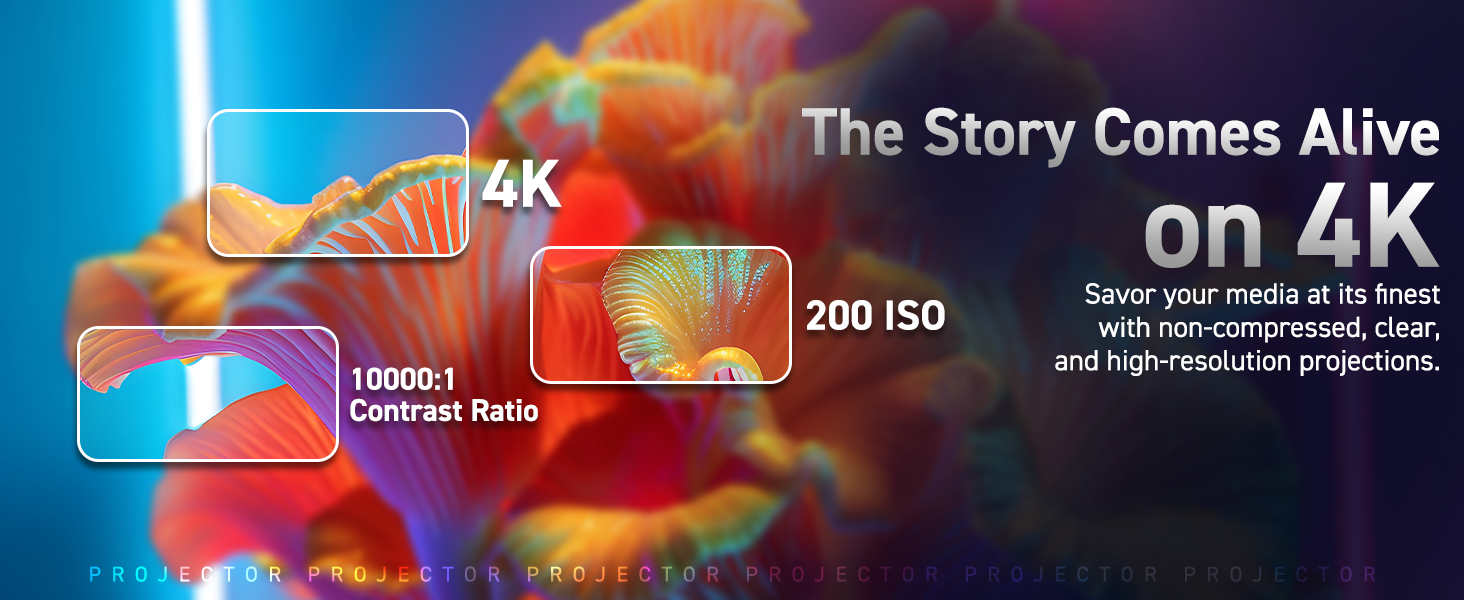
Image: Key visual highlighting 4K support, 200 ISO brightness, and 10000:1 contrast ratio.

Image: Visual emphasizing the 200 ISO brightness for vivid projections.

Image: Promotional banner for the E GATE Atom 2X+ projector.
8. Warranty and Support
8.1 Warranty Information
Your E GATE Atom 2X Projector comes with a 1-year manufacturer warranty from the date of purchase. It is mandatory to register your product to avail warranty benefits. During the warranty period, E GATE provides free home pickup and drop service for eligible repairs.
For detailed terms and conditions, please refer to the warranty card included in your package or visit the official E GATE website.
8.2 Contact Support
For technical assistance, warranty claims, or any other inquiries, please visit the E GATE official website for contact information and support resources.