1. Product Overview
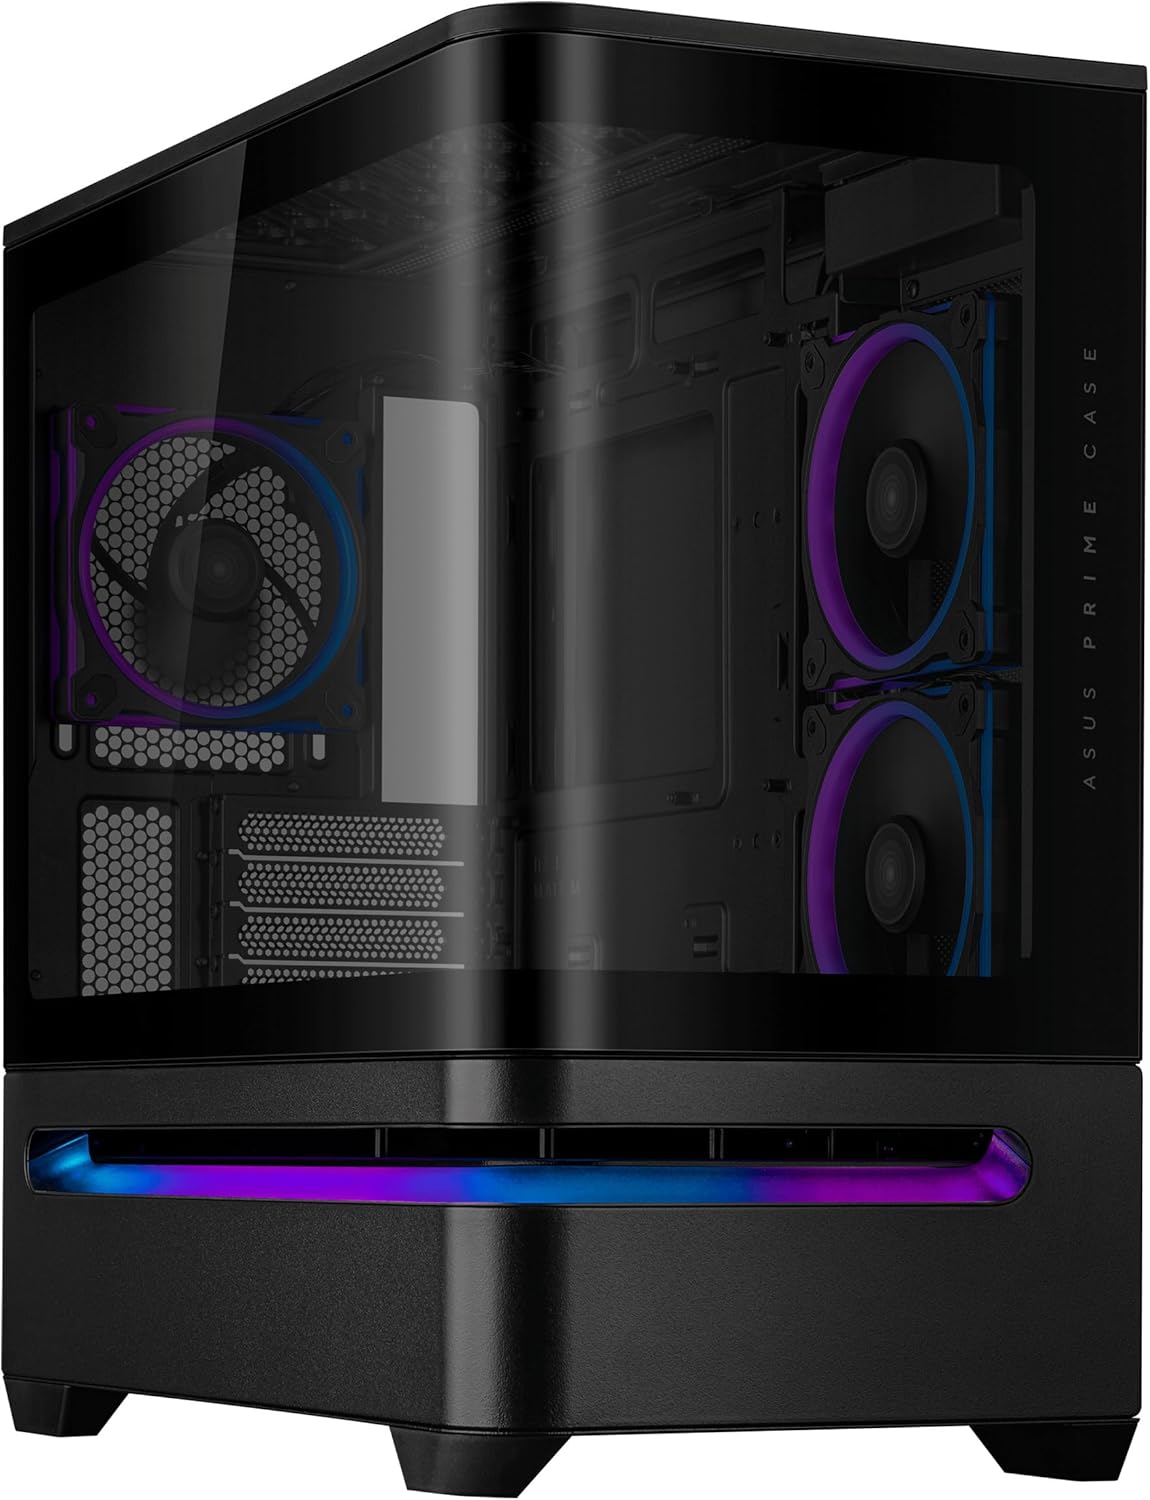
The ASUS Prime AP202 ARGB Black mATX PC case is designed for compact, high-performance builds. It features a curved tempered glass panel, supports large graphics cards and radiators, and includes a patented slot vent for optimal cooling. Three pre-installed ARGB fans enhance airflow and provide customizable lighting effects.
Key Features:
- Curved Tempered Glass Panel: Extends seamlessly from front to side, offering a panoramic view of internal components.
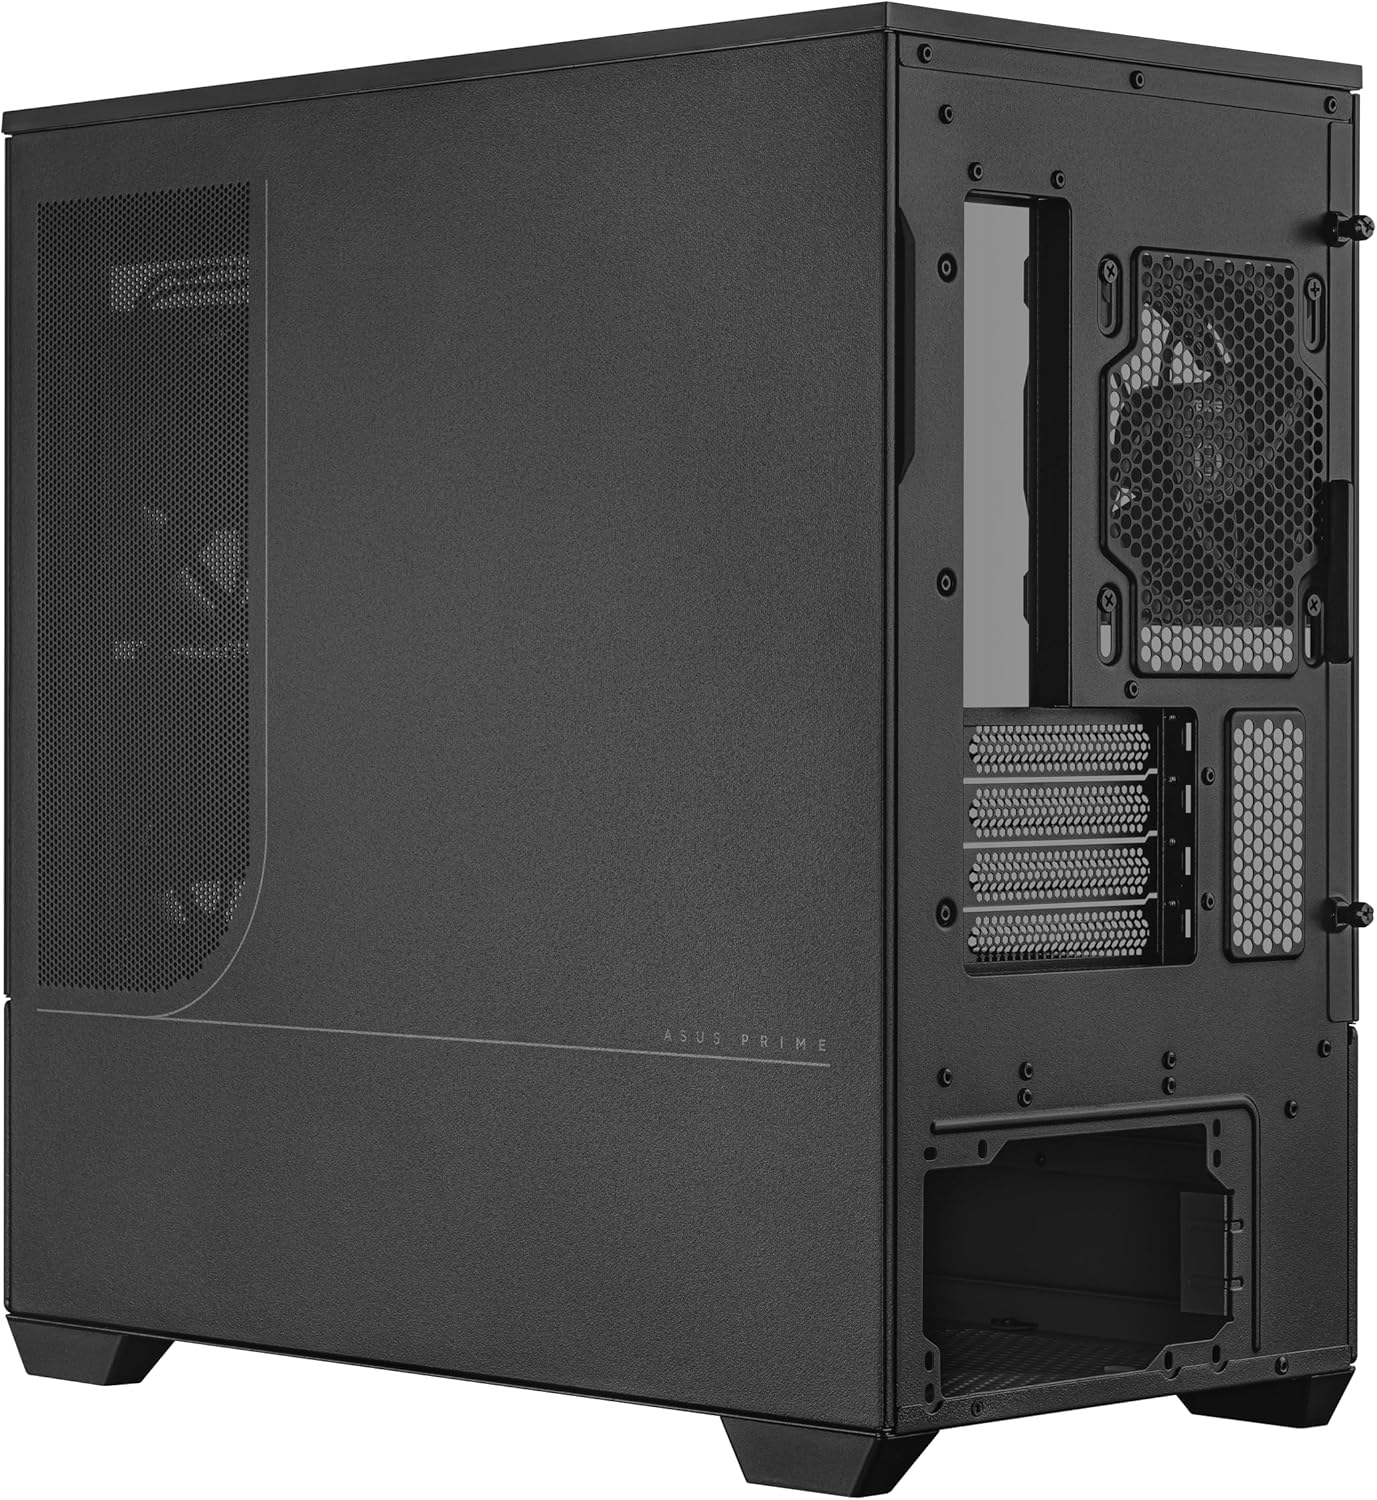
- Easy-Detach Rail System: Simplifies panel removal and reattachment for convenient access.
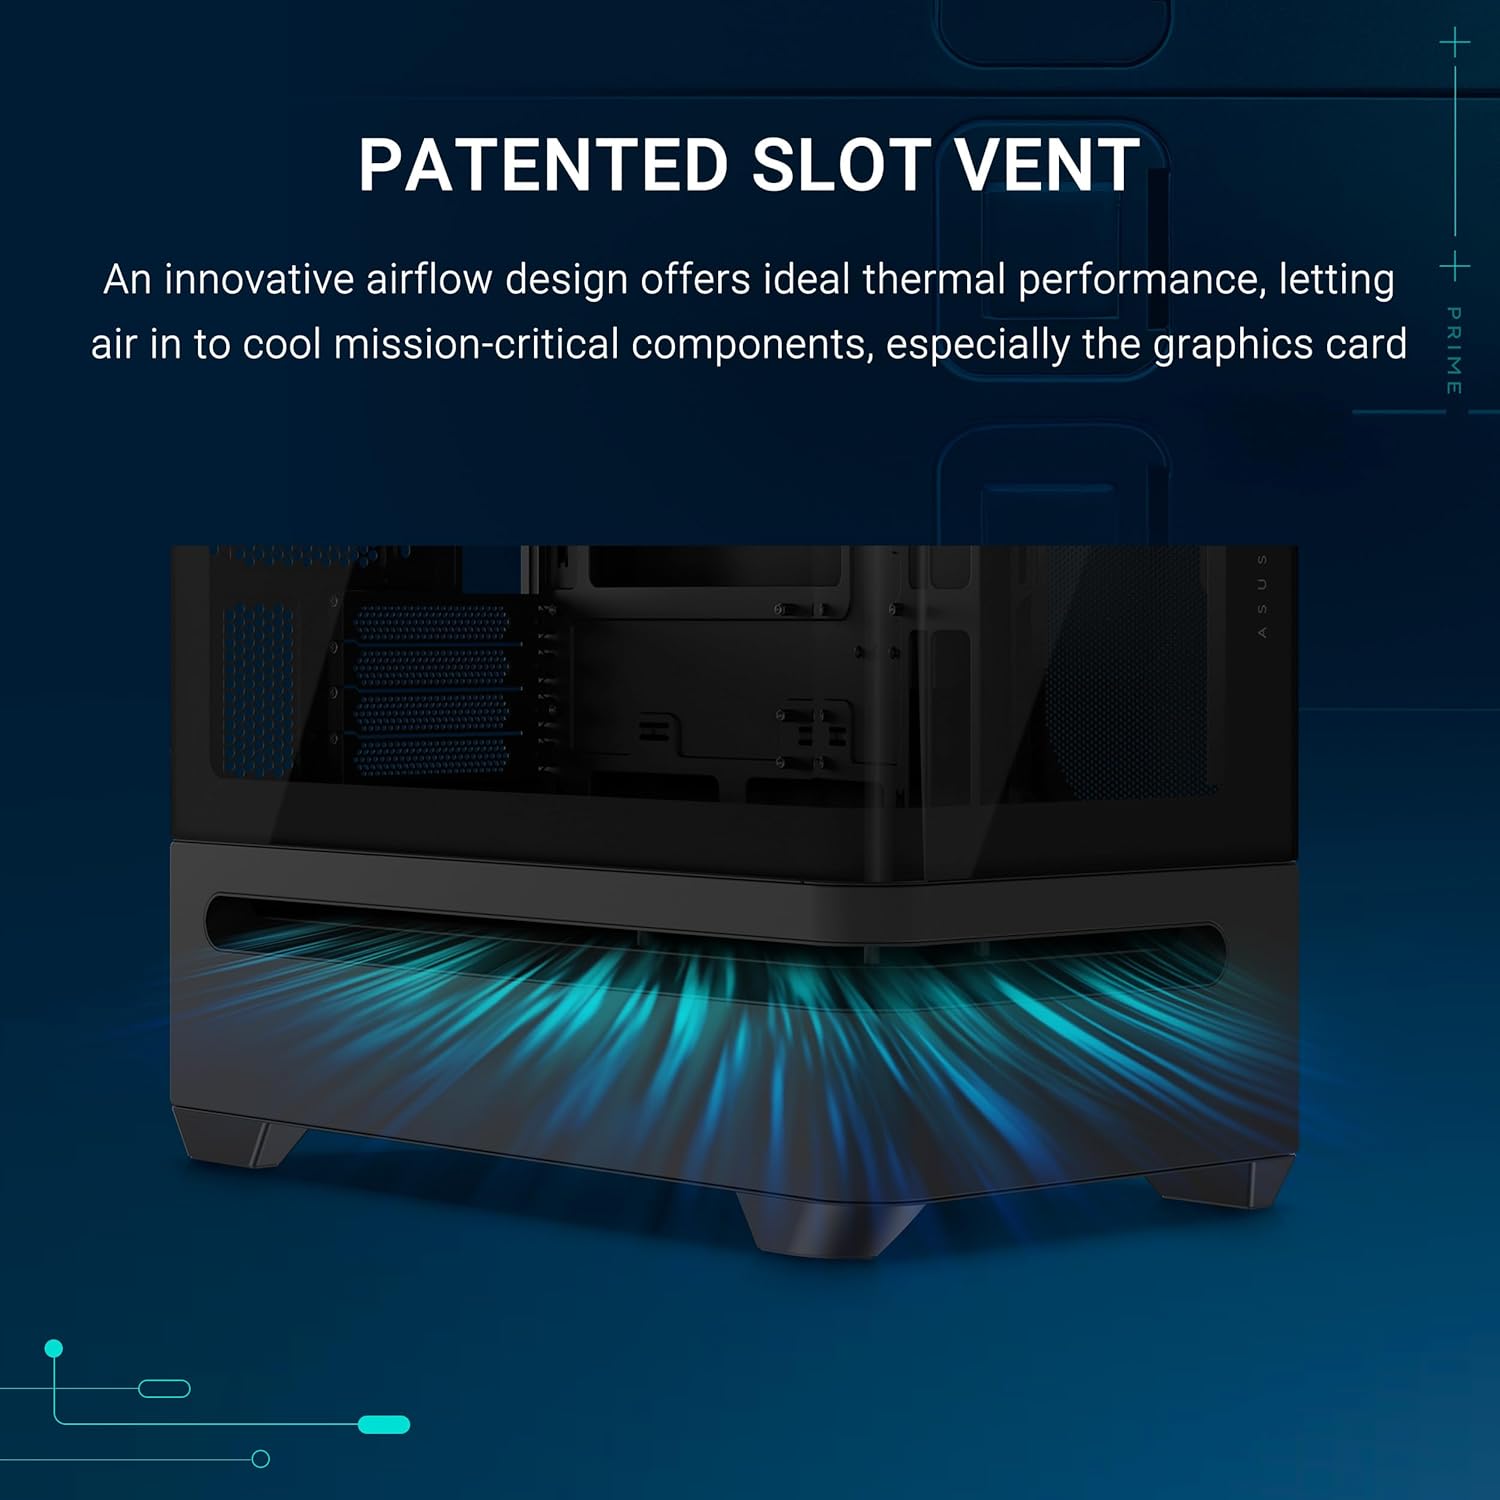
- Patented Slot Vent: Provides optimized airflow for graphics card cooling.
- Integrated ARGB Light Band: Located near the bottom, offering spectacular lighting effects compatible with Aura Sync.
- Three Pre-installed ARGB Fans: 120mm fans with extra-thick 28mm frames for optimal airflow and integrated addressable RGB LEDs.
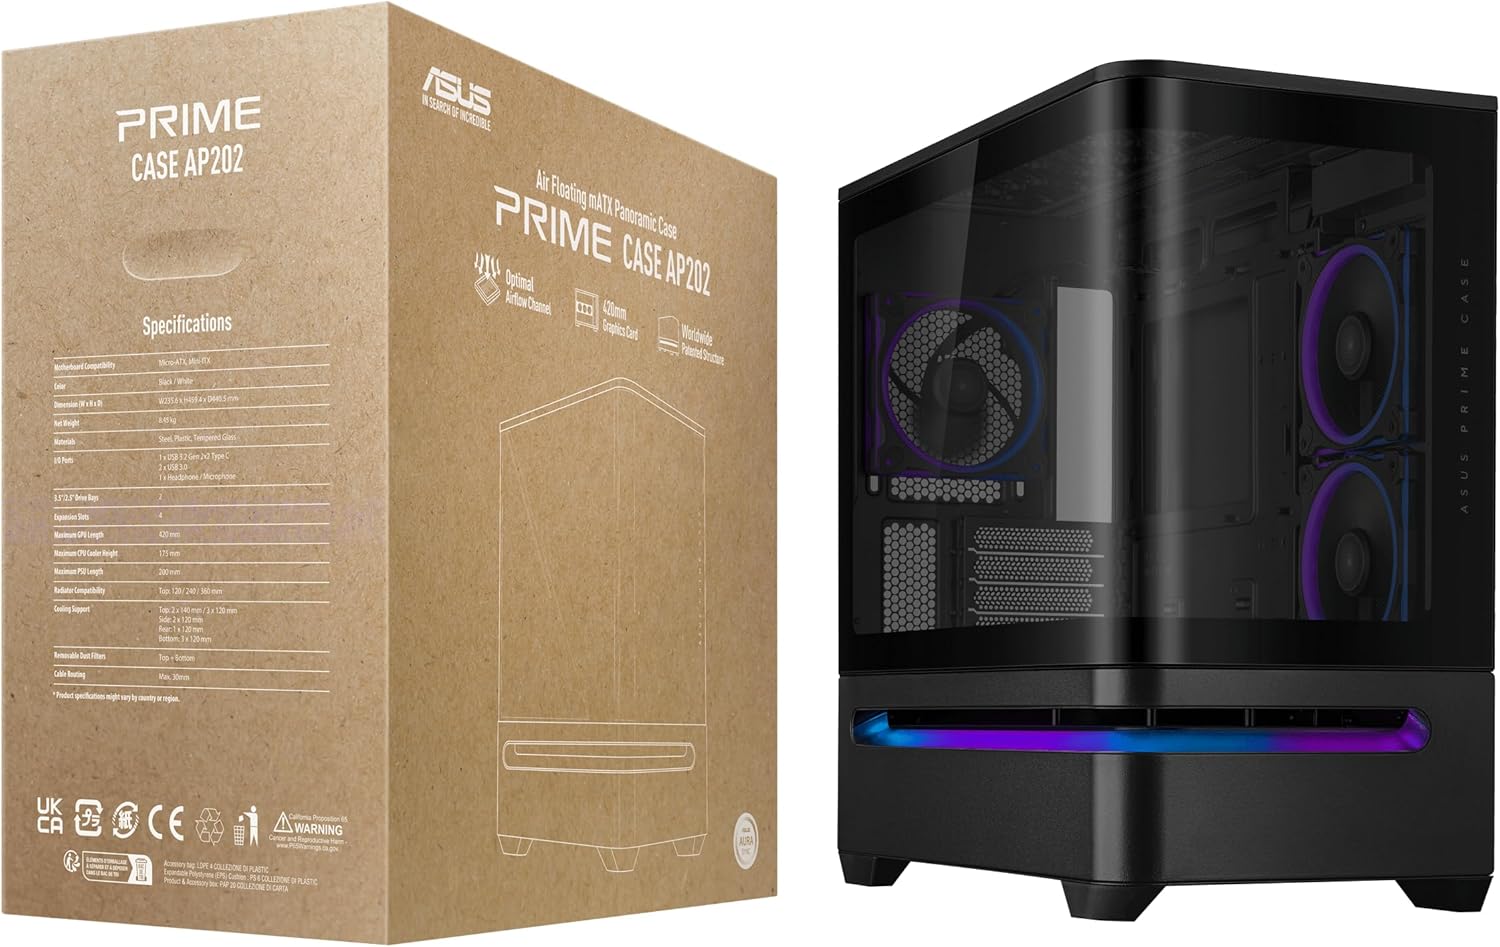
- Broad Compatibility: Supports graphics cards up to 420mm long, radiators up to 360mm long, and CPU air coolers up to 175mm tall.
2. Setup and Installation
This section outlines the general steps for setting up your ASUS Prime AP202 ARGB PC case. Always refer to the specific manuals for your motherboard, power supply, and other components for detailed installation instructions.
2.1 Unpacking and Initial Inspection
- Carefully remove the PC case from its packaging.
- Inspect the case for any signs of damage during transit. Contact your retailer immediately if damage is found.
- Verify all accessories listed in the packing list are present.
2.2 Panel Removal
The ASUS Prime AP202 features an easy-detach rail system for panel removal.
- Locate the easy-detach rails on the rear of the case for the side panels.
- Gently pull the panels away from the chassis to detach. Exercise caution with the tempered glass panel.

2.3 Component Installation Order
A recommended order for installing components:
- Motherboard: Install standoffs if necessary, then secure the mATX or Mini-ITX motherboard.
- CPU Cooler: Install your CPU cooler (air cooler up to 175mm tall or AIO liquid cooler).
- Power Supply (PSU): Install the PSU (up to 200mm length) into its designated compartment.
- Storage Drives: Mount 2.5-inch or 3.5-inch drives in the available bays.
- Graphics Card: Install the graphics card (up to 420mm long) into the PCIe slot.
- Cable Management: Route all necessary cables through the designated cutouts for a clean build and optimal airflow. The case offers 30mm of space for cable management.


3. Operation
3.1 Powering On
After all components are installed and cables connected, press the power button located on the top panel of the case to start your system.

3.2 ARGB Lighting Control
The integrated ARGB light band and pre-installed ARGB fans are compatible with ASUS Aura Sync. Connect the ARGB headers to your compatible motherboard and use the Aura Sync software to customize lighting effects and synchronize them with other Aura Sync-enabled components.


4. Maintenance
4.1 Dust Filter Cleaning
Regular cleaning of dust filters is crucial for maintaining optimal airflow and component longevity. The ASUS Prime AP202 features magnetic dust filters for easy removal and cleaning.
- Power off your PC and disconnect it from the power source.
- Locate the magnetic dust filters (typically on the top, front, and bottom).
- Gently remove the filters.
- Clean the filters using compressed air or by rinsing them with water. Ensure they are completely dry before reattaching.
- Reattach the magnetic dust filters.
4.2 Exterior Cleaning
Wipe the exterior surfaces of the case with a soft, damp cloth. Avoid abrasive cleaners or solvents that could damage the finish or tempered glass.
5. Troubleshooting
This section addresses common issues you might encounter with your PC case.
5.1 System Not Powering On
- Power Connections: Ensure the PSU is properly connected to the wall outlet and the power switch on the PSU is in the "ON" position.
- Front Panel Headers: Double-check that the front panel power switch header is correctly connected to the motherboard.
- Internal Components: Verify all internal power cables (24-pin ATX, CPU, GPU, etc.) are securely seated.
5.2 Fans Not Spinning or ARGB Not Lighting Up
- Fan Connections: Ensure all fan power cables are securely connected to the motherboard fan headers or a fan controller.
- ARGB Connections: Verify that the ARGB cables from the fans and light band are correctly connected to the motherboard's 3-pin 5V ARGB header.
- Software: Check your motherboard's ARGB control software (e.g., ASUS Aura Sync) to ensure lighting is enabled and configured correctly.
5.3 Overheating Components
- Airflow Obstructions: Ensure no cables or other components are blocking airflow paths.
- Dust Filters: Clean dust filters regularly as described in the Maintenance section.
- Fan Orientation: Verify that fans are installed with the correct intake/exhaust orientation for optimal airflow.
6. Specifications
| Feature | Detail |
|---|---|
| Brand | ASUS |
| Model Name | PRIME AP202 TG ARGB BLACK |
| Case Type | Mid Tower |
| Motherboard Compatibility | Micro-ATX, Mini-ITX |
| Material | Alloy Steel, Plastic, Tempered Glass |
| Color | BLACK |
| Item Dimensions (LxWxH) | 9.3 x 17.4 x 18.1 inches |
| Item Weight | 20.1 pounds |
| Max GPU Length | 420mm |
| Max Radiator Length | 360mm |
| Max CPU Cooler Height | 175mm |
| PSU Length Compatibility | Up to 200mm |
| Cooling Method | Air |
| Pre-installed Fans | 3 x 120mm ARGB Fans |
| USB 3.0 Ports | 1 |

7. Warranty and Support
For warranty information, please refer to the warranty card included with your product or visit the official ASUS support website. ASUS provides technical support and resources for their products.
- Official ASUS Support: https://www.asus.com/support/
- Product Registration: Register your product to receive the latest updates and support.


