
Keter 259826
Keter Signature Collection 11x7 Ft All-Weather Storage Shed User Manual
Model: 259826
Introduction
This manual provides essential information for the assembly, operation, and maintenance of your Keter Signature Collection 11x7 Ft All-Weather Storage Shed. Please read these instructions carefully before beginning assembly or use to ensure safe and proper functionality.

Figure 1: Keter Signature Collection 11x7 Ft All-Weather Storage Shed in Walnut finish.
The Keter Signature Collection shed features innovative DECoCOAT technology, providing a wood-like appearance without the maintenance of real wood. It is designed for all-weather durability, offering a secure and organized space for your outdoor items. Key features include a skylight, window, built-in ventilation, customizable walls, and lockable double doors.
Key Features:
- Innovative DECoCOAT technology for wood-look finish with low upkeep.
- Premium construction designed for outdoor storage aesthetics.
- Fade-resistant colors for long-lasting vibrancy.
- Crystal clear windows for natural light and built-in ventilation for air circulation.
- Lockable double doors for easy access and enhanced security.
- Durable floor panels to protect contents from weather elements.
Specifications
| Attribute | Detail |
|---|---|
| Brand | Keter |
| Model Number | 259826 |
| Color | Walnut |
| Material | Metal, Resin (Plastic) |
| Product Dimensions (D x W x H) | 134.6"D x 85.8"W x 88.9"H |
| Interior Dimensions (W x D x H) | 128.7" x 79.1" x 86.5" |
| Item Weight | 422.4 Pounds |
| Door Width | 54.6 Inches |
| Door Height | 71.3 Inches |
| Water Resistance Level | Water Resistant |
| UV Protection | Yes |
| Assembly Required | Yes |
| Wind Rated | 90 mph |
| Snow Load | 30 lbs/ft² |
| Capacity | 483 ft³ |
| UPC | 731161060618 |
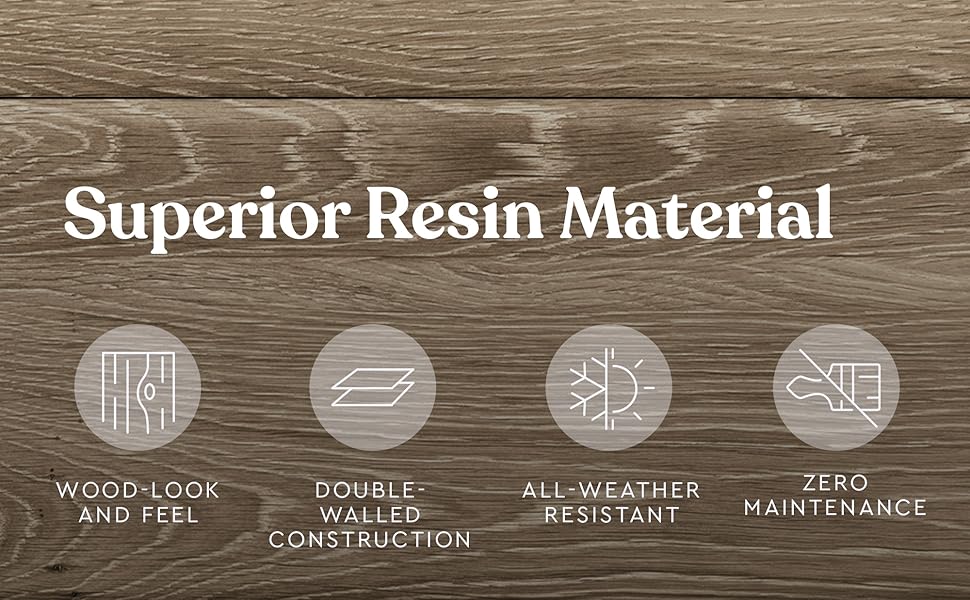
Figure 2: Detailed dimensions and capacity of the Keter Signature Shed.
Setup and Assembly
The Keter Signature Collection shed requires assembly. It is recommended to have at least two people for the assembly process. Ensure you have all parts and tools listed in the packaging before starting.
1. Site Preparation:
- Choose a level site for your shed. A level foundation (gravel, wood, or dirt) is required for proper construction. Keter recommends a concrete foundation for best stability.
- Clear the area of any debris, rocks, or vegetation.
- Ensure adequate space around the shed for assembly and future access.
2. Unpacking and Part Identification:
- Carefully unpack all components and lay them out.
- Refer to the included parts list in your packaging to identify each piece.
- Report any missing or damaged parts to Keter customer support immediately.
3. Assembly Steps:
Follow the step-by-step instructions provided in the separate assembly manual included with your product. General steps typically include:
- Assembling the floor panels.
- Attaching wall panels and corner supports.
- Installing the roof structure, skylight, and ventilation components.
- Mounting the double doors and installing the lock mechanism.
- Securing the shed to the foundation (if applicable).
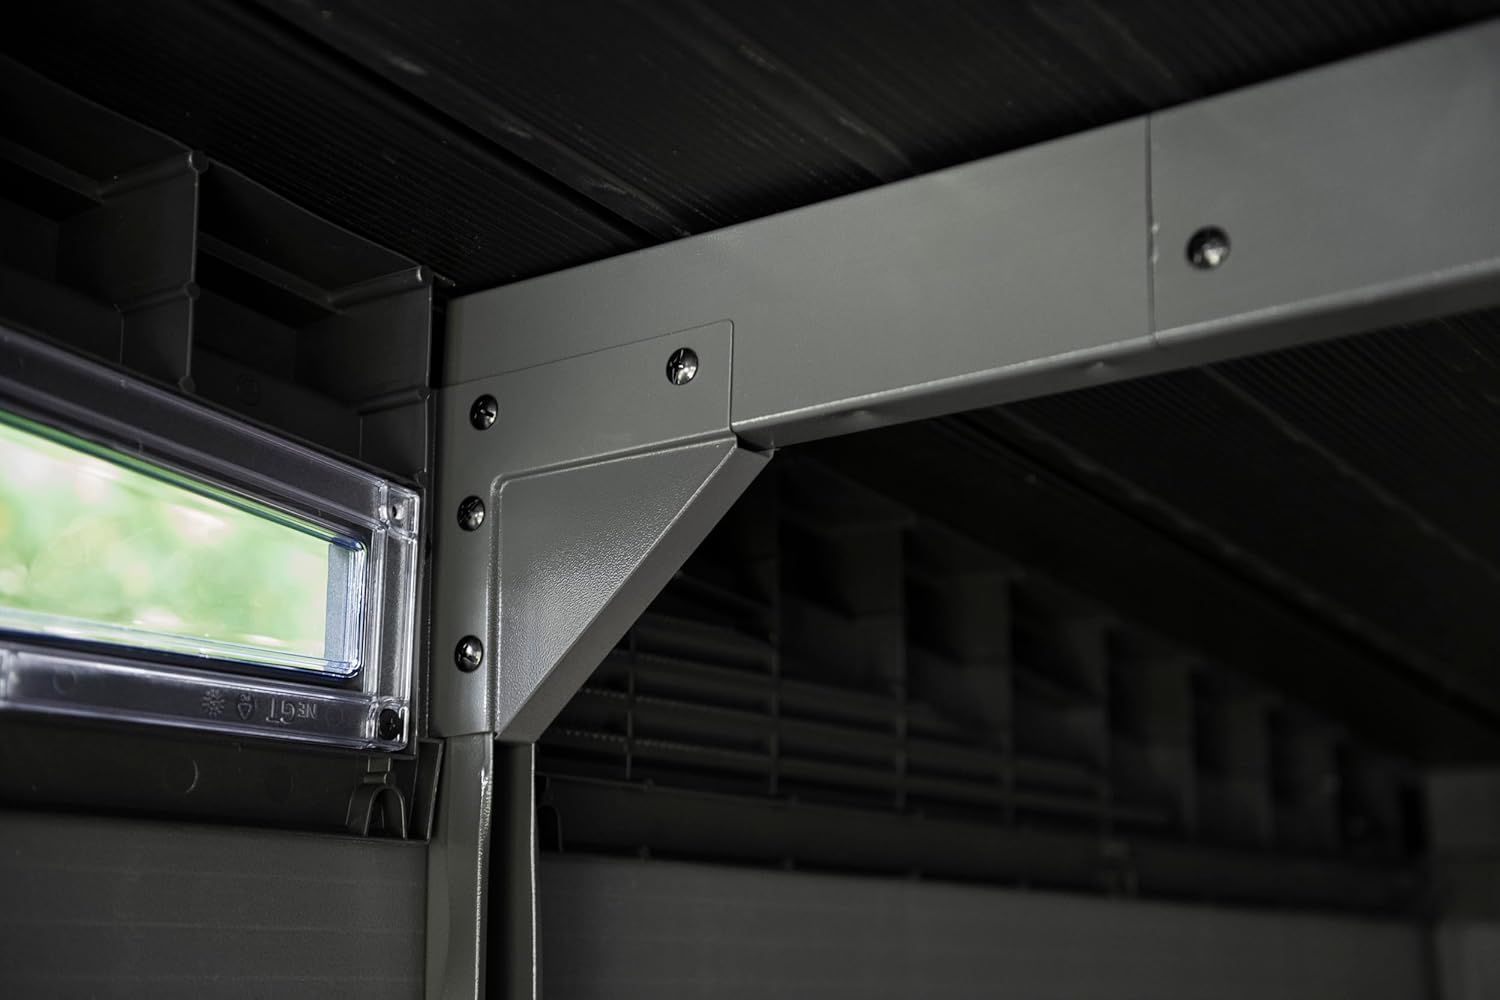
Figure 3: Internal frame structure and skylight detail, illustrating components involved in assembly.
Ensure all screws and fasteners are tightened securely, but do not overtighten to avoid damaging the material. Verify that doors open and close smoothly and that the lock mechanism functions correctly upon completion.
Operating Instructions
1. Door Operation:
- The shed features double doors for wide access. To open, simply pull the handles outwards.
- To close, push the doors firmly until they latch.
- For security, use the integrated lock mechanism. A padlock (not included) can be added for additional security.

Figure 4: Detail of the ergonomic door handle and lockable mechanism.
2. Ventilation and Lighting:
- The shed is equipped with built-in ventilation to promote air circulation and reduce condensation. Ensure these vents are not obstructed.
- The integrated skylight and window panels allow natural light into the shed, reducing the need for artificial lighting during the day.

Figure 5: Roofline showing integrated ventilation slots for air circulation.
3. Storage and Capacity:
- Utilize the shed's 483 ft³ capacity for storing garden tools, lawnmowers, bicycles, and other outdoor equipment.
- The durable floor panels protect stored items from ground moisture.
- Consider adding shelving or hooks (not included) to maximize internal organization.

Figure 6: The low-profile floor design allows for easy entry and exit of wheeled equipment like lawnmowers.
Maintenance
The Keter Signature Collection shed is designed for minimal maintenance due to its durable resin construction and DECoCOAT technology. However, regular checks will ensure its longevity and appearance.
1. Cleaning:
- Clean the exterior of the shed periodically with a mild soap solution and water.
- Use a soft brush or cloth to remove dirt, dust, or mildew.
- Rinse thoroughly with clean water. Avoid using abrasive cleaners or harsh chemicals, as these can damage the finish.
2. Inspection:
- Periodically inspect the shed for any signs of wear or damage, especially after severe weather conditions.
- Check all fasteners and connections to ensure they remain tight.
- Ensure the doors operate smoothly and the lock mechanism is functioning correctly. Lubricate hinges if necessary.
- Keep ventilation openings clear of obstructions like leaves or debris.

Figure 7: The DECoCOAT texture provides a realistic wood-grain pattern that is easy to clean and maintain.
Troubleshooting
| Problem | Possible Cause | Solution |
|---|---|---|
| Doors do not close properly or are misaligned. | Uneven foundation; loose hinges; obstruction. | Ensure the shed is on a perfectly level surface. Check and tighten all hinge screws. Remove any debris from the door frame. |
| Water leakage inside the shed. | Improper assembly; damaged seals; obstructed drainage. | Verify all panels are correctly seated and screws are tight. Inspect roof and wall seams for damage. Ensure floor panels are properly interlocked and sealed. Clear any debris from roof edges and ventilation. |
| Condensation inside the shed. | Poor ventilation; high humidity. | Ensure all ventilation openings are clear and unobstructed. Consider adding a dehumidifier if the problem persists in very humid climates. |
| Shed feels unstable or wobbly. | Uneven foundation; loose connections. | Re-check the levelness of the foundation. Tighten all assembly screws and bolts. Ensure the shed is anchored if required by local building codes. |
Warranty and Support
Keter stands behind the quality of its products. The Keter Signature Collection shed comes with a manufacturer's warranty. Please refer to the warranty card included in your product packaging for specific terms, conditions, and duration.
Customer Support:
For any questions regarding assembly, missing parts, product issues, or warranty claims, please contact Keter Customer Support. Have your model number (259826) and proof of purchase ready when contacting support.
- Online Support: Visit the official Keter website for FAQs, assembly videos, and contact forms. www.keter.com
- Phone Support: Refer to your product packaging or the Keter website for the most current customer service phone numbers.

Figure 8: Keter sheds are designed for all-weather durability, backed by a manufacturer's warranty.
Related documents259826


Ask a question about this manual
Ask about setup, troubleshooting, compatibility, parts, safety, or missing instructions. Manuals+ will review the question and use this page’s manual context to help answer it.