
VOOPOO ARGUS Klyc
VOOPOO ARGUS Klyc User Manual
Model: ARGUS Klyc | Brand: VOOPOO
1. Introduction
Thank you for choosing the VOOPOO ARGUS Klyc. This device is a state-of-the-art electronic cigarette starter kit designed for both new and experienced users, offering a hygienic, portable, and satisfying vaping experience. Please read this manual carefully before using the device to ensure proper operation and maintenance.
2. Product Overview & Features
The ARGUS Klyc combines innovative design with user-friendly functionality. Key features include:
- Magnetic Cap: Can be attached to both the top and bottom of the device for enhanced hygiene, dust prevention, and shake prevention during portability.
- Smart Draw Control: Automatically adjusts output power based on the strength of your inhale, optimizing the vaping experience.
- Large Capacity Battery: Integrated 1350mAh battery supports up to 30W maximum output for extended use.
- Top-Fill Cartridge: Easy and convenient refilling without removing the pod from the device.
- LED Indicator: Clearly displays current output and battery level.
- Auto-Draw Operation: No buttons required for vaping, simply inhale to activate.
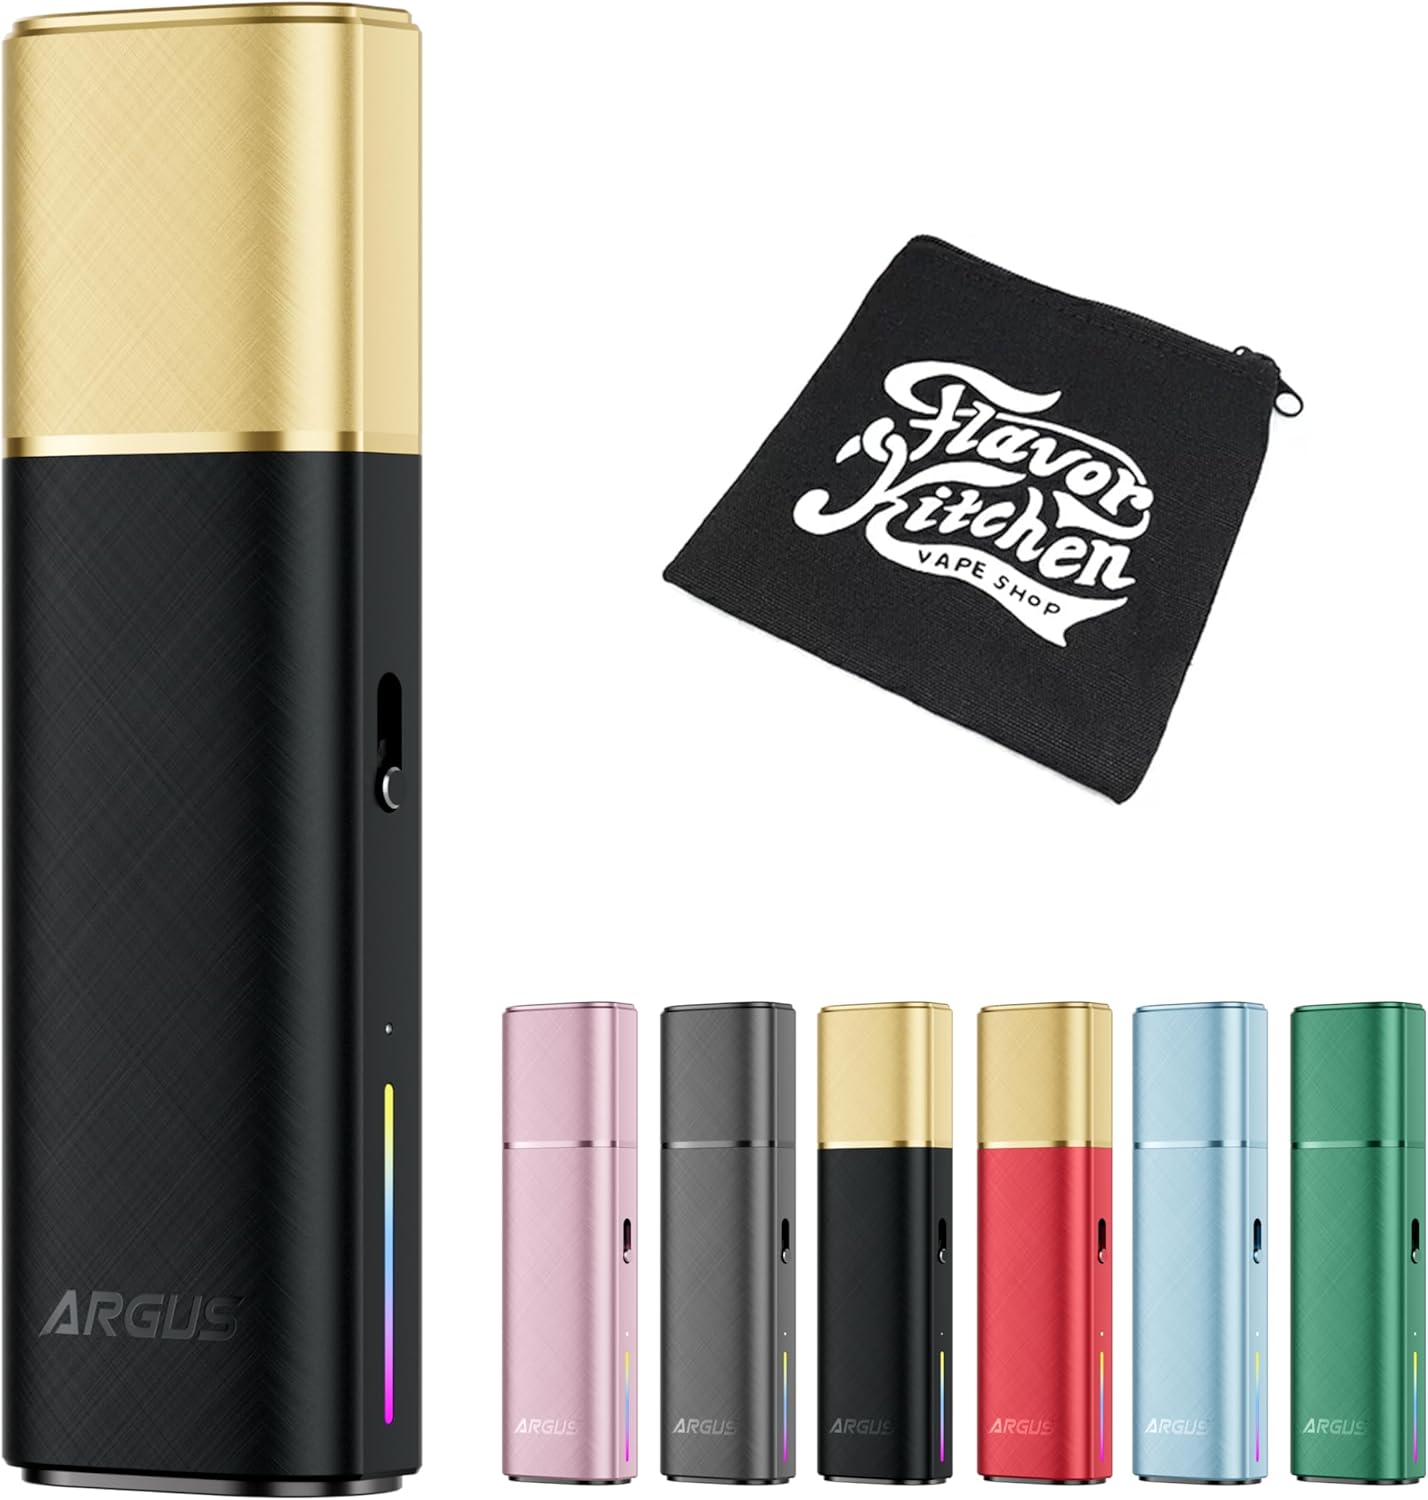
Figure 2.1: VOOPOO ARGUS Klyc device in Black & Gold, shown alongside a FlavorKitchen mini pouch and other available color variants (Dusty Pink, Grey, Red & Gold, Dreamy Blue, Green).

Figure 2.2: An overview of the ARGUS Klyc device and its key features, including a magnetic cap, top-fill cartridge, 1350mAh battery, and smart draw control, with various color options in the background.
3. Specifications
Device Specifications:
| Parameter | Value |
|---|---|
| Dimensions | 100.6 × 29.7 × 17.2 mm |
| Material | Aluminum Alloy |
| Battery Capacity | 1350mAh |
| Max Output Power | 30W |
| Supported Resistance Range | 0.3Ω - 3.0Ω |
| Charging Port | USB Type-C (5V/1.2A) |
| Operation Method | Auto-draw (Buttonless) |
| Display | LED Indicator |
Cartridge Specifications:
| Parameter | Value |
|---|---|
| Capacity | 3mL |
| Material | PCTG |
| Included Resistance | 0.7Ω (Built-in, non-replaceable coil) |

Figure 3.1: A summary of the product specifications, including dimensions (100.6x29.7x17.2mm), 1350mAh battery, 3ml POD capacity, 5W-30W output, USB Type-C charging, and the included 0.7Ω Argus V2 POD.
4. Getting Started
4.1 Charging the Device
Before first use, fully charge the device. Connect the included USB Type-C cable to the charging port on the device and plug the other end into a suitable USB power source (e.g., wall adapter, computer USB port). The LED indicator will show charging status and turn off or change color when fully charged.

Figure 4.1: Detailed view illustrating the large 1350mAh battery capacity and the maximum 30W power output of the ARGUS Klyc device.
4.2 Filling the Cartridge
- Remove the magnetic cap from the top of the device.
- Locate the top-fill port on the cartridge.
- Carefully open the silicone plug.
- Insert the nozzle of your e-liquid bottle into the fill port and slowly fill the cartridge. Do not overfill.
- Securely close the silicone plug.
- Wait 5-10 minutes after filling a new cartridge to allow the coil to saturate with e-liquid before first use. This prevents dry hits.

Figure 4.2: An infographic detailing the advanced features of the ARGUS POD, including the 'Golden Cotton' and 'MEGA-CORE Cotton' for enhanced flavor and coil life, and the leak-proof design.
4.3 Installing the Cartridge
Insert the filled cartridge firmly into the device. The magnetic connection will secure it in place. Ensure it is seated properly to establish a connection.

Figure 4.3: A close-up image of the ARGUS Top Fill Cartridge V2 (0.7Ω) that comes included with the device, with recommended wattage (14W-18W) and emphasis on balanced vapor production.
5. Operation
5.1 Vaping (Auto-Draw)
The ARGUS Klyc features an auto-draw mechanism. Simply place your lips on the mouthpiece and inhale to activate the device and produce vapor. There are no buttons to press for activation.

Figure 5.1: Images demonstrating the intuitive auto-draw operation of the device and the vibrant color LED indicator, which provides visual feedback.
5.2 Smart Draw Control
The device is equipped with Smart Draw Control, which automatically adjusts the output power based on the intensity of your inhale. A stronger draw will result in higher output, while a gentler draw will lower the output, optimizing your vaping experience without manual adjustments.

Figure 5.2: A graph illustrating the smart draw control feature, showing how the device automatically adjusts output (Low, Mid, High) based on the strength of the user's draw for different coil resistances (0.4Ω, 0.7Ω, 1.0Ω).
5.3 Airflow Adjustment
Customize your draw by adjusting the airflow. A slider located on the side of the device allows you to fine-tune the airflow from a tighter, more restricted draw to a looser, airier draw, catering to your personal preference.

Figure 5.3: A visual representation of the airflow adjustment slider located on the side of the ARGUS Klyc device, allowing users to customize their vaping experience.
5.4 LED Indicator Guide
The LED indicator provides visual feedback on the device's status:
- During Vaping: The LED will light up, indicating activation and current output level (color may vary based on output).
- Battery Level: The LED color or pattern will indicate the remaining battery charge. Refer to the device's specific LED patterns for detailed battery status.
- Charging: The LED will illuminate during charging and change/turn off when fully charged.
- Error/Protection: The LED may flash or display a specific pattern to indicate an error (e.g., short circuit, low resistance, overtime vaping).
6. Maintenance
6.1 Cleaning the Device and Cartridge
- Regularly wipe the device body with a clean, dry cloth.
- Remove the cartridge and clean any condensation or e-liquid residue from the inside of the device's pod slot and the bottom of the cartridge using a cotton swab or tissue.
- Ensure the charging port is free of dust and debris.
6.2 Cartridge Replacement
The ARGUS Klyc uses cartridges with built-in, non-replaceable coils. When the flavor diminishes, vapor production decreases, or you experience a burnt taste, it's time to replace the entire cartridge. Simply remove the old cartridge and insert a new one after filling it with e-liquid.
6.3 Storage
Store the device in a cool, dry place away from direct sunlight and extreme temperatures. Keep it out of reach of children and pets. If storing for an extended period, ensure the battery is partially charged (around 50%) to prolong its lifespan.
7. Troubleshooting
| Problem | Possible Cause | Solution |
|---|---|---|
| No vapor production | Low battery; No e-liquid; Cartridge not properly installed; Airflow sensor blocked. | Charge device; Refill cartridge; Re-insert cartridge firmly; Clean airflow sensor. |
| Weak flavor or burnt taste | Low e-liquid level; Coil burnt out; Cartridge not primed. | Refill e-liquid; Replace cartridge; Ensure new cartridge is primed for 5-10 minutes after filling. |
| Leaking | Overfilling; Damaged cartridge; Condensation buildup. | Do not overfill; Replace cartridge; Regularly clean condensation from pod slot. |
| Device not charging | Faulty cable/adapter; Dirty charging port; Device malfunction. | Try a different USB Type-C cable and adapter; Clean charging port; Contact customer support if problem persists. |
8. Safety Information
- Keep the device away from water and other liquids.
- Do not expose the device to extreme temperatures (hot or cold) or direct sunlight.
- Do not drop, puncture, or disassemble the device.
- Use only the provided USB Type-C cable for charging.
- Keep out of reach of children and pets.
- This product is intended for adult use only.
- This product does not contain nicotine.
9. Warranty and Support
For warranty information, technical support, or any inquiries regarding your VOOPOO ARGUS Klyc, please refer to the warranty card included in your package or contact the retailer where you purchased the product. You may also visit the official VOOPOO website for further assistance and contact details.
Related documentsARGUS Klyc


Ask a question about this manual
Ask about setup, troubleshooting, compatibility, parts, safety, or missing instructions. Manuals+ will review the question and use this page’s manual context to help answer it.