
1. Introduction
This manual provides detailed instructions for the assembly, operation, maintenance, and troubleshooting of your new Hogxp Vanity Table with Hidden Storage and LED Mirror. Please read this manual thoroughly before assembly and use to ensure proper function and longevity of the product. Keep this manual for future reference.
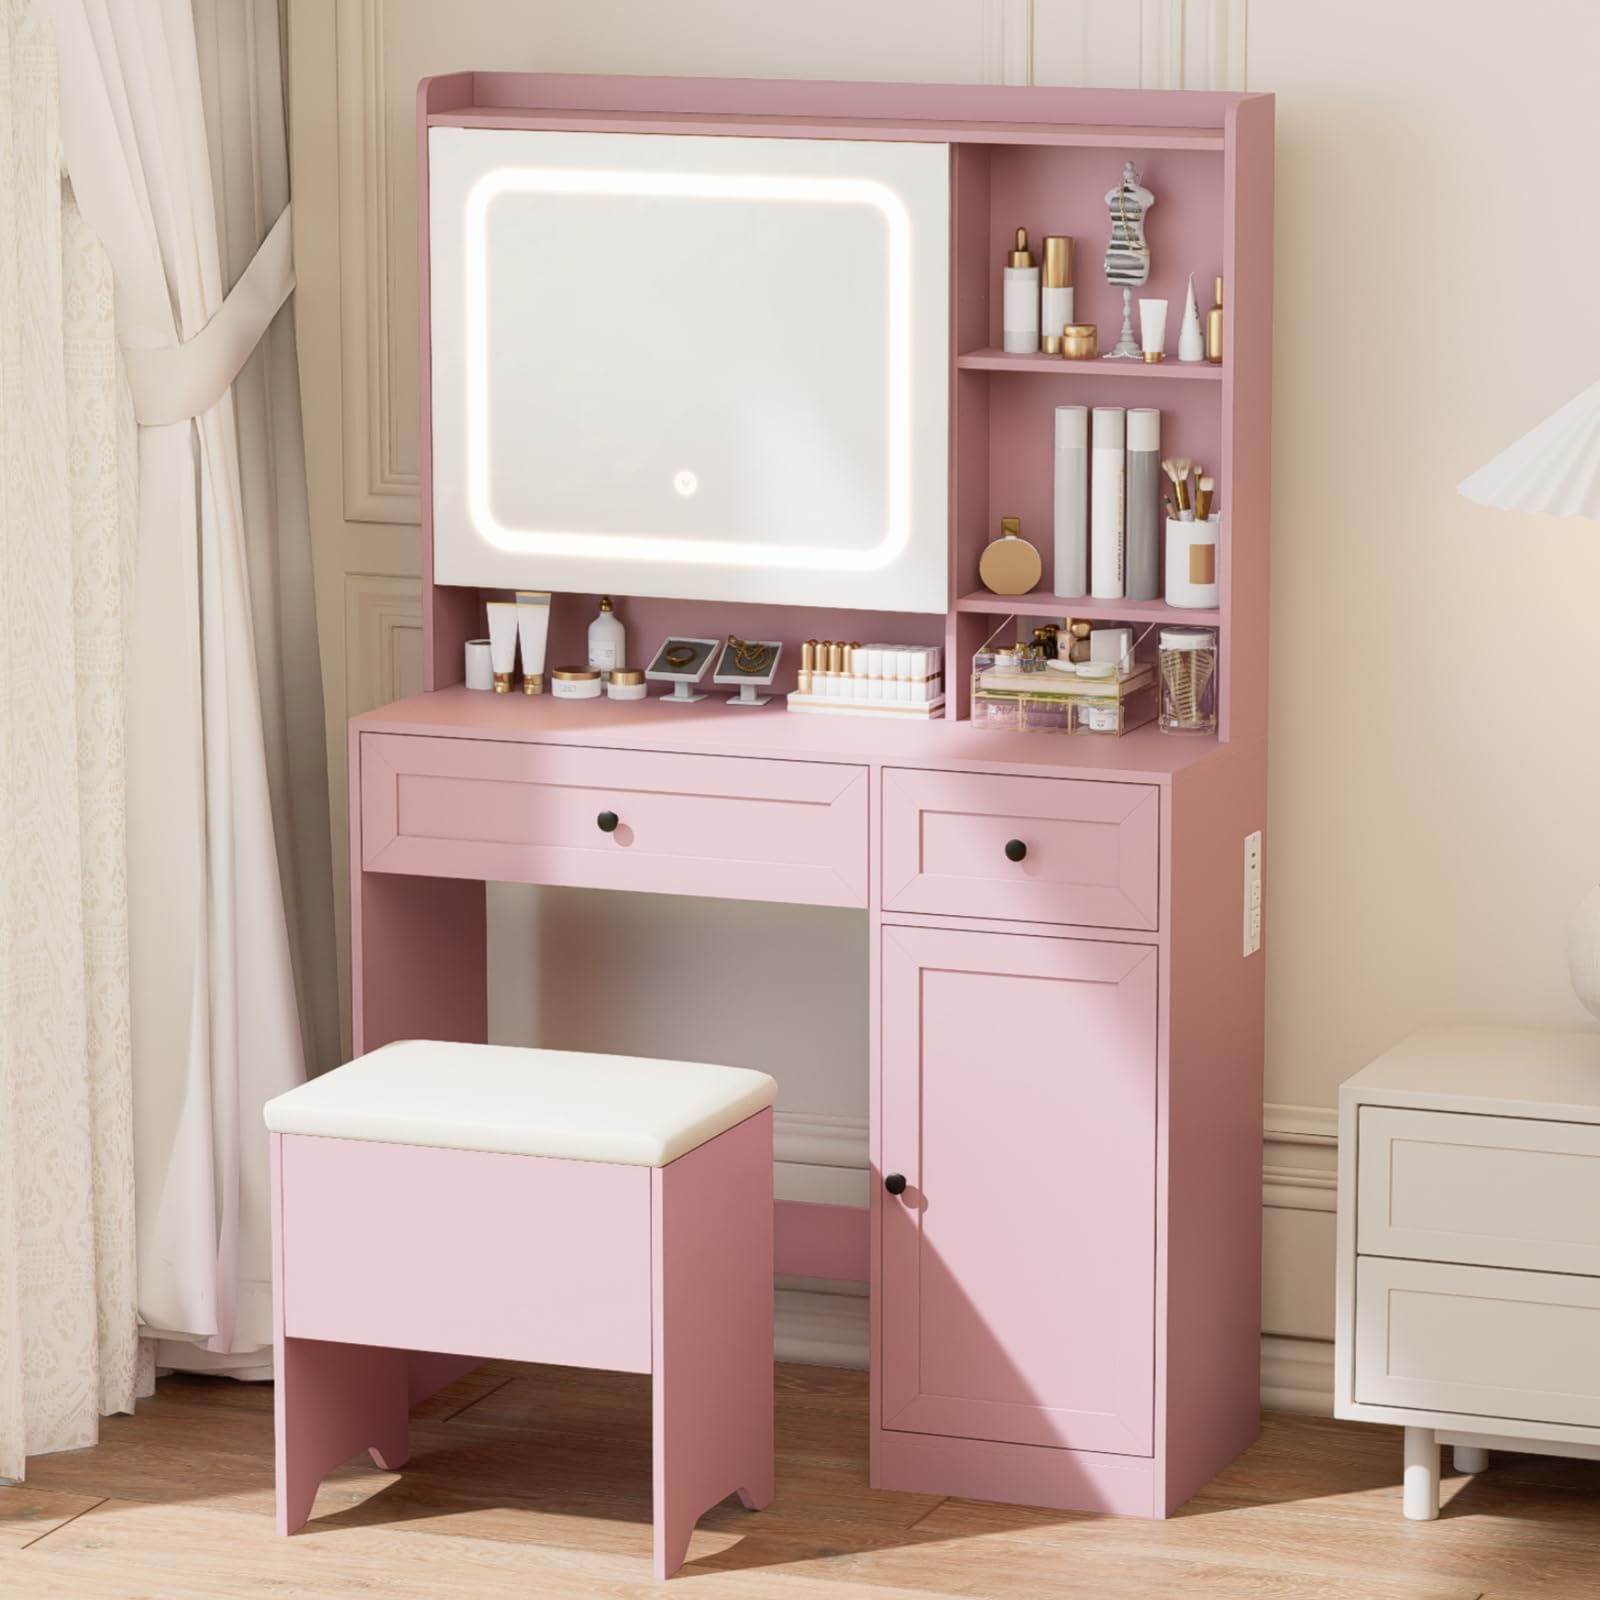
Image 1.1: Fully assembled Hogxp Vanity Table with LED Mirror and stool.
2. Safety Information
- Always follow assembly instructions carefully. Incorrect assembly can lead to instability and potential injury.
- Ensure all screws and fasteners are securely tightened before use. Periodically check and retighten as necessary.
- Do not overload shelves or drawers. Distribute weight evenly to prevent tipping.
- Keep electrical components (LED mirror, power outlets) away from water or excessive moisture.
- Do not attempt to modify the electrical wiring or components. Contact qualified personnel for repairs.
- Unplug the vanity from the power source before cleaning or performing any maintenance.
- Keep small parts and packaging materials away from children to prevent choking hazards.
3. Package Contents
Verify that all components are present and undamaged before beginning assembly. If any parts are missing or damaged, contact customer support.
- Vanity Table Frame
- LED Mirror Unit
- Padded Stool
- Drawers (2)
- Storage Cabinet Door (1)
- Shelves and Dividers
- Assembly Hardware (screws, dowels, cam locks, etc.)
- Power Cord
- Instruction Manual

Image 3.1: Overview of vanity storage features, including 1 top shelf, 2 hidden compartments, 4 open compartments, 1 large drawer, 1 small drawer, and 1 enclosed cabinet.
4. Assembly Instructions
Assembly typically requires two people and may take approximately 2-3 hours. A power drill can expedite the process. Follow the numbered steps provided in the included assembly diagram.
- Unpack and Organize: Lay out all parts on a clean, soft surface to prevent scratches. Identify each component using the parts list.
- Assemble the Main Desk Frame: Connect the side panels to the main desk surface using the provided hardware. Ensure all connections are secure.
- Install Drawers and Cabinet: Assemble the two drawers and the cabinet door according to the diagrams. Insert the drawers into their respective slots and attach the cabinet door to the main frame.
- Attach the Top Shelf Unit: Secure the top shelf unit, which includes the mirror housing and additional open compartments, to the main desk frame.
- Mount the LED Mirror: Carefully slide or attach the LED mirror unit into its designated slot within the top shelf unit. Ensure it is properly aligned and secured.
- Assemble the Stool: Connect the stool legs to the padded seat using the provided hardware.
- Connect Power: Plug the vanity's power cord into a standard electrical outlet.
5. Operating Instructions
5.1 LED Mirror Operation
The built-in LED mirror features adjustable lighting with three color modes and dimmable brightness.
- Power On/Off: Tap the touch sensor button on the mirror surface to turn the light on or off.
- Change Color Hue: Tap the touch sensor button repeatedly to cycle through the three color modes: Cool Light (6000K), Natural Light (4000K), and Warm Light (3000K).
- Adjust Brightness: Press and hold the touch sensor button to adjust the brightness level. Release when the desired brightness is achieved.

Image 5.1: Adjustable LED light with 3 color hues and dimmable design, controlled by touch.
5.2 Power Outlets
The vanity includes two standard AC power outlets and two USB charging ports for convenience.
- AC Outlets: Use the 120V/12A outlets for hair dryers, curling irons, or other small appliances.
- USB Ports: Use the 5V/2A USB connections to charge mobile phones, tablets, or other electronic devices.
- Ensure devices are compatible with the provided power specifications.

Image 5.2: Built-in power outlet with two AC outlets and two USB ports for charging devices.
6. Maintenance and Care
- Cleaning the Surface: Wipe the wood surfaces with a soft, damp cloth. Avoid abrasive cleaners or harsh chemicals that may damage the finish.
- Cleaning the Mirror: Use a glass cleaner and a soft, lint-free cloth to clean the mirror surface. Do not spray cleaner directly onto the mirror; apply it to the cloth first.
- Dusting: Regularly dust all surfaces with a dry, soft cloth to prevent buildup.
- Spills: Clean up spills immediately to prevent staining or damage to the wood.
- Electrical Components: Ensure the vanity is unplugged before cleaning any electrical parts. Do not immerse electrical components in water.
7. Troubleshooting
Refer to the following table for common issues and their solutions.
| Problem | Possible Cause | Solution |
|---|---|---|
| LED mirror light does not turn on. | Not plugged in; loose connection; power outage; faulty mirror unit. | Ensure the vanity is properly plugged into a working outlet. Check all connections. Test the outlet with another device. If the issue persists, contact support. |
| LED mirror light does not change color or brightness. | Incorrect operation; touch sensor malfunction. | Review Section 5.1 for correct operation. Ensure your finger is clean and dry when touching the sensor. If unresponsive, contact support. |
| Power outlets/USB ports are not working. | Vanity not plugged in; circuit breaker tripped; faulty power strip. | Verify the vanity is plugged in. Check your home's circuit breaker. Ensure devices are properly inserted. If the issue persists, contact support. |
| Vanity feels wobbly or unstable. | Loose fasteners; uneven floor. | Check and tighten all assembly screws and bolts. Ensure the vanity is placed on a level surface. Use furniture levelers if necessary. |
| Mirror creaks when opened/closed. | Hinge friction; misalignment. | Apply a small amount of silicone lubricant to the hinges. Check for proper alignment during assembly. |
| Blue light on mirror button stays on. | Designed feature; not a malfunction. | This is an indicator light. To turn it off completely, the vanity must be unplugged from the wall outlet. |
8. Product Specifications
| Feature | Detail |
|---|---|
| Brand | Hogxp |
| Model Number | A-3 |
| Color | Pink |
| Material | Wood |
| Product Dimensions (D x W x H) | 37" x 27" x 8" (Item Dimensions: 37 x 27 x 8 inches) |
| Overall Height | 55" (140cm) - Refer to Image 8.1 for detailed dimensions. |
| Style | Modern |
| Number of Drawers | 4 (2 main, 2 hidden) |
| Storage Compartments | 1 Top Shelf, 4 Open, 2 Hidden, 1 Enclosed Cabinet |
| LED Mirror Features | 3 Color Hues (6000K, 4000K, 3000K), Dimmable, Touch Control |
| Power Outlets | 2 AC (120V/12A), 2 USB (5V/2A) |
| Assembly Required | Yes |

Image 8.1: Detailed dimensions of the vanity table and stool.
9. Warranty and Support
For warranty information or technical support, please refer to the contact details provided at the point of purchase or visit the official Hogxp website. Keep your purchase receipt as proof of purchase for any warranty claims.