
1. Product Overview
The DigitPro VHS to Digital Converter 2.0 is designed to convert analog video and audio signals from various sources into digital formats. This device allows for direct recording to USB drives or TF cards without requiring a computer or additional software. It features a built-in 3.5-inch LCD screen for real-time preview and playback, along with multiple input/output options for broad compatibility.
Key Features:
- One-Touch Digital Conversion: Converts analog video (AV/RCA, S-Video) to MP4/MP3/WAV formats with up to 1080P 30Hz resolution.
- Standalone Operation: No computer or software required for recording.
- Storage Support: Directly records to USB drives or TF cards up to 512GB.
- 3.5-Inch HD Preview Screen: Built-in LCD and stereo speakers for real-time monitoring and playback.
- HDMI Output: Connects to larger displays for enhanced viewing.
- Multi-Functional Recording: Supports separate video/audio recording, long-press screenshot, auto pause/resume on signal loss, time watermark, and scheduled recording.
- Wide Compatibility: Compatible with VHS, VCR, DVD, Hi8, camcorders, Mini DV, and retro gaming consoles.
- Portable Design: Compact and lightweight with Type-C power supply (requires external power supply).
2. Included Components
The DigitPro VHS to Digital Converter 2.0 package includes the following items:
- DigitPro VHS to Digital Converter 2.0 (Model V121)
- Remote Control (requires 2 AAA batteries, not included)
- Type-C Power Cable
- AV Cable (RCA)
- Power Adapter
- User Manual

Image: All components included in the DigitPro VHS to Digital Converter 2.0 package, laid out on a surface.
3. Setup Instructions
Follow these steps to set up your DigitPro VHS to Digital Converter 2.0:
- Power Connection: Connect the Type-C power cable to the converter's Type-C port and plug the power adapter into a wall outlet.
- Video Source Connection: Connect your analog video source (e.g., VCR, DVD player, camcorder) to the converter using the appropriate AV (RCA) or S-Video cables. Match the colored connectors (yellow for video, white for left audio, red for right audio).
- Storage Device: Insert a USB flash drive or a TF (MicroSD) card into the designated slot on the converter. Ensure the storage device has sufficient capacity (up to 512GB supported) and is formatted correctly (FAT32 or exFAT recommended).
- Optional: HDMI Output: For viewing on a larger screen, connect an HDMI cable from the converter's HDMI OUT port to an HDMI input on your TV or monitor.
- Power On: Press and hold the Power ON/OFF button on the converter for 3 seconds to turn on the device.

Image: Detailed view of the converter's panel, showing S-Video input, AV/CVBS input, AUX 3.5mm input & output, HDTV output, USB-C power port, USB port, Power ON/OFF button, MODE button, TYPE-C power jack, TF-MicroSD card port, Menu button, Audio Record button, and Video Recording button.
4. Operating Instructions
4.1. Video Conversion and Recording
- Select Input Source: Use the 'MODE' button to select the correct input source (AV or S-Video) corresponding to your connected device.
- Preview: Ensure your video source is playing. The video feed should appear on the converter's 3.5-inch LCD screen.
- Start Recording: Press the Video Recording button (red camera icon) to begin converting and recording. The 'REC' indicator will appear on the screen.
- Stop Recording: Press the Video Recording button again to stop recording. The recorded file will be saved to your USB drive or TF card.
- Screenshot: During video recording, long-press the Video Recording button to capture a screenshot.

Image: The DigitPro converter connected to a VCR via RCA cables, showing a video playing on its integrated screen, indicating active conversion.
4.2. Audio Recording
To record audio only:
- Connect Audio Source: Connect your audio source to the AV (RCA) audio inputs or the 3.5mm AUX input.
- Start Audio Recording: Press the Audio Record button (red music note icon) to start recording audio.
- Stop Audio Recording: Press the Audio Record button again to stop recording. The audio file will be saved to your storage device.
4.3. Playback
To play back recorded files:
- Enter Playback Mode: Press the 'MODE' button to switch to playback mode.
- Browse Files: Use the directional buttons (left/right arrows) to navigate through your recorded video and audio files.
- Play/Pause: Press the 'OK' button to play or pause a selected file.
- Volume Adjustment: Use the volume buttons (speaker icons) to adjust the playback volume.
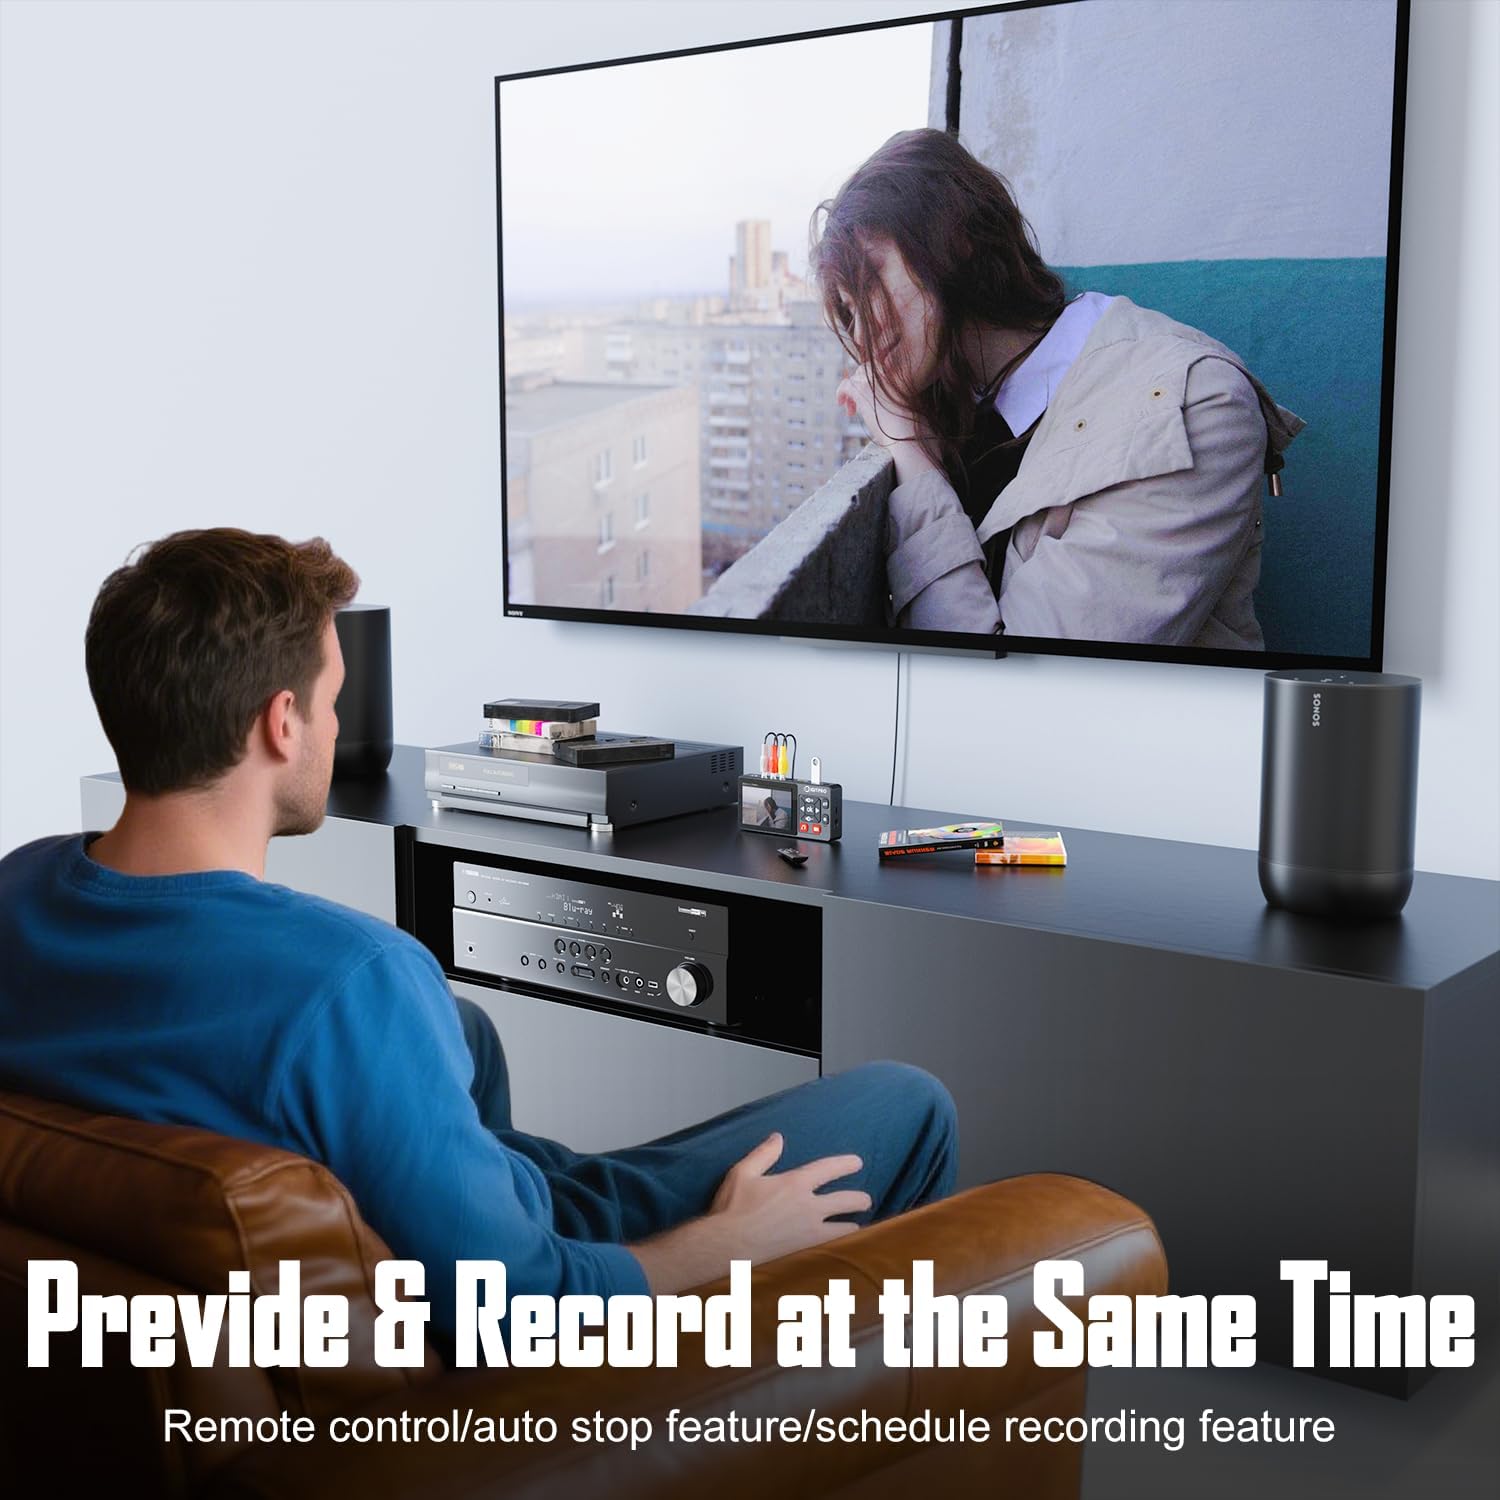
Image: A person viewing content on a large television screen, with the DigitPro converter visible in the foreground, demonstrating the HDMI output feature.
4.4. Smart Settings
Access the menu to configure settings such as:
- Auto Stop Recording: Set a duration (e.g., 60, 120, 150 minutes) for automatic recording cessation.
- Time Watermark: Enable or disable a time stamp on your recordings.
- Signal Loss Detection: Automatically pause or resume recording if the input signal is lost or restored.
- Scheduled Recording: Set daily, weekly, or one-time scheduled recordings.
- Video Resolution: Choose between 1080p or auto-detection (supports NTSC/PAL formats).
5. Wide Compatibility
The DigitPro VHS to Digital Converter 2.0 supports a wide range of analog video and audio devices, including:
- VHS Players
- VCRs
- DVD Players
- DVRs
- Hi8 Camcorders
- Mini DV Players
- Retro Gaming Consoles
- Portable Players

Image: A visual representation of the converter's broad compatibility with different multimedia devices, including VCRs, DVRs, DVD players, Hi8 camcorders, and portable players.
6. Specifications
| Feature | Detail |
|---|---|
| Product Dimensions | 5.6 x 3 x 0.04 inches |
| Item Weight | 1.12 pounds |
| Item Model Number | V121 |
| Compatible Devices | VHS, VCR, DVD, Hi8, Mini DV, Gaming Console |
| Specific Uses For Product | Video and Audio Conversion |
| Connector Type | AV/RCA, S-Video, HDMI, Type-C |
| Color | Brown |
| Batteries (for remote) | 2 AAA batteries required |
7. Troubleshooting
If you encounter issues with your DigitPro VHS to Digital Converter 2.0, please refer to the following common solutions:
- No Signal on Screen:
- Ensure all cables (power, AV/S-Video) are securely connected.
- Verify that your analog video source (VCR, DVD player) is powered on and playing content.
- Check if the correct input source (AV or S-Video) is selected on the converter using the 'MODE' button.
- Recording Not Saving:
- Confirm that a USB drive or TF card is properly inserted.
- Check the storage device's capacity; ensure it is not full.
- Ensure the storage device is formatted to a compatible file system (FAT32 or exFAT).
- Poor Video/Audio Quality:
- The output quality is dependent on the original analog source quality.
- Ensure cables are not damaged and are fully inserted.
- Adjust the video resolution setting in the converter's menu if available.
- Remote Control Not Working:
- Ensure fresh AAA batteries are correctly installed in the remote.
- Point the remote directly at the converter's IR receiver.
8. Maintenance
To ensure the longevity and optimal performance of your DigitPro VHS to Digital Converter 2.0, follow these maintenance guidelines:
- Cleaning: Use a soft, dry cloth to clean the device. Avoid liquid cleaners or abrasive materials.
- Storage: Store the converter in a cool, dry place away from direct sunlight and extreme temperatures.
- Handling: Handle the device with care to prevent physical damage.
- Cable Care: Regularly check cables for any signs of wear or damage. Replace if necessary.
9. Warranty and Support
DigitPro is committed to providing reliable products and excellent customer service. Your DigitPro VHS to Digital Converter 2.0 comes with comprehensive support.
- Customer Support: For any questions, technical assistance, or warranty inquiries, please contact our professional bilingual customer support team.
- Contact Information:
- Email: support@digitpro.us
- Tel. 1: +1 6264203418 (U.S.) Mon-Fri. 9:00-17:00 (PST)
- Tel. 2: +1 6264203417 (U.S.) Mon-Fri. 17:00-24:00 (PST)
10. Official Product Video
Watch this official video from the seller for a quick overview of the DigitPro VHS to Digital Converter 2.0 and its features.
Video: An official product video demonstrating the DigitPro VHS to Digital Converter 2.0, showcasing its design, ports, and basic operation for converting analog media to digital formats.