
1. Introduction
This manual provides detailed instructions for the setup, operation, maintenance, and troubleshooting of your MSI MAG 321CQF E18 Gaming Monitor. Please read this manual thoroughly before using the product to ensure proper and safe operation. Keep this manual for future reference.

Image: Front view of the MSI MAG 321CQF E18 Gaming Monitor, showcasing its curved display and slim bezels.
2. Package Contents
Before proceeding with the setup, please verify that all items listed below are present in your package:
- MSI MAG 321CQF E18 Monitor
- Monitor Stand (Base and Neck)
- Power Cable
- HDMI Cable
- DisplayPort Cable (may vary by region)
- User Manual and Quick Start Guide
- Screws for Stand Assembly
3. Setup
3.1 Assembling the Monitor Stand
- Carefully remove the monitor from its packaging, keeping it protected on a soft, flat surface.
- Attach the stand neck to the monitor panel using the provided screws. Ensure it is securely fastened.
- Connect the stand base to the stand neck and tighten the thumb screw or screws from the bottom of the base.
- Place the assembled monitor on a stable, level surface.
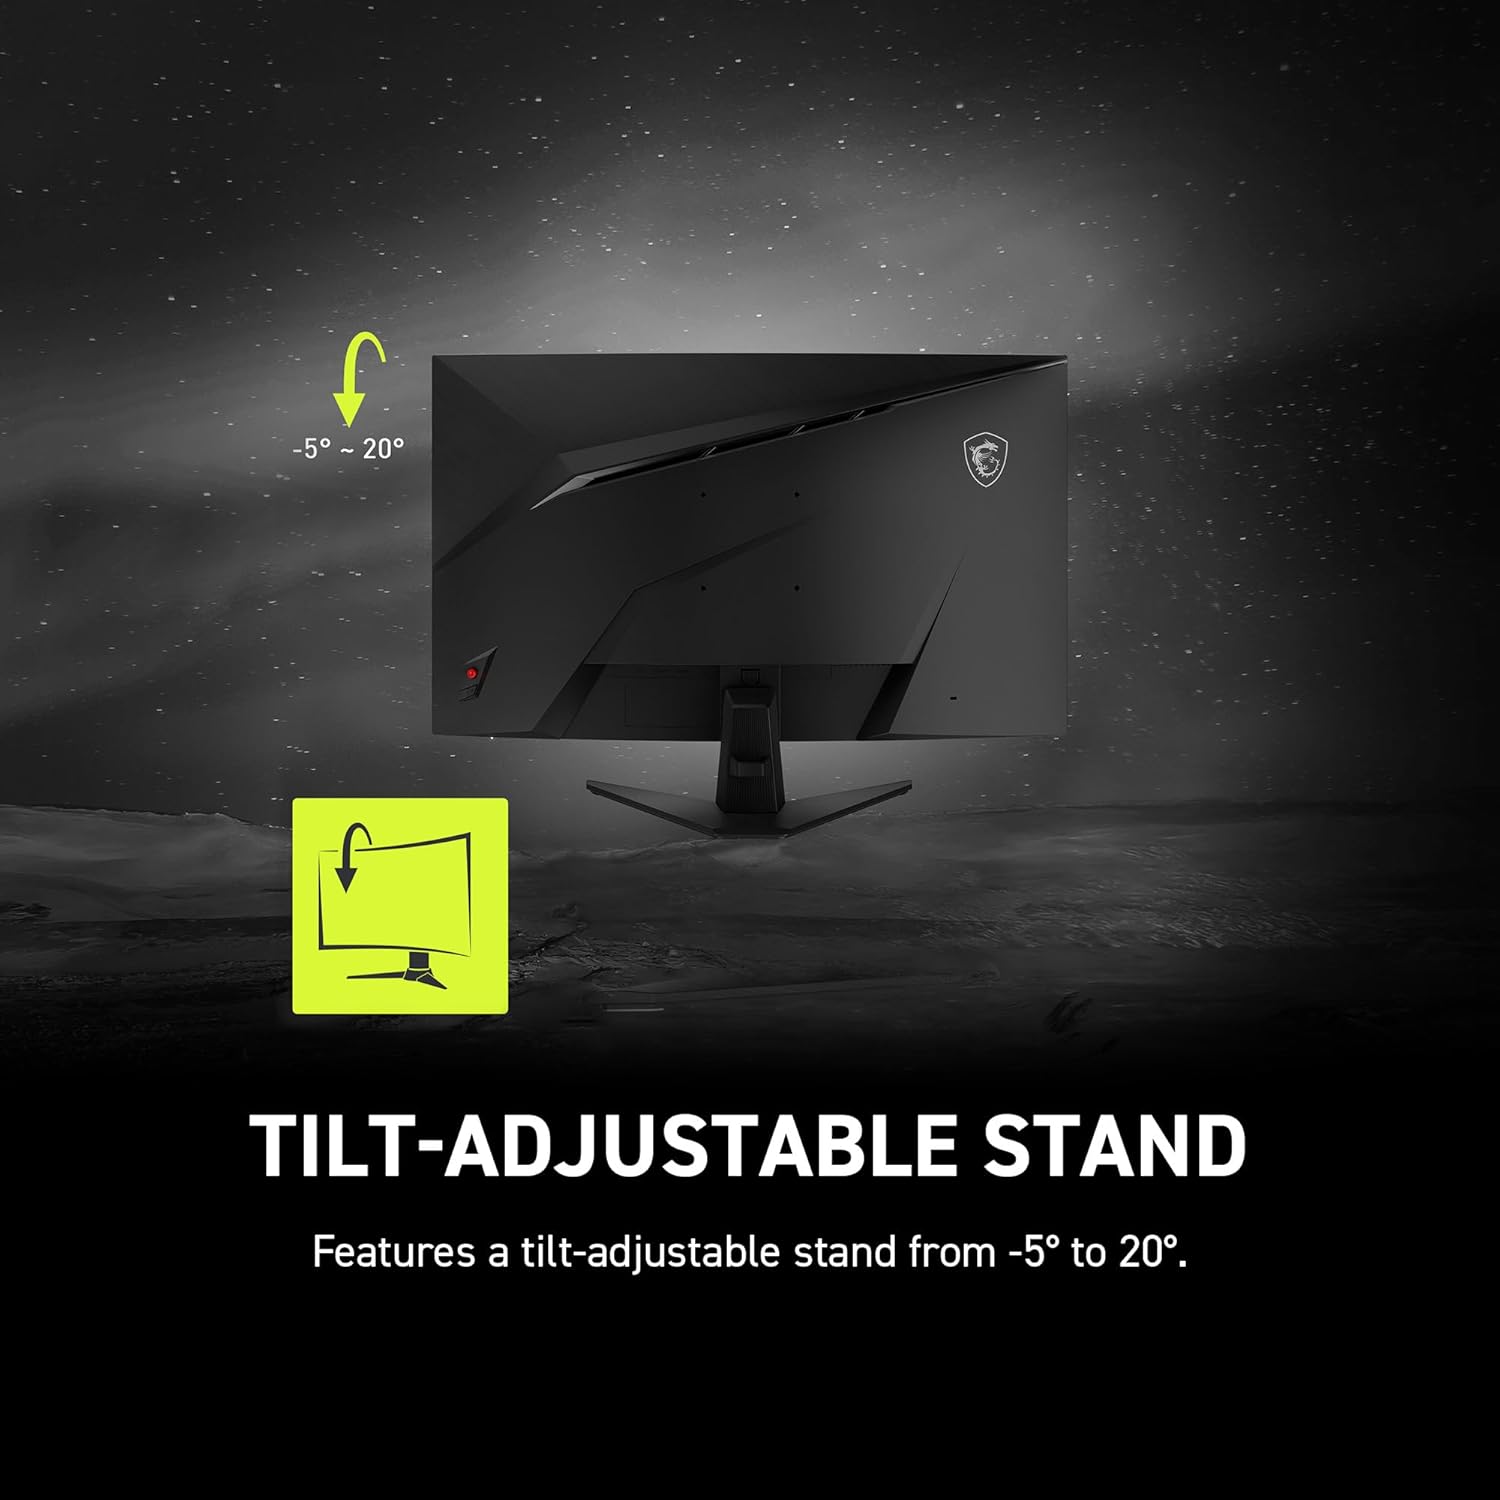
Image: Rear view of the MSI monitor demonstrating its tilt-adjustable stand, allowing for angle adjustments from -5° to 20°.
3.2 Connecting to a Computer
The MSI MAG 321CQF E18 monitor supports multiple video inputs. Choose the appropriate cable for your system.
- HDMI Connection: Connect one end of the HDMI cable to the HDMI port on your computer's graphics card and the other end to an HDMI input port on the monitor.
- DisplayPort Connection: Connect one end of the DisplayPort cable to the DisplayPort on your computer's graphics card and the other end to the DisplayPort input on the monitor. (Recommended for optimal performance and higher refresh rates).
- VGA Connection: Connect one end of the VGA cable to the VGA port on your computer and the other end to the VGA input port on the monitor.
3.3 Power Connection
Connect the power cable to the monitor's power input and then plug the other end into a grounded electrical outlet.
4. Operating the Monitor
4.1 Power On/Off
Locate the power button, typically on the rear or bottom right side of the monitor. Press it to turn the monitor on or off. The power LED indicator will illuminate when the monitor is active.
4.2 On-Screen Display (OSD) Navigation
The monitor features an intuitive OSD menu for adjusting various settings. Access the OSD by pressing the OSD navigation joystick/buttons, usually located on the rear of the monitor.
- Joystick/Buttons: Use the joystick to navigate through menu options (up, down, left, right) and press it in to confirm selections.
- Main Menu: Provides access to Picture, Color, Input, PIP/PBP, OSD Settings, and other advanced options.
4.3 Key Features and Settings
Optimize your viewing experience by understanding and adjusting the following features:
- 180Hz Refresh Rate: This monitor supports a high refresh rate of 180Hz, providing smoother motion and reduced input lag, especially beneficial for fast-paced gaming. Ensure your graphics card and cable support this refresh rate and enable it in your operating system's display settings.
- 0.5ms (GtG, Min.) Response Time: The rapid 0.5ms Gray-to-Gray response time minimizes motion blur and ghosting, resulting in a clearer image during fast-moving scenes.
- Adaptive-Sync Technology: This technology synchronizes the monitor's refresh rate with your graphics card's frame rate, eliminating screen tearing and stuttering for a fluid gaming experience. Ensure your graphics card supports Adaptive-Sync and enable it in your graphics driver settings.
- HDR Ready: The monitor is HDR (High Dynamic Range) Ready, offering enhanced contrast and a wider color gamut for more vibrant and lifelike images, particularly in compatible content.
- AI Vision: This feature intelligently analyzes the display content to enhance brightness and saturate colors, while also revealing details in dark areas, improving overall visual clarity.
- Less Blue Light: MSI monitors incorporate a software solution to reduce the emission of blue-violet light, which can help reduce eye strain during prolonged use.
- Immersive 1500R Curvature: The 31.5-inch WQHD display features a 1500R curve, designed to provide a more immersive viewing experience by matching the natural curvature of the human eye.
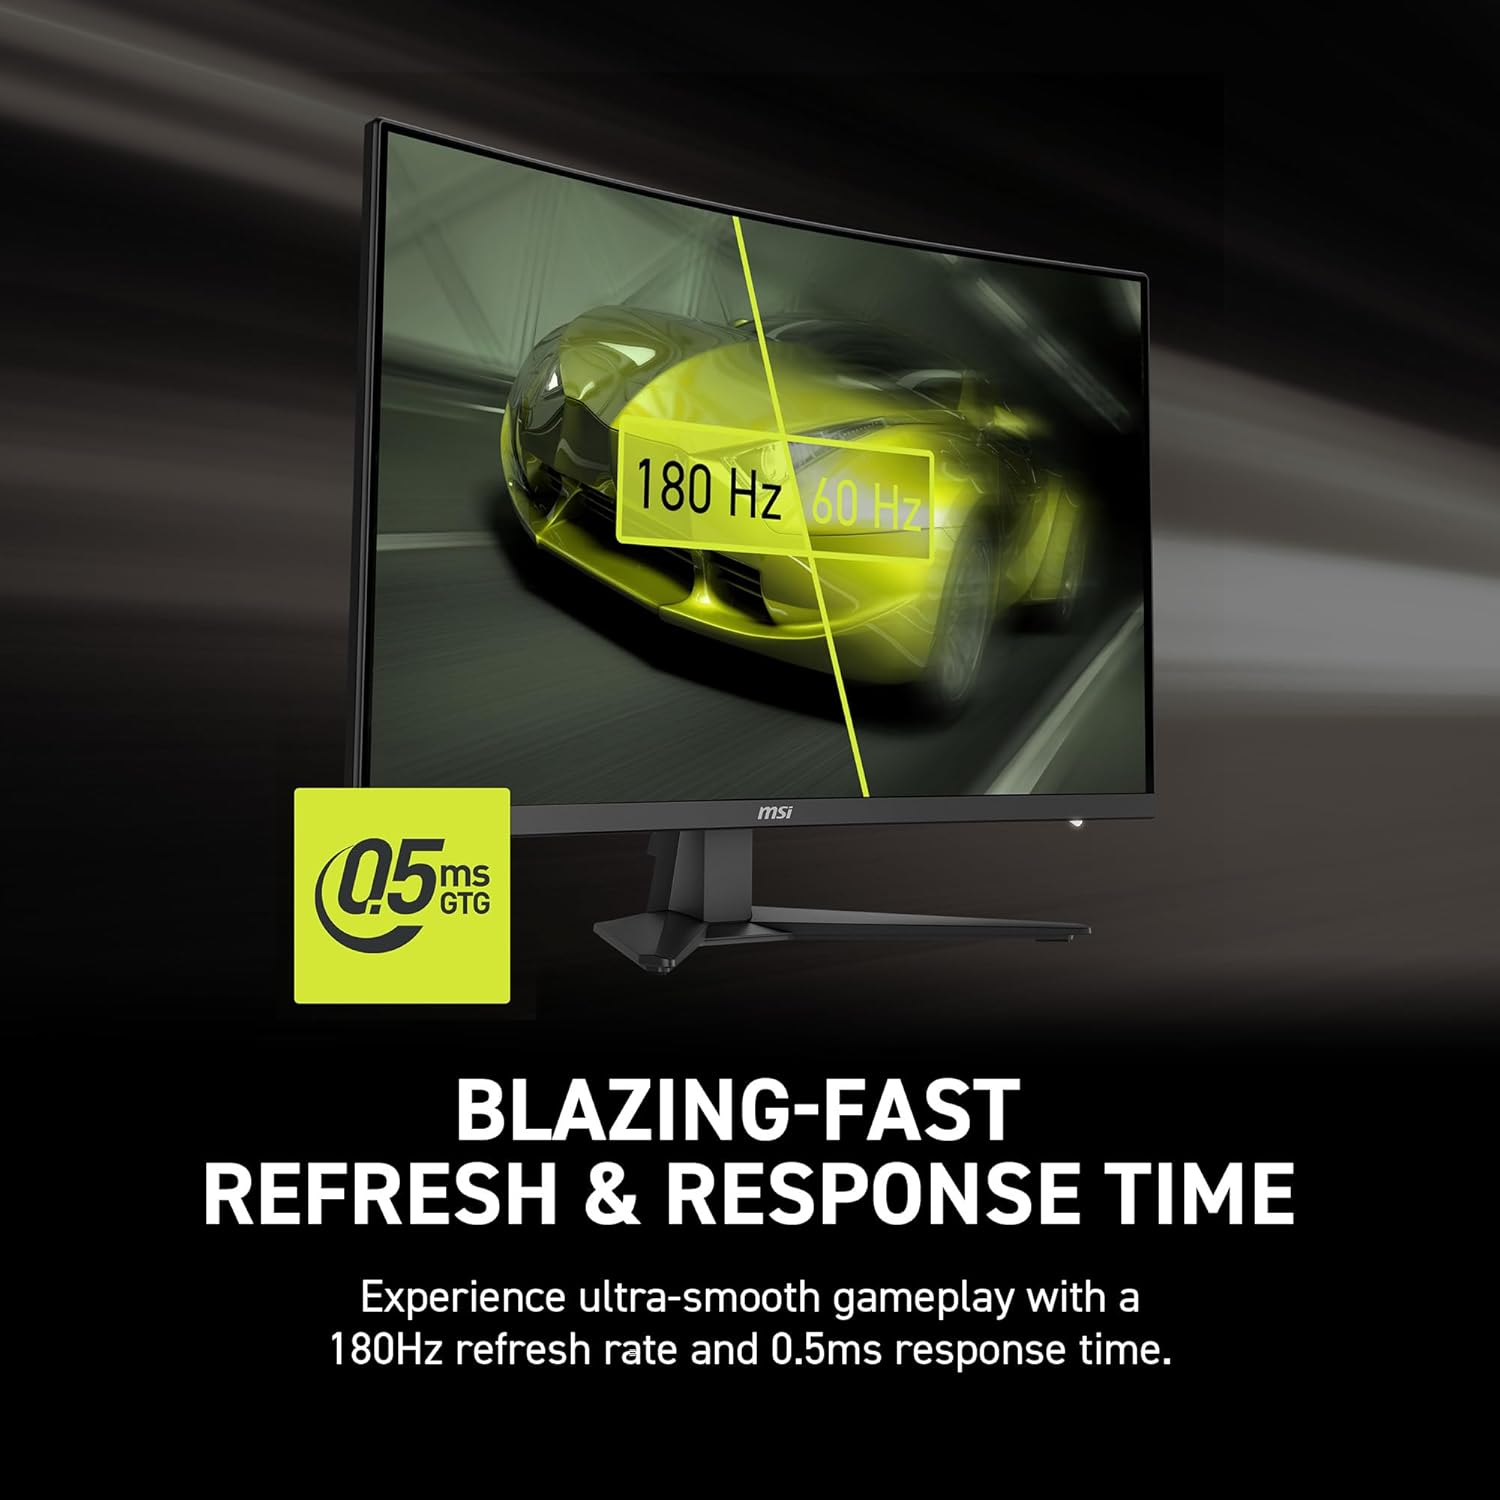
Image: Visual representation of the monitor's 180Hz refresh rate and 0.5ms response time, highlighting smooth motion.
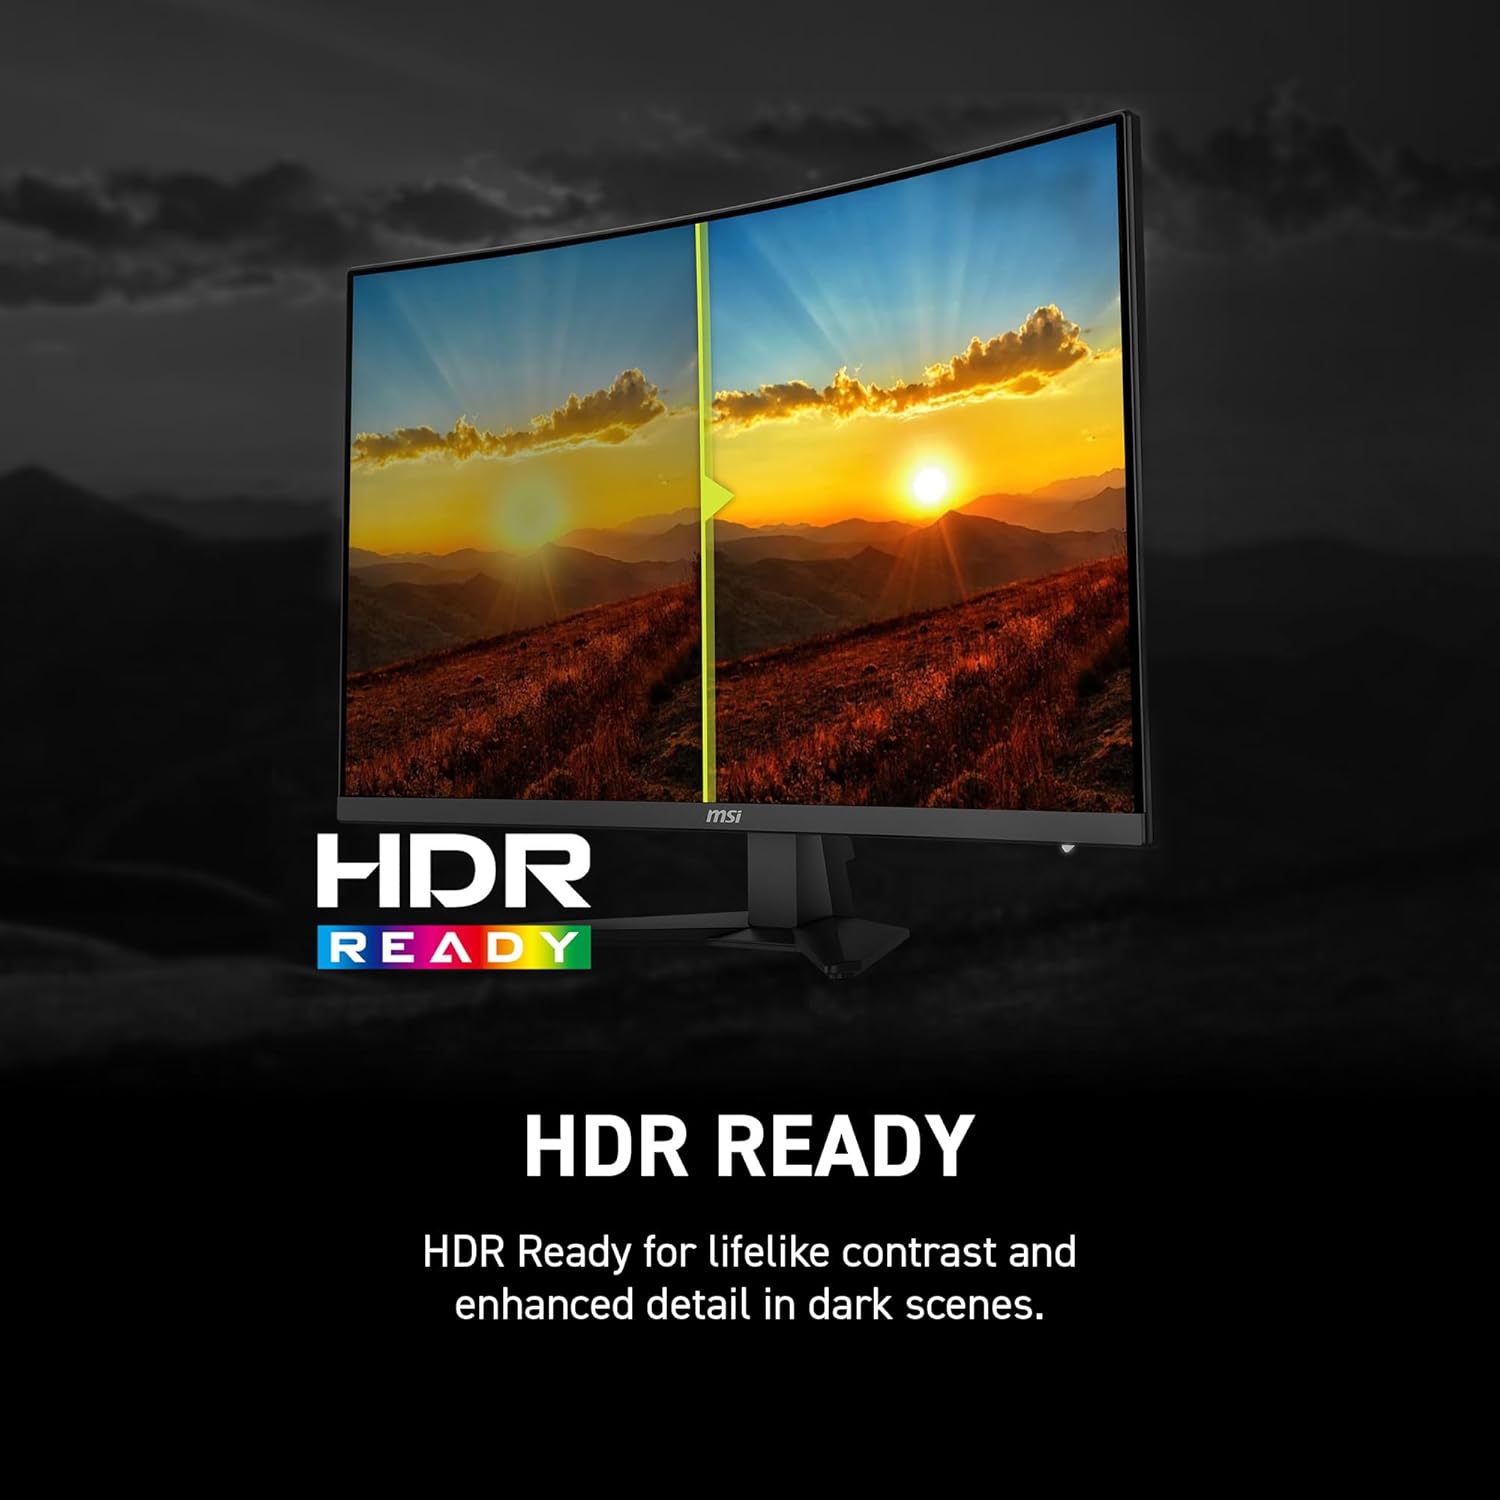
Image: A split-screen view on the MSI monitor illustrating the enhanced contrast and detail provided by HDR Ready technology.

Image: A visual representation of the Less Blue Light technology, showing how it filters harmful blue light for a more comfortable viewing experience.

Image: Diagram illustrating the 1500R curvature of the 31.5-inch WQHD display, emphasizing its immersive design.
5. Maintenance
5.1 Cleaning the Monitor
- Always power off the monitor and unplug the power cable before cleaning.
- Use a soft, lint-free cloth slightly dampened with water or a non-abrasive screen cleaner.
- Do not spray cleaner directly onto the screen. Apply it to the cloth first.
- Avoid using benzene, thinner, ammonia-based cleaners, or abrasive materials, as these can damage the screen or casing.
5.2 General Care
- Avoid placing the monitor in direct sunlight or near heat sources.
- Ensure adequate ventilation around the monitor.
- Do not block ventilation openings.
- Avoid placing heavy objects on the monitor or its cables.
6. Troubleshooting
If you encounter issues with your monitor, refer to the following common problems and solutions:
| Problem | Possible Cause | Solution |
|---|---|---|
| No image on screen | Power cable not connected; Video cable not connected; Incorrect input source selected. | Ensure power cable is securely connected. Check video cable connection to both monitor and PC. Select correct input source via OSD menu. |
| Image is blurry or distorted | Incorrect resolution; Loose video cable. | Set display resolution to 2560 x 1440 (QHD) in your operating system. Reconnect video cable securely. |
| Screen flickering | Refresh rate mismatch; Faulty cable; Graphics driver issue. | Ensure refresh rate is set correctly (e.g., 180Hz). Try a different video cable. Update graphics drivers. |
| No sound (if speakers are present) | Volume too low; Incorrect audio output selected on PC. | Adjust monitor volume via OSD. Select the monitor as the default audio output device in your PC's sound settings. |
| Dead or stuck pixels | Manufacturing defect. | Refer to MSI's pixel policy. If within policy, contact customer support. |
7. Specifications
Detailed technical specifications for the MSI MAG 321CQF E18 Gaming Monitor:
- Brand: MSI
- Model: MAG 321CQF E18
- Screen Size: 31.5 inches
- Resolution: 2560 x 1440 (QHD)
- Aspect Ratio: 16:9
- Refresh Rate: 180Hz
- Response Time: 0.5ms (GtG, Min.)
- Panel Type: Rapid VA
- Curvature: 1500R
- HDR Support: HDR Ready
- Adaptive Sync: Yes
- Surface Description: Matte
- Video Ports: HDMI, DisplayPort, VGA
- Adjustments: Tilt (-5° to 20°)
- VESA Mountable: Yes

Image: An overview graphic summarizing key features such as 32-inch screen size, WQHD resolution, 180Hz refresh rate, 0.5ms response time, Rapid VA panel, 1500R curved display, HDR Ready, and AI Vision.
8. Support and Warranty
For technical support, warranty information, or service inquiries, please visit the official MSI website or contact their customer service department.
- MSI Official Website: www.msi.com
- Product Support Page: Refer to the support section on the MSI website for drivers, FAQs, and further assistance specific to your model.
- Warranty: Warranty terms and conditions may vary by region. Please refer to the warranty card included with your product or visit the MSI website for detailed warranty information.


