
1. Introduction
This manual provides comprehensive instructions for the assembly, operation, and maintenance of your Breezz Vertical Outdoor Steel Storage Shed. Please read all instructions carefully before beginning assembly and retain this manual for future reference.
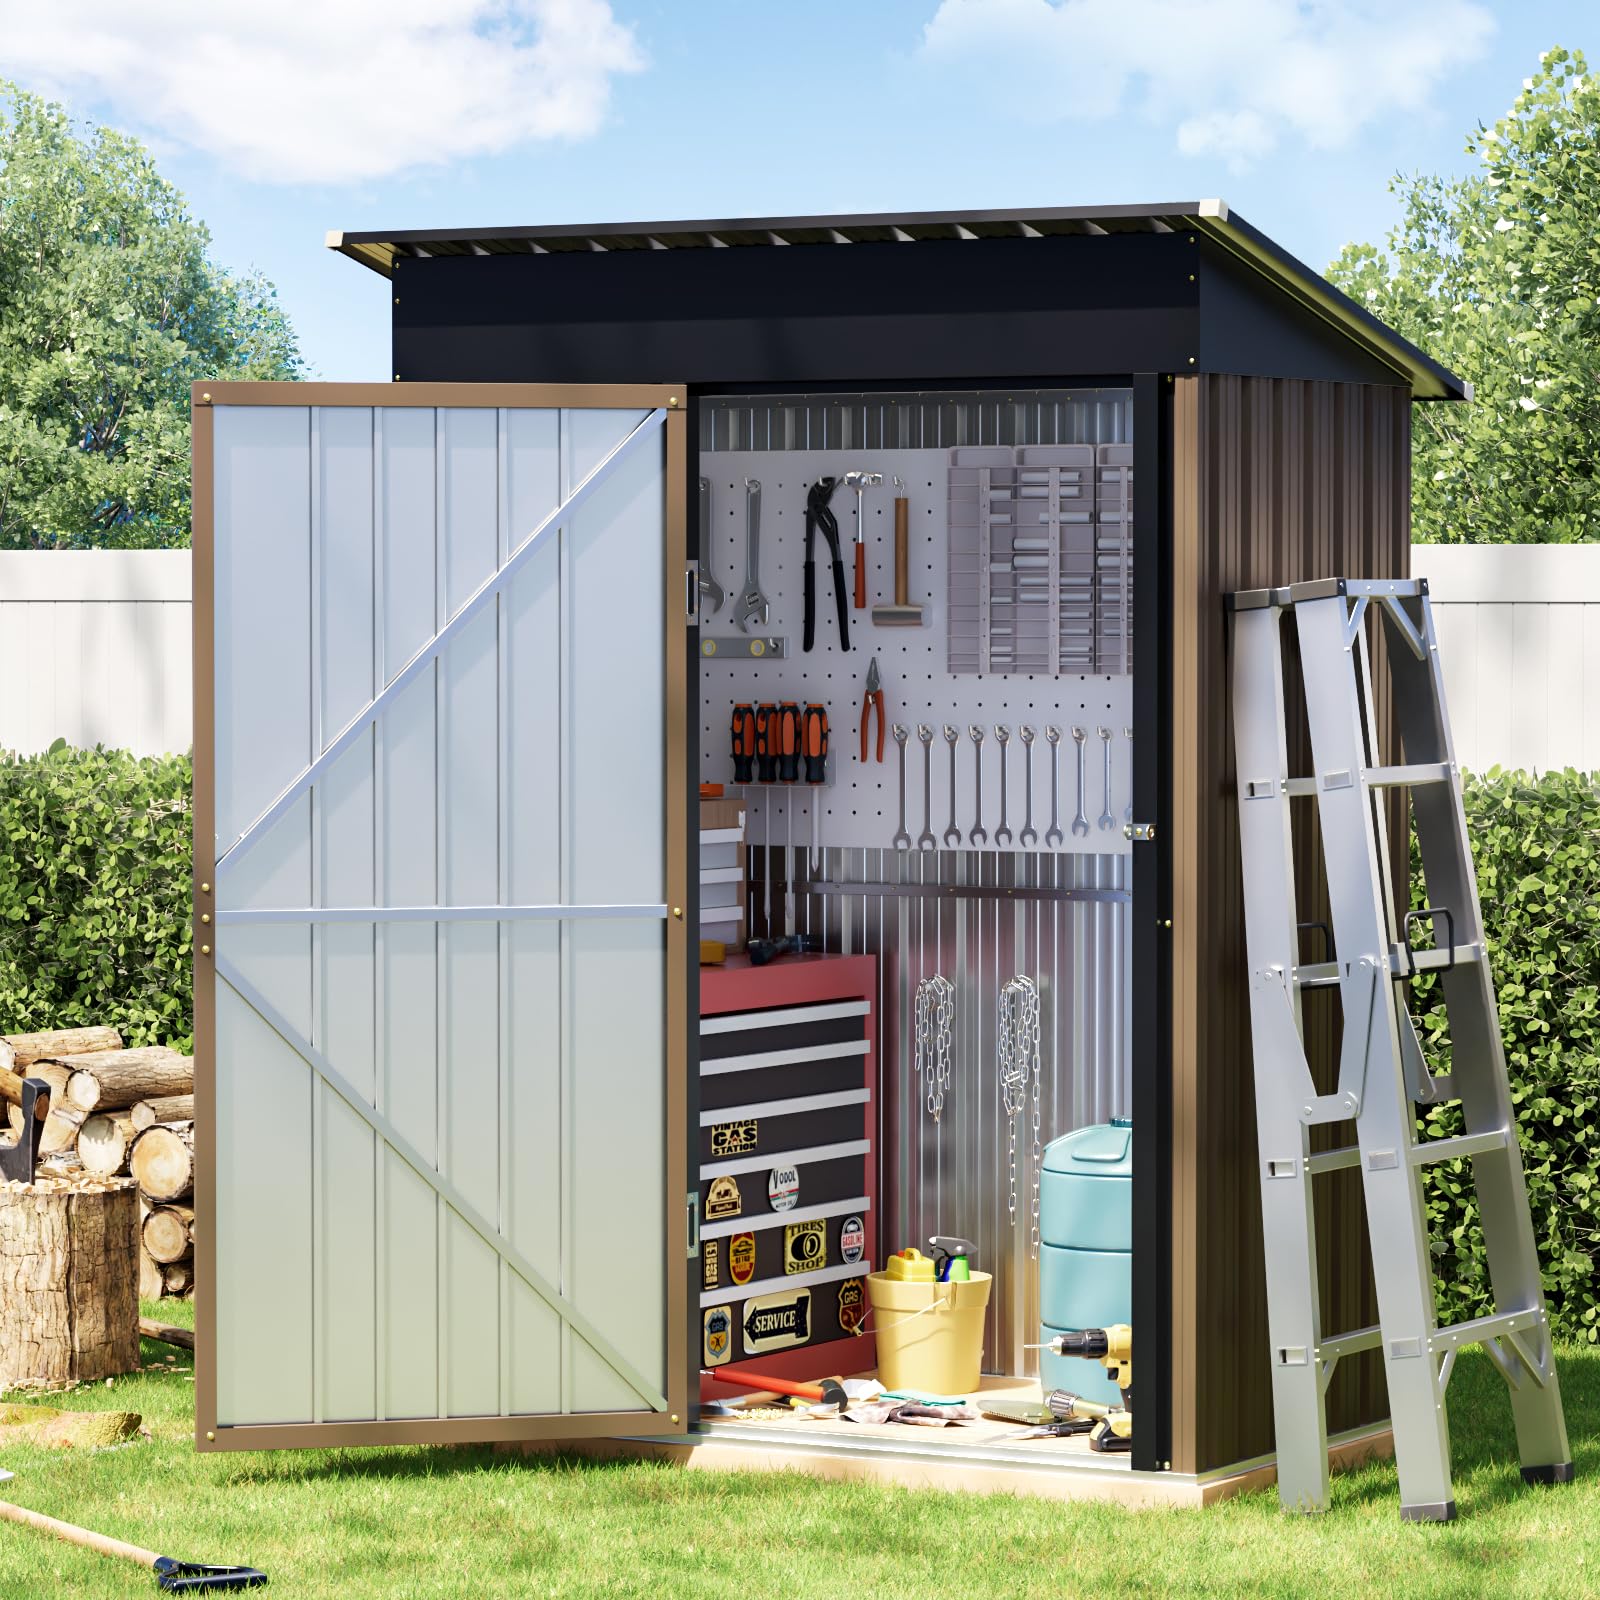
Image 1.1: The Breezz Vertical Outdoor Steel Storage Shed, 5x3 ft, Brown.
Product Features:
- Steel Construction & Compact Size: Designed for storing garden tools, bicycles, pool supplies, and seasonal equipment in limited outdoor spaces.
- Reinforced Steel Base Frame: Includes a pre-engineered steel base for a stable and level foundation, simplifying installation and enhancing structural integrity. A complete floor can be added using plywood or concrete blocks.
- Lockable Double Doors: Features reinforced lockable doors for securing tools, garden equipment, or cleaning supplies.
- Easy Access & Organization: Tall design accommodates vertical storage of items like rakes, shovels, and ladders. Wide-opening doors provide convenient access.
- Versatile Outdoor Storage: Suitable for gardening tools, outdoor cushions, small grills, bikes, or pool equipment, contributing to an organized outdoor area.
2. Safety Information
Always assemble this product on a flat, stable surface. Use caution when handling heavy components, such as the steel base frame. Be aware of the shed's weight and stability when opening and closing the lockable doors. Always follow the manufacturer's instructions for safe and proper usage.
3. Setup and Assembly
Assembly of this shed requires careful attention to detail and adherence to the provided instructions. It is highly recommended to have at least two people for assembly. A cordless power screwdriver with adjustable torque settings will significantly aid the process.
3.1 Unpacking and Part Identification
- Carefully unpack all components and verify against the parts list in your included manual.
- Each metal panel is covered with a thin protective plastic film. This film must be removed before assembly. Removal can be time-consuming; warming the panels slightly in the sun or with a hairdryer may assist.
- Wear gloves (two pairs are included) when handling metal panels due to potentially sharp edges.
3.2 Foundation Preparation
A perfectly flat and level base is crucial for proper assembly and structural integrity. Without a level foundation, holes may not align correctly, and doors may not close properly.

Image 3.1: The reinforced steel base frame, designed for a stable foundation.
3.3 General Assembly Steps
- Follow the step-by-step instructions provided in your physical manual meticulously. Do not deviate from the sequence.
- Initially, do not fully tighten all screws. Leave them slightly loose to allow for minor adjustments and alignment of subsequent panels. Tighten all screws once the entire structure is assembled and aligned.
- A helper is essential for holding panels steady and assisting with alignment during the process.
- Avoid assembly on windy days, as the lightweight panels can be difficult to manage and may be damaged.

Image 3.2: Interior view during assembly, demonstrating the compact capacity.

Image 3.3: Detailed view of key components such as the bolt lock and base security features.
4. Operating Instructions
The Breezz storage shed is designed for straightforward operation.
- Opening/Closing Doors: The shed features double doors that open wide for easy access. Gently push or pull the doors to open or close them.
- Locking Mechanism: Utilize the integrated stainless steel bolt lock to secure the shed. Ensure both doors are fully closed before engaging the lock. For enhanced security, a padlock (not included) can be added to the bolt lock.
- Storage: The tall design allows for vertical storage of long-handled tools. Organize items efficiently to maximize the shed's capacity.

Image 4.1: The shed with doors open, illustrating its versatile storage capabilities.
5. Maintenance
Regular maintenance will ensure the longevity and optimal performance of your storage shed.
- Cleaning: Clean the exterior of the shed periodically with mild soap and water. Avoid abrasive cleaners or harsh chemicals that could damage the finish.
- Fastener Check: Periodically inspect all screws and fasteners to ensure they remain tight. Re-tighten any loose screws to maintain structural integrity.
- Leak Prevention: While the shed is designed to be water-resistant, consider applying silicone sealant around roof screws or seams if any leaks are observed, especially in areas with heavy rainfall.
- Snow Load: In areas with heavy snowfall, regularly clear snow from the roof to prevent excessive weight accumulation, which could compromise the roof structure.

Image 5.1: The shed's roof design facilitates rapid drainage during rainfall.
6. Troubleshooting
Below are common issues and their potential solutions:
- Misaligned Holes: If holes do not align during assembly, ensure the base is perfectly level and square. Loosen surrounding screws to allow for slight adjustments, then re-tighten once alignment is achieved.
- Doors Do Not Close Properly: This is often due to an unlevel foundation or improper assembly of the door frame. Verify the base is level and check that all door frame components are correctly installed and tightened.
- Water Leaks: Inspect roof seams and screw points. Apply a high-quality silicone sealant to any areas where water ingress is suspected. Ensure all plastic washers are correctly seated under roof screws.
- Flimsy Panels During Assembly: The metal panels are lightweight for ease of handling. Once fully assembled and all fasteners are tightened, the shed gains significant rigidity. Avoid leaning heavy objects against the walls.
7. Specifications

Image 7.1: Key product dimensions and capacities.
| Feature | Detail |
|---|---|
| Brand | BreezZ |
| Model | 5X3FT/Base |
| Color | Brown |
| Material | Metal (Alloy Steel Frame) |
| Style | Compact |
| Floor Area | 15 square feet (approximate) |
| Door Style | Outward-opening double doors |
| Water Resistance Level | Water Resistant |
8. Warranty and Support
For any questions regarding product warranty, missing parts, or technical support, please contact BreezZ customer service directly. Refer to the contact information provided with your purchase documentation or visit the official BreezZ website for assistance.