
Introduction
This manual provides detailed instructions for the installation, operation, and maintenance of your AOC AM102 Single Monitor Stand. Designed for monitors ranging from 17 to 32 inches and supporting weights between 4.4 to 19.8 lbs, this adjustable monitor arm enhances your workspace ergonomics and organization. It is compatible with 75x75mm and 100x100mm VESA mounting patterns.

Safety Information
- Read all instructions carefully before installation and use.
- Ensure your desk surface is stable and strong enough to support the monitor stand and your monitor's weight.
- Do not exceed the maximum weight capacity of 19.8 lbs (9 kg).
- Keep children and pets away during installation.
- Use only the provided hardware and tools.
- Periodically check all screws and connections to ensure they are secure.
- Adjust the gas spring tension carefully to match your monitor's weight to prevent sudden movements.
Package Contents
Verify that all components are present before beginning installation:
- Monitor Arm Assembly
- C-clamp Base
- Grommet Base
- VESA Plate
- Hardware Kit (screws, washers, spacers)
- Hex Keys (for assembly and adjustment)

Setup Instructions
1. Choose Mounting Option
The AOC AM102 offers two installation methods: C-clamp for desk edges or grommet mount for desks with a pre-drilled hole.

C-Clamp Installation:
- Attach the C-clamp base to the bottom of the monitor arm pole.
- Position the C-clamp on the edge of your desk. Ensure the desk thickness is between 0.39" and 3.14" (10-80mm).
- Tighten the C-clamp screw until the stand is securely fastened to the desk. Do not overtighten.
Grommet Mount Installation:
- If your desk has a grommet hole, remove the grommet cover. Ensure the hole diameter is suitable and the desk thickness is between 0.39" and 1.77" (10-45mm).
- Attach the grommet base to the bottom of the monitor arm pole.
- Insert the grommet bolt through the desk hole and secure it from underneath with the provided washer and nut.
- Tighten the nut until the stand is firmly attached to the desk.
2. Attach VESA Plate to Monitor
- Carefully lay your monitor face down on a soft, clean surface.
- Align the VESA plate with the mounting holes on the back of your monitor (75x75mm or 100x100mm).
- Secure the VESA plate to the monitor using the appropriate screws and washers from the hardware kit. Do not overtighten.
3. Mount Monitor to Arm
- With the VESA plate attached to your monitor, carefully lift the monitor and slide the VESA plate onto the monitor arm's mounting head.
- Ensure the monitor is securely seated on the arm. Some models may have a locking screw to further secure the monitor.
Operating Instructions
Adjusting Monitor Position
The AOC AM102 monitor arm offers full motion adjustment for optimal viewing comfort:
- Tilt: Adjust the monitor screen vertically by tilting it up or down (±90°).
- Swivel: Rotate the monitor horizontally from left to right (±90°).
- Rotation: Pivot the monitor from landscape to portrait orientation (±180°).
- Height and Reach: The gas spring arm allows for smooth vertical height adjustment and extension/retraction to bring the monitor closer or push it further away.

Adjusting Gas Spring Tension
The gas spring tension must be adjusted to match your monitor's weight for stable positioning. Use the provided hex key:
- If the monitor rises up on its own, turn the tension screw in the "-" (counter-clockwise) direction to decrease tension.
- If the monitor drops down or is difficult to raise, turn the tension screw in the "+" (clockwise) direction to increase tension.
- Adjust gradually until the monitor stays at the desired height with minimal effort.
Cable Management
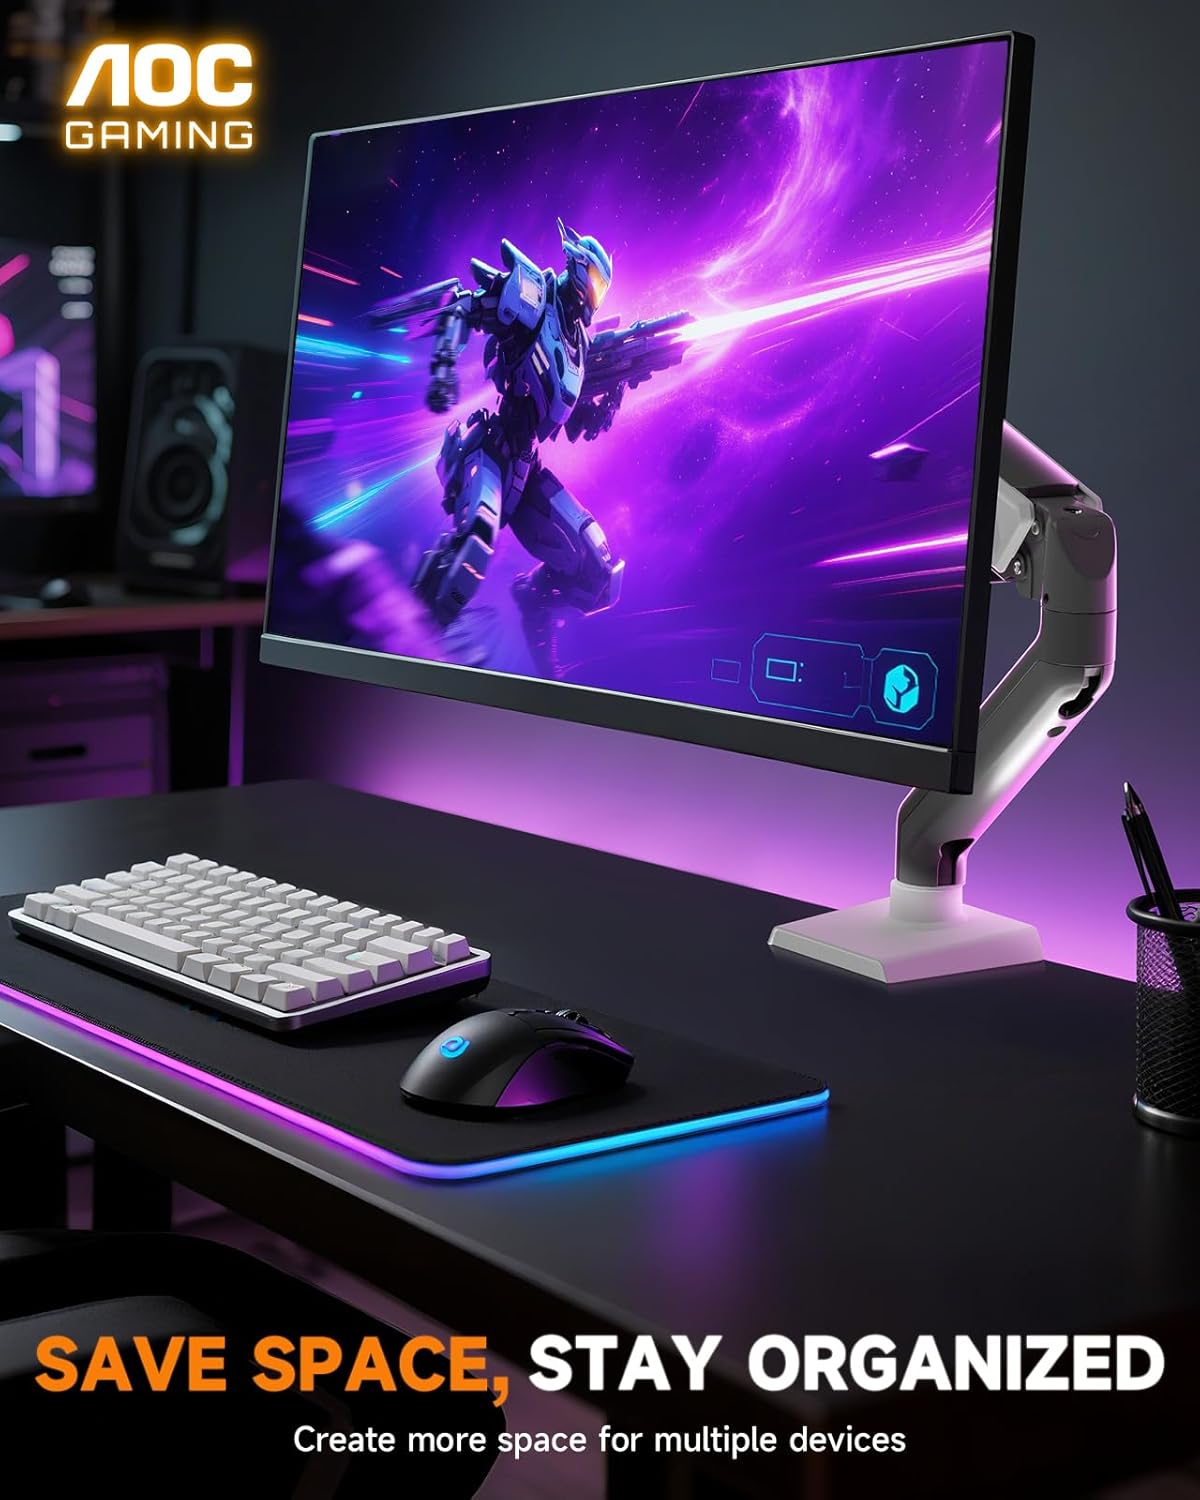
Utilize the integrated cable management system to keep your desk tidy. Route monitor cables through the clips or channels along the arm to maintain a clean and organized workspace.
Maintenance
- Cleaning: Wipe the monitor arm with a soft, damp cloth. Avoid abrasive cleaners or solvents that could damage the finish.
- Periodic Checks: Regularly inspect all mounting points and screws to ensure they remain tight and secure. Re-tighten if necessary.
- Gas Spring: The gas spring is designed for long-term use and generally requires no maintenance. If adjustment becomes difficult, re-check the tension setting.
Troubleshooting
- Monitor does not stay at desired height: The gas spring tension is likely incorrect for your monitor's weight. Refer to the "Adjusting Gas Spring Tension" section to fine-tune the setting.
- Arm feels too stiff or too loose: This is also related to gas spring tension. Adjust the tension screw as described in the operating instructions.
- Monitor wobbles: Ensure all mounting screws (VESA plate to monitor, arm to desk) are securely tightened. Check for any instability in the desk itself.
- Difficulty with full range of motion: Check for any obstructions or cables that might be snagging. Ensure the arm is not overtightened at its joints, allowing for smooth movement.
Specifications
| Feature | Specification |
|---|---|
| Model Number | AM102h2 |
| Compatible Monitor Size | 17 - 32 inches |
| Weight Capacity | 4.4 - 19.8 lbs (2 - 9 kg) |
| VESA Compatibility | 75x75mm, 100x100mm |
| Movement Type | Articulating (Tilt, Swivel, Rotation) |
| Tilt Range | ±90° |
| Swivel Range | ±90° |
| Rotation Range | ±180° |
| Mounting Type | Tabletop Mount (C-clamp, Grommet) |
| C-clamp Desk Thickness | 0.39" - 3.14" (10-80mm) |
| Grommet Desk Thickness | 0.39" - 1.77" (10-45mm) |
Warranty Information
AOC products are manufactured to high-quality standards. This product is covered by a limited warranty. Please refer to the warranty card included with your purchase or visit the official AOC website for detailed warranty terms and conditions specific to your region.
Customer Support
If you encounter any issues or have questions regarding your AOC AM102 Single Monitor Stand, please contact AOC customer support. You can find contact information, FAQs, and additional resources on the official AOC website. Please have your model number (AM102h2) and purchase details ready when contacting support.


