1. Product Overview
The WELURE Replacement Remote is designed to provide convenient and reliable access to your garage. This remote is specifically compatible with Genie and Overhead Door openers that operate on a 390MHz frequency and utilize either 9 or 12 DIP switches for programming. It features fixed code technology for immediate response and an extended operating range.

Image: Two WELURE garage door remotes and two accompanying visor clips, showcasing the complete product package.
Key Features
- Brand-Specific Compatibility: Works only for Genie/Overhead Door 390MHz openers.
- Fixed Code Technology: Ensures immediate response without transmission delays, eliminating interference for instant garage access.
- Extended 148ft Range: Strong signal penetrates garage walls, providing a reliable operating range.
- Simple DIP Switch Setup: Easy programming by matching existing switch configurations (9 or 12 switches).
- Compact & Lightweight: Sleek, ergonomic design fits comfortably in hand or attaches to a car visor.
Compatible Models
This remote is compatible with Genie/Overhead Door openers using 390MHz frequency and 9/12 dip switches. Compatible models include:
- for Carper: CX-390
- for Genie 9 code switch: AT85, AT85A, AT85P, MAT85, GT912 (9/12 code)
- for Genie 12 code switch: ALT90-1, AT290P, AT90-1, AT95, AT95P, CT90, CPT90-1, CPT90-2, CPT90-3, GT90-1, GT90-2, GT90-3, GT90-4, GT912 (9/12 code), LD912, LD90, LDT90-1, MAT90, PMT90-1, PMT90-2, PMT90-3, PMT90-4, RC10, 12A, Blue Max
- for Overhead Doors: ODT90-1
Note: Verify your opener uses 390MHz frequency and has either 9 or 12 dip switches before purchasing. Not compatible with rolling code systems.
2. Package Contents
Each package of the WELURE Replacement Remote includes the following items:
- 2x 390MHz Dip Switch Remotes
- 2x Visor Clips

Image: A clear top-down view of the two included garage door remotes and their corresponding visor clips, as found in the package.
3. Setup and Programming
Before You Begin
Before programming your new remote, ensure your garage door opener is compatible. It must operate on a 390MHz frequency and have either 9 or 12 DIP switches. These switches are typically located on the motor unit of your garage door opener.
Programming Steps
Follow these steps to program your WELURE Replacement Remote:
- Locate Dip Switches: Find the DIP switches on your existing garage door opener motor unit. These are usually inside the cover of the motor unit.
- Photograph Switch Positions: Take a clear photograph of the current switch positions (ON/OFF/MIDDLE) on your opener's DIP switches. This will serve as your reference.
- Match Remote Switches: Open the battery compartment of your new WELURE remote to access its DIP switches. Carefully match the positions of the switches on your new remote exactly to the photograph you took of your opener's switches.
- Special Note for 9-Switch Systems: If your system uses 9 switches, ensure that positions 1-3 on your new remote are set to the OFF position.
- Test Remote: After setting the switches, close the remote's battery compartment. Stand within range of your garage door opener and press the remote button to test its functionality.
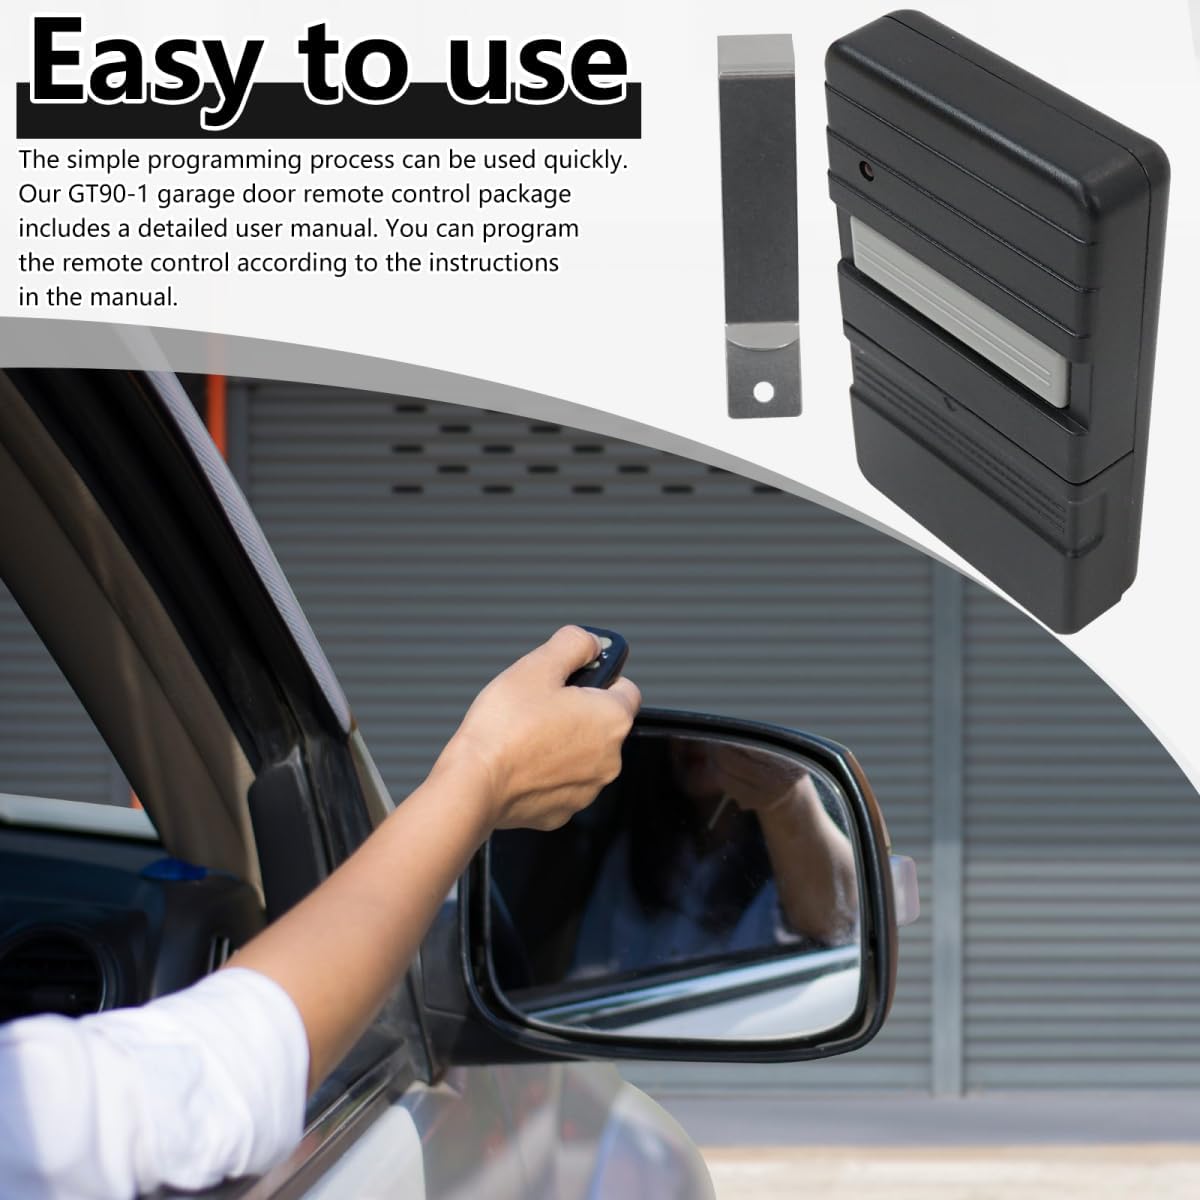
Image: A hand demonstrating the use of the remote to open a garage door, highlighting the ease of operation after programming.
4. Operating Instructions
Once programmed, operating your WELURE Replacement Remote is straightforward. Simply press the button on the remote to activate your garage door opener. The fixed code technology ensures a quick and reliable signal transmission, allowing for instant access without delays.
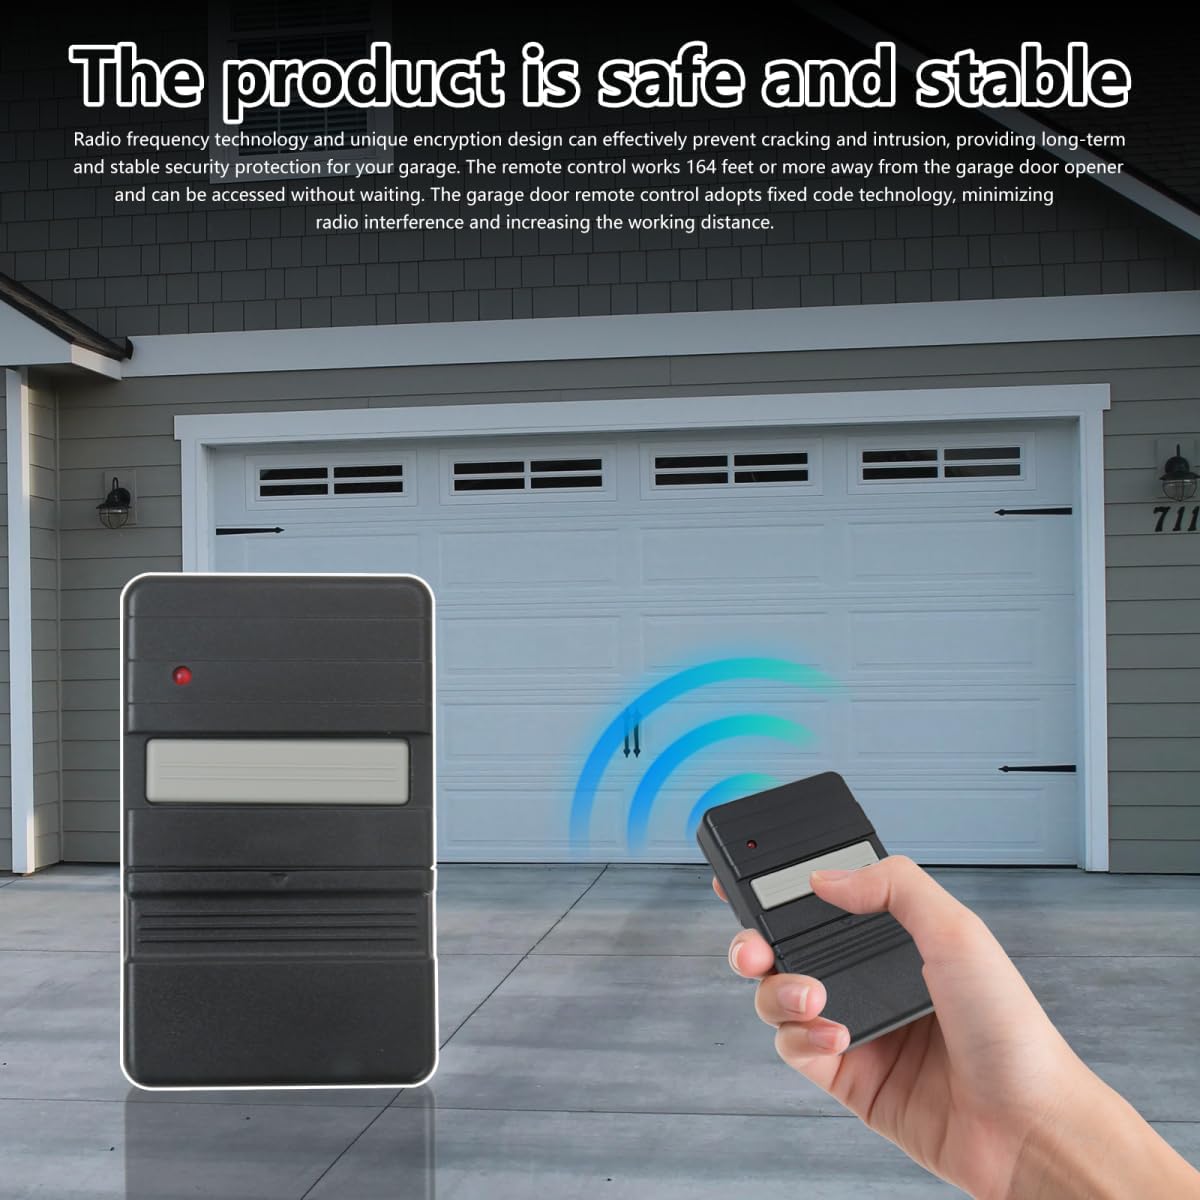
Image: The remote positioned in front of a garage door, visually representing its effective signal transmission and range.
The remote's extended range of up to 148 feet allows you to open your garage door from a considerable distance, even through garage walls. For convenience, utilize the included visor clip to attach the remote to your car's sun visor, keeping it easily accessible.

Image: The remote securely attached to a car's sun visor, illustrating its practical and convenient placement for daily use.
5. Maintenance
Battery Replacement
The remote uses internal button batteries. When the remote's LED indicator dims or the remote stops responding, it's time to replace the batteries. To do so, carefully open the remote's casing (often by removing a small screw or prying gently at a seam) to access the battery compartment. Replace the old batteries with new ones of the same type, ensuring correct polarity. Close the casing securely.
Cleaning
To clean the remote, use a soft, dry cloth. Avoid using abrasive cleaners or solvents, as these can damage the remote's surface or internal components. Keep the remote free from dust and moisture.
6. Troubleshooting
- Remote Not Working:
- Check if the batteries are dead. Replace them if necessary.
- Verify that the DIP switch settings on the remote exactly match those on your garage door opener. Even a single incorrect switch can prevent operation.
- Ensure your garage door opener is indeed a 390MHz Genie/Overhead Door model with 9 or 12 DIP switches. This remote is not compatible with rolling code systems.
- Reduced Range:
- Weak batteries can reduce the remote's operating range. Replace them.
- Ensure there are no significant obstructions between the remote and the garage door opener's antenna.
- Check for sources of radio interference in the area.
- LED Indicator Not Lighting Up:
- This usually indicates dead or incorrectly installed batteries. Check and replace them.
7. Specifications

Image: A detailed diagram illustrating the remote's dimensions (3.4in x 2.1in x 0.68in) and internal features, including the battery compartment and LED indicator.
| Specification | Detail |
|---|---|
| Manufacturer | WELURE |
| Part Number | Garage Door Opener Remote |
| ASIN | B0FFM5WXMH |
| Batteries Included? | No |
| Batteries Required? | Yes (Internal button battery) |
| Frequency | 390MHz |
| DIP Switches | 9 or 12 code switch systems |
| Operating Range | Up to 148 feet (approx. 45 meters) |
| Dimensions (approx.) | 3.4in x 2.1in x 0.68in |
8. Warranty Information
Specific warranty information for this product is not detailed in the provided product data. Please refer to the seller's return policy or contact the manufacturer directly for warranty details.
9. Support
For further assistance or technical support, please contact the WELURE customer service team. Contact details are typically available on the product packaging or through the retailer's website where the product was purchased.


