Introduction
This manual provides detailed instructions for the installation, operation, and maintenance of your Reidsport Ceiling Fan Remote Control. Please read this manual thoroughly before use to ensure proper function and safety.
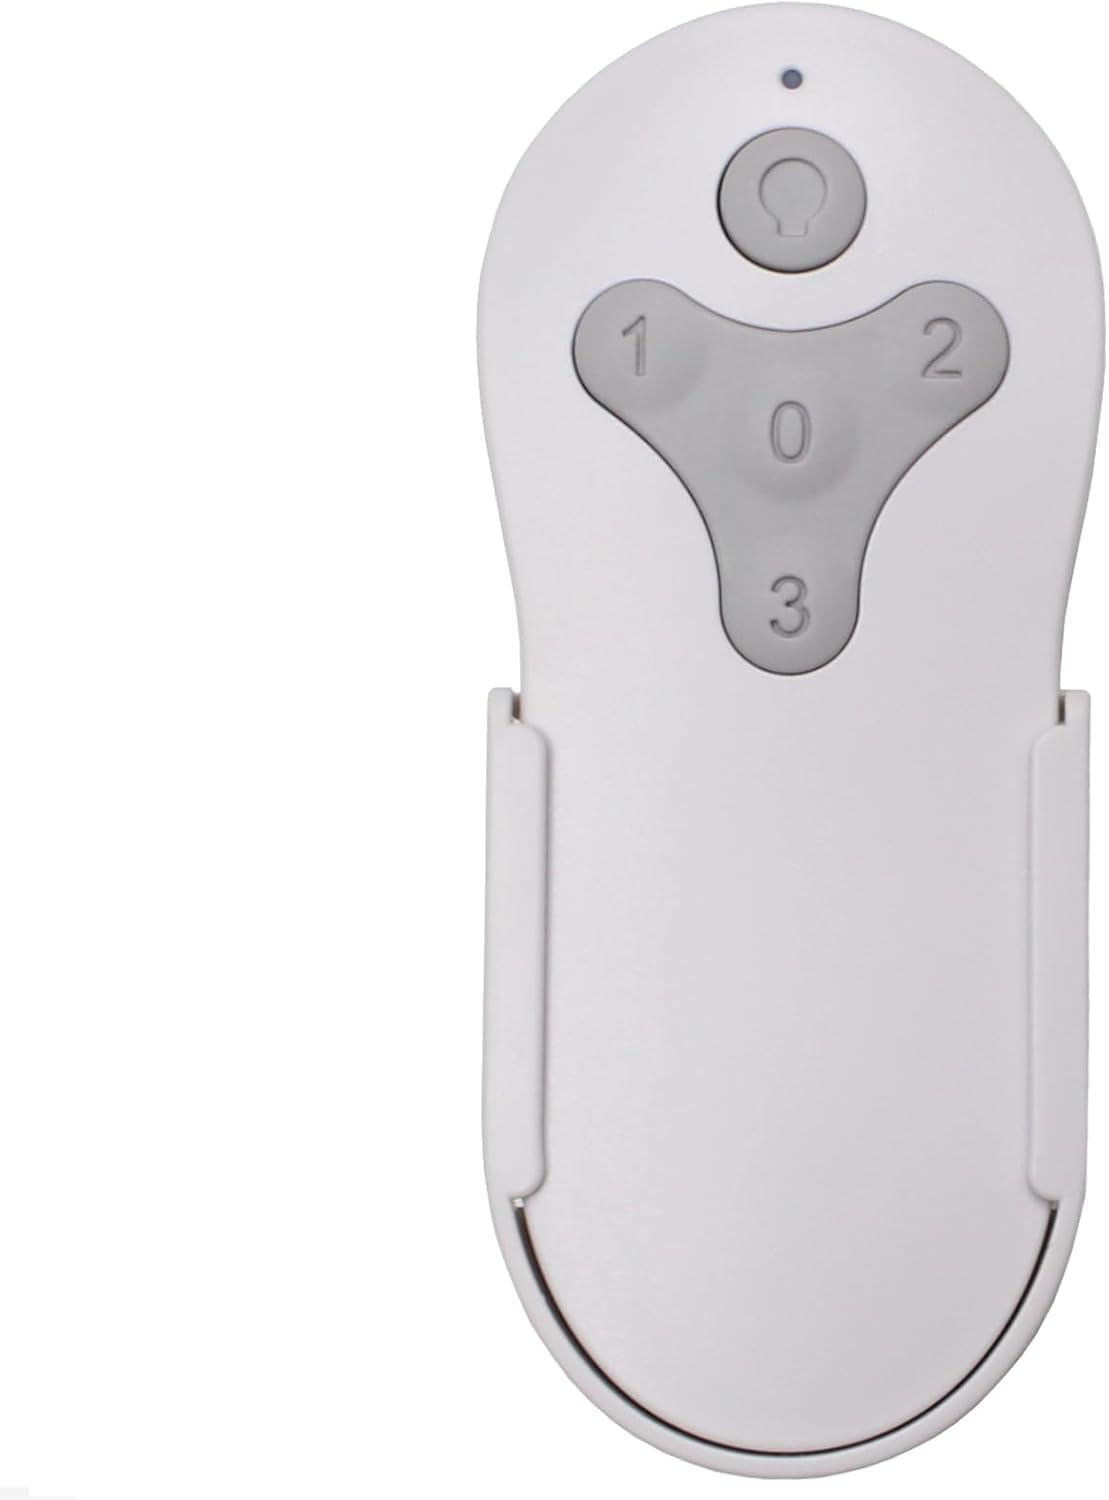
Image: Front view of the Reidsport Ceiling Fan Remote Control, showing the power button and fan speed buttons (0, 1, 2, 3).
Safety Information
Always observe the following safety precautions:
- Ensure power is turned off at the circuit breaker before performing any installation or maintenance.
- Do not expose the remote control to water or excessive humidity.
- Use only the specified battery type (12V 23A).
- Keep batteries out of reach of children.
Package Contents
Verify that all items are present in the package:
- Reidsport Ceiling Fan Remote Control
- Wall Mount Holder
- Mounting Screws (2)

Image: The remote control, its wall mount holder, and two mounting screws, indicating the complete package contents.
Specifications
| Feature | Detail |
|---|---|
| Model Number | CDTR214D |
| Product Dimensions | 2 x 1 x 4 inches |
| Item Weight | 6 ounces |
| Battery Type | 1 x 12V 23A (not included) |
| Compatible Devices | Harbor Breeze Reidsport Ceiling Fans (RDS44MBK5LR, RDS44BNK5LR, RDS44MW5LR, RDS52MBK6LR, RDS52BNK6LR, RDS52MW6LR) |
| Special Feature | Radiofrequency (RF) Control |
Setup and Pairing
1. Battery Installation
The remote control requires one 12V 23A battery (not included).
- Locate the battery compartment on the back of the remote control.
- Slide the battery cover downwards to open.
- Insert one 12V 23A battery, ensuring the correct polarity (+ and -).
- Slide the battery cover back into place until it clicks securely.

Image: Rear view of the remote control with the battery compartment open, showing where to insert the 12V 23A battery.
2. Pairing with Ceiling Fan Receiver
Follow these steps to pair the remote control with your existing ceiling fan receiver:
- Turn Power Off To Fan: Locate the circuit breaker or wall switch that controls power to your ceiling fan and turn it OFF. Ensure the fan is completely powered down.

Image: A hand turning off a wall light switch, illustrating the first step of cutting power to the fan.
- Turn Power Back On To Fan: After a few seconds, turn the power back ON to the ceiling fan.
- Press and Hold "0" Key: Within 30 seconds of restoring power, press and hold the "0" key on the remote control for 5 seconds. The fan light should blink or the fan should respond, indicating successful pairing.

Image: A close-up of the remote control, with the "0" button highlighted, indicating the button to press for pairing.
If pairing is unsuccessful, repeat the steps. Ensure the remote control is within range of the fan receiver during the pairing process.

Image: The remote control securely placed in its wall mount holder, positioned on a wall near a ceiling fan, illustrating the ease of access after setup.
Operating Instructions
The remote control provides comprehensive control over your ceiling fan's functions.
- Power Button (Top Button): Press to turn the fan light ON or OFF. Press and hold to dim the fan light.
- Fan Speed Buttons (1, 2, 3, 0):
- "1": Sets fan speed to Low.
- "2": Sets fan speed to Medium.
- "3": Sets fan speed to High.
- "0": Turns the fan OFF.

Image: The remote control displayed alongside icons and text describing its functions: full speed control, light control, dimming, and compatibility with multiple fan models.
Maintenance
To ensure optimal performance and longevity of your remote control:
- Cleaning: Wipe the remote control with a soft, dry cloth. Do not use abrasive cleaners or solvents.
- Battery Replacement: Replace the 12V 23A battery when the remote's range decreases or it becomes unresponsive. Dispose of old batteries according to local regulations.
- Storage: Store the remote control in a cool, dry place when not in use for extended periods.
Troubleshooting
| Problem | Possible Cause | Solution |
|---|---|---|
| Remote control not responding. | Dead or incorrectly installed battery. | Replace the 12V 23A battery, ensuring correct polarity. |
| Remote control not pairing with fan. | Incorrect pairing procedure or power interruption. | Repeat the pairing steps carefully (Power Off, Power On, Hold "0" for 5 seconds). Ensure power is completely cycled. |
| Limited range or intermittent control. | Low battery or interference. | Replace battery. Ensure no major obstructions between remote and fan receiver. |
| Fan light not dimming. | Fan receiver or light kit does not support dimming. | Verify your ceiling fan's specifications for dimming compatibility. |
Warranty and Support
This product comes with a 1 Year Manufacturer Warranty.
For technical support or warranty claims, please contact Comfort Direct customer service. Refer to your purchase documentation for contact details or visit the official Comfort Direct website.
Note: The warranty does not cover damage caused by improper installation, misuse, or unauthorized modifications.


