
1. Introduction
This manual provides essential information for the safe and efficient operation of your YELOMIN Solar Charger Power Bank 38800mAh. Please read these instructions thoroughly before using the product and retain them for future reference.
Key Features:
- High Capacity: 38800mAh for extended power.
- Fast Charging: PD 22.5W USB-C for rapid device charging.
- Integrated Cables: Four built-in cables (USB-C, Lightning, Micro USB, USB-A) for versatile connectivity.
- Solar Charging: Emergency solar panel for backup power in outdoor conditions.
- Dual LED Flashlights: Features Steady, SOS, and Strobe modes for emergency lighting.
- Durable Design: IP65 waterproof, dustproof, and shockproof construction.
- Multiple Protections: Built-in safeguards against overcharge, over-current, short-circuit, and overheating.
2. Package Contents
Verify that all items are present in your package:
- 1 x YELOMIN Solar Power Bank
- 1 x User Manual (this document)
- 1 x Lanyard
3. Product Layout
Familiarize yourself with the various components and ports of your power bank:
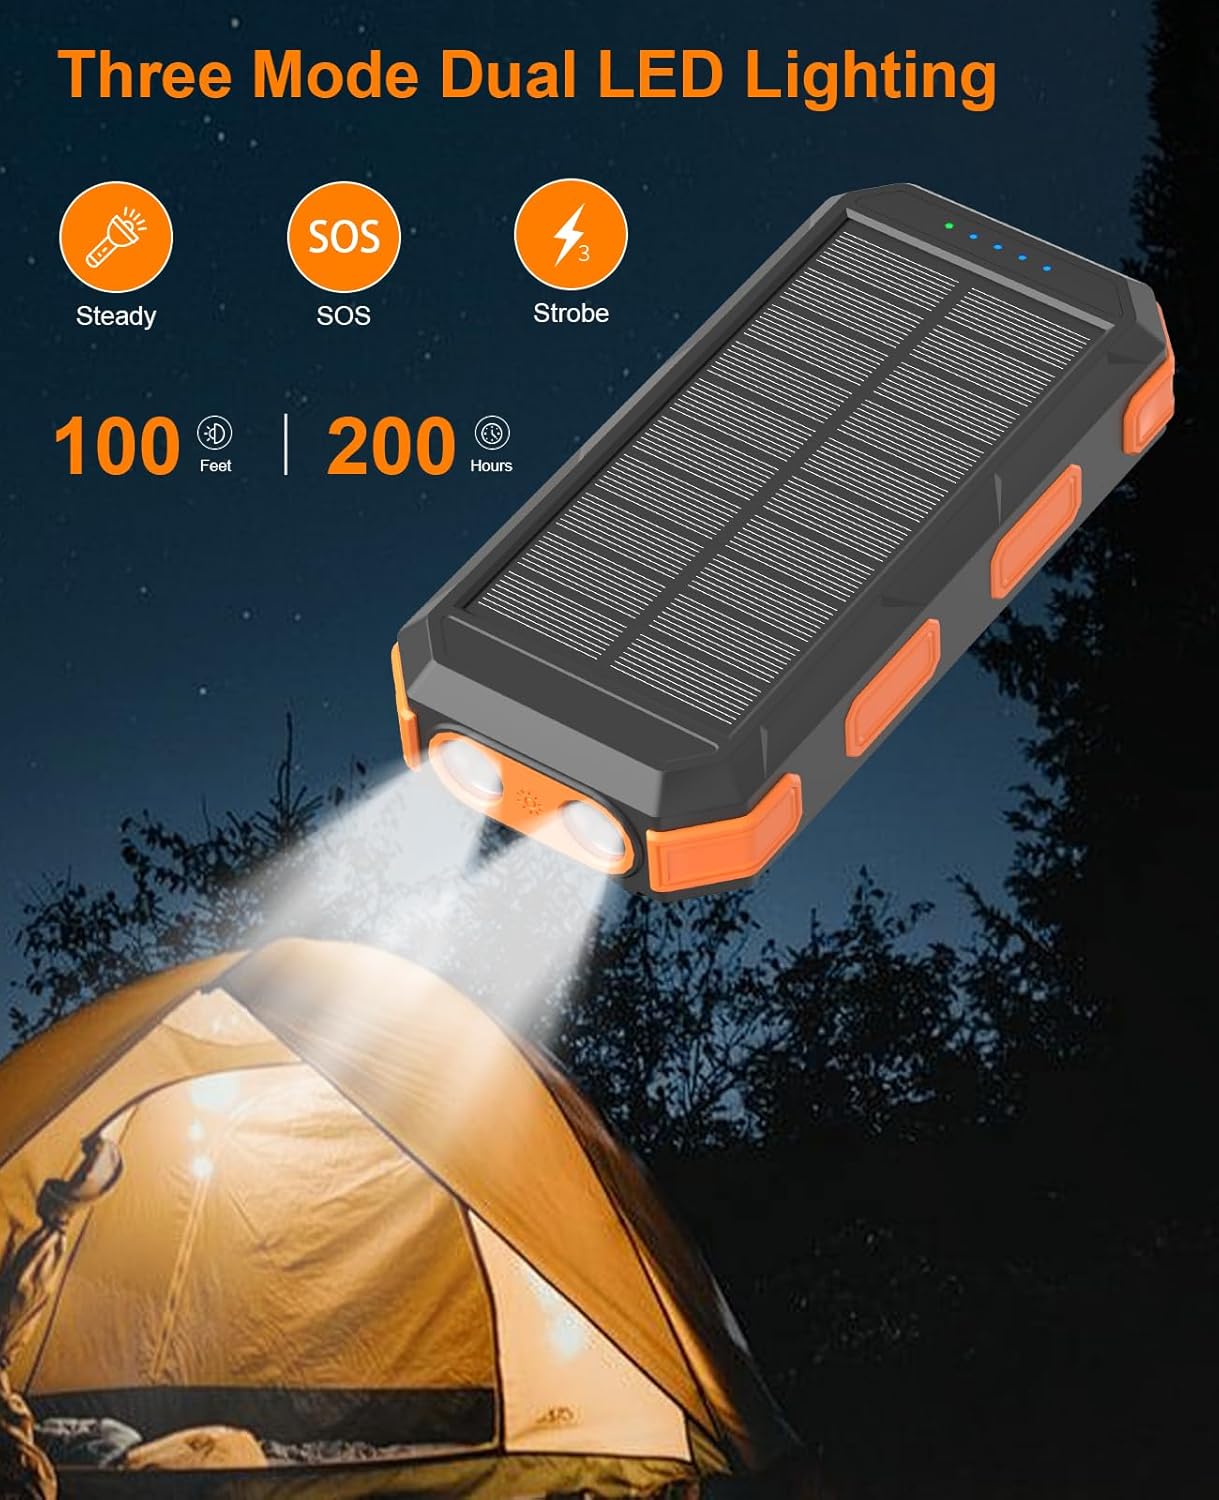
Figure 1: Product Layout Diagram. This image illustrates the various components of the YELOMIN Solar Power Bank, including its built-in cables, charging ports, solar panel, LED indicators, and flashlight.
- Solar Panel: Located on the front surface for emergency solar charging.
- LED Battery Indicator: Displays the remaining battery charge level.
- Power ON/OFF Button: Activates the power bank and controls the flashlight.
- Built-in Cables: Includes Micro USB, Type-C, Lightning, and USB-A cables for direct device connection.
- USB Output Ports (1 & 2): Standard USB-A ports for charging devices.
- Type-C Input/Output Port: Used for both charging the power bank and charging devices.
- Micro Input Port: Used for charging the power bank.
- Dual LED Lights: Located on one end for flashlight functionality.
4. Setup and First Use
4.1 Charging the Power Bank
Before initial use, fully charge the power bank using a wall adapter. Solar charging is primarily for emergency backup and is significantly slower.
Via Wall Outlet:
- Connect a compatible USB-C or Micro USB cable to the respective input port on the power bank.
- Plug the other end of the cable into a USB wall adapter (not included).
- The LED battery indicators will illuminate and blink, showing the charging progress. All four lights will be solid when fully charged.

Figure 2: Charging the Power Bank. This image displays the power bank being charged via a wall adapter and also illustrates solar panel charging.
Via Solar Panel:
- Place the power bank with the solar panel facing direct sunlight.
- The green LED indicator will light up, indicating solar charging is active.
- Note: Solar charging is slower and dependent on sunlight intensity. It is recommended for emergency use or topping off, not as the primary charging method.
4.2 Power On/Off and Battery Check
- Press the Power ON/OFF button once to check the battery level. The blue LED indicators will light up, each representing approximately 25% of the charge.
- The power bank will automatically turn off after a period of inactivity to conserve power.
5. Operating Instructions
5.1 Charging Devices
The power bank can charge multiple devices simultaneously using its built-in cables or external USB ports.
Using Built-in Cables:
- Gently pull out the desired built-in cable (USB-C, Lightning, Micro USB, or USB-A) from its storage slot.
- Connect the cable to your device's charging port.
- The power bank will automatically begin charging. If not, press the Power ON/OFF button.

Figure 3: Charging Multiple Devices. This image demonstrates the power bank charging three devices concurrently using its integrated cables.
Using External USB Ports:
- Open the protective cover on the side of the power bank to access the USB-A output ports and the Type-C input/output port.
- Connect your device's charging cable to the appropriate port on the power bank.
- The power bank will automatically begin charging. If not, press the Power ON/OFF button.

Figure 4: Charging Six Devices. This image illustrates the power bank's capability to charge up to six devices at once using a combination of built-in and external ports.
5.2 Using the LED Flashlight
The dual LED flashlights offer three modes for various situations:
- To Turn On/Off: Press and hold the Power ON/OFF button for approximately 3 seconds.
- To Switch Modes: Once the flashlight is on, press the Power ON/OFF button briefly to cycle through modes: Steady > SOS > Strobe.

Figure 5: Dual LED Lighting. This image highlights the power bank's flashlight feature with its three modes: Steady, SOS, and Strobe.
Video 1: Product Demonstration. This video demonstrates the YELOMIN Solar Charger Power Bank's built-in cables and flashlight functionality.
6. Safety and Protection
Your YELOMIN Solar Charger Power Bank is designed with multiple safety features and a robust build for outdoor use:
- Circuit Protection: Equipped with overcharge, over-current, short-circuit, and overheat protection to ensure device safety.
- Durable Construction: IP65 rated for water, dust, and shock resistance, making it suitable for demanding outdoor conditions.

Figure 6: Durable Outdoor Design. This image highlights the power bank's resistance to water, dust, and impacts.

Figure 7: Multiple Security Protection. This diagram details the various electronic protections integrated into the power bank for safe operation.
7. Maintenance
- Keep the power bank away from extreme temperatures (hot or cold) and direct heat sources.
- Avoid dropping or subjecting the device to severe impacts.
- Clean the device with a soft, dry cloth. Do not use harsh chemicals or abrasive materials.
- Ensure all port covers are securely closed when not in use to maintain water and dust resistance.
- For long-term storage, charge the power bank to about 50-75% and recharge every 3-6 months to prolong battery life.
8. Troubleshooting
- Device not charging: Ensure the power bank is charged. Press the Power ON/OFF button to activate output. Check cable connections and try a different cable or port.
- Slow charging: Verify that the power bank is fully charged. Ensure the charging cable and adapter used for the power bank are capable of fast charging if desired. Solar charging is inherently slower.
- Flashlight not working: Press and hold the Power ON/OFF button for 3 seconds to activate. If still not working, ensure the power bank has sufficient charge.
- Power bank not charging: Check the charging cable and wall adapter. Ensure they are functioning correctly. Try a different input port (USB-C or Micro USB).
If issues persist, please contact customer service for assistance.
9. Specifications
| Feature | Detail |
|---|---|
| Brand | YELOMIN |
| Model Number | S1008D |
| Battery Capacity | 38800 Milliamp Hours |
| Battery Cell Type | Lithium Ion |
| Connector Type | Micro USB + USB Type C (Input/Output) |
| Number of Ports | 4 (2 USB-A Output, 1 USB-C Input/Output, 1 Micro USB Input) + 4 Built-in Cables |
| Power Source | Solar Powered + Corded Electric |
| Voltage | 5 Volts |
| Special Features | Built-in Cables, Waterproof (IP65), LED Flashlight (Steady, SOS, Strobe), Charging Indicator, Multiple Protections |
| Item Dimensions (L x W x Thickness) | 6.3" x 3.07" x 1.38" |
| Item Weight | 500 Grams |
10. Warranty and Support
Your YELOMIN Solar Charger Power Bank comes with a friendly 6-month replacement policy. We are committed to providing fast, friendly, and hassle-free customer service.
If you have any questions about our products or services, please do not hesitate to contact us. Our 24-hour customer service team is available to assist you.
For support, please visit our official store or contact us through the platform where you purchased the product.