
1. Introduction
This manual provides detailed instructions for the installation, operation, and maintenance of your Swokely WiFi Smart Lock. Please read this manual thoroughly before installation and use to ensure proper function and safety.
The Swokely Smart Lock offers multiple unlocking methods including fingerprint, password, magnetic card, traditional key, and remote access via the TY WiFi application.
2. Safety Information
- Ensure all components are present and undamaged before installation.
- Do not attempt to disassemble or repair the lock yourself. Contact qualified personnel for service.
- Use only specified battery types (4 * 3A batteries). Do not mix old and new batteries or different battery types.
- Keep keys in a secure location outside the property.
- Protect your passwords and fingerprints from unauthorized access.
- Avoid exposing the lock to direct water or extreme temperatures.
3. Package Contents
Verify that all items listed below are included in your package:
- 1 * Front Panel
- 1 * Rear Panel
- 2 * Sleeve
- 2 * Cross Screw
- 1 * Square Bar
- 2 * Silicone Pad
- 2 * Magnetic Card
- 2 * Key
- 1 * Gasket
- 1 * Screw Package
- 1 * 3585 Lock Body
- 1 * Door Buckle Plate
- 1 * Opening Diagram
- 2 * Instruction Book
- 1 * Hex Wrench

Figure 3.1: All components included in the Swokely Smart Lock package.
4. Specifications
| Feature | Detail |
|---|---|
| Material | Aluminum alloy |
| Unlocking Methods | Fingerprint, password, card, key, TY WiFi App |
| Lock Body Type | 3585 |
| Fingerprint Capacity | 100 pieces |
| Password Capacity | 100 sets |
| Magnetic Card Capacity | 100 cards |
| Battery Type | 4 * 3A batteries (not included) |
| Door Thickness Compatibility | 40-120mm |
| Front Panel Dimensions | Approx. 33 * 3.7 * 2.4 cm (13 * 1.5 * 1 inch) |
| Model Number | Swokelywbq23z7vkc-11 |
| Item Weight | 4.74 pounds |

Figure 4.1: Detailed dimensions of the Swokely Smart Lock components.
5. Setup and Installation
5.1 Pre-Installation Checks
- Verify your door thickness is between 40mm and 120mm.
- Ensure the door frame is clear of obstructions.
- Confirm all package contents are present.
5.2 Installation Steps
Refer to the included "Installation and Setting Instruction Book" and "Opening Diagram" for detailed, step-by-step installation instructions. A general overview is provided below:
- Prepare the door according to the opening diagram.
- Install the 3585 lock body into the door.
- Attach the front panel, ensuring proper cable connection.
- Install the rear panel and secure it with screws.
- Install the door buckle plate on the door frame.

Figure 5.1: Front and rear panels of the Swokely Smart Lock.
5.3 Battery Installation
The lock requires 4 * 3A batteries (not included). Locate the battery compartment on the rear panel, insert the batteries with correct polarity, and close the compartment cover.
5.4 Initial Setup and Administrator Registration
Upon first power-up, the lock will prompt for administrator registration. Follow the voice prompts or instructions in the "App Instructions" manual to register the first fingerprint, password, or card as the administrator. The administrator has full control over user management and lock settings.
6. Operating Instructions
6.1 Unlocking Methods
- Fingerprint: Place a registered finger on the fingerprint sensor. The lock will unlock upon successful verification.
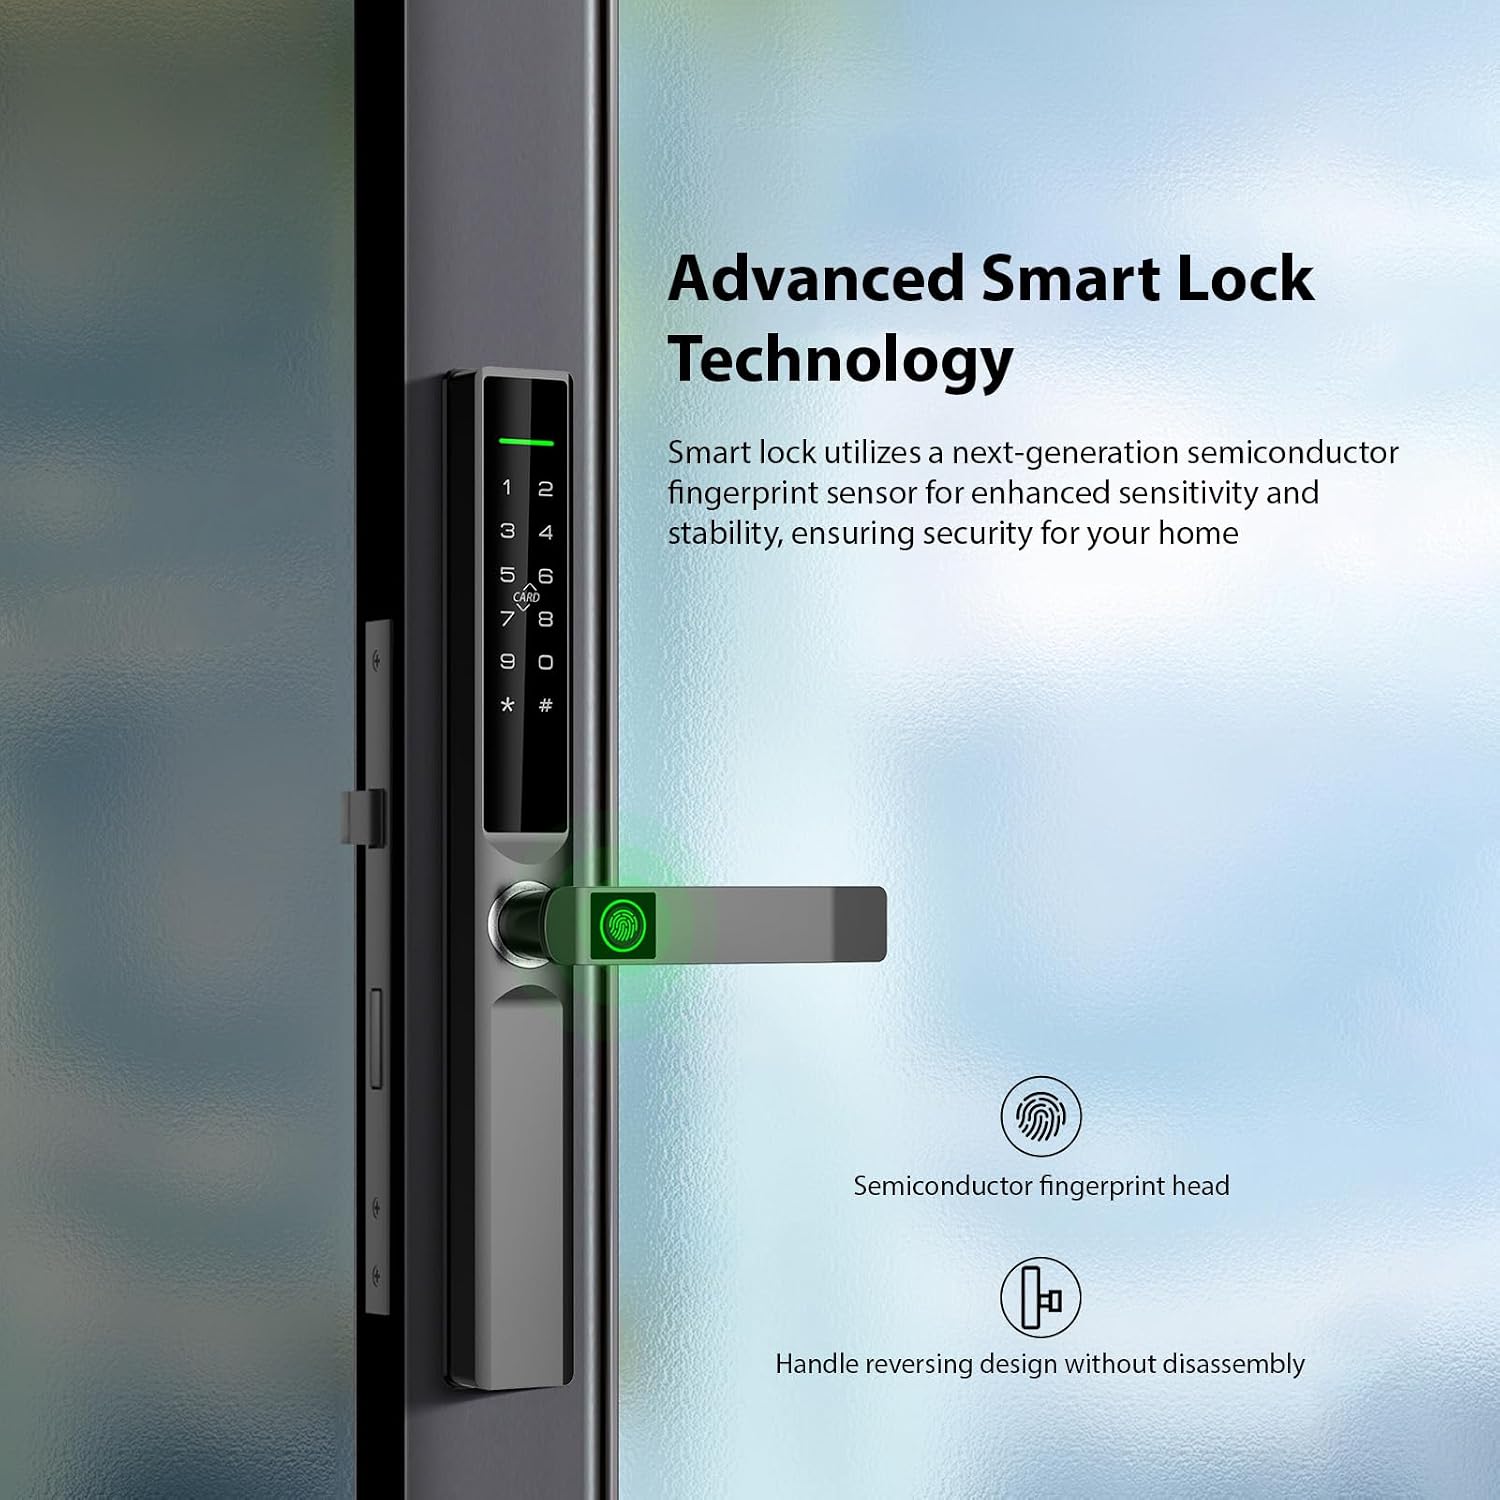
Figure 6.1: The semiconductor fingerprint sensor for enhanced security.
- Password: Enter your registered password on the keypad, followed by the '#' key.
- Magnetic Card: Present a registered magnetic card to the card reader area on the front panel.
- Key: In case of emergency or battery depletion, use the physical key to unlock the door.
- TY WiFi App: Use the dedicated TY WiFi application on your smartphone for remote unlocking and management. Refer to the "App Instructions" manual for setup and usage.
6.2 Locking the Door
The lock typically auto-locks after closing the door. You can also manually lock it from the inside by lifting the handle or from the outside by lifting the handle after closing the door, depending on the lock configuration.
6.3 Administrator Anti-Lock Mode
This mode enhances security by restricting access to only the administrator. To activate, turn the anti-lock button on the rear panel upwards. In this mode, only the administrator's registered credentials can unlock the door.

Figure 6.2: Activating the administrator anti-lock mode by turning the button up.
6.4 Releasing Anti-Lock Knob
If the knob is in a self-locking state, simply press down the rear handle normally to release the knob from the self-locking mode, allowing for normal operation.

Figure 6.3: Pressing down the rear handle to release the anti-lock knob.
7. Maintenance
7.1 Battery Replacement
When the battery level is low, the lock will provide an audible or visual alert. Replace all four 3A batteries promptly to ensure continuous operation. Use high-quality alkaline batteries for best performance.
7.2 Cleaning
Clean the lock's exterior surfaces with a soft, dry cloth. Avoid using abrasive cleaners, solvents, or harsh chemicals, as these can damage the finish or electronic components. Regularly wipe the fingerprint sensor to ensure optimal performance.
8. Troubleshooting
8.1 Common Issues and Solutions
- Lock not responding: Check battery level and replace if necessary. Ensure proper installation and cable connections.
- Fingerprint not recognized: Ensure your finger is clean and dry. Re-register your fingerprint if issues persist.
- Password not working: Verify the correct password is being entered. Ensure the keypad is clean and responsive.
- Door not locking/unlocking properly: Check for any physical obstructions in the door frame or latch mechanism. Ensure the lock body is correctly aligned.
8.2 Intelligent Alarm System
The smart lock is equipped with an alarm system that activates during forced entry attempts or tampering. If an alarm sounds, investigate the cause and take appropriate action. This feature is designed to provide an early warning against potential security breaches.

Figure 8.1: The intelligent alarm system provides alerts during forced entry attempts.
8.3 Robust Anti-Theft Features
The lock incorporates an anti-collision handle and electromagnetic interference defense mechanisms to deter unauthorized access and potential attacks. These features enhance the overall security of your property.

Figure 8.2: Illustration of the electromagnetic interference defense mechanism.

Figure 8.3: The anti-disengagement buckle handle prevents accidental signal cable damage.
9. Warranty and Support
For warranty information, please refer to the documentation provided at the time of purchase or contact Swokely customer support. If you encounter any issues not covered in this manual, please reach out to our support team for assistance.
Customer Support: Please visit the official Swokely website or refer to your purchase receipt for contact details.