1. Introduction
This manual provides detailed instructions for the installation, operation, and maintenance of your BOAVISION QM1 Dual Lens WiFi Outdoor Security Camera. Please read this manual thoroughly before using the product to ensure proper function and safety.
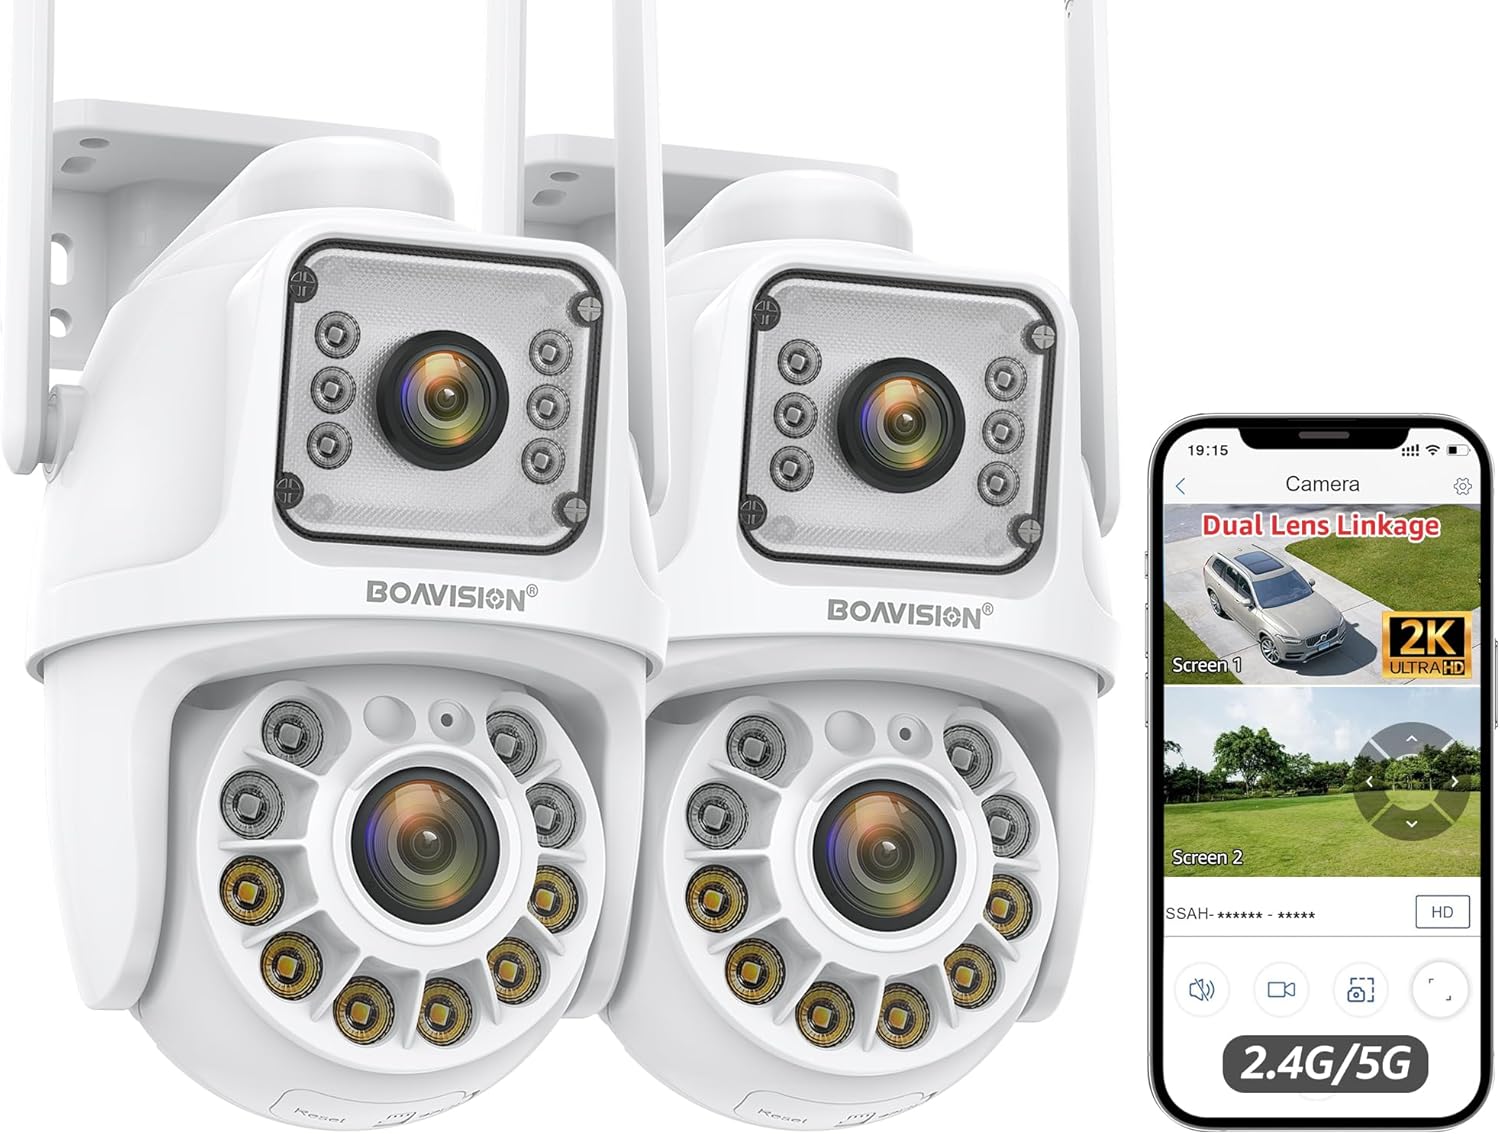
Image 1.1: BOAVISION QM1 Dual Lens WiFi Outdoor Security Camera (2-pack shown).
2. What's in the Box
Verify that all components are present upon unboxing:
- BOAVISION QM1 Dual Lens Security Camera(s)
- Power Adapter(s)
- Mounting Bracket(s)
- Mounting Hardware (screws, wall anchors)
- Waterproof Cap for Ethernet Cable
- Quick Start Guide
- Small Screwdriver
- Ethernet Cable (short)
- Power Extension Cable (optional, for longer reach)

Image 2.1: Overview of included accessories, including power adapter, mounting bracket, and cables.
3. Setup Guide
3.1 Physical Installation
The camera supports both wall and ceiling mounting. Choose a location that provides optimal coverage and a stable surface for installation.
- Use the provided mounting template to mark drill holes on the desired surface.
- Drill holes and insert wall anchors if mounting on drywall or masonry.
- Secure the mounting bracket to the surface using the provided screws.
- Attach the camera to the mounting bracket, ensuring it is firmly seated.

Image 3.1: Examples of wall-mounted and ceiling-mounted camera installations.
3.2 Power Connection
Connect the camera to the power adapter. If needed, use the power extension cable for longer distances. Ensure the connection is secure and, if using Ethernet, apply the waterproof cap.
Video 3.2: Demonstrates connecting the power and Ethernet cables, including the waterproof cap, and initial setup steps for the BOAVISION Dual Lens Security Camera.
3.3 Network Connection (Wi-Fi / Ethernet)
The camera supports both 2.4GHz and 5GHz Wi-Fi bands for flexible network integration. For a wired connection, use an Ethernet cable.
- Wi-Fi: During app setup, select your Wi-Fi network and enter the password. Ensure the camera is within range of your router or Wi-Fi booster.
- Ethernet: Connect an Ethernet cable from your router or network switch to the camera's Ethernet port. Use the provided waterproof cap for outdoor installations.

Image 3.3: Illustration of 2.4GHz and 5GHz dual-band Wi-Fi connectivity for stronger and faster network signals.
3.4 App Installation and Pairing
Download the "CamHipro" app from your device's app store (iOS/Android). Follow the in-app instructions to add and pair your camera. This typically involves scanning a QR code on the camera or manually entering its ID.
4. Operating Instructions
4.1 Dual Lens Linkage and PTZ Control
The camera features two lenses: a fixed "bullet" lens (Screen 1) for key areas and a rotating "dome" lens (Screen 2) with 355° pan and 90° tilt. In the app, you can view both screens simultaneously. Clicking on the fixed bullet screen will automatically direct the dome camera to that area.

Image 4.1: The camera's dual lens system with pan and tilt capabilities, controlled via the mobile application.

Image 4.2: Demonstrates the dual lens linkage feature, where clicking on one screen automatically adjusts the other camera's view.
4.2 AI Human Detection & Auto Tracking
The built-in AI algorithm can distinguish human movement from other objects, reducing false alarms. When a human is detected, the camera will automatically track the subject and send notifications to your mobile phone. After the subject leaves the area, the camera returns to its preset guard position.

Image 4.3: Visual representation of AI human detection and automatic tracking functionality.

Image 4.4: The camera's human detection feature triggering a light and sound alarm, with a mobile notification example.
4.3 Night Vision Modes
The camera offers three night vision modes for clear monitoring up to 60 feet in low-light conditions:
- Full Color Night Vision: Utilizes built-in lights to provide full-color images.
- Infrared (IR) Night Vision: Standard black and white night vision.
- Double Light Alert: Combines IR with white light activation upon motion detection.

Image 4.5: Comparison of daytime view, full-color night vision, and infrared night vision capabilities.
4.4 Two-Way Audio
The integrated speaker and microphone allow for real-time two-way communication. You can speak to visitors or deter intruders directly through the app.
Image 4.6: The camera's two-way audio function allowing communication with individuals near the camera.
4.5 Recording and Storage
The camera supports 24/7 recording. Video footage can be stored locally or via cloud services:
- Micro SD Card: Insert a Micro SD card (up to 128GB, not included) into the designated slot for local storage.
- Cloud Storage: Optional cloud storage services may be available through the CamHipro app (subscription may be required).
4.6 Multi-Device Access
The CamHipro app allows simultaneous viewing on multiple devices (Android, iOS, Windows, Mac). You can share camera access with family members.
5. Maintenance
- Cleaning: Regularly wipe the camera lens and body with a soft, damp cloth to remove dust and debris. Do not use harsh chemicals.
- Firmware Updates: Check the CamHipro app periodically for firmware updates to ensure optimal performance and security.
- Storage Management: If using an SD card, regularly review and back up important footage. Consider formatting the SD card periodically to maintain performance.
- Weather Protection: While IP66 waterproof, ensure all cable connections are properly sealed, especially the Ethernet port with its waterproof cap, to prevent water ingress.
6. Troubleshooting
| Issue | Possible Solution |
|---|---|
| Camera not connecting to Wi-Fi | Ensure the camera is within Wi-Fi range. Verify Wi-Fi password. Try restarting the camera and router. Confirm your router supports 2.4GHz or 5GHz. |
| Poor image quality | Clean the camera lens. Check network stability. Ensure sufficient lighting for optimal night vision. |
| No motion detection alerts | Check motion detection settings in the app. Ensure notifications are enabled on your phone. Verify AI human detection is active. |
| Two-way audio not working | Check microphone and speaker settings in the app. Ensure your phone's volume is up. |
| SD card not recording | Ensure the SD card is inserted correctly and formatted within the app. Check if the SD card is full or corrupted. Replace if necessary. |
7. Specifications
- Model: QM1
- Brand: BOAVISION
- Indoor/Outdoor Usage: Outdoor
- Connectivity: Wi-Fi (2.4G/5G), Wired Ethernet
- Pan/Tilt: 355° Pan, 90° Tilt (Dome Lens)
- Video Capture Resolution: 1080p (Full HD)
- Night Vision: Color Night Vision, IR Night Vision, Double Light Alert (up to 60 feet)
- Special Features: Dual Lens Linkage, AI Human Detection, Auto Tracking, Two-Way Audio, Motion Sensor
- Waterproof Rating: IP66
- Storage: Micro SD Card (up to 128GB, not included), Cloud Storage (optional)
- App Control: CamHipro (iOS, Android, Windows, Mac)
- Power Source: Corded Electric (DC12V)
- Product Dimensions: 6.4 x 4.1 x 3.9 inches
- Item Weight: 2.75 pounds
8. Warranty and Support
For warranty information, please refer to the documentation included with your purchase or contact BOAVISION customer support directly. Technical support is available through the contact information provided in the CamHipro app or on the official BOAVISION website.
Additional protection plans may be available for purchase separately. Please check with your retailer for details.


