
Introduction
Thank you for choosing the Dsoon HDV920Pro 4K Ultra HD 48MP Camcorder. This manual provides essential information for the proper setup, operation, and maintenance of your device. Please read this manual thoroughly before using the camcorder to ensure optimal performance and longevity.
Package Contents
Please verify that all items listed below are included in your package:
- Dsoon HDV920Pro Camcorder
- External Microphone
- Remote Control
- 64GB TF Card
- 2 x Rechargeable Batteries (1050mAh)
- USB Charging Cable
- Lens Cap
- Camera Bag
- User Manual

Figure 1: All items included in the Dsoon HDV920Pro Camcorder package, including the camera, microphone, remote, TF card, batteries, cable, lens cap, and bag.
Product Overview
Familiarize yourself with the main components of your Dsoon HDV920Pro camcorder:
- Lens: Captures video and still images.
- LED Fill Light: Provides additional illumination in low-light conditions.
- 3.0" IPS HD Rotatable Touch Screen: For viewing, menu navigation, and playback.
- Microphone Input: For connecting the external microphone.
- Battery Compartment: Houses the rechargeable batteries.
- TF Card Slot: For inserting the memory card.
- USB Port: For charging and data transfer.

Figure 2: Front view of the Dsoon HDV920Pro Camcorder, highlighting the lens, microphone, and rotatable screen.
Setup
1. Battery Installation and Charging
- Open the battery compartment cover located on the bottom of the camcorder.
- Insert the two provided 1050mAh rechargeable batteries, ensuring correct polarity.
- Close the battery compartment cover securely.
- Connect the camcorder to a power source using the USB charging cable. The charging indicator will illuminate.
- A full charge typically takes approximately 2-3 hours. The indicator will turn off or change color when charging is complete.
2. TF Card Installation
- Locate the TF card slot on the side of the camcorder.
- Insert the 64GB TF card with the gold contacts facing the front of the camera until it clicks into place.
- To remove, gently press the card until it springs out.
3. Microphone Attachment
- Slide the external microphone into the hot shoe mount on top of the camcorder.
- Connect the microphone's 3.5mm jack into the microphone input port on the camcorder.
4. Lens Cap
Always keep the lens cap on when the camcorder is not in use to protect the lens from dust and scratches.
Operating Instructions
1. Power On/Off
Press and hold the Power button (usually located near the screen or on top) for a few seconds to turn the camcorder on or off.
2. Basic Recording (Video)
- Ensure the camcorder is in video mode (indicated by an icon on the screen).
- Press the Record button (usually a red circle) to start recording. The recording indicator will flash.
- Press the Record button again to stop recording.
3. Basic Photography (Still Images)
- Switch the camcorder to photo mode.
- Frame your shot using the screen.
- Press the Photo button (often a camera icon) to capture a 48MP image.
4. Digital Zoom (18X)
Use the zoom rocker switch (often labeled 'W' for Wide and 'T' for Telephoto) to adjust the 18x digital zoom. Zoom in to magnify distant subjects or zoom out for a wider field of view.

Figure 3: Illustration of the 18x digital zoom function, allowing closer views of distant subjects.
5. Night Vision
Activate the night vision mode to record clear black-and-white videos or photos in low-light or completely dark environments. Refer to the on-screen menu for the specific setting.
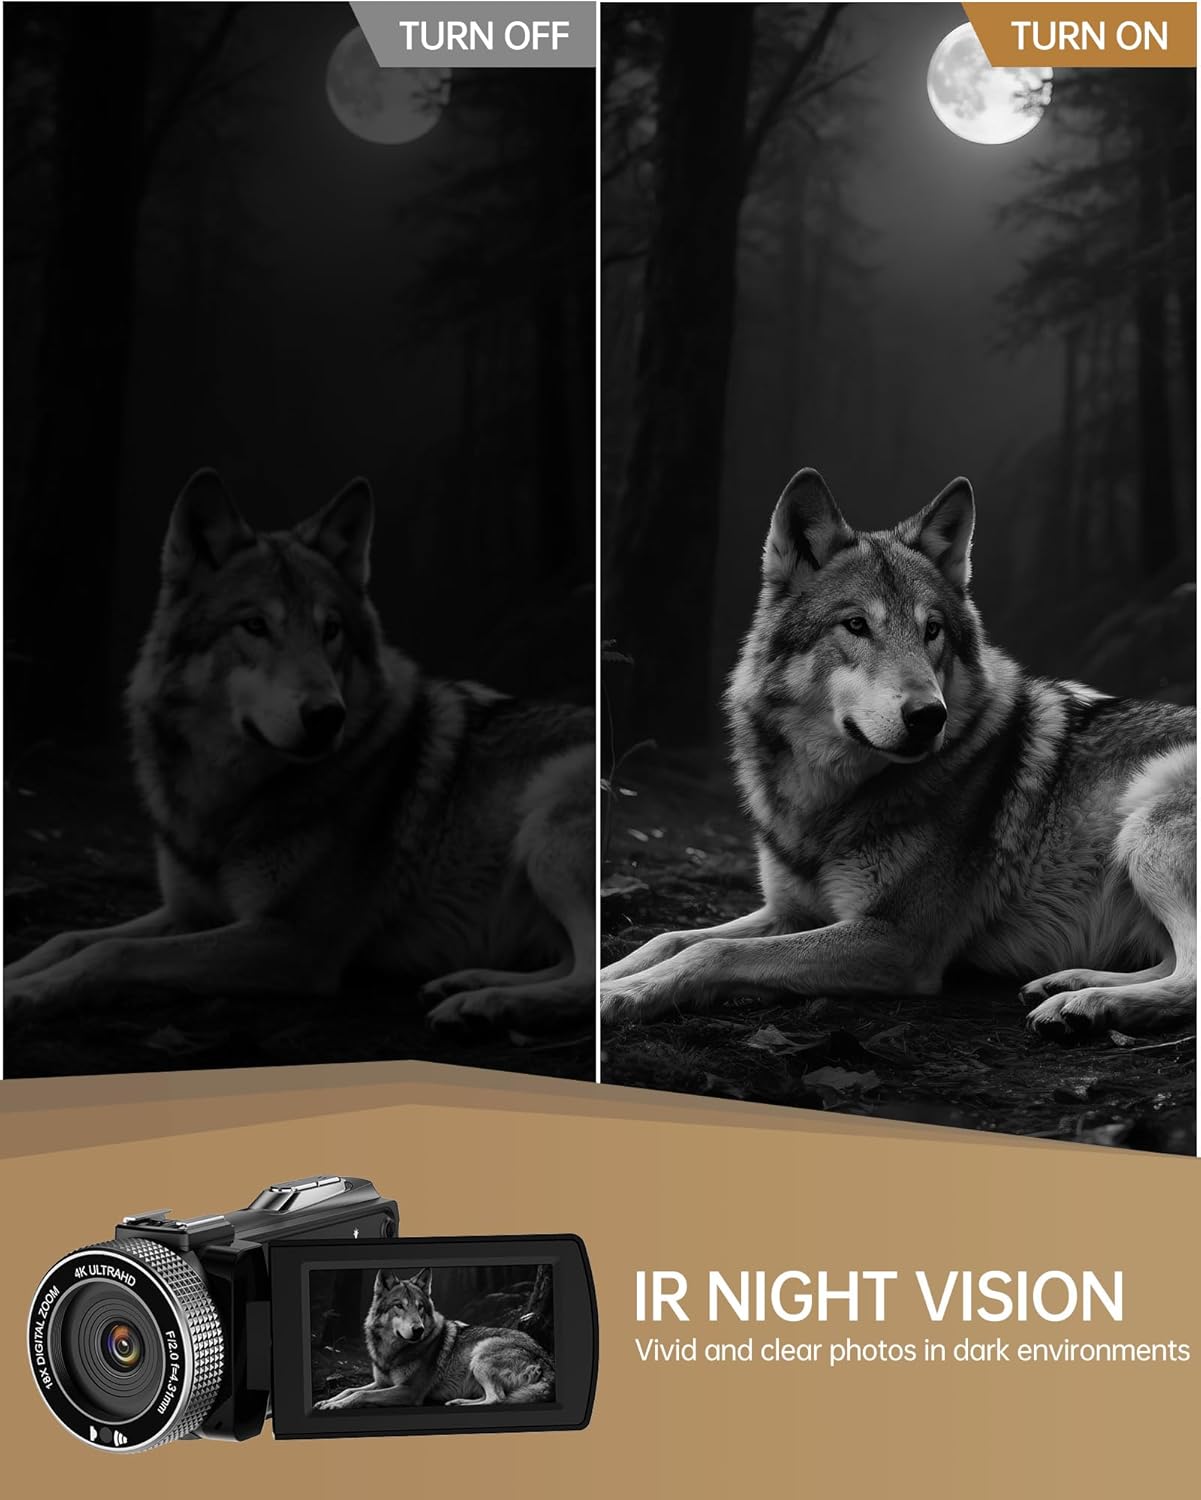
Figure 4: Night Vision in action, capturing vivid details in dark conditions.
6. LED Fill Light
For additional illumination in dimly lit indoor settings, activate the built-in LED fill light via the menu or a dedicated button.

Figure 5: The LED Fill Light provides extra brightness for indoor shooting.
7. 3.0" IPS HD Rotatable Touch Screen
The screen can be rotated 270 degrees for various shooting angles, including self-recording. Use the touch interface to navigate menus, adjust settings, and review content.

Figure 6: The rotatable touch screen and external microphone for clear audio recording.
8. Webcam Function
Connect the camcorder to your computer via the USB cable to use it as a high-quality webcam for video conferences or live streaming. Select 'Webcam Mode' when prompted on the camcorder screen.
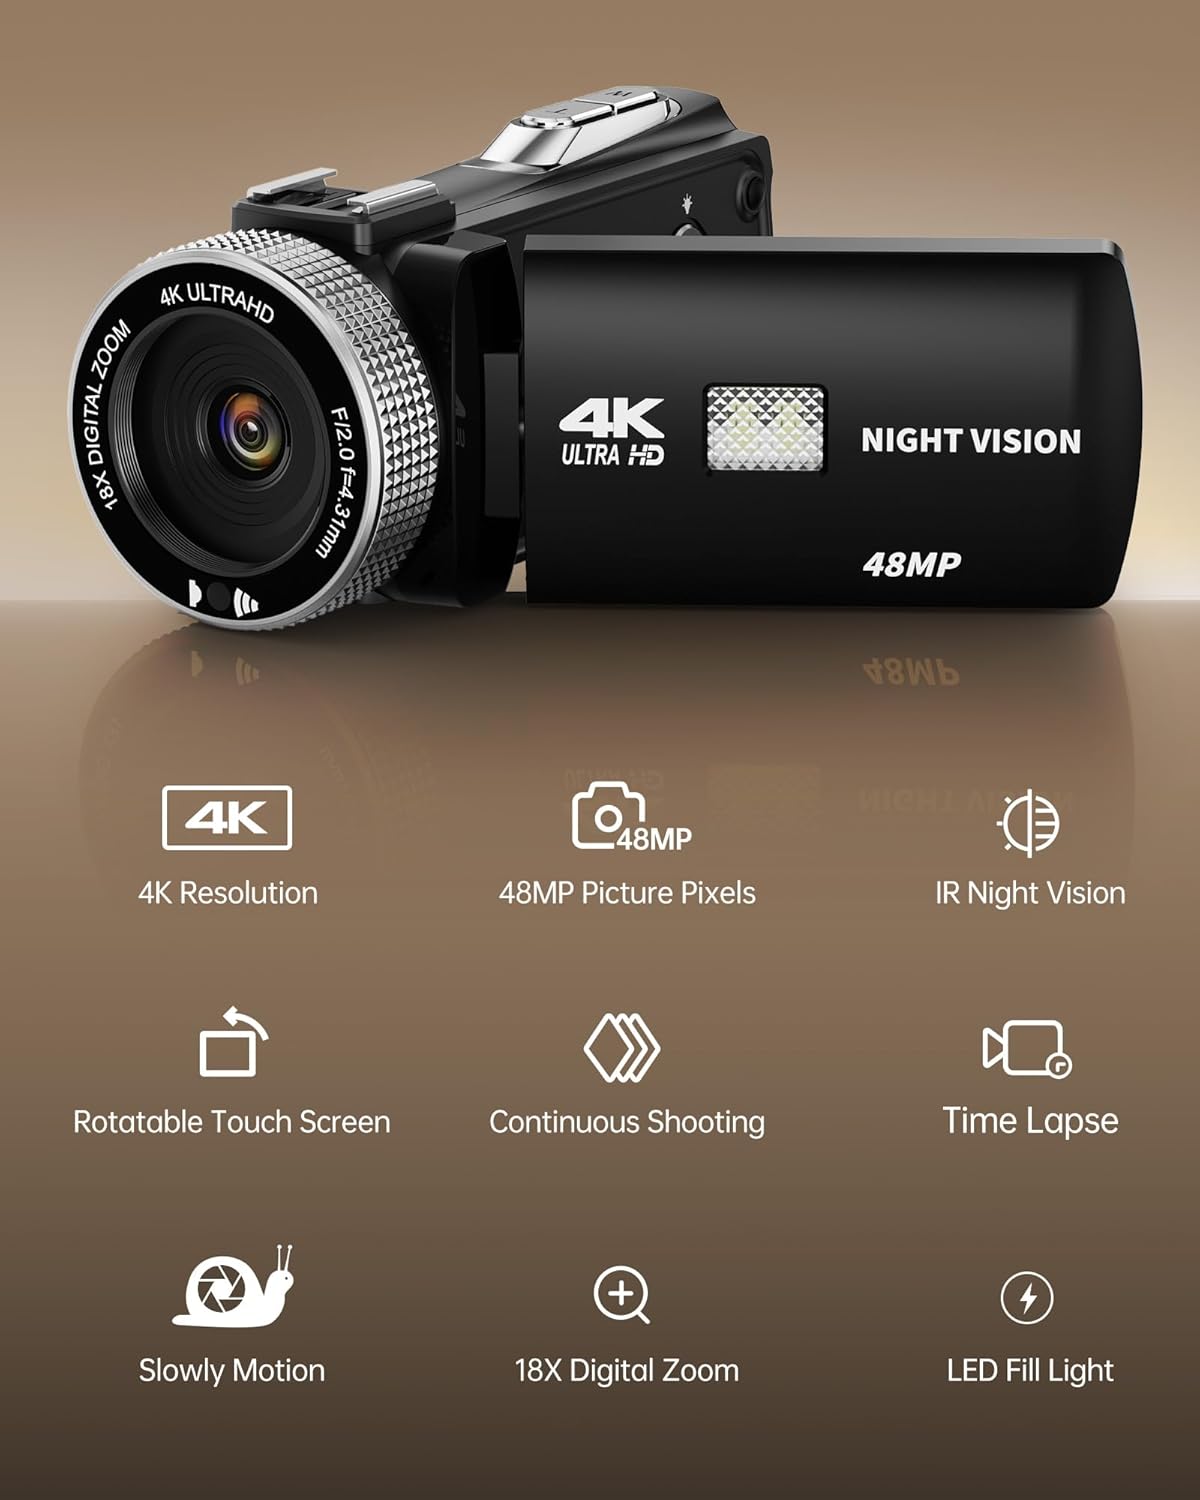
Figure 7: The camcorder can be used as a webcam for online content creation.
9. Playback
Enter playback mode to view your recorded videos and photos. Use the touch screen or navigation buttons to browse through your media files.
10. Remote Control
The included remote control allows for convenient operation from a distance, including starting/stopping recording, zooming, and navigating menus.
Advanced Features
- Slow Motion Recording: Capture dynamic scenes in slow motion for dramatic effect.
- Loop Recording: Continuously record, overwriting the oldest files when the memory card is full.
- Time-lapse Recording: Condense long events into short, engaging videos.
- Continuous Shooting: Capture a rapid sequence of still images.
- Time Shooting: Set a timer for photo capture.
- Recording While Charging: The camcorder supports recording even when connected to a power source, ensuring you don't miss any moments due to low battery.
Maintenance
- Cleaning the Lens and Screen: Use a soft, lint-free cloth specifically designed for optics. Avoid abrasive materials or harsh chemicals.
- Battery Care: Store batteries in a cool, dry place. Do not expose them to extreme temperatures. Charge them regularly even if not in use to maintain their lifespan.
- Storage: When not in use, store the camcorder in its protective bag in a dry, dust-free environment.
Troubleshooting
| Issue | Possible Cause | Solution |
|---|---|---|
| Camcorder won't power on | Low or depleted battery; Incorrect battery installation | Charge batteries fully; Reinstall batteries correctly |
| Poor image/video quality | Dirty lens; Insufficient lighting; Incorrect settings | Clean the lens; Use LED fill light or night vision; Adjust resolution settings |
| Memory card error | Card not inserted correctly; Corrupted card; Unsupported card type | Reinsert TF card; Format card (this will erase data); Ensure card is 64GB TF card |
| Microphone not recording audio | Microphone not connected properly; Microphone settings incorrect | Ensure microphone is securely plugged in; Check audio input settings in menu |
Specifications
| Feature | Specification |
|---|---|
| Model Number | HDV920Pro |
| Video Resolution | 4K (60FPS) |
| Image Resolution | 48 Megapixels |
| Digital Zoom | 18X |
| Screen | 3.0" IPS HD Rotatable Touch Screen |
| Special Features | Night Vision, LED Fill Light, Webcam Function, Recording while Charging |
| Storage | Supports TF Card (64GB included) |
| Battery | 2 x 1050mAh Rechargeable Batteries |
| Connectivity | USB |
| Photo Sensor Technology | CMOS |
| Video Capture Format | MP4 |
| Supported Audio Format | MP3 |
Warranty and Support
Your Dsoon HDV920Pro Camcorder is covered by a manufacturer's warranty. For specific warranty details, please refer to the documentation included with your purchase or contact the seller directly.
Should you encounter any issues or have questions regarding your camcorder, please contact our customer support. We guarantee a response within 10 hours to assist you.
Contact Information: Please refer to your purchase receipt or the seller's contact details on the platform where the product was acquired.