
1. Introduction
This manual provides essential information for the installation, operation, and maintenance of your Generic S9-61 500W Brushless Controller. Designed for 24V-48V electric bikes and scooters, this controller ensures stable speed and sensitive control for braking and direction changes. Its robust aluminum alloy casing with a groove design aids in heat dissipation, preventing thermal overloading and protecting internal circuits. Please read this manual thoroughly before use to ensure proper function and safety.
2. Safety Information
Always prioritize safety when working with electrical components. Improper installation or use can lead to electric shock, injury, or damage to the product and vehicle.
- Ensure the power supply is disconnected before installation or maintenance.
- Installation should ideally be performed by a qualified technician.
- Verify all connections are secure and correct according to the wiring diagram (not provided in this manual, refer to your vehicle's specific wiring instructions).
- Do not expose the controller to excessive moisture or extreme temperatures.
- Regularly inspect wiring for damage or wear.
- This controller is designed for 24V-48V systems. Do not use with voltages outside this range.
3. Product Overview
3.1 Key Features
- Durable Construction: Made from high-quality ABS, Acrylic, and Aluminum Alloy for sturdiness and resistance to various weather conditions.
- Stable Performance: Provides stable speed control and sensitive response for braking and direction changes.
- Efficient Heat Dissipation: Aluminum alloy shell with a groove design effectively dissipates heat, protecting the internal circuitry from thermal overloading.
- Wide Compatibility: Suitable for a range of electric bicycles and scooters operating on 24V-48V systems.
3.2 Components
The package includes the following:
- 1x Generic S9-61 500W Brushless Controller

Image 1: The S9-61 Brushless Controller with its wiring harness, demonstrating its integration with an electric bike display and handlebars. This image highlights the ease of installation and use.
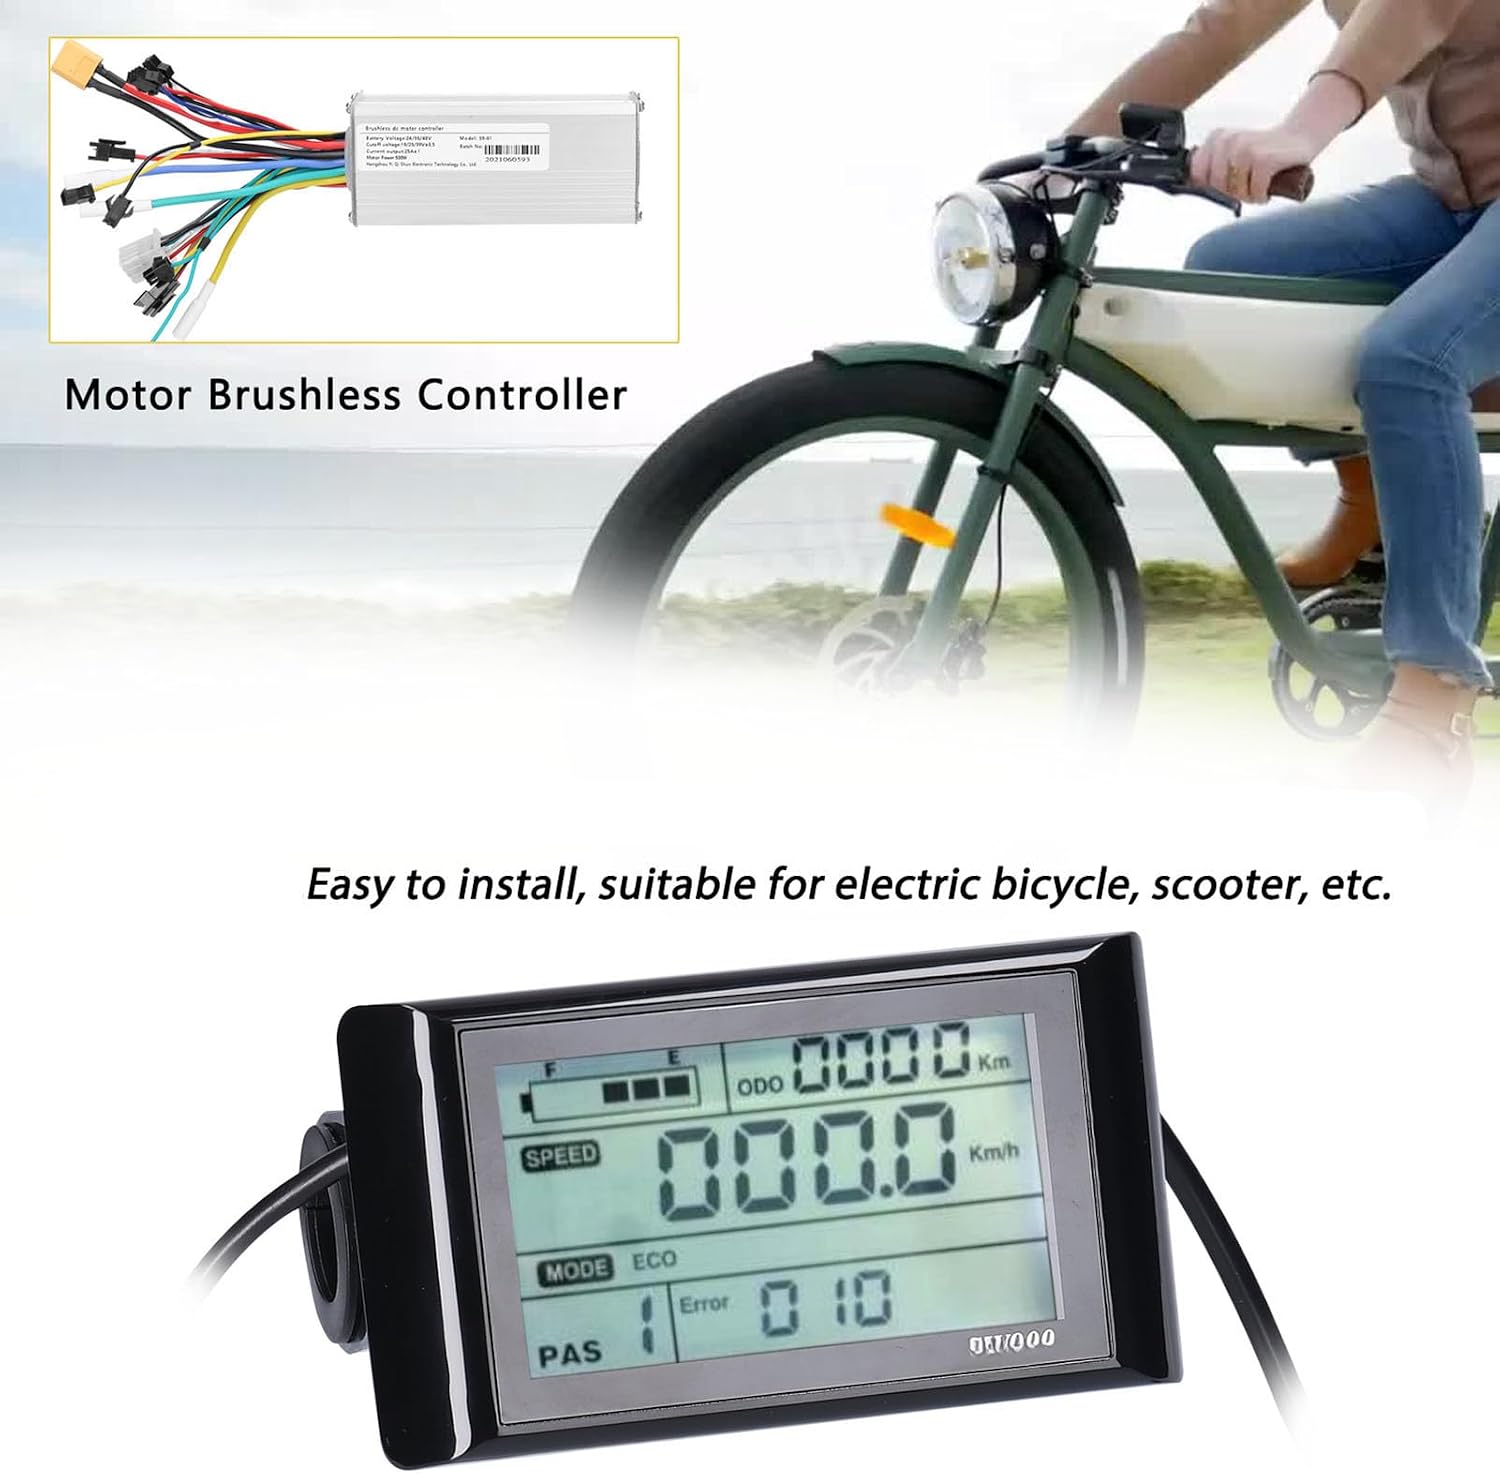
Image 2: A detailed view of the S9-61 Motor Brushless Controller and a digital display, illustrating its suitability for electric bicycles and scooters.
4. Specifications
| Feature | Detail |
|---|---|
| Model | S9-61 |
| Power Rating | 500W |
| Voltage Compatibility | 24V-48V |
| Material | ABS + Acrylic + Aluminum Alloy |
| Controller Dimensions (L x W x H) | 122 x 51.5 x 30 mm (4.8 x 2.0 x 1.2 inches) |
| Current Output | 25A ± 1A |
| Weight | Approximately 305 g |
| Country of Origin | China |
| Batch Number | 2021060593 |

Image 3: The S9-61 controller with its physical dimensions and technical label, detailing key electrical specifications and model information.
5. Setup and Installation
The S9-61 controller is designed for straightforward installation, but it is crucial to connect all wires correctly to ensure proper function and safety. If you are unsure about any step, consult a professional technician.
5.1 General Installation Steps
- Power Disconnection: Before starting, ensure the battery power of your electric bike or scooter is completely disconnected.
- Mounting the Controller: Securely mount the S9-61 controller in a suitable location on your vehicle, away from direct water exposure and excessive vibration. The aluminum casing is designed for heat dissipation, so ensure adequate airflow around it.
- Wiring Connections: Connect the controller to your motor, battery, display, throttle, brake levers, and other accessories according to your vehicle's specific wiring diagram. The controller features various color-coded connectors for different functions (e.g., motor phase wires, hall sensor wires, battery power, ignition, throttle, brake, PAS sensor, display).
- Double-Check Connections: Carefully review all connections to ensure they are firm, correctly matched, and free from short circuits. Incorrect wiring can damage the controller or other components.
- Initial Power-Up: Once all connections are verified, reconnect the battery power. Turn on your electric bike or scooter system.
- Function Test: Test the throttle, brakes, and display functions at a low speed in a safe environment before full operation.
Note: A specific wiring diagram is not included in this general manual. Refer to the wiring instructions provided with your electric bike/scooter kit or consult the manufacturer for detailed connection guidance.
6. Operating Instructions
The S9-61 brushless controller manages the power delivery to your motor based on inputs from the throttle, brake levers, and pedal-assist system (PAS) sensor. Its operation is largely automatic once correctly installed.
- Power On/Off: Use your electric bike/scooter's main power switch or display unit to turn the system on or off.
- Throttle Control: Gently twist the throttle to accelerate. The controller will regulate motor power to achieve the desired speed.
- Braking: Engaging the brake levers will signal the controller to cut power to the motor, allowing the mechanical brakes to slow down or stop the vehicle.
- Pedal Assist System (PAS): If your system includes a PAS sensor, the controller will provide motor assistance as you pedal, based on the selected assist level on your display.
- Display Unit: The connected display (if applicable) will show information such as speed, battery level, mileage, and assist level. Refer to your display's specific manual for detailed operation.
7. Maintenance
Proper maintenance ensures the longevity and reliable performance of your S9-61 controller.
- Keep Clean and Dry: Regularly clean the exterior of the controller with a dry or slightly damp cloth. Avoid using harsh chemicals or excessive water. Ensure it remains dry.
- Inspect Wiring: Periodically check all wiring connections for signs of wear, fraying, or corrosion. Secure any loose connections.
- Avoid Overheating: Ensure the controller's mounting location allows for adequate airflow to facilitate heat dissipation. Avoid covering the controller.
- Storage: If storing your electric bike/scooter for an extended period, ensure the battery is disconnected and the controller is kept in a dry, temperate environment.
8. Troubleshooting
This section addresses common issues you might encounter with your brushless controller. For complex problems, consult a professional technician.
| Problem | Possible Cause | Solution |
|---|---|---|
| Motor not running |
|
|
| Intermittent power |
|
|
| Display not working |
|
|
9. Warranty and Support
9.1 Warranty Information
This product comes with a 1-year limited warranty covering manufacturing defects and faulty workmanship. This warranty does not cover damage resulting from improper installation, misuse, accidents, or unauthorized modifications.
For warranty claims, please contact the seller with proof of purchase. Keep your purchase receipt or invoice as proof of the purchase date.
9.2 Customer Support
For technical assistance, troubleshooting beyond this manual, or inquiries regarding your product, please contact the seller through the platform where you made your purchase. Provide your order number and a detailed description of the issue for prompt support.


