
1. Safety Information
Please read and understand all instructions before assembling and using this product. Failure to follow these instructions may result in injury or product damage.
- Anti-Tipping Device: Always install the provided anti-tipping hardware to prevent the cabinet from tipping over, especially in households with children.
- Weight Distribution: Place heavier items in the lowest drawers and shelves to enhance stability.
- Pinch Points: Be cautious of pinch points when opening and closing doors and drawers.
- Water Exposure: While the cabinet features a waterproof finish, prolonged direct contact with water should be avoided to prevent damage. Wipe spills immediately.
- Assembly: Ensure all parts are securely fastened before use. Do not overtighten screws, as bamboo is prone to splitting.
- Children: Never allow children to climb on, stand on, or hang from drawers, doors, or shelves.
2. Parts List
Before beginning assembly, ensure all parts are present and undamaged. Refer to the included diagram for identification.

Image: Exploded view of the VINGLI Fluted Bathroom Floor Storage Cabinet showing all individual components and hardware.
Hardware Included:
- Screws (various types)
- Wooden dowels
- Cam locks and pins
- Drawer slides (3-section silent slides)
- Soft-close hinges
- Champagne gold handles
- Anti-tip hardware (L-shaped brackets, screws, plastic anchors)
- Magnetic cabinet closure
- Assembly tool (screwdriver/Allen wrench)
3. Assembly Instructions
Assembly typically requires two people and a screwdriver. Follow the steps carefully to ensure proper construction.
Step 1: Prepare Panels and Attach Hardware
Insert cam pins and wooden dowels into the designated holes on the main panels (sides, top, bottom, shelves). Attach drawer slides to the side panels using the provided screws. Ensure the fluted door and drawer fronts are correctly oriented.

Image: Close-up view of the fluted door and drawers, highlighting the champagne gold handles and the arc design for hand protection.
Step 2: Construct the Main Frame
Connect the side panels to the bottom and top panels using cam locks and pins. Ensure all connections are tight and secure. Install the back panel by sliding it into the grooves on the side panels.
Video: EYYTHUNG Fluted Bathroom Cabinet Assembly. This video demonstrates the general assembly process for a fluted bathroom cabinet, including connecting panels and installing hardware.
Step 3: Install Shelves and Doors
Insert adjustable shelves into the desired positions using shelf pins. Attach the fluted door using soft-close hinges. Ensure the door opens and closes smoothly.
Video: VINGLI Hinge Installation Demo. This video provides a detailed demonstration of how to install hinges for VINGLI cabinets, ensuring proper alignment and function.
Step 4: Assemble and Install Drawers
Assemble the three fluted drawers by connecting the sides, front, and back panels. Attach the drawer slides to the assembled drawers. Carefully insert the drawers into the cabinet, ensuring they glide smoothly on the 3-section silent drawer slides.
Video: VINGLI 3-in-1 Connector & Wooden Drawer Installation Demo. This video illustrates the assembly of wooden drawers using 3-in-1 connectors, a common method for VINGLI products.
Video: VINGLI Slide Rail Installation & Removal Demo. This video demonstrates the installation and removal of slide rails for drawers, ensuring smooth operation.
Step 5: Install Anti-Tipping Hardware
Secure the cabinet to the wall using the provided anti-tipping hardware. Mark the wall, drill pilot holes, insert plastic anchors, and then screw the L-shaped brackets to both the cabinet and the wall. This step is crucial for safety.
Video: VINGLI Anti-Tipping Device Installation Demo. This video demonstrates the correct procedure for installing the anti-tipping device to secure the cabinet to the wall.
4. Operating Instructions
This VINGLI storage cabinet is designed for organizing various items in small spaces, such as bathrooms, entryways, or living rooms.
- Adjustable Shelf: The internal shelf can be adjusted to different heights to accommodate items of varying sizes. Simply remove the shelf pins, reposition the shelf, and reinsert the pins.
- Drawers: The three fluted drawers operate on 3-section silent slides, allowing for smooth and quiet opening and closing.
- Door: The fluted door is equipped with soft-close hinges and a magnetic closure for secure and quiet operation.
Image: The VINGLI Fluted Bathroom Floor Storage Cabinet in a bathroom, demonstrating its use for organizing toiletries, towels, and other essentials.
5. Maintenance
Proper care will extend the life and appearance of your VINGLI cabinet.
- Cleaning: Wipe surfaces with a soft, damp cloth. Avoid abrasive cleaners or harsh chemicals that may damage the finish.
- Spills: Immediately wipe away any liquid spills to prevent water damage, especially on the engineered wood surfaces.
- Hardware: Periodically check all screws and connections to ensure they remain tight. Retighten if necessary, but do not overtighten.
- Environment: Avoid placing the cabinet in direct sunlight or near heat sources to prevent warping or discoloration.
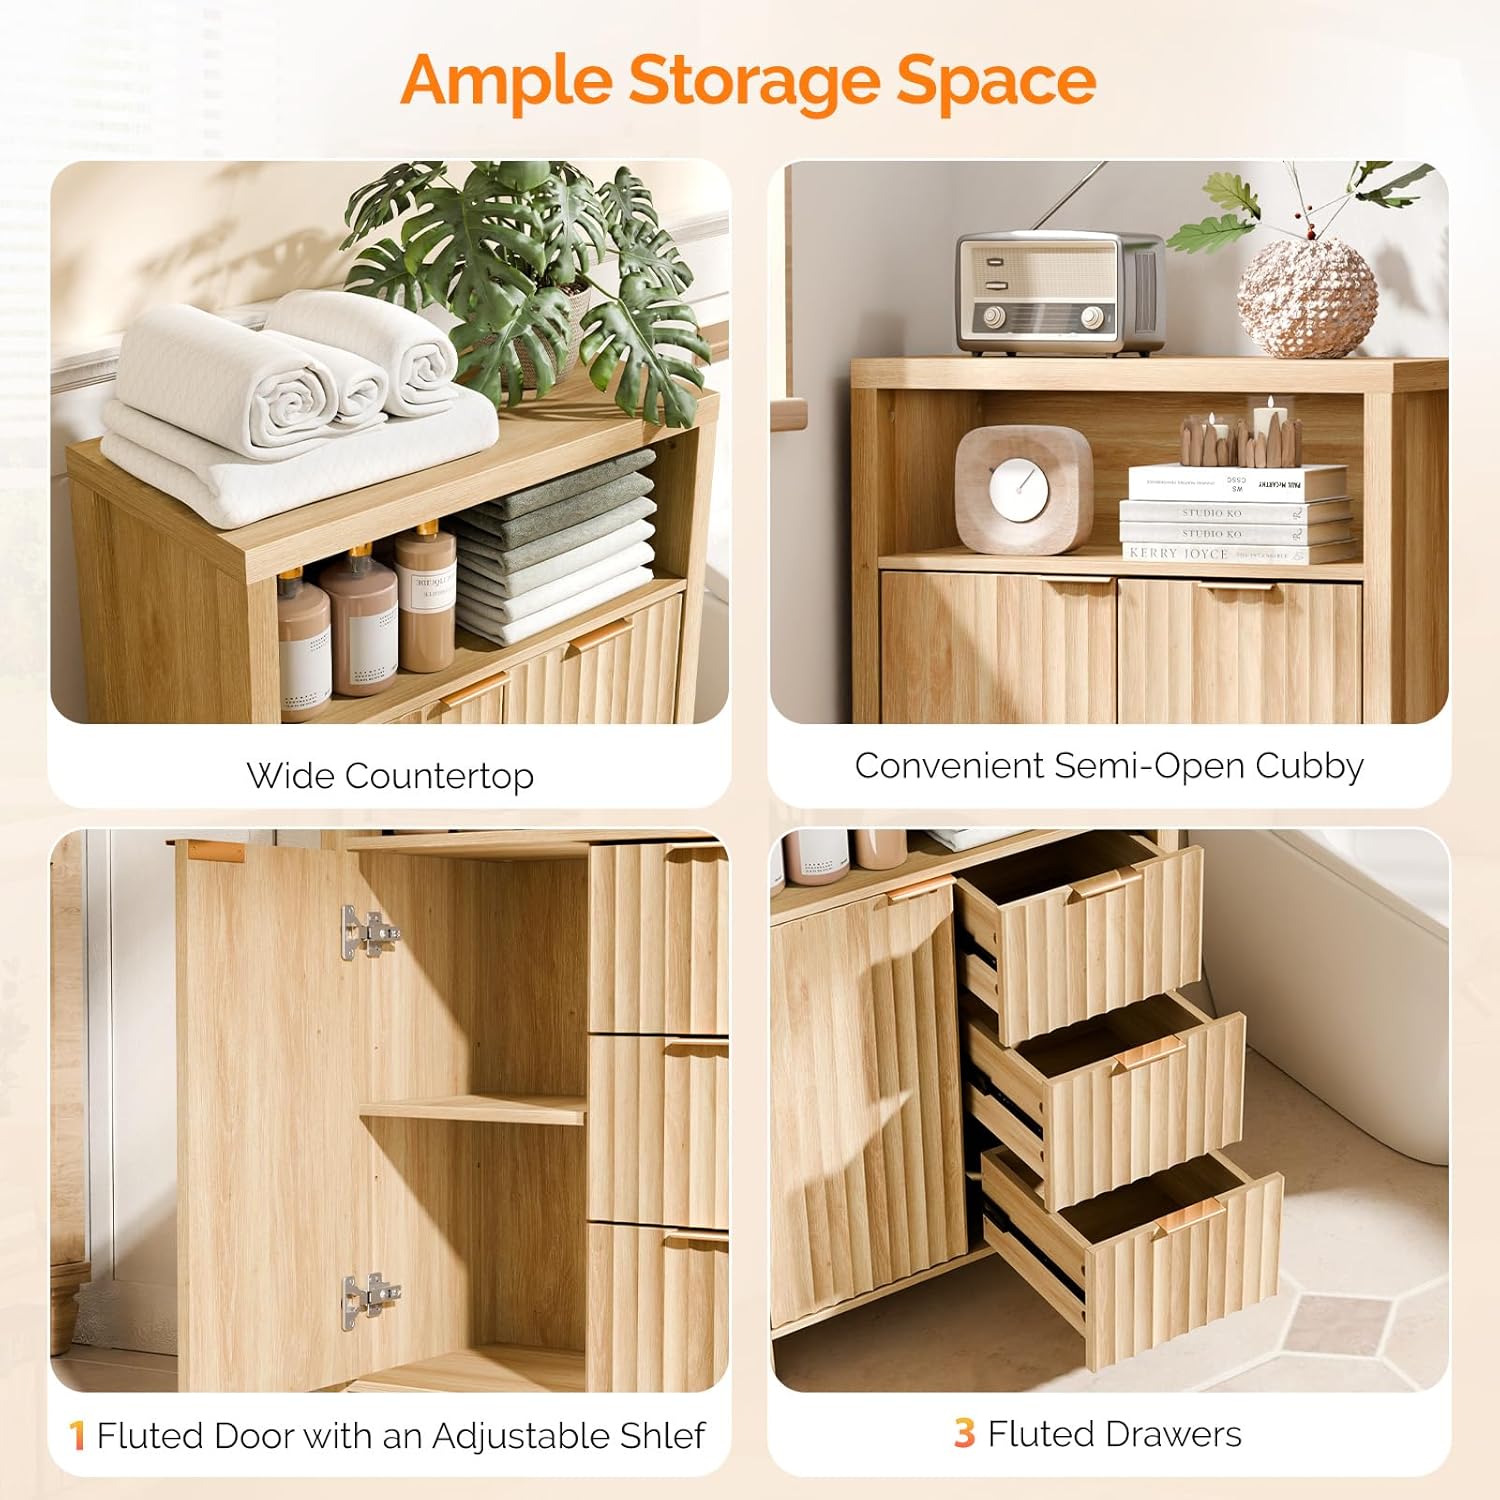
Image: Detailed view highlighting the waterproof surface, soft-close hinge, and anti-tipping kit for enhanced safety and durability.
6. Troubleshooting
| Problem | Possible Cause | Solution |
|---|---|---|
| Cabinet is wobbly/unstable. | Screws are loose; anti-tip hardware not installed or improperly installed. | Ensure all screws are tightened. Install or re-secure the anti-tipping hardware to the wall. Place heavier items on lower shelves. |
| Drawers do not slide smoothly. | Drawer slides are misaligned or damaged; items are obstructing the slides. | Check alignment of drawer slides and ensure they are securely attached. Remove any obstructions. Lubricate slides if necessary. |
| Door does not close properly. | Hinges are misaligned; magnetic closure is not engaging. | Adjust hinges for proper alignment. Check if the magnetic closure is correctly positioned and functioning. |
7. Specifications
| Brand: | VINGLI |
| Model Name: | BF0XM3C |
| Product Dimensions: | 11.6"D x 23.2"W x 32"H |
| Color: | Natural Oak |
| Material: | Engineered Wood |
| Item Weight: | 60 Pounds |
| Mounting Type: | Floor Mount |
| Special Features: | 3 Fluted Drawers, Adjustable Shelf, Anti-Tipping, Fluted Panel, Waterproof |
| Assembly Required: | Yes |
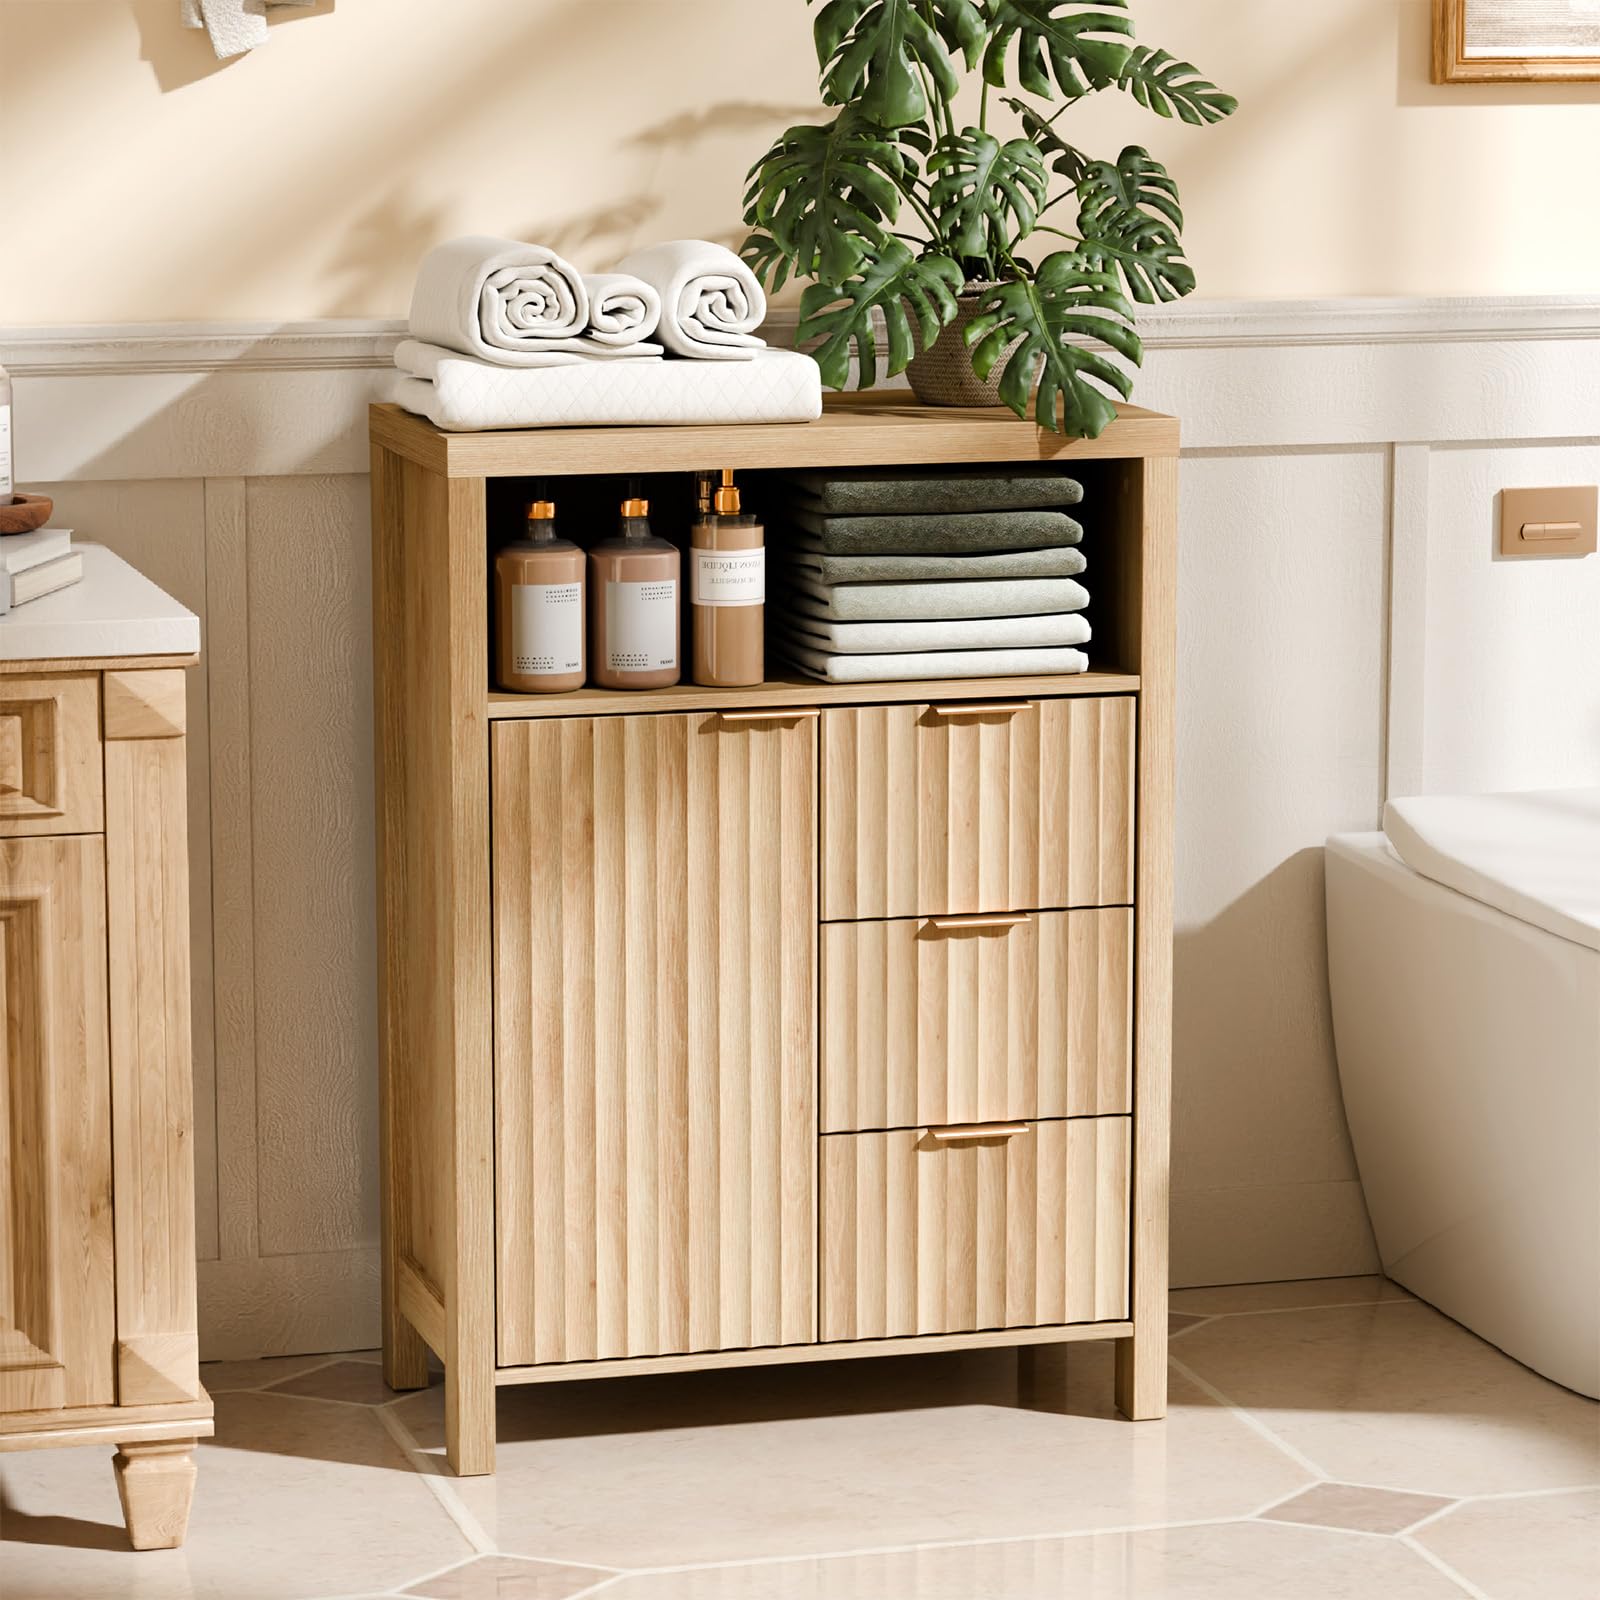
Image: Detailed diagram illustrating the dimensions of the VINGLI Fluted Bathroom Floor Storage Cabinet, including overall height, width, depth, and internal shelf/drawer measurements.
8. Warranty & Support
For warranty information, customer support, or to purchase protection plans, please refer to your purchase documentation or contact VINGLI-Direct customer service.
- Returns: This product is eligible for 30-day easy returns.
- Protection Plans: Optional 2-Year and 3-Year protection plans are available for purchase.
- Manufacturer: VINGLI
- Seller: VINGLI-Direct
