
Shinco SDO-40P
Shinco 40 Pints Dehumidifier User Manual
Model: SDO-40P
1. Introduction
Thank you for choosing the Shinco 40 Pints Dehumidifier. This manual provides important information for the proper operation, maintenance, and troubleshooting of your dehumidifier. Please read this manual thoroughly before using the appliance and keep it for future reference.

Image: Front view of the Shinco 40 Pints Dehumidifier, a white rectangular unit with a control panel on top and wheels at the base.
2. Safety Instructions
To prevent injury to the user or property damage, please follow these basic safety precautions:
- Always plug the unit into a grounded electrical outlet.
- Do not operate the dehumidifier if the power cord or plug is damaged.
- Ensure the unit is placed on a level, stable surface to prevent tipping.
- Keep a minimum of 8 inches (20 cm) clearance around the unit for proper airflow.
- Do not insert fingers or foreign objects into the air inlet or outlet.
- Unplug the unit before cleaning or performing any maintenance.
- This appliance is not intended for use by persons (including children) with reduced physical, sensory or mental capabilities, or lack of experience and knowledge, unless they have been given supervision or instruction concerning use of the appliance by a person responsible for their safety.
3. Product Overview
The Shinco 40 Pints Dehumidifier is designed to efficiently remove moisture from areas up to 2000 Sq.Ft, helping to maintain a healthy humidity level between 30% and 80%.
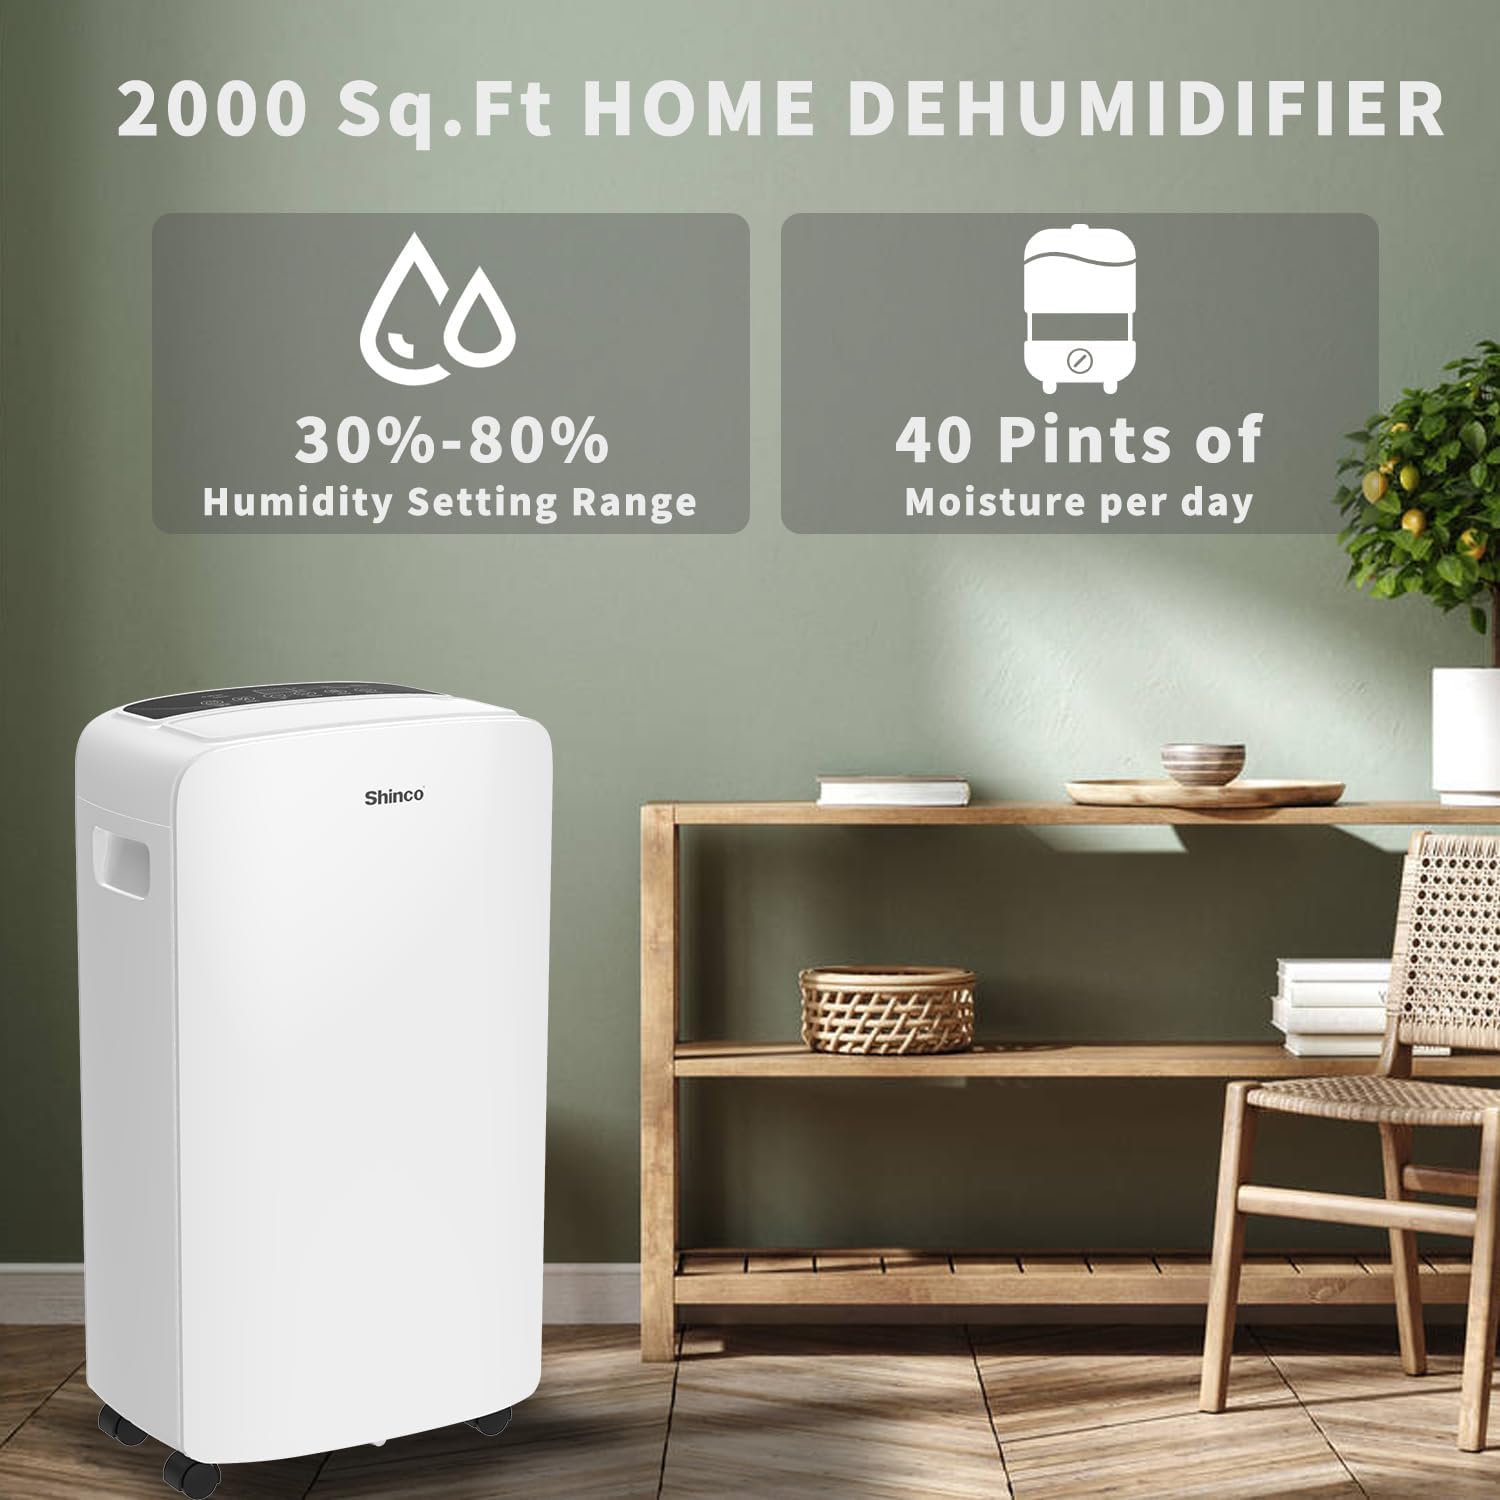
Image: The dehumidifier in a room setting, highlighting its 2000 Sq.Ft coverage, 30%-80% humidity setting range, and 40 pints of moisture removal per day.
Control Panel
The digital control panel allows for easy operation and monitoring of the dehumidifier's settings.

Image: Close-up of the digital control panel showing buttons for Timer, Fan Speed, Humidity Setting (Up/Down), Mode (Auto/Continuous), and Power. It also indicates High/Low fan speed and Waterfull status.
- TIMER: Set the unit to turn on or off automatically after a set period (1-24 hours).
- WIND (Fan Speed): Adjust fan speed between High and Low.
- UP/DOWN: Adjust desired humidity level (30%-80%) or timer settings.
- MODE: Switch between AUTO mode (humidity and fan speed adjustable) and CONTINUOUS mode (suitable for drying clothes).
- POWER: Turn the unit on or off.
- PUMP: Activates the pump for continuous drainage (if applicable).
Design Features
- Recessed Handles: For easy lifting and portability.
- 360° Casters: Allows for effortless movement between rooms.
- Washable Filter: Reusable filter for easy maintenance.
- Compact Size: Measures 7.48"D x 11.5"W x 19.73"H, taking up minimal space.

Image: Diagram illustrating the dehumidifier's dimensions, recessed handles, 360° casters, LED display, and washable filter.
4. Setup
Placement
Place the dehumidifier in an area where the humidity is highest. Ensure there is at least 8 inches (20 cm) of space around the unit for proper air circulation. Avoid placing it near heat sources or in direct sunlight.
Drainage Options
Your Shinco dehumidifier offers two drainage methods:
- Manual Drainage (Bucket):
When the internal water bucket (2L/0.53Gal capacity) is full, the "Waterfull" indicator will light up, the display will show "FL" code, and the dehumidifier will automatically shut off. Carefully remove the bucket and empty the collected water. Reinsert the bucket firmly to resume operation.
- Continuous Drainage (Drain Hose):
For continuous operation without manual emptying, attach the provided 23.6-inch long drain hose to the continuous drainage port on the back of the unit. Ensure the hose is sloped downwards to a floor drain or suitable receptacle to allow water to drain by gravity. This method bypasses the internal bucket.

Image: Illustration showing both manual drainage (emptying the 0.53 gallon bucket) and auto drainage (connecting a hose for continuous gravity drainage).
5. Operating Instructions
Power On/Off
Press the POWER button to turn the dehumidifier on or off.
Setting Humidity Level
In AUTO mode, use the UP and DOWN buttons to set your desired humidity level between 30% and 80% in 5% increments. The unit will operate to maintain this level.
Operating Modes
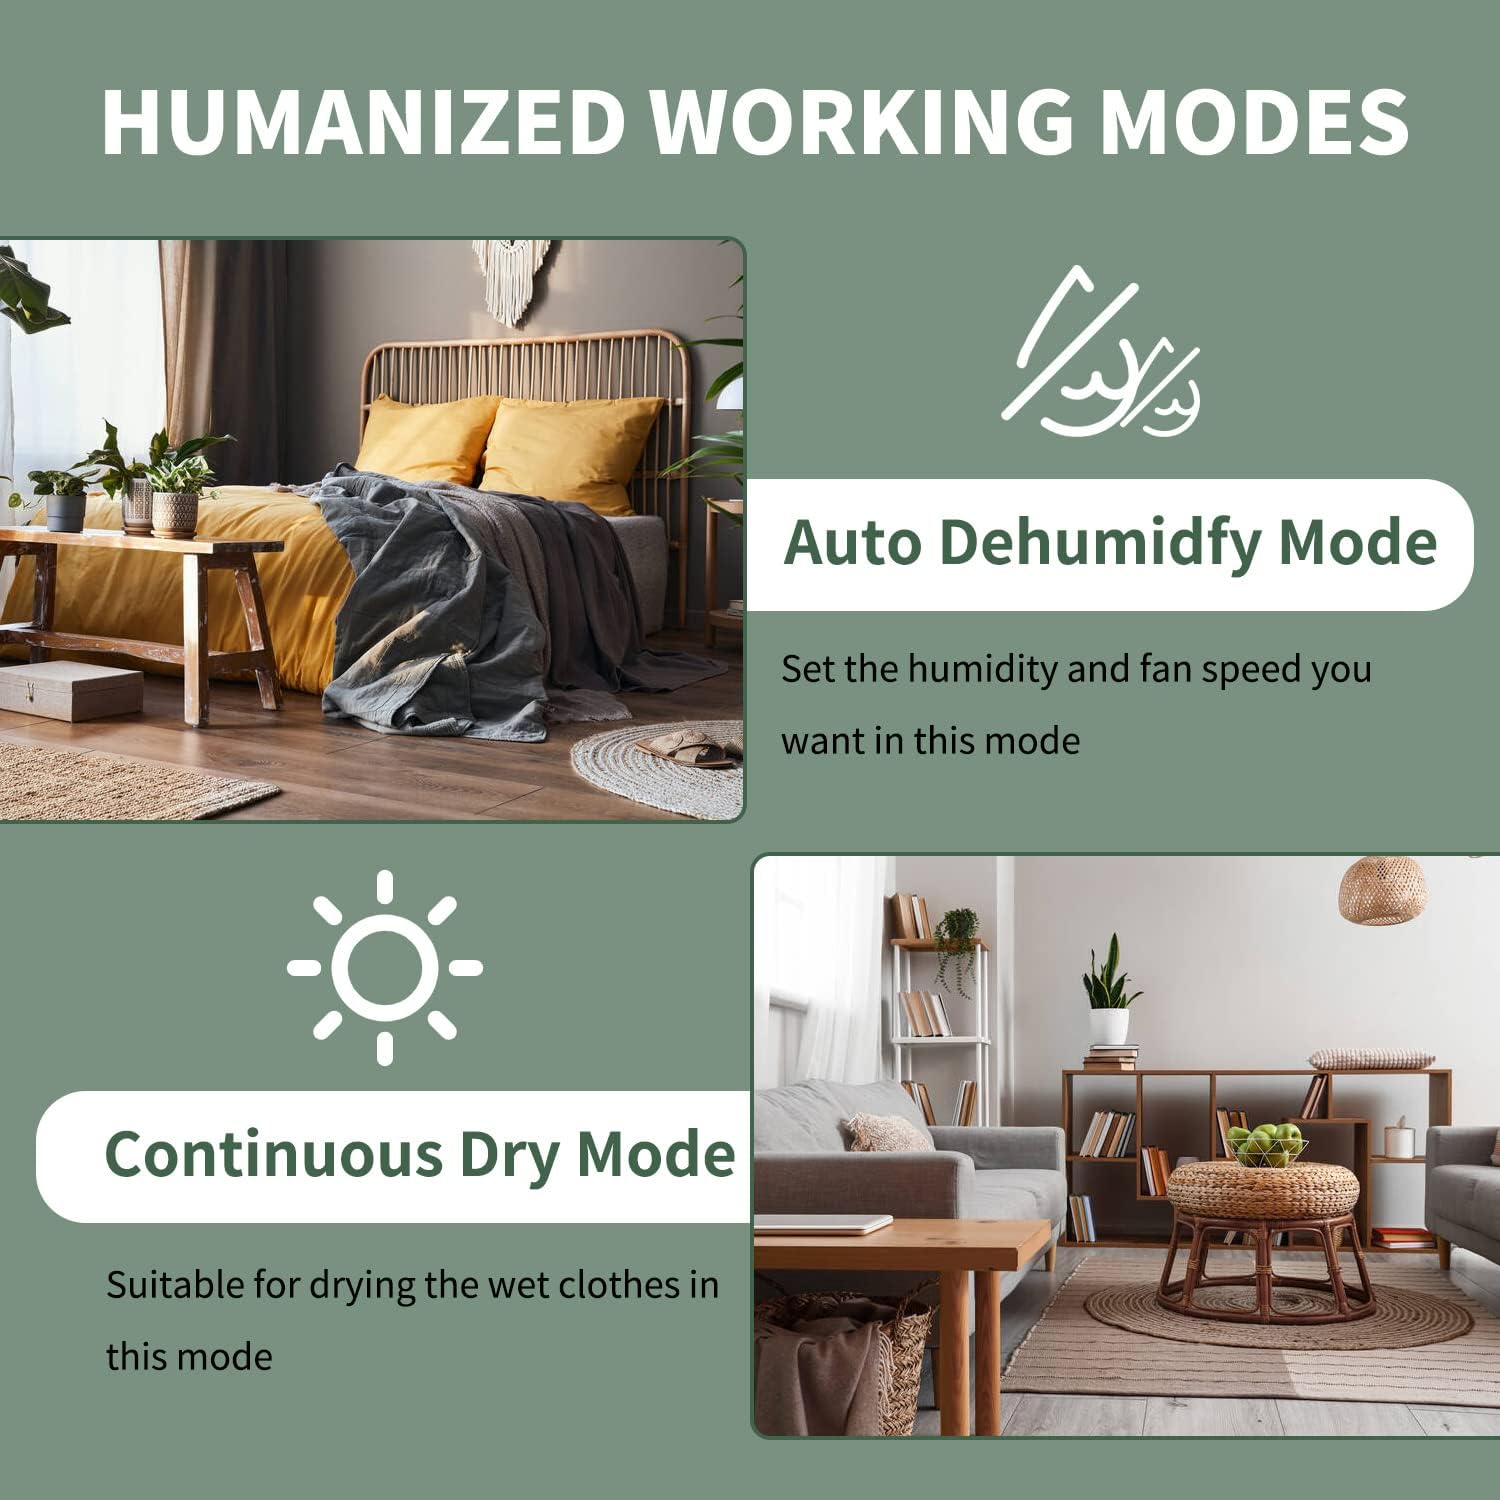
Image: Two panels illustrating the Auto Dehumidify Mode (setting humidity and fan speed) and Continuous Dry Mode (suitable for drying wet clothes).
- AUTO Mode: The fan speed and humidity are adjustable. The unit will automatically turn on/off to maintain the set humidity level.
- CONTINUOUS Mode: The dehumidifier runs continuously, regardless of the humidity level. This mode is ideal for drying wet clothes or in extremely damp conditions.
Fan Speed Adjustment
Press the WIND button to toggle between High and Low fan speeds.
24-Hour Timer
Use the TIMER button to set a time (1-24 hours) for the unit to automatically turn on or off. This helps in energy conservation.

Image: The dehumidifier with a clock graphic indicating the 24-hour programmable timer function.
Quiet Operation
The dehumidifier features a low noise airflow system, ensuring running noise is less than 48dB, designed not to disturb your sleep or daily activities.

Image: The dehumidifier operating quietly in a bedroom setting, with a "< 48 dB" indicator.
6. Maintenance
Cleaning the Air Filter
The washable air filter should be cleaned regularly (every two weeks or more often depending on usage) to ensure optimal performance and air quality. A dirty filter can reduce efficiency and cause the unit to work harder.
- Turn off the dehumidifier and unplug it from the power outlet.
- Remove the filter from the back of the unit.
- Wash the filter with warm, soapy water. Rinse thoroughly.
- Allow the filter to air dry completely before reinserting it into the unit.
- Do not operate the dehumidifier without the filter in place.
Cleaning the Water Bucket
Clean the water bucket periodically to prevent mold and mildew growth. Use a mild detergent and warm water. Rinse thoroughly and dry before reinserting.
Storage
If storing the unit for an extended period, ensure the water bucket is empty and clean, and the filter is clean and dry. Store the unit upright in a cool, dry place.
7. Troubleshooting
| Problem | Possible Cause | Solution |
|---|---|---|
| Dehumidifier does not turn on. | No power; Water bucket full or not properly inserted; Temperature too low. | Check power connection; Empty and reinsert bucket; Ensure room temperature is above 41°F (5°C). |
| Unit runs but does not dehumidify. | Air filter clogged; Room temperature too low; Humidity setting too high. | Clean air filter; Ensure room temperature is suitable; Lower humidity setting. |
| "FL" code displayed. | Water bucket is full. | Empty the water bucket. |
| Unit is noisy. | Unit not level; Air filter clogged; Obstruction in fan. | Place on a level surface; Clean air filter; Check for obstructions. |
| Water leaks from the unit. | Water bucket not properly seated; Drain hose not connected correctly or clogged. | Ensure bucket is fully inserted; Check drain hose connection and clear any blockages. |
If the problem persists after trying the above solutions, please contact customer support.
8. Specifications
| Feature | Detail |
|---|---|
| Brand | Shinco |
| Model Name | SDO-40P |
| Dehumidification Capacity | 40 Pints per Day (under 90°F, 90%RH) |
| Floor Area Coverage | Up to 2000 Square Feet |
| Humidity Setting Range | 30% to 80% (in 5% increments) |
| Water Tank Capacity | 0.53 Gallons (2 Liters) |
| Product Dimensions (DxWxH) | 7.48"D x 11.5"W x 19.73"H |
| Item Weight | 22.1 Pounds |
| Power Supply | 110-120V/60Hz |
| Wattage | 370 Watt-hours |
| Noise Level | Less than 48dB |
| Drain Hose Length (Included) | 23.6 inches |
9. Warranty and Support
Shinco offers a quality service that includes product replacement or a full reimbursement. If you encounter any issues, please feel free to CONTACT US. We will respond within 24 hours and assist you in resolving any problems.
For further assistance or warranty claims, please visit the official Shinco store or contact their customer service directly. You can find more information at: Shinco Official Store
Related documentsSDO-40P


Ask a question about this manual
Ask about setup, troubleshooting, compatibility, parts, safety, or missing instructions. Manuals+ will review the question and use this page’s manual context to help answer it.