
1. Introduction
This manual provides detailed instructions for the safe installation, operation, and maintenance of your Litezone Hexagon Garage Lights, Model 6522HEXDM. This lighting system features a modular hexagonal design, 3-level dimming capability, and 6500K super bright LED illumination, suitable for various indoor environments such as garages, workshops, and exhibition halls.
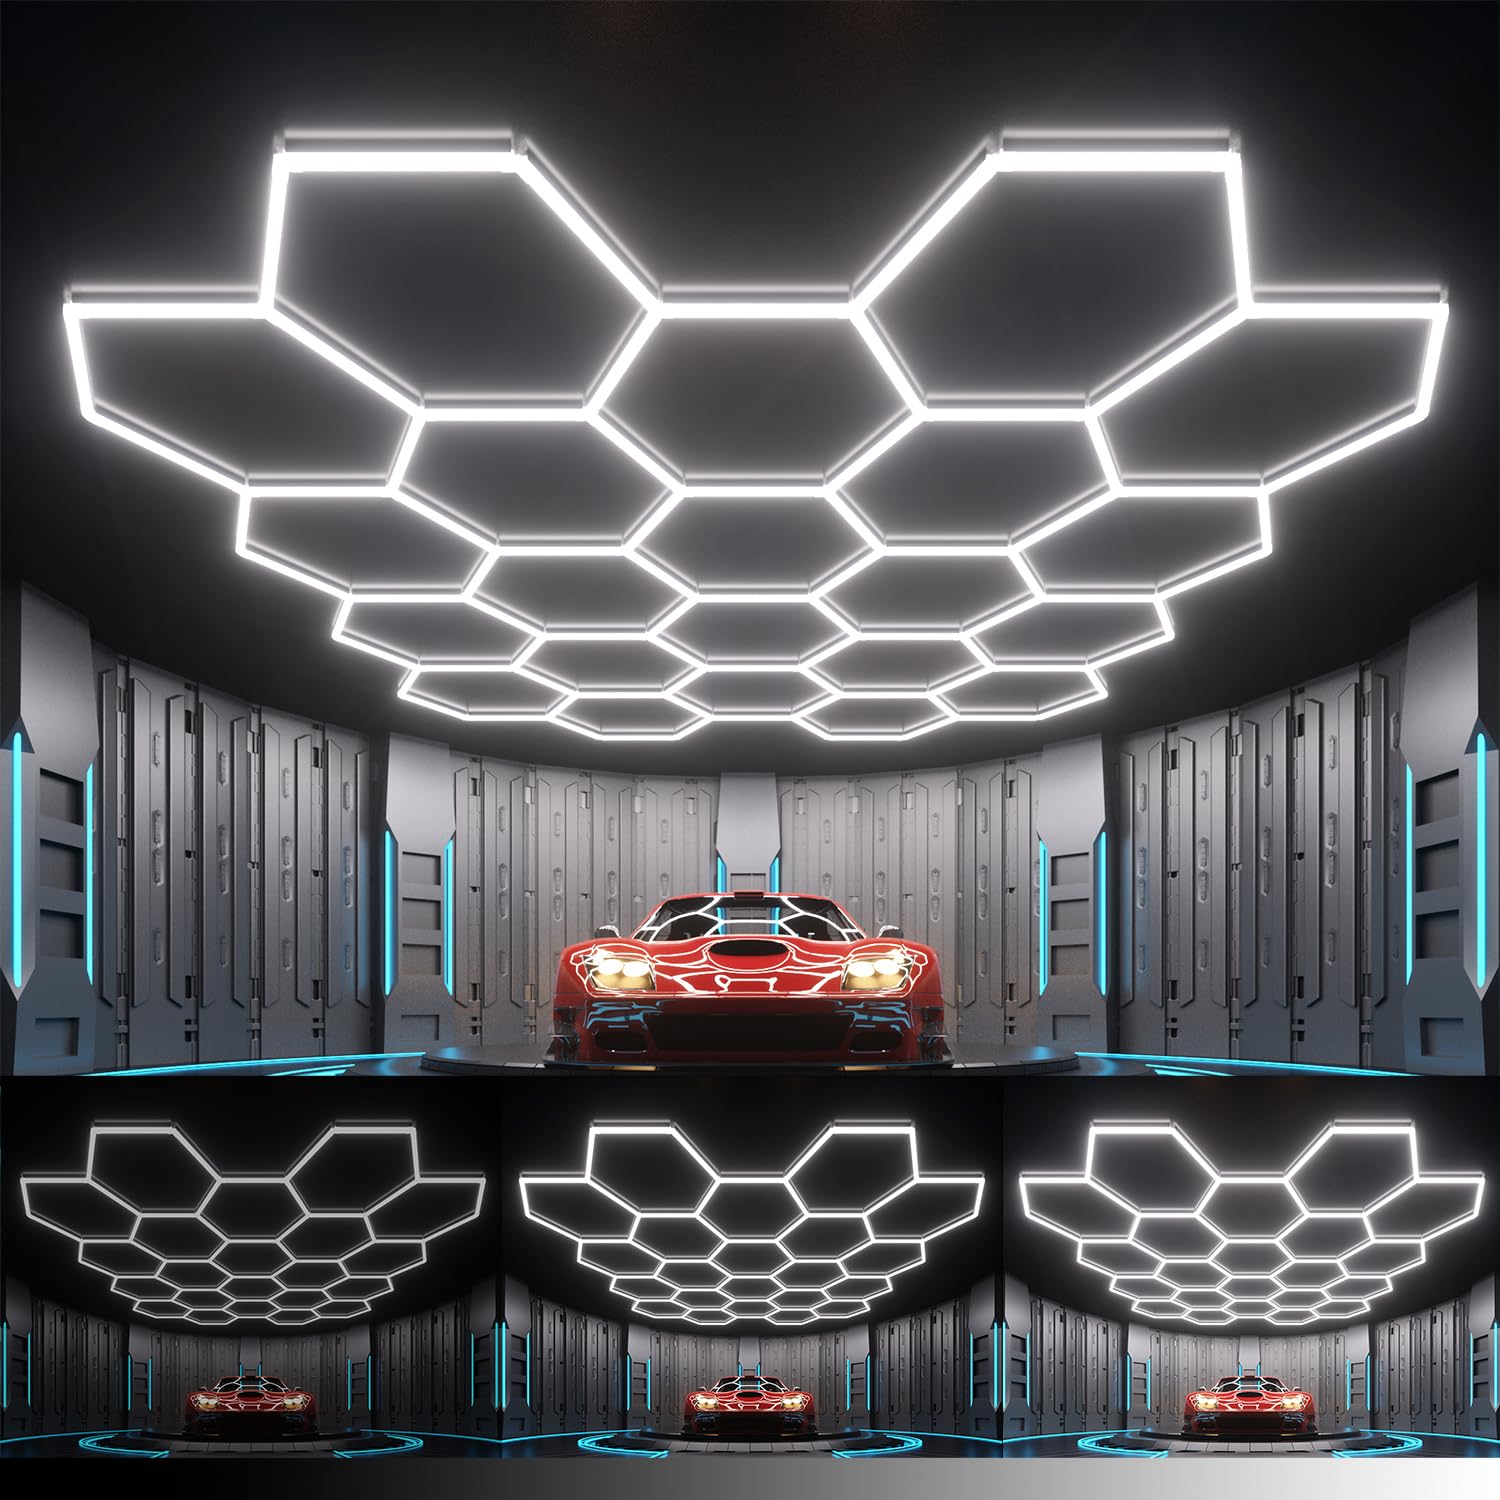
Image: The Litezone Hexagon Garage Lights system, Model 6522HEXDM, installed in a garage setting.
2. Safety Information
Please read all safety instructions carefully before installation and operation. Failure to follow these instructions may result in electric shock, fire, or other hazards.
- Ensure the power supply is disconnected before installation, maintenance, or cleaning.
- Installation should be performed by a qualified electrician or a person with sufficient electrical knowledge.
- Do not modify the product in any way. Unauthorized modifications may void the warranty and create safety risks.
- This product is designed for indoor use only. Do not expose to water or high humidity.
- Ensure all connections are secure and properly insulated to prevent short circuits.
- The product features V0 flame-retardant connectors and hidden pins for enhanced safety.

Image: Internal safety features of the Litezone Hexagon Light tube.
3. What's in the Box
Verify that all components are present and undamaged before beginning installation.
- 83 x LED Light Tubes (16.3 inches each)
- 18 x 120° V Connectors
- 45 x 120° Y Connectors
- 2 x Power Cables (5ft with US-plug)
- 6 x Wire Nuts
- 67 x Screws
- 67 x Anchors
- 87 x Nylon Zip Ties

Image: All components included in the Litezone Hexagon Garage Lights package.
4. Specifications
| Brand | Litezone |
| Model Number | 6522HEXDM |
| Color | White |
| Material | Polycarbonate |
| Light Source | LED |
| Wattage | 581 watts |
| Brightness | 58100 Lumens |
| Color Temperature | 6500 Kelvin |
| Dimming Levels | 3 (30%, 60%, 100%) |
| Indoor/Outdoor Usage | Indoor |
| Mounting Type | Ceiling Mount, Wall Mount |
| Dimensions (L x W x H) | 150.5"L x 139.19"W x 1.6"H (for 22 HEX+NoBorder configuration) |
5. Setup and Installation
The Litezone Hexagon Garage Lights feature a modular design allowing for customized layouts. Follow these steps for installation.
5.1. Planning Your Layout
Before assembly, plan your desired hexagonal pattern. The modular design allows for various configurations to suit your space. Consider the overall dimensions and the placement of power sources.

Image: Examples of customizable hexagonal light patterns.
5.2. Connecting Light Tubes
- Connect the LED light tubes using the provided 120° V and Y connectors to form your desired hexagonal grid.
- Ensure each connection is secure. The connectors feature hidden pins and a snap-on lock mechanism for a firm fit.
- Attach the power cables to the designated connection points within your assembled grid.
5.3. Mounting the Lights
The system can be mounted on smooth walls or grid ceilings.
- For Wall Mounting: Use the provided screws and anchors to secure the light structure to the wall.
- For Grid Ceiling Mounting: Use the provided nylon zip ties to attach the light structure to the ceiling grid.
- Ensure the structure is evenly supported and stable before connecting to power.

Image: Visual guide for the three main steps of installation.
6. Operating Instructions
The Litezone Hexagon Garage Lights feature 3-level dimming (30%, 60%, 100%) without requiring an external dimmer switch. The dimming function is controlled by cycling the power.
- Switch Dimmable: To adjust brightness, quickly toggle the power switch OFF then ON within 3 seconds. Repeat this cycle to switch between 30%, 60%, and 100% brightness levels.
- Plug Dimmable: If using a plug, quickly unplug and plug back in the power cable within 3 seconds to cycle through the brightness levels.
- Note: An external dimmer is not included and is not required for this dimming functionality. The system is designed for its internal 3-level dimming mechanism.

Image: Instructions for operating the 3-level dimming feature.
7. Maintenance
Regular maintenance ensures optimal performance and longevity of your lighting system.
- Cleaning: Disconnect power before cleaning. Use a soft, dry, or slightly damp cloth to wipe the light tubes and connectors. Do not use abrasive cleaners or solvents.
- Inspection: Periodically check all connections for tightness and ensure no wires are exposed or damaged.
- Component Replacement: In case of component failure, contact customer support for assistance. Do not attempt to repair damaged parts yourself.
8. Troubleshooting
If you encounter issues with your Litezone Hexagon Garage Lights, refer to the following common problems and solutions.
| Problem | Possible Cause | Solution |
|---|---|---|
| Lights do not turn on. | No power supply; loose connection; faulty power cable. | Check if the power cable is securely plugged in. Verify the power source is active. Inspect all connections for tightness. |
| Lights flicker or dim unexpectedly. | Unstable power supply; loose connection; incompatible external dimmer. | Ensure power supply is stable. Check all connections. Note that this system uses internal dimming and is not compatible with external dimmers. |
| Cannot change brightness levels. | Incorrect dimming procedure; timing issue. | Ensure you are toggling the power switch (or unplugging/plugging) within 3 seconds to cycle through brightness levels. |
| Some light tubes are not illuminating. | Loose connection to the specific tube; faulty tube. | Check the connections of the non-illuminating tubes. If connections are secure, the tube may be faulty and require replacement. |
If the problem persists after attempting these solutions, please contact Litezone customer support.
9. Warranty and Support
Litezone provides a 5-year warranty for this product, covering quality issues and offering free replacements. Please refer to your product packaging or purchase documentation for the most accurate and up-to-date warranty terms.
For any questions, technical assistance, or warranty claims, please contact Litezone customer support. Our team is available 24/7 to assist you.
You can often find support contact information on the official Litezone website or through your retailer's customer service portal.