
1. Introduction
The KERUI A6504-1 is a 4-channel H.265+ security camera DVR system designed for comprehensive surveillance. This system includes a DVR recorder and four 2MP surveillance cameras, featuring human detection, mobile app and PC remote access, and smart playback capabilities. A 500GB hard drive is pre-installed for immediate recording. This manual provides detailed instructions for setting up, operating, and maintaining your security system.
2. Product Overview
2.1. Components
- 1 x 4-Channel H.265+ DVR Recorder
- 4 x 2MP Surveillance Cameras
- 1 x Pre-installed 500GB Hard Drive
- Power adapters for DVR and cameras
- USB Mouse
- Mounting screws and cables
2.2. Key Features
- 4-Channel Capacity: Connects up to four cameras simultaneously.
- 6-in-1 Camera Compatibility: Supports AHD, TVI, CVI, CVBS, XVI, and IP cameras.
- 1080P HD Video Quality: Captures clear and detailed images.
- H.265+ Video Compression: Efficiently saves storage space and improves streaming.
- IP66 Weatherproof Cameras: Suitable for indoor and outdoor use, resistant to harsh weather.
- IR-CUT Night Vision: Automatic switching for clear day and night surveillance.
- Human Detection: Advanced motion detection to reduce false alarms.
- Remote Access: View live and recorded footage via mobile app (XMEye, Icsee) or PC software (VMS).
- Smart Playback: Easily search and review recorded events.
- Intelligent Alarm System: Sends push notifications and email alerts upon detection.
3. Setup Guide
This section guides you through the initial installation and configuration of your KERUI A6504-1 security system.
3.1. Unpacking and Inspection
- Carefully unpack all components.
- Verify that all items listed in the "Product Overview" are present and undamaged.
- Keep packaging for future transport or returns.
3.2. Connecting the DVR
- Connect Cameras: Connect the BNC cables from your surveillance cameras to the "VIDEO IN" ports on the back of the DVR. Ensure power is supplied to each camera.
- Connect Monitor: Connect a monitor to the DVR using either an HDMI cable (for high-definition display) or a VGA cable. The HDMI port is labeled "HDMI Output" and the VGA port is labeled "VGA Output".
- Connect Mouse: Plug the included USB mouse into one of the USB ports on the DVR.
- Connect Network (Optional but Recommended): For remote access and updates, connect an Ethernet cable from your router to the "LAN" port on the DVR.
- Power On: Connect the DVR's power adapter to the "DC 12V" input and then plug it into a power outlet. The system will start automatically.

This image illustrates the various input and output ports on the DVR, including video input for cameras, HDMI and VGA outputs for monitors, audio input/output, network port, and USB ports.
3.3. Initial Configuration
- Upon first startup, the DVR will guide you through a setup wizard.
- Language Selection: Choose your preferred language.
- Password Creation: Create a strong password for the administrator account. This is crucial for security.
- Network Settings: Configure network settings. If connected via Ethernet, DHCP is usually sufficient.
- Hard Drive Initialization: The pre-installed 500GB HDD may need to be formatted or initialized. Follow on-screen prompts.
- Time and Date: Set the correct time zone, date, and time.
4. Operating Instructions
This section covers the daily use and advanced features of your KERUI A6504-1 system.
4.1. Live View
- After logging in, the system will display the live view of all connected cameras.
- Use the mouse to navigate the interface. Double-click a camera view to enlarge it.
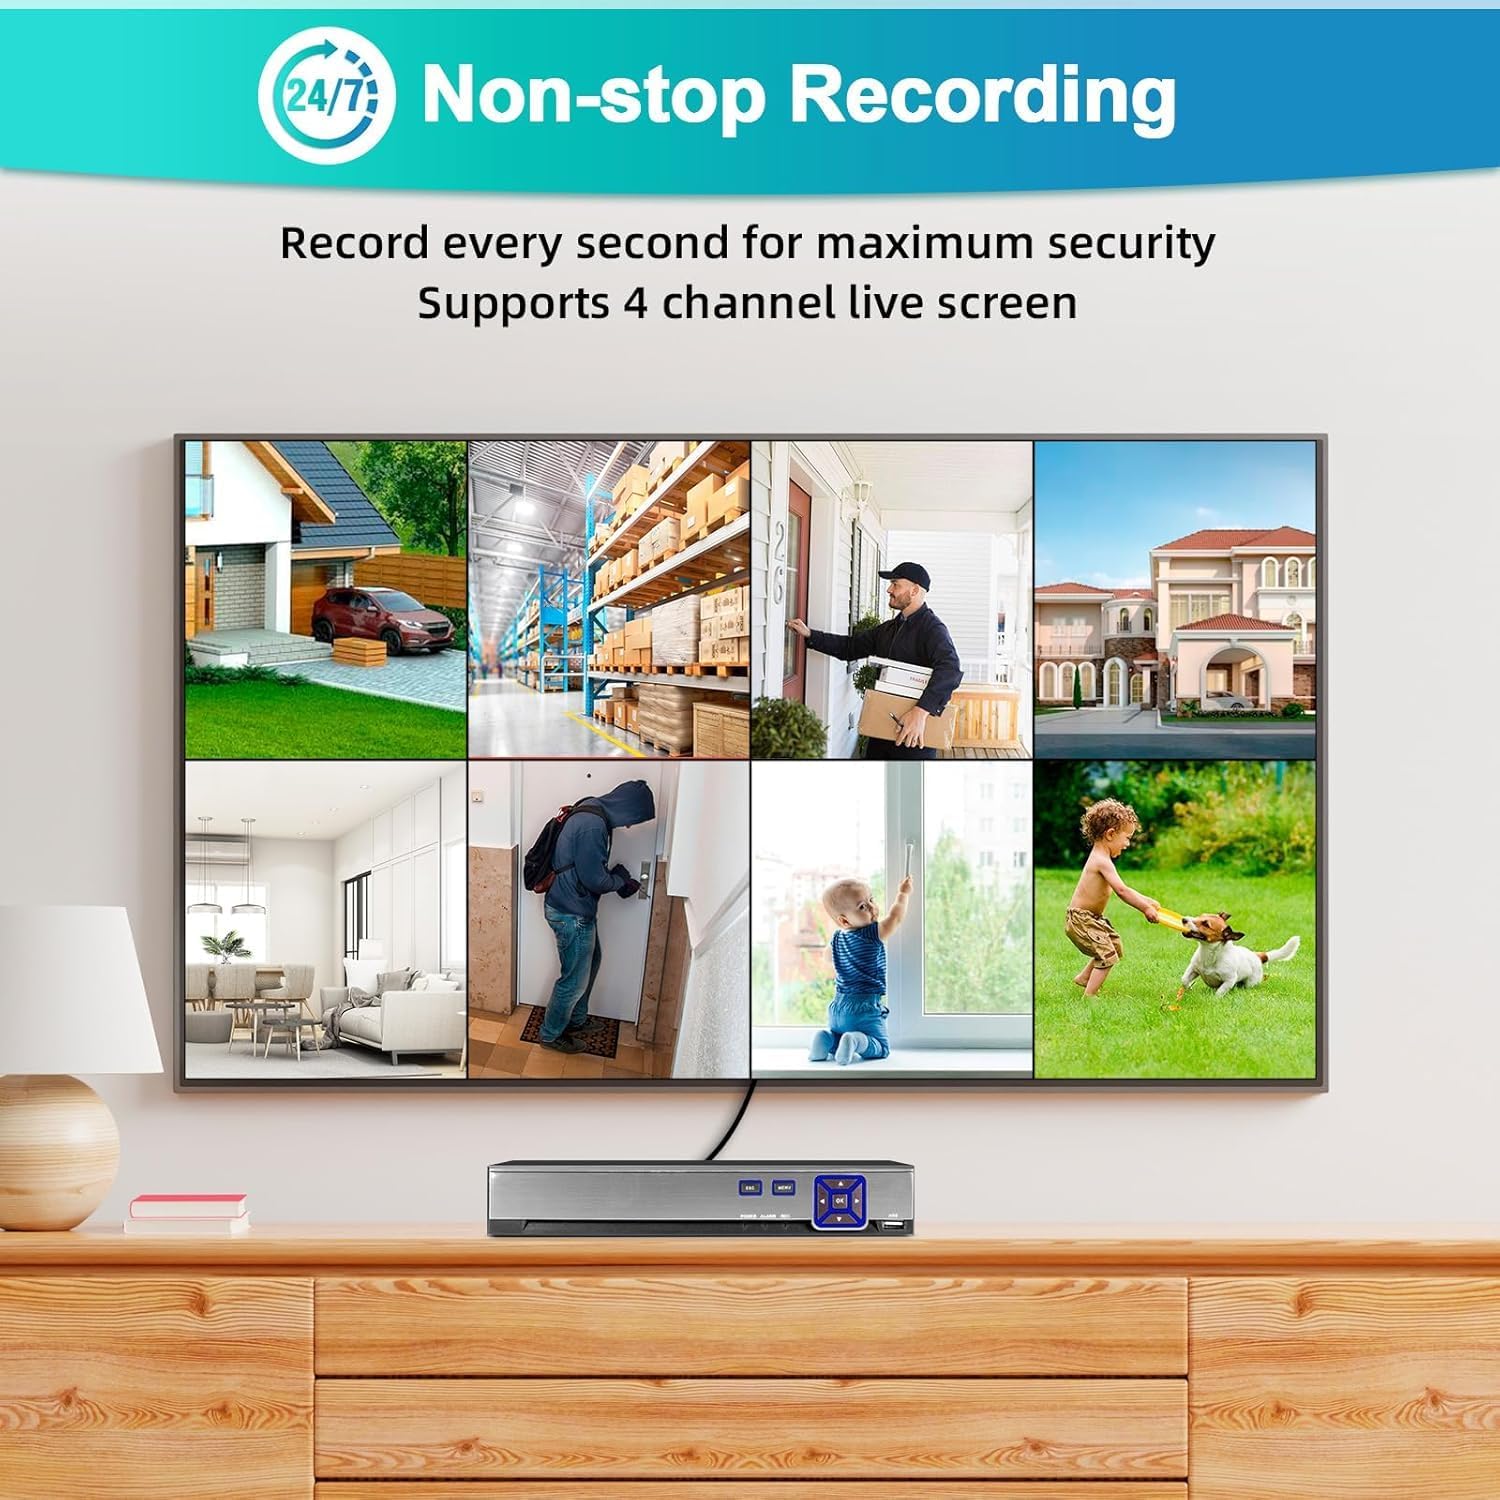
This image shows the multi-channel live view interface, demonstrating simultaneous monitoring of up to 4 cameras.
4.2. Recording
- The system is pre-configured for 24/7 continuous recording to the 500GB hard drive.
- Recording Modes: You can configure different recording modes via the DVR menu:
- Continuous Recording: Records constantly.
- Motion Detection Recording: Records only when motion is detected.
- Scheduled Recording: Records during specific time periods.
- Access recording settings through the main menu: Record > Record Schedule.
4.3. Playback
- To view recorded footage, go to the main menu and select Playback.
- Choose the camera channel and the date/time range you wish to review.
- The timeline will show recorded events. Use the playback controls (play, pause, fast forward, rewind) to navigate.
4.4. Remote Access (Mobile App & PC)
- Mobile App:
- Download the "XMEye" or "Icsee" app from the Apple App Store or Google Play Store.
- Register an account.
- Add your DVR by scanning the QR code (usually found in the DVR's network settings) or manually entering the device ID.
- Ensure your DVR is connected to the internet.
- PC Software:
- Download the "VMS" software from the manufacturer's website.
- Install and configure the software to add your DVR using its IP address or device ID.

This image illustrates the remote access capabilities, allowing users to monitor their property from anywhere using a smartphone or computer.
4.5. Motion Detection & Alarms
- The system features human detection to minimize false alarms.
- Configuration: Access Alarm > Motion Detect in the DVR menu.
- Enable motion detection for desired channels.
- Adjust sensitivity and detection areas.
- Configure alarm actions: push notifications to the mobile app, email alerts, or local buzzer.
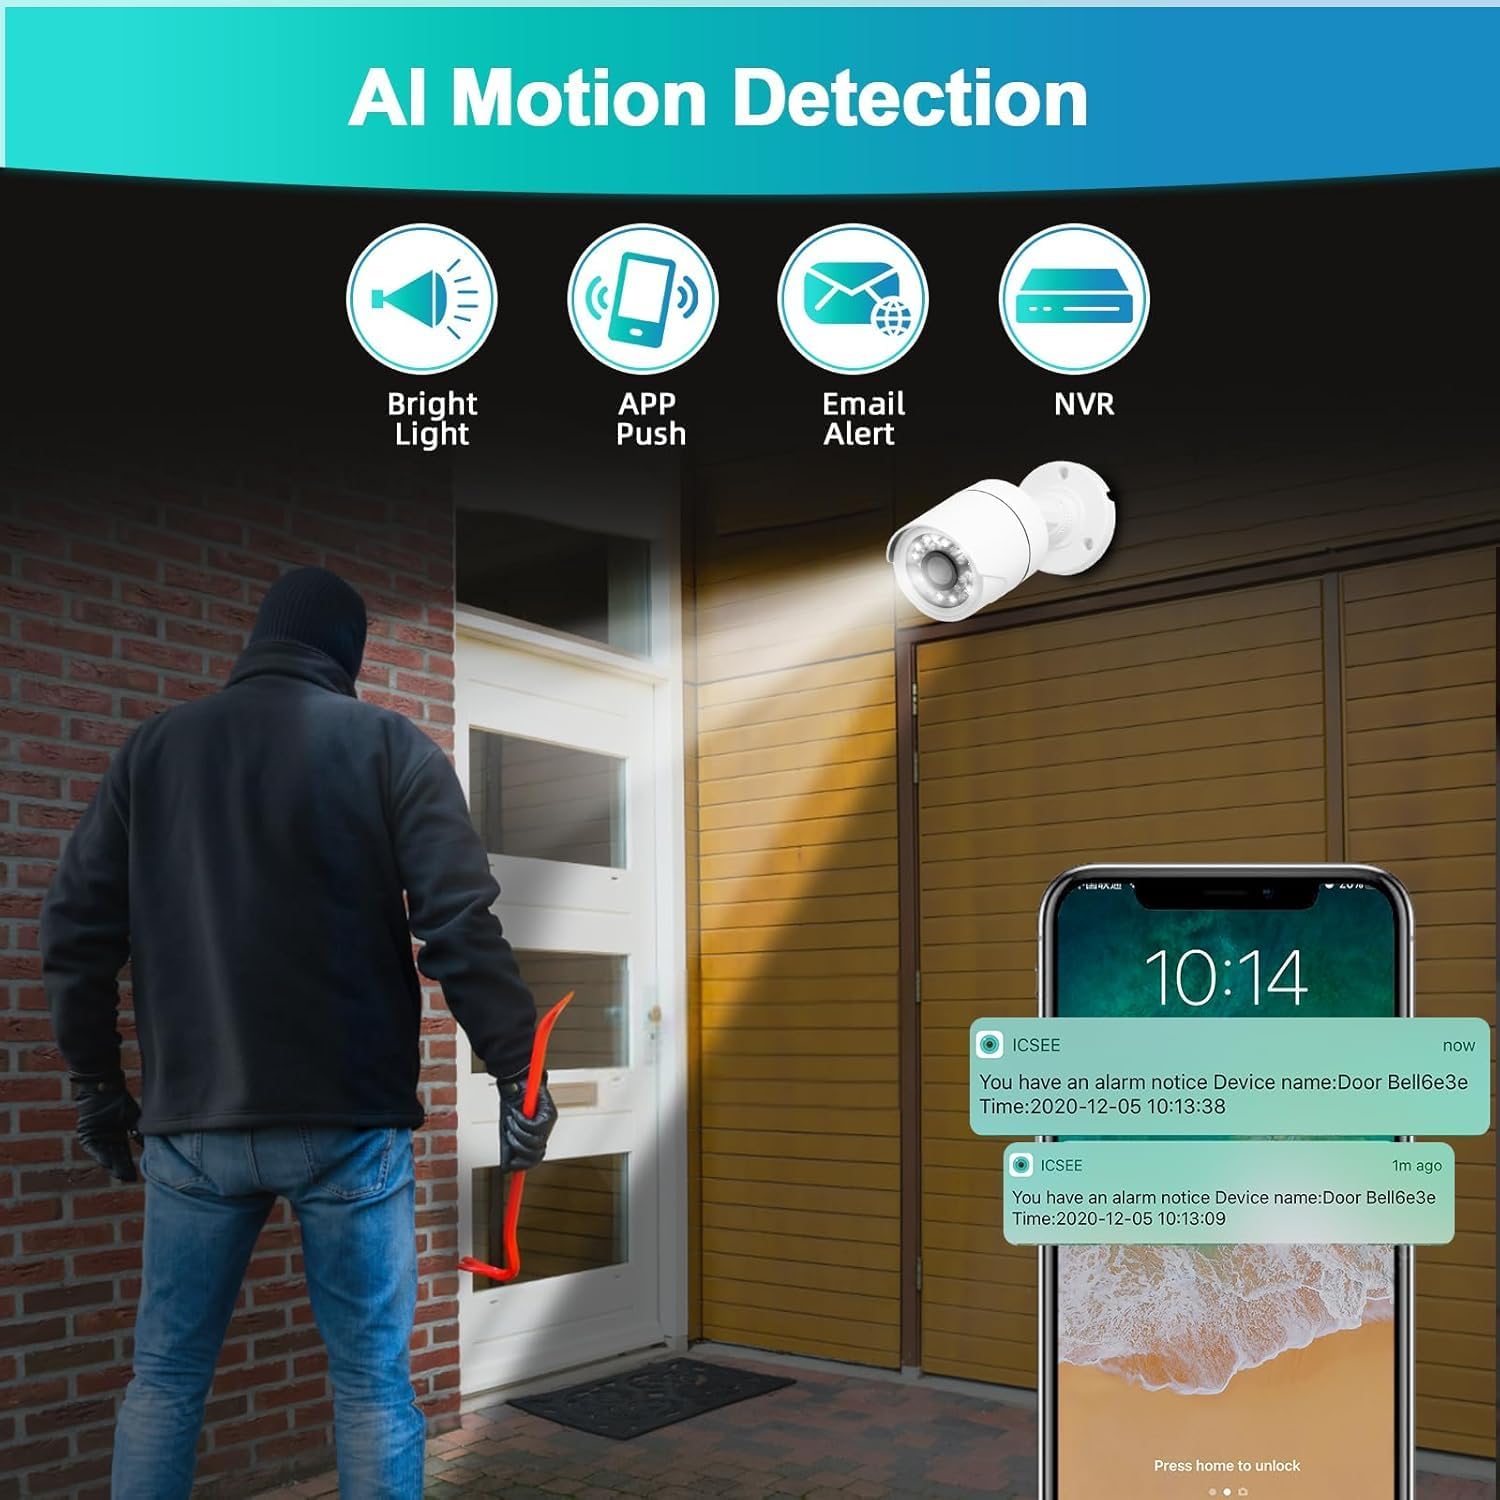
This image demonstrates the AI motion detection feature, showing an alert being sent to a mobile phone when suspicious activity is detected.
5. Maintenance
Regular maintenance ensures optimal performance and longevity of your security system.
5.1. Hard Drive Management
- The 500GB hard drive will automatically overwrite the oldest footage when full.
- Periodically check the hard drive status in the DVR menu (HDD > General) to ensure it is functioning correctly.
5.2. Camera Cleaning
- Gently clean camera lenses with a soft, damp cloth to remove dust, dirt, or smudges that may affect image quality.
- Do not use harsh chemicals.
5.3. Firmware Updates
- Check the manufacturer's website periodically for firmware updates.
- Firmware updates can improve system stability, add new features, or fix bugs. Follow the provided instructions carefully when performing updates.
6. Troubleshooting
This section addresses common issues you might encounter.
- No Video Output on Monitor:
- Ensure the monitor is powered on and correctly connected to the DVR via HDMI or VGA.
- Verify the monitor's input source is set to the correct HDMI/VGA port.
- Check if the DVR's power adapter is securely connected and the DVR is powered on.
- No Camera Image:
- Check if the camera is properly connected to the DVR's video input port.
- Ensure the camera is receiving power. Check power adapters and cables.
- Verify the camera type is compatible with the DVR (AHD/TVI/CVI/CVBS/IP).
- No Recording:
- Check the hard drive status in the DVR menu (HDD > General). Ensure it is initialized and has free space.
- Verify recording schedules are correctly configured (Record > Record Schedule).
- Ensure motion detection is enabled and configured if using motion-triggered recording.
- Remote Access Not Working:
- Ensure the DVR is connected to the internet via an Ethernet cable.
- Check network settings on the DVR (Network > TCP/IP) to ensure it has a valid IP address.
- Verify your mobile device or PC has an active internet connection.
- Ensure the correct device ID or IP address is entered in the app/software.
- Check firewall settings on your router if you are experiencing connection issues.
- Motion Detection False Alarms:
- Adjust the sensitivity settings for motion detection in the DVR menu (Alarm > Motion Detect).
- Refine the detection area to exclude irrelevant zones (e.g., moving trees, busy roads).
7. Specifications
| Feature | Detail |
|---|---|
| Model Number | A6504-1 |
| Channels | 4 Channels |
| Video Input | XVI, AHD, TVI, CVBS, CVI, IP |
| Video Output | HDMI, VGA |
| Audio Input | Microphone |
| USB Ports | 2 |
| Hard Drive Capacity | 500GB (Pre-installed) |
| Video Compression | H.265+ |
| Camera Resolution | 2MP (1920x1080P) |
| Camera Weatherproof Rating | IP66 |
| Special Features | App Control, Human Detection, Night Vision, Motion Sensor, Smart Playback, Two-Way Audio, Video Recording |
| Operating Temperature | -10℃ to 60℃ |
8. Warranty and Support
8.1. Warranty Information
This product comes with a standard manufacturer's warranty. Please refer to the warranty card included in your package or contact customer support for specific details regarding coverage and duration.
8.2. Customer Support
For technical assistance, troubleshooting, or warranty claims, please contact KERUI customer support. (Specific contact details are not provided in the product data. Please refer to the product packaging or manufacturer's website for contact information.)