
Introduction
This manual provides detailed instructions for the safe installation, operation, and maintenance of your Oaks Aura 24-inch Ceiling Fan with Light, model MZX-DC2402. Please read this manual thoroughly before installation and retain it for future reference.
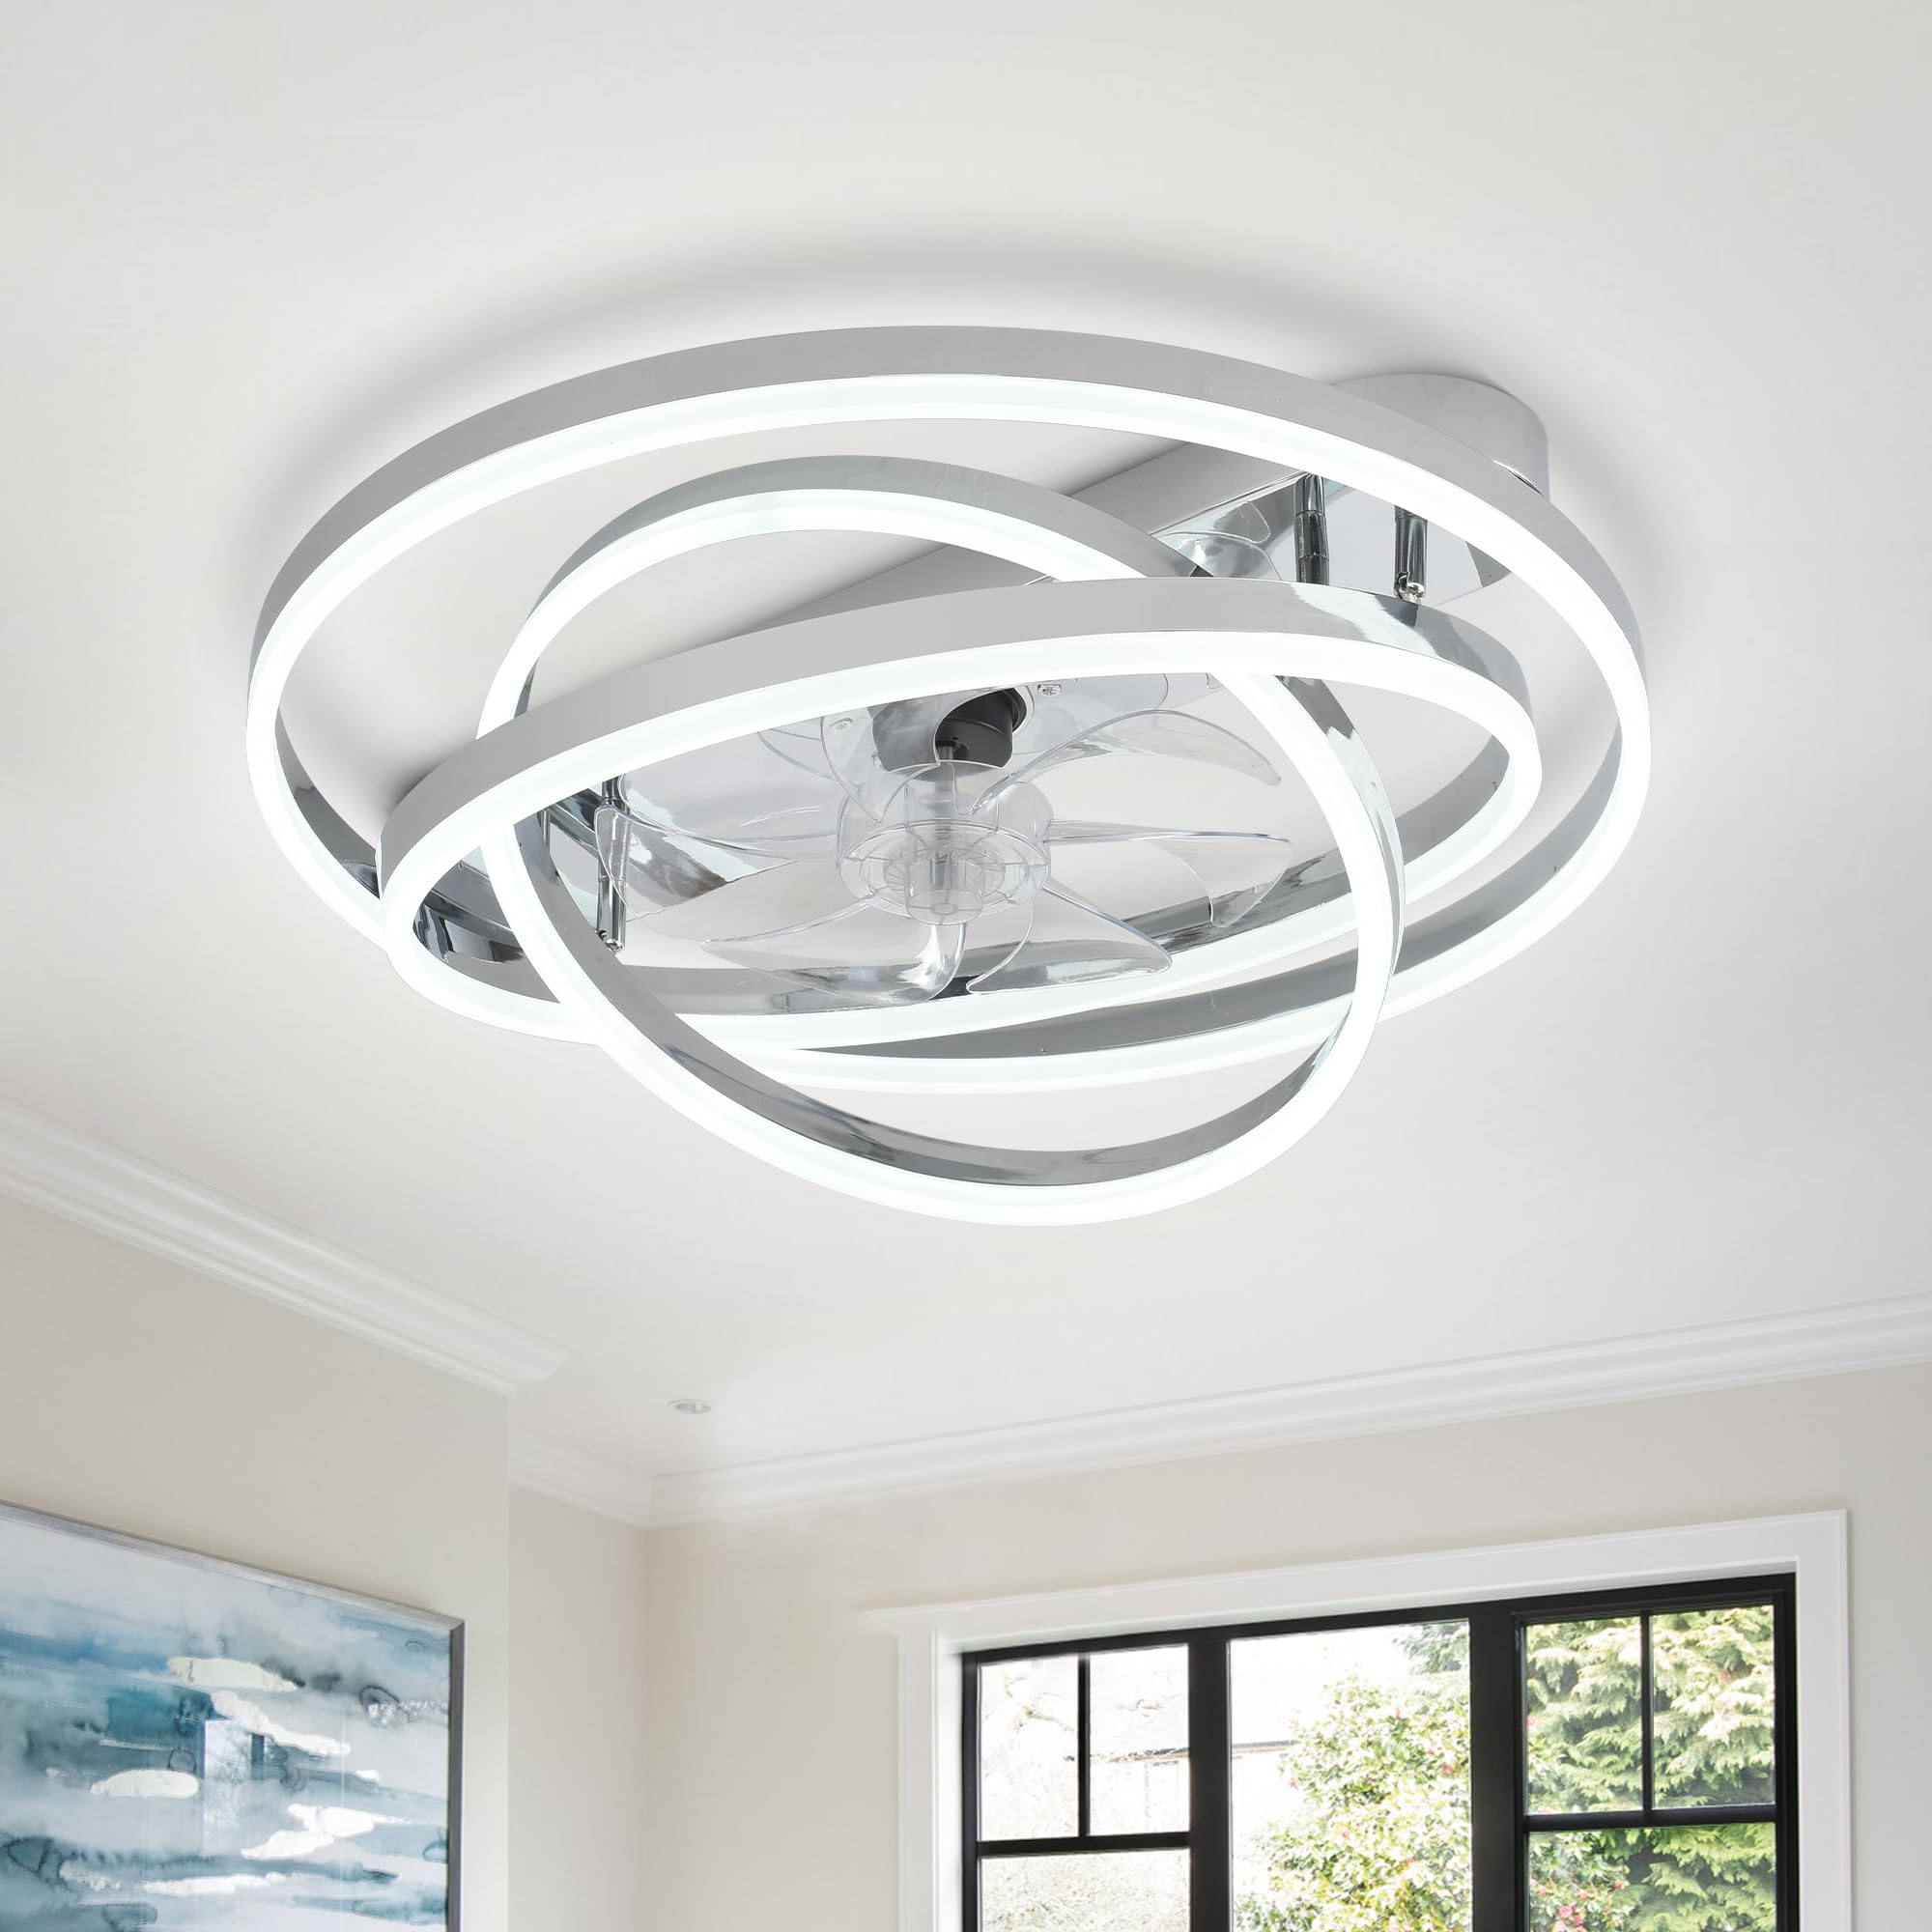
Image: The Oaks Aura 24-inch Ceiling Fan with Light, Model MZX-DC2402, featuring a modern design with adjustable light rings and a chrome finish.
Important Safety Information
Always follow basic safety precautions when installing and operating electrical appliances to reduce the risk of fire, electric shock, and personal injury. This fan is designed for indoor use. Ensure all wiring is performed by a qualified electrician and complies with local electrical codes.
- Disconnect power at the circuit breaker before installation or servicing.
- Ensure the mounting structure can support the fan's weight (approximately 9 pounds).
- Do not operate the fan with a damaged power cord or plug.
- Keep hands, hair, and clothing away from moving fan blades.
- Do not attempt to repair or modify the fan yourself. Contact qualified service personnel.
Setup and Installation
Package Contents
Verify that all components are present before beginning installation:
- Ceiling Fan Unit
- Light Kit
- Remote Control
- Mounting Hardware (screws, wire nuts, etc.)
- Instruction Manual

Image: A detailed display of the ceiling fan components, highlighting the adjustable light ring, 7 fan blades, DC inverter motor, and LED light source.
Installation Steps
This ceiling fan requires ceiling mount installation. Professional installation is recommended. Ensure the power is OFF at the circuit breaker before proceeding.
- Prepare the Mounting Location: Ensure the ceiling junction box is securely mounted and capable of supporting the fan's weight.
- Install the Mounting Bracket: Attach the mounting bracket to the ceiling junction box using the provided screws.
- Wire the Fan: Connect the fan's electrical wires to the household wiring according to local electrical codes. Ensure all connections are secure.
- Attach the Fan Body: Carefully lift the fan body and attach it to the mounting bracket. Secure all screws.
- Install the Light Kit: Connect the light kit wiring and attach the light kit to the fan body.
- Restore Power: Once installation is complete, restore power at the circuit breaker.

Image: The Oaks Aura 24-inch Ceiling Fan with Light installed in a modern bedroom setting, demonstrating its aesthetic integration.

Image: A diagram illustrating the fan's dimensions (23.6" L x 5.2" H) and a recommendation for use in large rooms up to 15 ft. x 18 ft.
Operating Instructions
Your Oaks Aura ceiling fan can be controlled via the included remote control or a compatible mobile application.
Remote Control Functions
The remote control allows for full control over the fan and light features.

Image: The remote control for the ceiling fan, detailing buttons for light control, fan speed, direction, and timing. A QR code for the mobile app download is also visible. The app can be downloaded from https://console.warpiot.com/iot-app/appDownload/welcome.html.
- Light ON/OFF: Turns the light on or off.
- ALL OFF: Turns both the fan and light off.
- Switch Color Temperature: Cycles through cool, natural, and warm white light (3000K-6000K).
- Brightness: Adjusts light brightness from 10% to 100%.
- Fan Reversible: Changes fan direction for summer (downward airflow) or winter (upward airflow).
- Fan Timing: Sets the fan to turn off after 1 or 2 hours.
- Speed / Fan ON: Adjusts fan speed (6 levels) and turns the fan on.
- Natural Wind: Activates a mode that simulates natural breeze.
- Fan OFF: Turns the fan off.
Light Features
The integrated LED light offers versatile illumination options.
- Adjustable Color Temperature: Choose between 3000K (Warm Light), 4000K (Natural Light), and 6000K (Cold Light) to suit your preference.
- Dimmable Brightness: Adjust the light intensity from 10% to 100%.
- DIY Rings LED: The light rings can be adjusted to create different aesthetic shapes.

Image: Illustration of the three adjustable light color temperatures: 3000K (Warm Light), 4000K (Natural Light), and 6000K (Cold Light).

Image: A visual representation of the dimmable light feature, ranging from 10% dark to 100% bright, and the adjustable color temperature from 3000K (Warm) to 6000K (White).
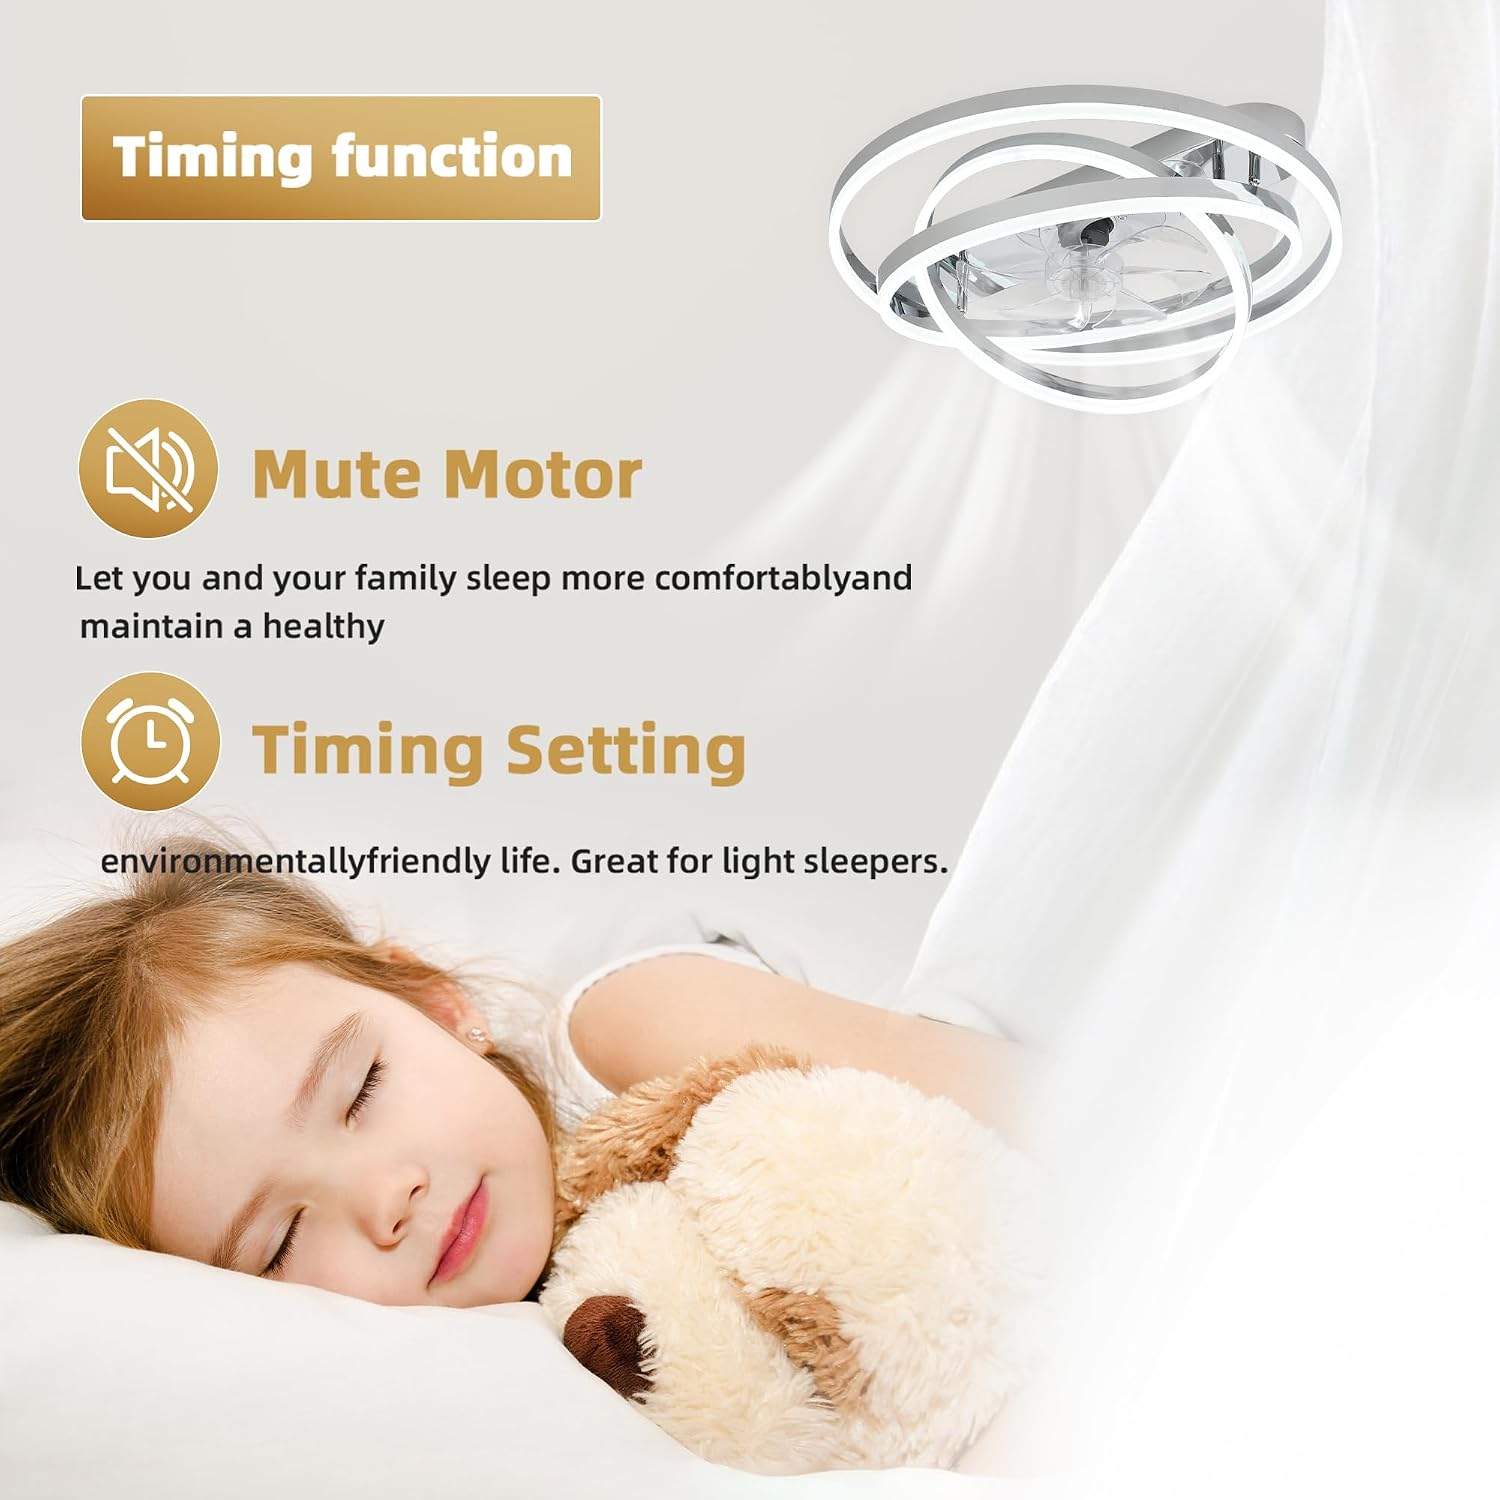
Image: Demonstrates the "Free Adjustment of Light Ring" feature, showing the fan's appearance before and after adjusting the light rings.
Fan Features
The fan is equipped with a silent reversible DC motor for optimal comfort year-round.
- 6 Wind Speeds: Select from six fan speeds to achieve your desired airflow.
- Reversible DC Motor:
- Summer Downdraft Mode: Creates a cooling effect by pushing air downwards.
- Winter Upward Mode: Circulates warm air near the ceiling, helping to keep the room dry and ventilated.
- Quiet Operation: The DC motor operates at a low noise level (less than 30dB), suitable for bedrooms and quiet environments.
- Timer Function: Set the fan to operate for 1 or 2 hours before automatically turning off.

Image: Depicts the two operational modes: "Summer Downdraft Mode" for cooling and "Winter Upward Mode" for air circulation, demonstrating the reversible DC motor function.

Image: Highlights the fan's mute motor and timing function, showing a child sleeping undisturbed, emphasizing quiet operation and convenience.

Image: A sound level diagram indicating the fan's quiet operation at approximately 30dB, comparable to a library voice and significantly quieter than normal conversation or a crowded street.

Image: Features highlighting the fan's low noise level (less than 30dB), the remote control's silent operation (no beep), and a natural mode for gentle airflow during sleep.

Image: Illustrates the fan's six-speed settings, categorized into 1-2 (Smooth Wind), 3-4 (Medium Wind), and 5-6 (High Speed) for various comfort levels.
Maintenance
Regular maintenance ensures the longevity and optimal performance of your ceiling fan.
- Cleaning: Before cleaning, ensure the power is disconnected at the circuit breaker. Use a soft, damp cloth to wipe down the fan blades and light fixture. Do not use abrasive cleaners or solvents.
- Tighten Fasteners: Periodically check all screws and fasteners on the fan and mounting bracket to ensure they are secure.
- Blade Balance: If the fan wobbles, check that the blades are securely attached and balanced. A balancing kit (not included) may be used if necessary.
Troubleshooting
Refer to this section for common issues and their solutions.
| Problem | Possible Cause | Solution |
|---|---|---|
| Fan does not start | No power to the fan; loose wire connections; remote control battery low. | Check circuit breaker. Ensure all wire connections are secure. Replace remote control batteries. |
| Light does not turn on | Loose wire connection to light kit; LED failure; remote control battery low. | Check light kit wiring. Contact customer support if LED is faulty. Replace remote control batteries. |
| Fan wobbles | Loose fan blades; unbalanced blades; loose mounting bracket. | Ensure all blade screws are tight. Use a balancing kit if needed. Tighten mounting bracket screws. |
| Remote control not working | Low battery; remote not paired with fan. | Replace remote control batteries. Refer to pairing instructions (if applicable, not provided in JSON). |
Product Specifications
| Feature | Detail |
|---|---|
| Brand | Oaks Aura |
| Model Name | 24 Inch Ceiling Fan with Light |
| Part Number | MZX-DC2402 |
| Color | Chrome |
| Material | Copper, Metal, Plastic |
| Style | Modern |
| Product Dimensions | 24"L x 24"W x 5.6"H |
| Item Weight | 9 Pounds |
| Power Source | DC |
| Voltage | 110 Volts |
| Control Method | App, Remote Control |
| Mounting Type | Ceiling Mount |
| Special Features | App Operable, LED Light, Quiet Operation, Remote Controlled, Timer, Reversible DC Motor, Dimmable, DIY Rings LED |
| Included Components | Cord, Light Kit, Remote Control |
| Assembly Required | Yes |
| Recommended Room Size | Up to 15 ft. x 18 ft. |
Warranty and Support
Oaks Aura stands behind the quality of its products. For specific warranty details, please refer to the warranty card included with your purchase or contact customer support. If you encounter any issues or have questions regarding your ceiling fan, please do not hesitate to reach out to our customer service team for assistance.
Customer Support: Please refer to the contact information provided in your product packaging or visit the official Oaks Aura website for support.


