
1. Introduction
Thank you for choosing the VANPO Digital Torque Wrench. This manual provides essential information for the safe and effective operation, maintenance, and troubleshooting of your new tool. This set includes both 3/8" (4.2-85 Nm) and 1/2" (20-400 Nm) drive digital torque wrenches, designed for high precision and reliability in various applications, including bicycles, motorcycles, and mechanical devices.
The VANPO Digital Torque Wrench offers advanced features such as preset torque values, extensive data storage, multiple measurement modes, and audible/visual alerts to prevent overtightening.
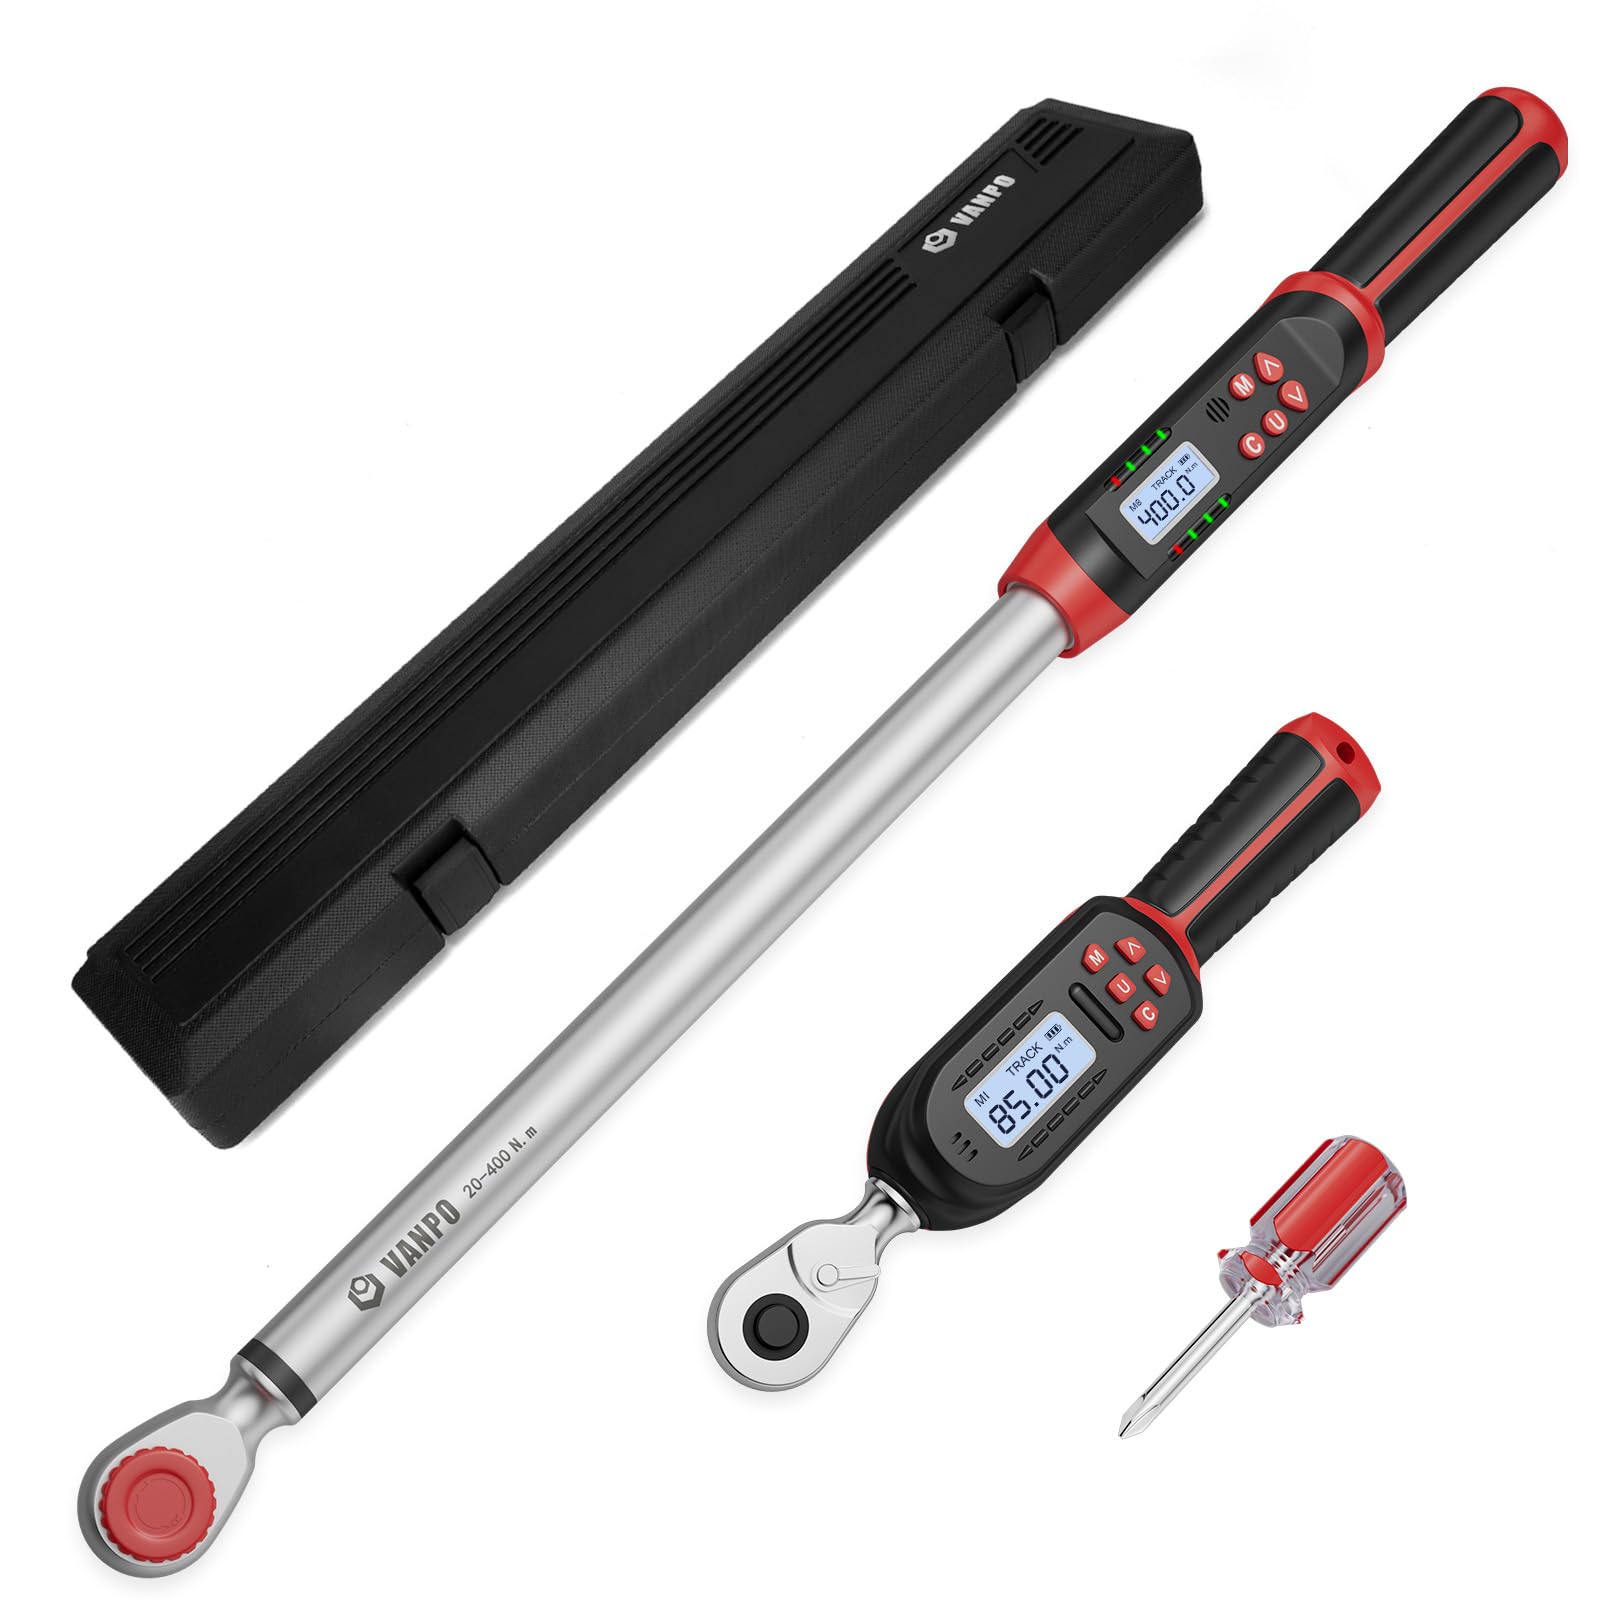
Figure 1: VANPO Digital Torque Wrench Set, showing both 3/8" and 1/2" models.
2. Product Features
- Preset and Value Storage: Features a new preset mode and 500 sets of data storage functions. 6 sets of values can be preset in advance across 6 modes, allowing quick switching to frequently used torque settings.
- Multiple Measurement Modes: Offers four measurement modes: kg-cm, Nm, in-lb, and ft-lb. Digital conversion between units is clearly visible on the display.
- High Accuracy: Equipped with a two-way ratchet head function, achieving a clockwise accuracy of ±2% and counterclockwise accuracy of ±3%, conforming to international standard DIN-ISO-6789.
- Audible and LED Alert: Provides a regular beep and changes the LED light from flashing green to continuous red when the preset torque value is reached, preventing damage from excessive force.
- Memory Modes (Track and Peak): In Track mode, real-time torque values are displayed. In Peak mode, the maximum torque value achieved is recorded and can be reviewed at any time.

Figure 2: Both 3/8" and 1/2" VANPO digital torque wrenches, highlighting lengths and data storage capabilities (8 preset groups, 500 data sets).
3. Setup
- Unpacking: Carefully remove the torque wrench and accessories from the packaging. Inspect for any signs of damage.
- Battery Installation: Locate the battery compartment (usually at the base of the handle). Insert the required batteries, ensuring correct polarity. Close the compartment securely.
- Power On: Press the power button to turn on the device. The digital display should illuminate.
- Unit Selection: Use the unit selection button (often labeled 'U' or 'MODE') to cycle through the available measurement units (Nm, ft-lb, in-lb, kg-cm) until your desired unit is displayed.
- Initial Calibration Check: While the wrench is factory calibrated, it is good practice to perform a quick check if you have access to a calibration device, especially for critical applications.
4. Operating Instructions
4.1 Setting Torque Values
- Enter Preset Mode: Press the 'M' (Mode) button until the display indicates 'PRESET' or a similar icon.
- Select Preset Group: Use the arrow buttons (up/down) to select one of the 6 available preset groups.
- Adjust Torque Value: Use the '+' and '-' buttons to increase or decrease the desired torque value. Hold the buttons for faster adjustment.
- Confirm: The value is automatically saved after a few seconds of inactivity or by pressing a confirmation button if available.
4.2 Applying Torque
- Attach Socket: Select the correct size socket for your fastener and attach it securely to the wrench's drive.
- Position Wrench: Place the socket onto the fastener. Ensure the wrench is perpendicular to the fastener for accurate readings.
- Apply Force: Apply smooth, steady force to the wrench handle. Observe the digital display for real-time torque readings (Track mode).
- Alert Indication: As you approach the preset torque value, the LED light will flash green. Once the preset value is reached, a continuous red LED light will illuminate, and an audible beep will sound. Stop applying force immediately.
- Review Peak Value (Optional): If in Peak mode, the maximum torque applied will be recorded and can be reviewed after the operation.

Figure 3: Operating the 3/8" VANPO digital torque wrench on an engine component.

Figure 4: Using the 1/2" VANPO digital torque wrench on a car wheel, demonstrating Track and Peak modes.
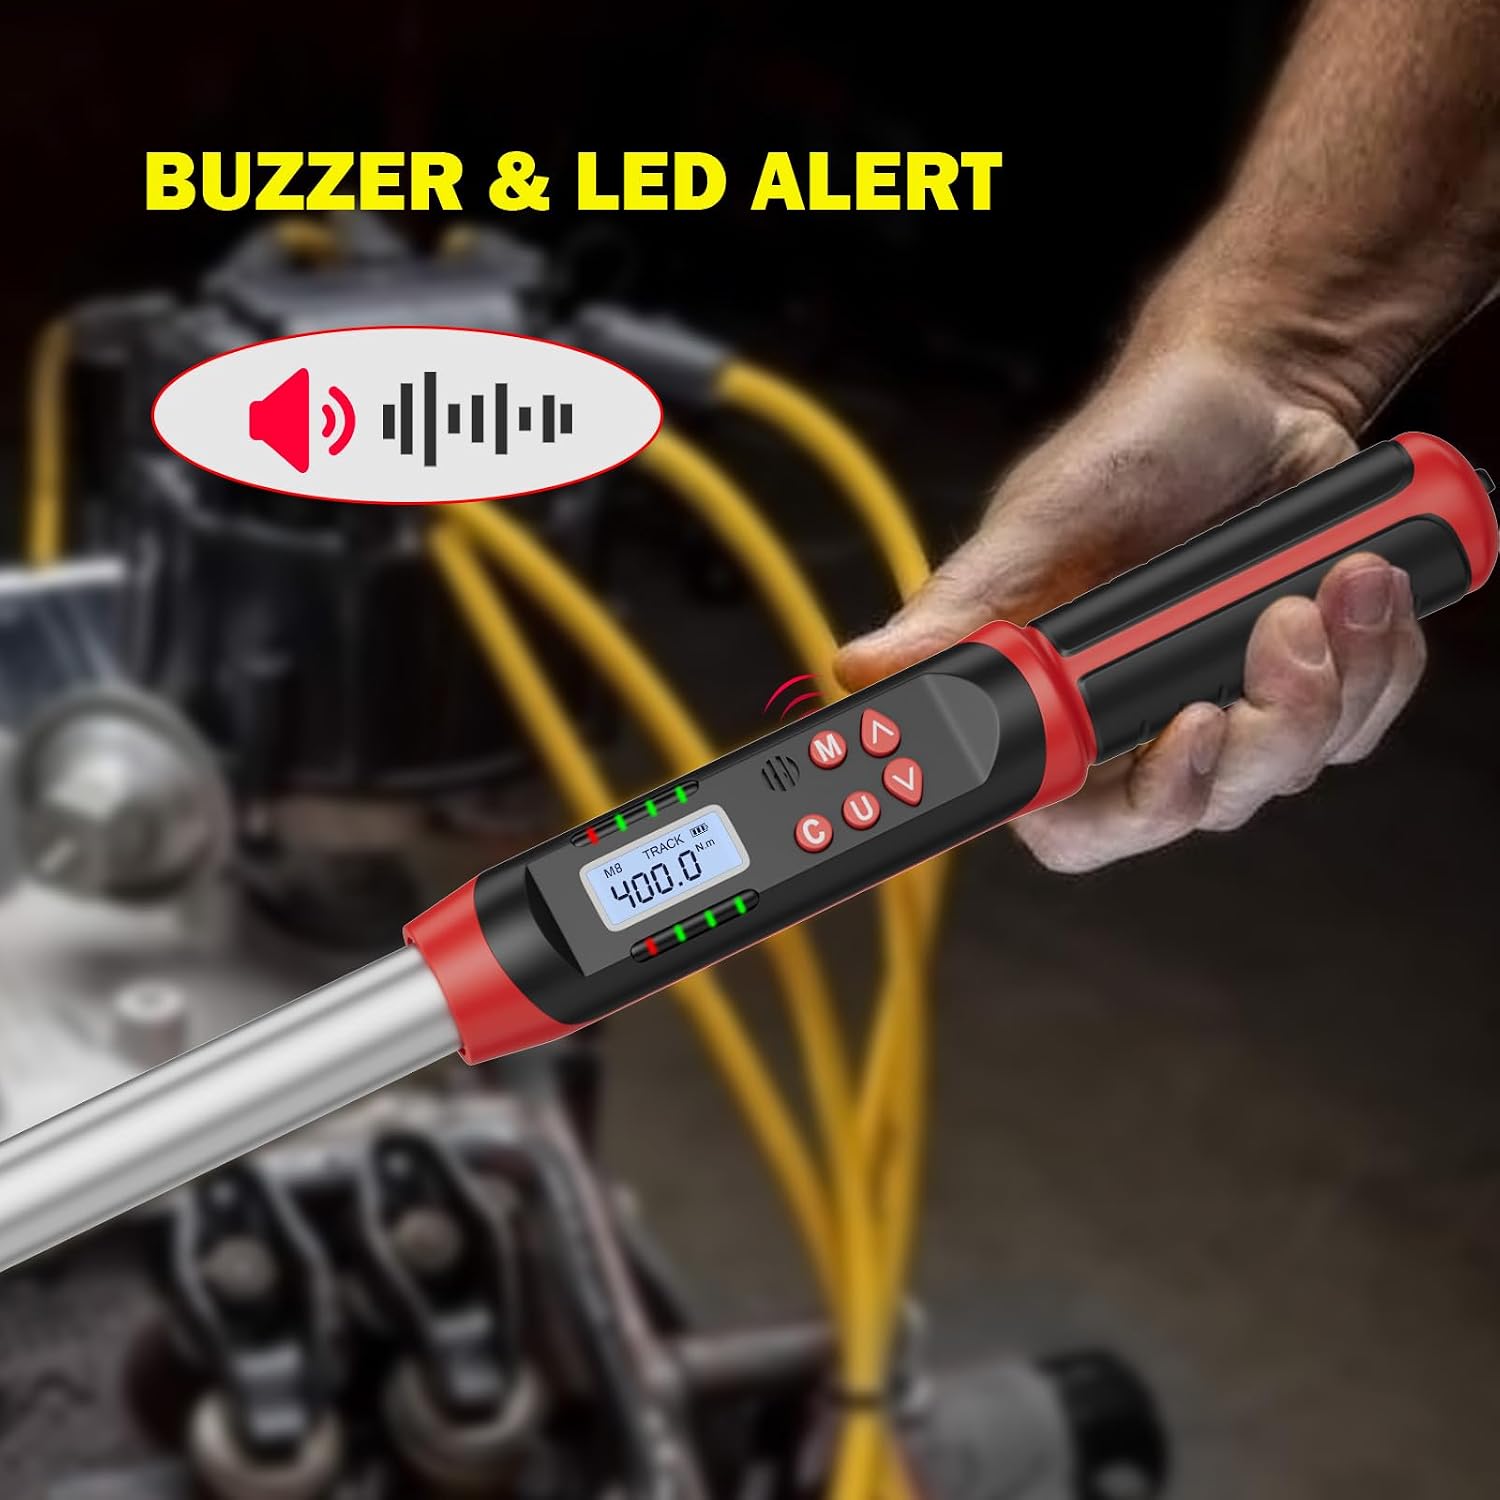
Figure 5: Close-up of the torque wrench display, illustrating the Buzzer and LED Alert system.
4.3 Changing Measurement Units
Press the 'U' or 'MODE' button to cycle through the available units: Newton-meters (Nm), foot-pounds (ft-lb), inch-pounds (in-lb), and kilogram-centimeters (kg-cm). The selected unit will be displayed prominently.
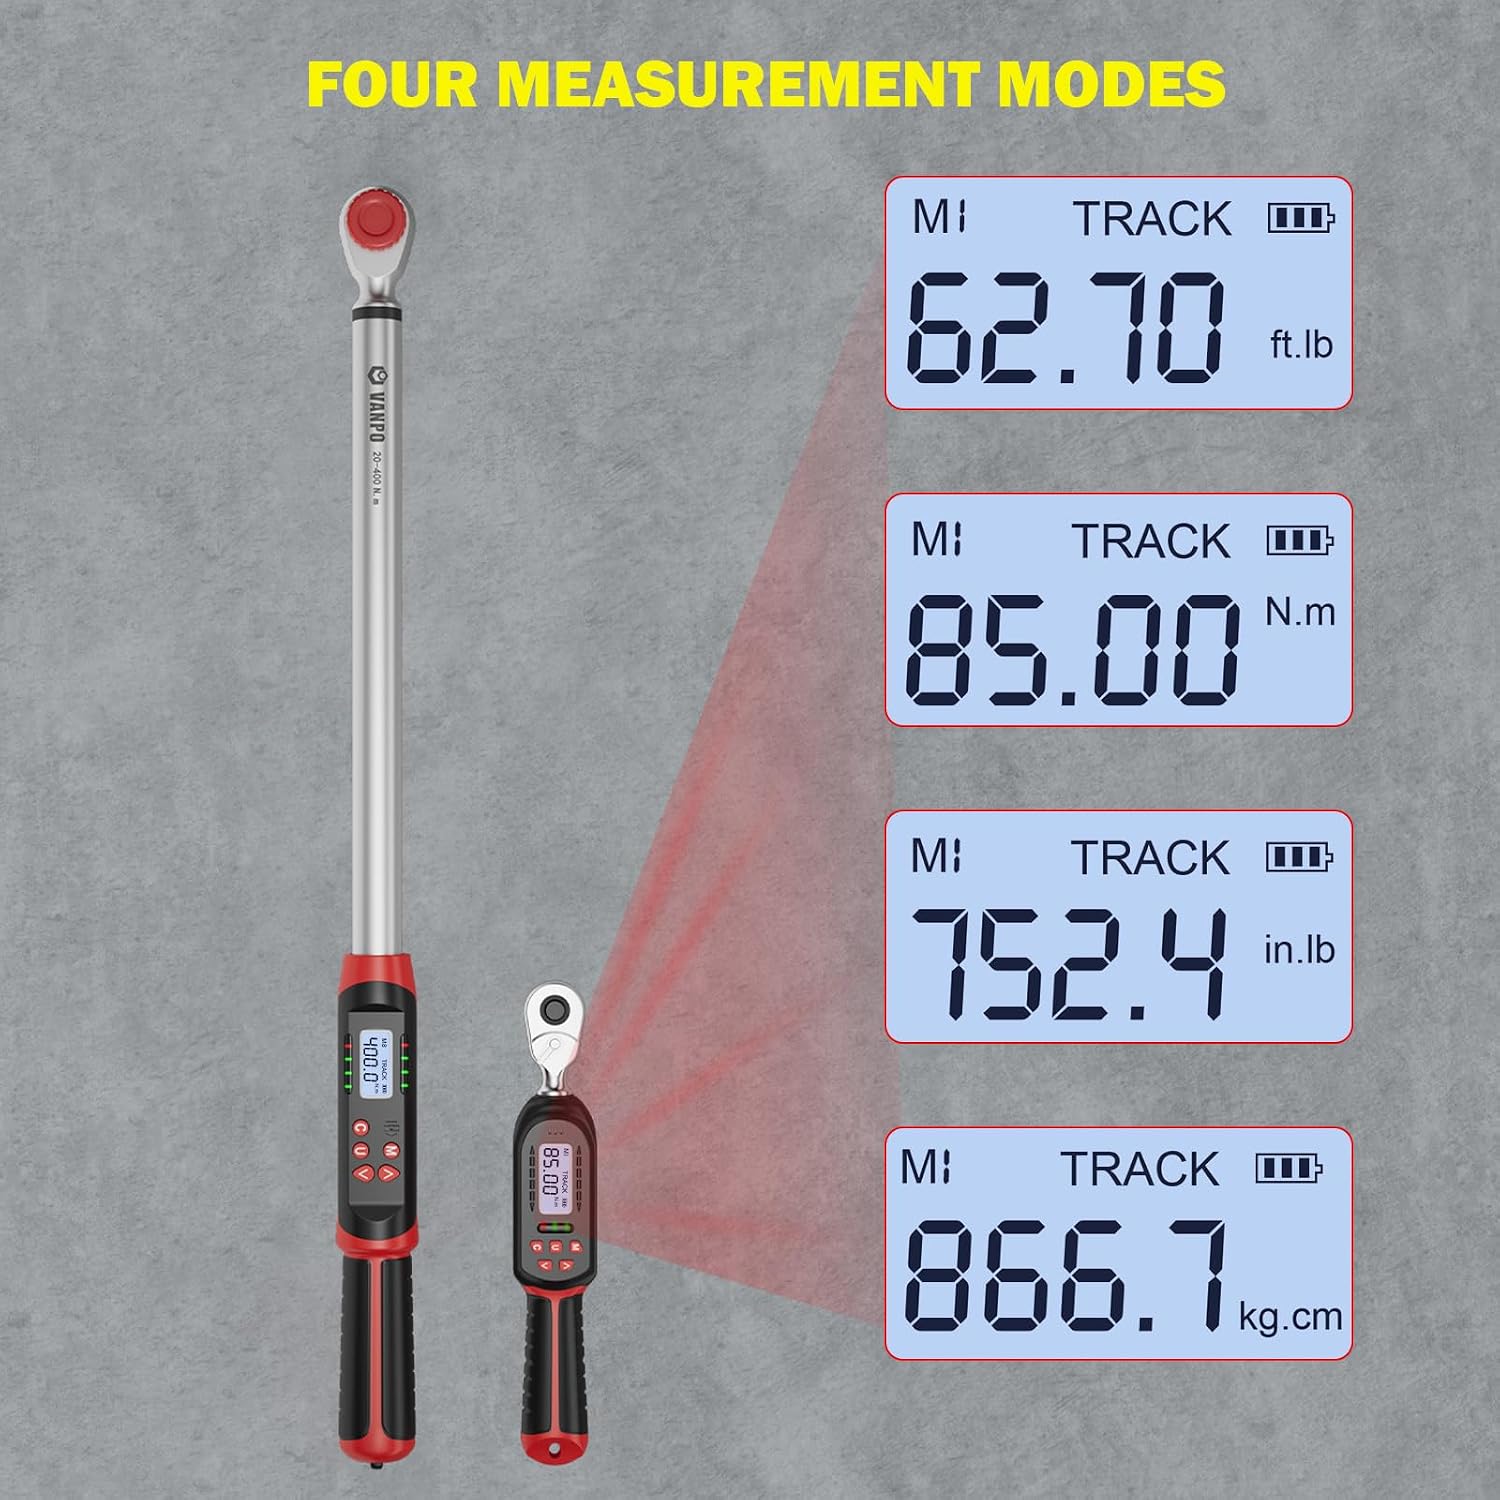
Figure 6: Digital displays showing the four available measurement modes: ft.lb, N.m, in.lb, and kg.cm.
4.4 Accuracy Information
The VANPO Digital Torque Wrench provides high accuracy for critical applications. Clockwise measurements are accurate to ±2%, and counterclockwise measurements are accurate to ±3%. This precision meets the international standard DIN-ISO-6789.

Figure 7: Detailed view of the 3/8" (10mm) and 1/2" (12.5mm) ratchet heads, indicating ±2% clockwise and ±3% counterclockwise accuracy.
5. Maintenance
- Cleaning: Wipe the wrench clean with a soft, dry cloth after each use. Do not use abrasive cleaners or solvents that could damage the finish or electronic components.
- Storage: Store the torque wrench in its protective case in a dry, clean environment. Avoid extreme temperatures and humidity.
- Battery Care: Remove batteries if the wrench will not be used for an extended period to prevent leakage and damage.
- Calibration: Digital torque wrenches should be periodically checked for calibration, especially after heavy use or if accuracy is critical. Refer to a professional calibration service for this procedure.
- Overload Protection: Do not exceed 120% of the maximum torque value to prevent damage to the tool.
6. Troubleshooting
- Wrench does not power on:
- Check battery installation and ensure correct polarity.
- Replace batteries with new ones.
- Inaccurate readings:
- Ensure the correct measurement unit is selected.
- Verify the wrench is applied perpendicular to the fastener.
- Consider professional calibration if issues persist.
- No audible or LED alert:
- Check if the alert function is enabled in the settings (if applicable).
- Ensure the preset torque value is correctly set and within the wrench's range.
- Display issues (e.g., dim, flickering):
- Replace batteries.
- Ensure the wrench is not exposed to extreme temperatures.
7. Specifications
| Specification | Detail |
|---|---|
| Brand | VANPO |
| Model | 3/8" (4.2-85 Nm), 1/2" (20-400 Nm) |
| Material | Alloy Steel |
| Color | Silver |
| Item Length | 9.53 Millimeters (referring to drive size) |
| Head Style | Box End |
| Measurement Standard | Metric, SAE |
| Accuracy (Clockwise) | ±2% |
| Accuracy (Counterclockwise) | ±3% |
| Data Storage | 500 sets |
| Preset Values | 8 groups of preset torque values |
| Package Dimensions | 73 x 12.5 x 6.5 cm |
| Package Weight | 3.05 kilograms |
8. Warranty and Support
For warranty information, please refer to the documentation included with your product or contact VANPO customer support directly. Warranty terms typically cover manufacturing defects for a specified period from the date of purchase.
If you encounter any issues or require technical assistance, please contact VANPO customer support through their official website or the contact information provided in your product packaging. Please have your model number and purchase details ready when contacting support.