1. Introduction
This manual provides essential instructions for the safe and efficient operation of your Panda PAN80SWR1 Portable Washing Machine. This 2.0 Cu.ft fully automatic compact top-load washer is designed for small living spaces such as apartments, condos, RVs, vacation homes, and dormitories. It connects easily to a standard kitchen faucet and drains into a sink, eliminating the need for permanent plumbing installations. Please read this manual thoroughly before using the appliance and retain it for future reference.
2. Safety Information
Always follow basic safety precautions when using electrical appliances to reduce the risk of fire, electric shock, or injury to persons.
- Ensure the washing machine is connected to a properly grounded 110V three-prong outlet.
- Do not operate the machine if the power cord or plug is damaged.
- Keep children away from the appliance during operation. The Child Lock feature should be activated when children are present.
- Do not wash items that are soiled with flammable or explosive substances.
- Never reach into the washing machine while it is operating.
- Disconnect the power supply before performing any maintenance or cleaning.
- Do not install or store the appliance where it will be exposed to the weather or freezing temperatures.
3. Product Overview
3.1 Product Dimensions
The Panda PAN80SWR1 washing machine is designed for compact spaces. Refer to the image below for detailed dimensions.

3.2 Control Panel
The control panel allows you to select wash programs, water temperature, and other functions. Familiarize yourself with the buttons and indicators.

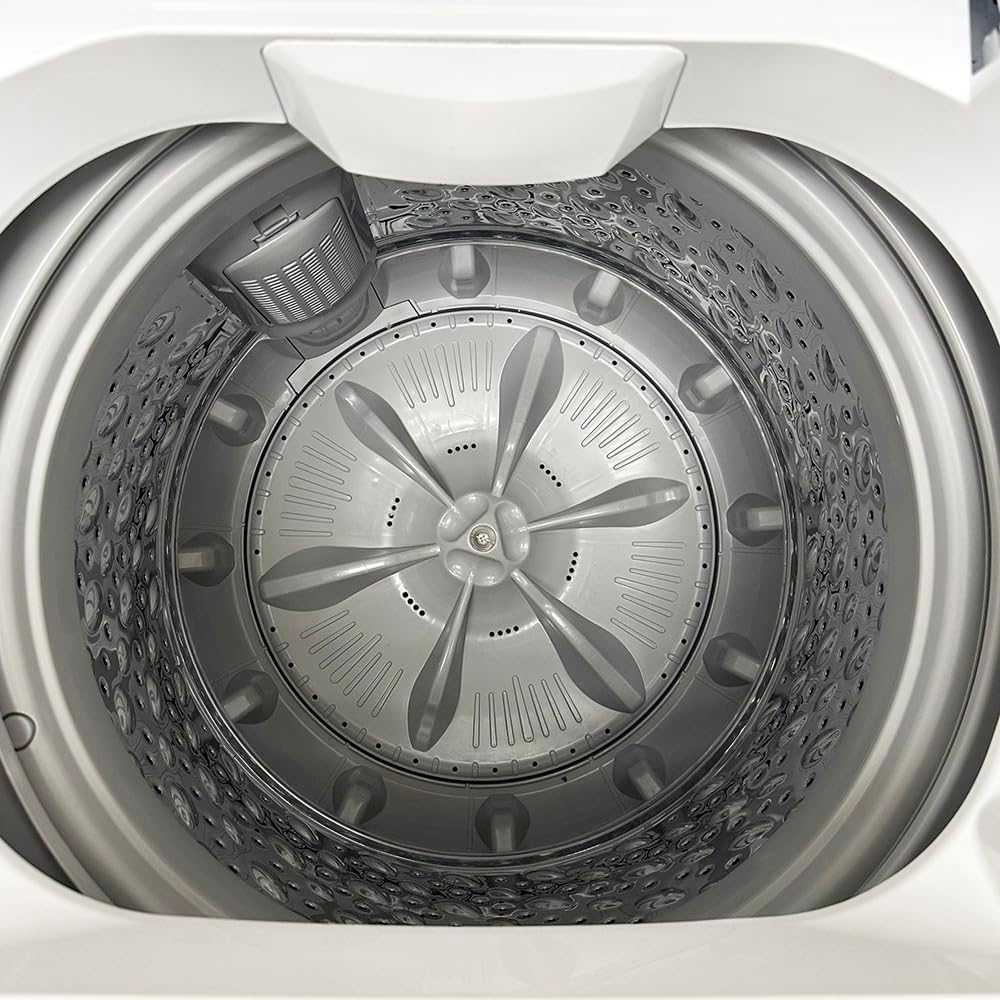
3.3 Interior and Components
The washing machine features a durable stainless steel tub and a transparent viewing lid.


4. Setup
4.1 Unpacking and Placement
- Carefully remove all packaging materials.
- Place the washing machine on a firm, level surface. The machine has two built-in rollers on the back bottom for easier movement.
- Ensure there is adequate space around the machine for ventilation and operation.
4.2 Water Inlet Connection
The washer can be connected to a standard kitchen or bathroom faucet using the included quick connect adapter kit. Two identical hoses are provided for hot and cold water supplies, though only one is typically used for cold water connection in portable setups.

- Attach the faucet adapter to your kitchen or bathroom faucet. If using internal threads, remove the black rubber washer from the adapter.
- Connect the quick adapter to the faucet adapter.
- Connect one end of the inlet hose to the quick adapter.
- Connect the other end of the inlet hose to the 'COLD' inlet valve at the back of the washing machine.
- If only using cold water, block the 'HOT' inlet valve using the provided cap.
- Turn on the cold water faucet to check for leaks.
4.3 Drain Hose Connection
- Attach the drain hose securely to the drain outlet on the back of the machine.
- Position the other end of the drain hose into a sink or a suitable drain. Ensure the hose is secured to prevent it from dislodging during the drain cycle.
4.4 Power Connection
- Plug the power cord into a grounded 110V three-prong electrical outlet.
- Do not use extension cords or adapters.
5. Operating Instructions
5.1 Loading Laundry
- Open the transparent lid.
- Load clothes loosely into the tub, ensuring not to overload. The maximum capacity is 15.6 lbs.
- Close the lid securely.
5.2 Adding Detergent
- Add the appropriate amount of high-efficiency (HE) detergent directly into the tub with the clothes.
- Avoid using excessive detergent to prevent oversudsing.
5.3 Selecting Wash Programs
Press the 'On/Off' button to power on the machine. Use the 'Program' button to cycle through the available wash programs:
- Normal: For everyday laundry.
- Heavy: For heavily soiled items.
- Delicate: For fragile garments.
- Quick: For lightly soiled items or small loads.
- Bulky: For large items like blankets or jackets.
- Spin Only: To extract excess water from clothes.
5.4 Adjusting Water Temperature
Press the 'Temp' button to select the desired water temperature:
- Hot: For white and heavily soiled items.
- Warm: For colored items and moderately soiled laundry.
- Cold: For delicate items and dark colors.
5.5 Using Delay Start
The Delay Start function allows you to set a delayed start time for your wash cycle.
- Select your desired wash program and temperature.
- Press the 'Delay' button repeatedly to set the desired delay time in hours.
- Press 'Start/Pause' to activate the delay timer. The machine will start automatically after the set time.
5.6 Child Lock Feature
To prevent accidental operation by children, activate the Child Lock.
- To activate: Press and hold the 'Temp' and 'Program' buttons simultaneously for three seconds. The 'Control Lock' indicator will illuminate.
- To deactivate: Press and hold the 'Temp' and 'Program' buttons simultaneously for three seconds again. The 'Control Lock' indicator will turn off.
5.7 Starting a Wash Cycle
- After loading laundry, adding detergent, and selecting your desired program and settings, press the 'Start/Pause' button to begin the wash cycle.
- The transparent lid allows you to monitor the wash cycle progress.
6. Maintenance
6.1 Cleaning the Exterior
- Wipe the exterior surfaces with a soft, damp cloth.
- Do not use abrasive cleaners or solvents.
6.2 Cleaning the Tub
- Periodically run a 'Bulky' cycle with hot water and a washing machine cleaner (or a cup of white vinegar) to clean the tub and remove detergent residue.
- Leave the lid open after each use to allow the tub to air dry and prevent odors.
6.3 Cleaning the Drain Filter
- Locate the drain filter access at the bottom rear of the machine (refer to Image 4).
- Unscrew the filter cover and carefully remove the filter.
- Clean any lint, debris, or foreign objects from the filter under running water.
- Reinsert the filter and screw the cover back on tightly.
- Clean the drain filter regularly to ensure efficient drainage.
7. Troubleshooting
| Problem | Possible Cause | Solution |
|---|---|---|
| Machine does not start | Power cord not plugged in; Lid not closed; 'On/Off' button not pressed; Child Lock active. | Ensure power cord is securely plugged in; Close the lid completely; Press 'On/Off' button; Deactivate Child Lock. |
| No water intake | Water faucet closed; Inlet hose kinked; Water pressure too low; Incorrect inlet hole connected. | Open water faucet; Straighten inlet hose; Ensure adequate water pressure; Connect hose to 'COLD' inlet. |
| Water does not drain | Drain hose kinked or blocked; Drain filter clogged; Drain hose positioned too high. | Straighten or clear drain hose; Clean drain filter; Ensure drain hose is at an appropriate height (below 39 inches). |
| Excessive vibration/noise | Machine not level; Load unbalanced; Shipping bolts not removed (if applicable). | Adjust leveling feet; Redistribute laundry evenly; Refer to setup instructions for shipping bolt removal. |
| Water leaks | Hose connections loose; Drain hose not secured; Excessive suds. | Tighten all hose connections; Secure drain hose in sink/drain; Reduce detergent amount. |
8. Specifications
| Feature | Detail |
|---|---|
| Model Number | PAN80SWR1 |
| Capacity | 2.0 Cu.ft (15.6 lbs) |
| Dimensions (D x W x H) | 57.2 x 55.9 x 94.6 cm (22.5 x 22 x 37.25 inches) |
| Motor Speed | 780 RPM |
| Voltage | 110V |
| Wash Programs | Normal, Heavy, Delicate, Quick, Bulky, Spin Only |
| Water Temperature Settings | Hot, Warm, Cold |
| Included Components | Drain Hose, Inlet Hoses, Quick Connect Adapter Kit |
| Tub Material | Stainless Steel |
9. Warranty and Support
For warranty information or technical support, please refer to the documentation provided with your purchase or contact Panda customer service. Keep your purchase receipt for warranty claims.


