
1. Product Overview
The fishkeeper FK085 660GPH Canister Filter is an external aquarium filtration system designed for both freshwater and saltwater environments up to 230 gallons. It features a 3-stage filtration process to ensure crystal-clear water and a healthy aquatic ecosystem. The unit is engineered for ultra-quiet operation and offers an adjustable flow rate for versatile use.
Key Features:
- Ultra-Quiet Operation: Equipped with a high-performance copper brushless motor for minimal noise.
- Adjustable Flow Rate: Control valve allows customization of water circulation for various aquarium sizes.
- Powerful Output: Handles up to 660 gallons per hour (2500 LPH) for efficient water processing.
- 3-Stage Filtration: Utilizes physical, chemical, and biochemical media for comprehensive water purification.
- Durable Construction: Features a premium ceramic shaft motor for longevity and corrosion resistance.
2. Safety Information
Please read all instructions carefully before operating the filter. Failure to follow these instructions may result in damage to the product or injury. This product is intended for adult use only.
- Always unplug the filter from the power outlet before performing any maintenance, cleaning, or when handling the unit.
- Ensure your hands are dry when plugging or unplugging the power cord.
- Do not operate the filter if the power cord or plug is damaged.
- Ensure the filter is placed on a stable, level surface below the aquarium water level for optimal siphoning and operation.
- Do not allow the filter to run dry.
- Keep out of reach of children.
3. Setup and Installation
Follow these steps for proper installation of your fishkeeper canister filter.
3.1 Unpacking and Component Identification
Carefully remove all components from the packaging. Verify that all parts are present according to the packing list.

Figure 3.1: Included Components and Media
3.2 Media Preparation
The filter includes multiple layers of filtration media. Ensure they are correctly placed in the filter baskets.
- Rinse all filter media (sponges, activated carbon, bioceramic rings) thoroughly with clean water before placing them into the filter baskets. This removes any dust or debris.
- Arrange the media in the baskets as follows: coarse sponges at the bottom (physical filtration), activated carbon in the middle (chemical filtration), and bioceramic rings at the top (biological filtration).

Figure 3.2: Multiple Depth Filtration Layers
3.3 Hose and Tube Connection
- Secure the Cover: Ensure the filter head is securely latched onto the filter bucket.
- Install Inlet and Outlet Nozzles: Attach the inlet and outlet nozzles to the filter head. Ensure they are firmly in place.
- Assemble Inlet and Outlet Tubes: Connect the various sections of the inlet and outlet tubes.
- Attach Hoses: Connect the water tubes to the inlet and outlet nozzles on the filter head. Ensure a tight fit to prevent leaks.
- Position in Aquarium: Attach the inlet and outlet pipes to the aquarium using the provided suction cups. Ensure the inlet pipe is submerged and the outlet pipe is positioned to create good water circulation.

Figure 3.3: Installation Steps Overview

Figure 3.4: Important Precautions for Water Level and Hose Placement
3.4 Priming and Starting the Filter
Before plugging in the filter, it must be primed to fill with water.
- Ensure all connections are secure and the filter is placed below the aquarium water level.
- Set the flow rate valve to minimum water flow.
- Remove the nozzle from the inlet to add water directly into the filter until it is full.
- Replace the nozzle and ensure the valve is open.
- Press the priming button (if available) or manually siphon water until the filter is full and water begins to flow back into the aquarium.
- Plug the filter into a grounded electrical outlet. The filter should start operating.

Figure 3.5: Priming and Quick Start-up
3.5 Installation Video Guide
Video 3.1: Fishkeeper Aquarium Canister Filter Installation Guide. This video demonstrates the step-by-step process of setting up and installing the canister filter for your aquarium.
4. Operating Instructions
4.1 Adjusting Water Flow
The filter features an adjustable flow rate control valve. This allows you to customize the water flow to suit the needs of your aquarium and its inhabitants.
- Locate the flow regulating handle on the filter head.
- Move the handle to increase or decrease the water flow. Adjusting it towards 'Min' will reduce flow, while 'Max' will increase it.
- Observe your aquarium's water circulation and adjust as necessary to ensure optimal filtration and comfort for your aquatic life.

Figure 4.1: Adjustable Water Flow Control
4.2 Quiet Operation
The fishkeeper FK085 filter is designed for ultra-quiet operation, ensuring a peaceful environment. If you notice unusual noise, refer to the troubleshooting section.
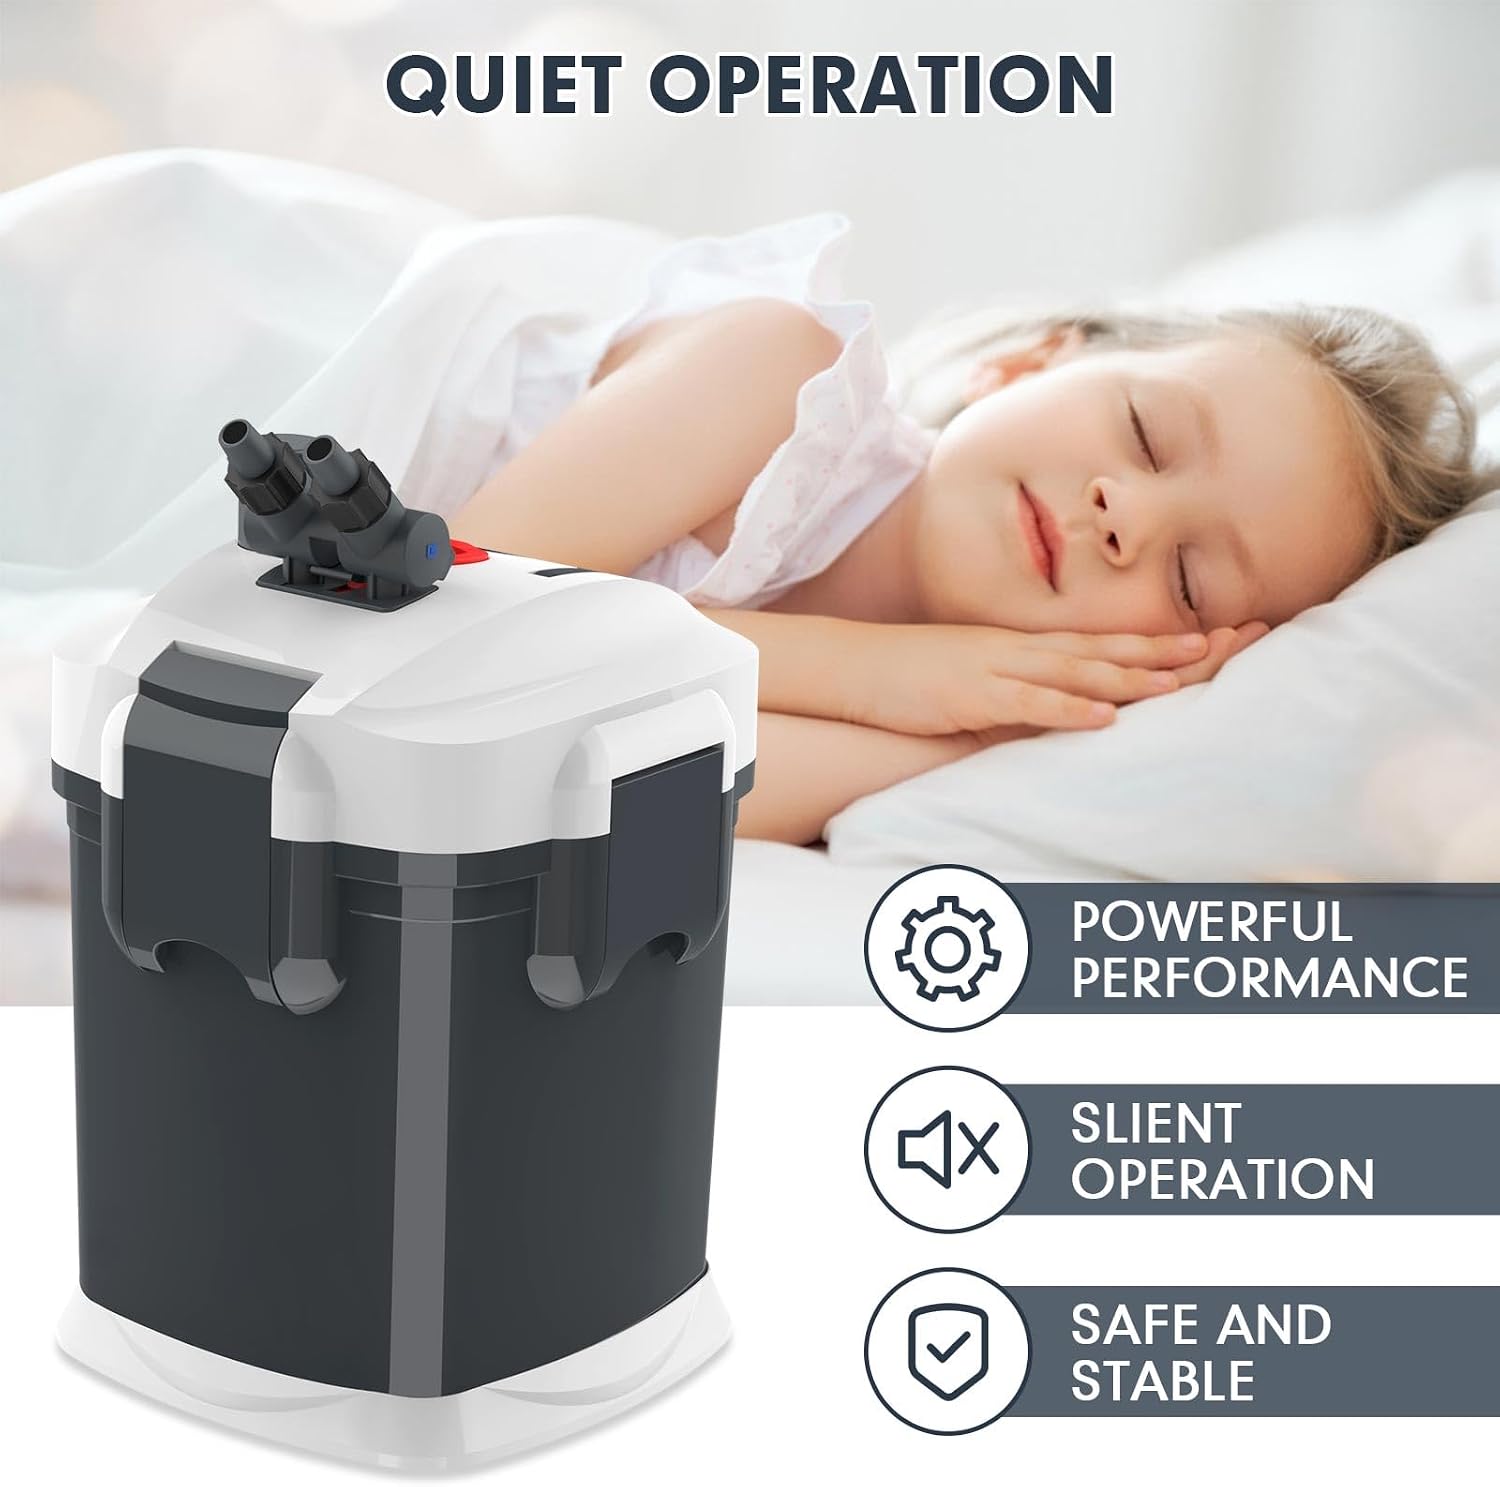
Figure 4.2: Quiet Operation
4.3 General Product Overview Video
Video 4.1: Fishkeeper Aquarium Canister Filter Overview. This video provides a general overview of the filter's features and capabilities across different models.
5. Maintenance
Regular maintenance is crucial for the optimal performance and longevity of your filter.
5.1 Cleaning Filter Media
- Filter Sponges: The biochemical filter sponge is reusable and washable. It is recommended to clean the filter sponge every 30 days and replace it every six months to a year, or when signs of wear are visible.
- Activated Carbon: Activated carbon effectively adsorbs pigments, odors, and impurities. It is recommended to replace activated carbon every 30 days as its effectiveness diminishes over time.
- Bioceramic Rings: These provide a surface for beneficial bacteria. Rinse them gently with old aquarium water during maintenance to preserve bacterial colonies. Avoid harsh cleaning or tap water, which can kill beneficial bacteria.

Figure 5.1: Reusable and Washable Filter Sponges

Figure 5.2: Activated Carbon Precautions

Figure 5.3: Ultra-microporous Biochemical Filtration
5.2 Disassembly for Cleaning
To access the filter media and internal components for cleaning:
- Unplug the filter from the power outlet.
- Close the flow control valves on the filter head to prevent water backflow.
- Disconnect the hoses from the filter head. The removable hose connectors facilitate this process, reducing spills.
- Release the latches on the sides of the filter bucket and carefully lift the filter head off.
- Remove the filter baskets and clean the media as described in Section 5.1. Clean the impeller and impeller housing as well.
- Reassemble the filter in reverse order, ensuring all seals and latches are properly secured before restarting.

Figure 5.4: Removable Hose Connectors for Easy Maintenance
6. Troubleshooting
If you encounter issues with your fishkeeper canister filter, refer to the following common problems and solutions:
| Problem | Possible Cause | Solution |
|---|---|---|
| Filter not starting or low flow |
|
|
| Water leaking |
|
|
| Excessive noise |
|
|
| Cloudy water |
|
|
If problems persist after attempting these solutions, please contact customer support.
7. Specifications
| Feature | Detail |
|---|---|
| Model Name | FK085 |
| Power | 45W |
| Max. Flow Rate | 660 GPH (2500 LPH) |
| Applicable Tank Size | Up to 230 Gallons (850L) |
| Item Weight | 16.37 pounds |
| Item Package Dimensions | 19 x 15 x 11 inches |
| Color | Grey |
| Included Components | Filter bucket, media |
| Specific Uses for Product | Indoor Aquarium Filtration |

Figure 7.1: Model Specifications Chart
8. Warranty and Support
The fishkeeper FK085 Canister Filter comes with a 1-Year Warranty from the date of purchase. This warranty covers manufacturing defects and malfunctions under normal use.
For warranty claims, technical support, or any questions regarding your product, please contact fishkeeper customer service through the retailer where you purchased the product or visit the official fishkeeper website for contact information.
Please retain your proof of purchase for warranty validation.