
1. Introduction
This manual provides essential information for the proper setup, operation, and maintenance of your KTC H24T7 24-inch QHD 180Hz Gaming Monitor. Please read this manual thoroughly before using the product to ensure optimal performance and safety.

Figure 1: KTC H24T7 24-inch QHD 180Hz Gaming Monitor
2. Safety Information
- Do not expose the monitor to rain or moisture to prevent fire or shock hazards.
- Do not open the monitor casing. There are no user-serviceable parts inside. Refer all servicing to qualified personnel.
- Place the monitor on a stable, flat surface to prevent it from falling.
- Ensure proper ventilation around the monitor. Do not block ventilation openings.
- Use only the power adapter supplied with the monitor.
- Disconnect the power cable from the outlet if the monitor will not be used for an extended period.
3. Package Contents
Verify that all items are present in the package:
- KTC H24T7 24-Inch Monitor (LCD) x 1
- Monitor Base x 1
- DP Cable x 1
- Power Adapter x 1
- User Guide (QSG) x 1

Figure 2: Dimensions and Included Accessories
4. Setup
4.1 Monitor Assembly
- Carefully remove the monitor and base components from the packaging.
- Attach the monitor stand to the monitor panel. Ensure it clicks securely into place.
- Alternatively, for VESA mounting, remove the stand and attach a VESA-compatible mount (100x100mm) to the monitor's rear panel.
4.2 Connecting Cables
Connect the necessary cables to the monitor and your computer or other devices.
- Power Connection: Connect the power adapter to the monitor's DC input port, then plug the adapter into a power outlet.
- DisplayPort Connection: For optimal performance (QHD at 180Hz, up to 185Hz), connect one end of the supplied DisplayPort 1.4 cable to the monitor's DP port and the other end to your computer's graphics card DP output.
- HDMI Connection: For QHD at 144Hz, connect an HDMI 2.0 cable to one of the monitor's HDMI ports and the other end to your device's HDMI output.
- Audio Output: Connect external speakers or headphones to the 3.5mm audio out port if desired.
- USB 2.0 (Upgrade Only): This port is for firmware upgrades only.

Figure 3: Monitor Connectivity Ports
4.3 Initial Power-On
Press the power button located on the monitor to turn it on. The monitor will automatically detect the input signal. If no signal is detected, ensure all cables are securely connected and your computer is powered on.
5. Operating the Monitor
5.1 On-Screen Display (OSD) Menu
The OSD menu allows you to adjust various monitor settings. Refer to the Quick Start Guide (QSG) for specific button functions and navigation.
5.2 Display Settings
- Resolution: The monitor supports QHD (2560x1440) resolution. Ensure your device's display settings are configured to this resolution for optimal clarity.
- Refresh Rate: The monitor supports a refresh rate of 180Hz, with overclocking up to 185Hz via DisplayPort. Adjust your system's display settings to utilize the maximum refresh rate.
- Adaptive Sync: This monitor is compatible with FreeSync and G-Sync technologies to reduce screen tearing and stuttering. Enable Adaptive Sync in the OSD menu and in your graphics card control panel.
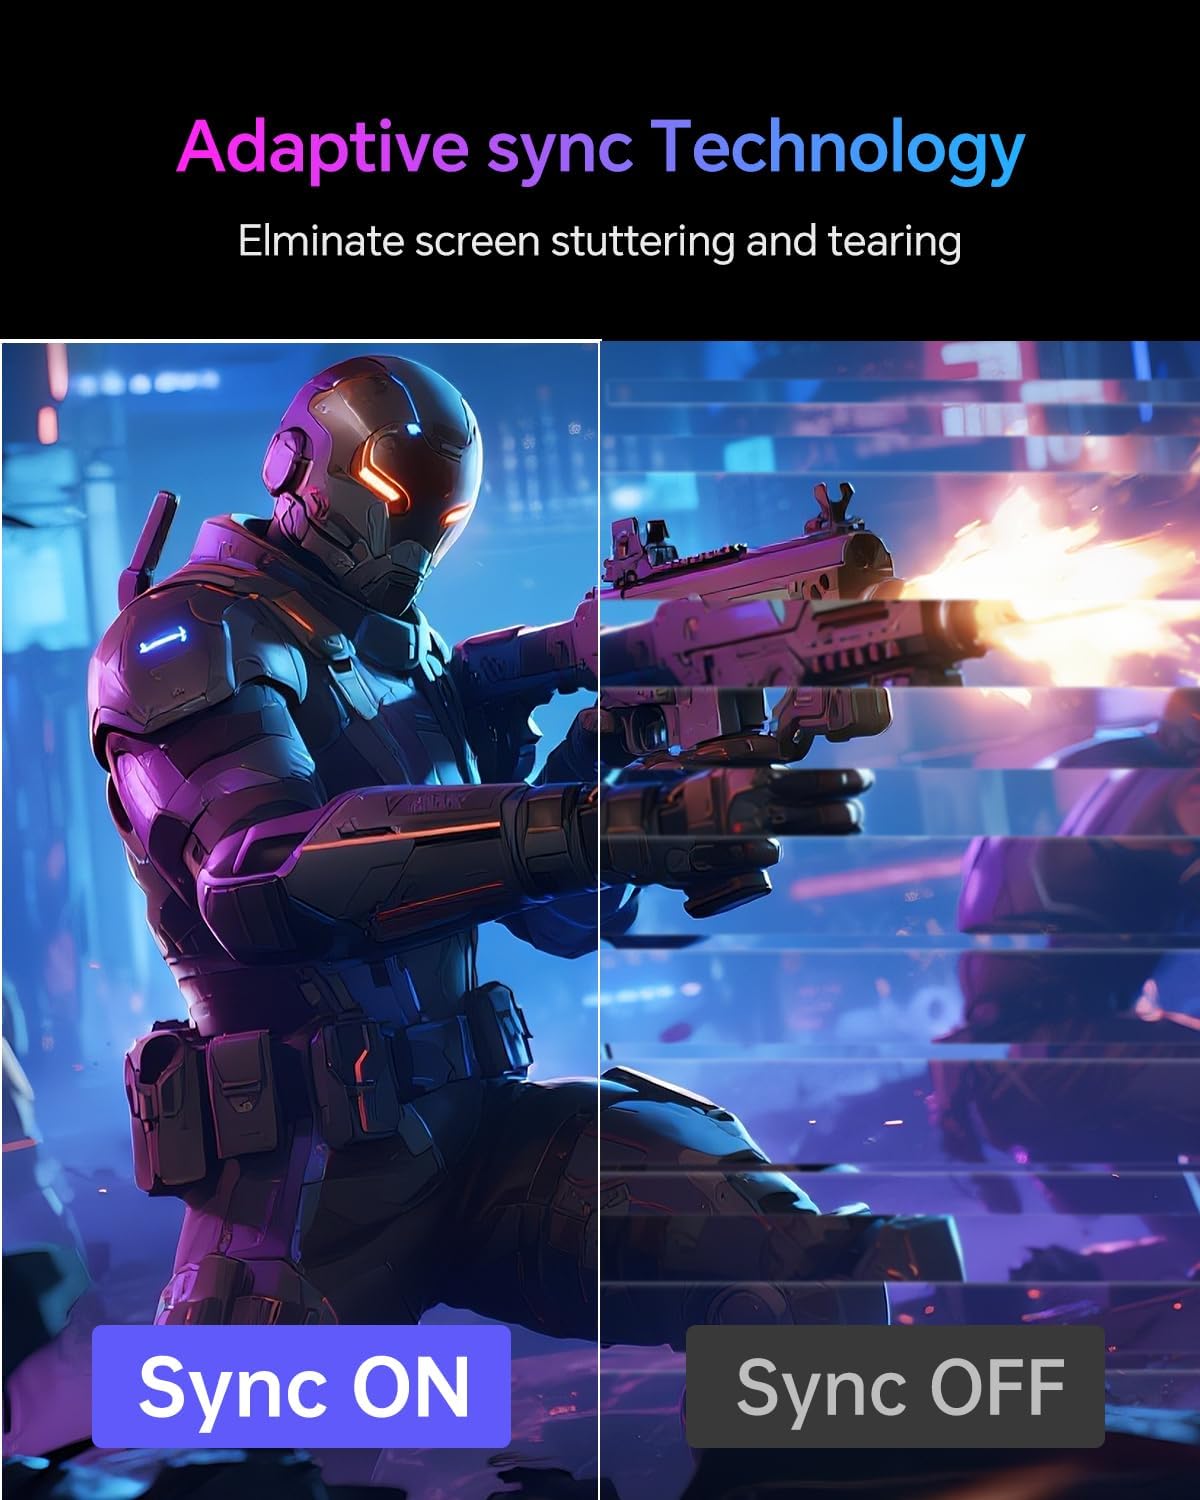
Figure 4: Adaptive Sync Technology in action
- HDR (High Dynamic Range): The monitor supports HDR400. Enable HDR in your operating system's display settings for enhanced contrast and color.
- Color Settings: The Fast IPS panel offers 99% sRGB color gamut coverage and 1.08 billion colors. Adjust brightness, contrast, color temperature, and gamma through the OSD menu to suit your preference.
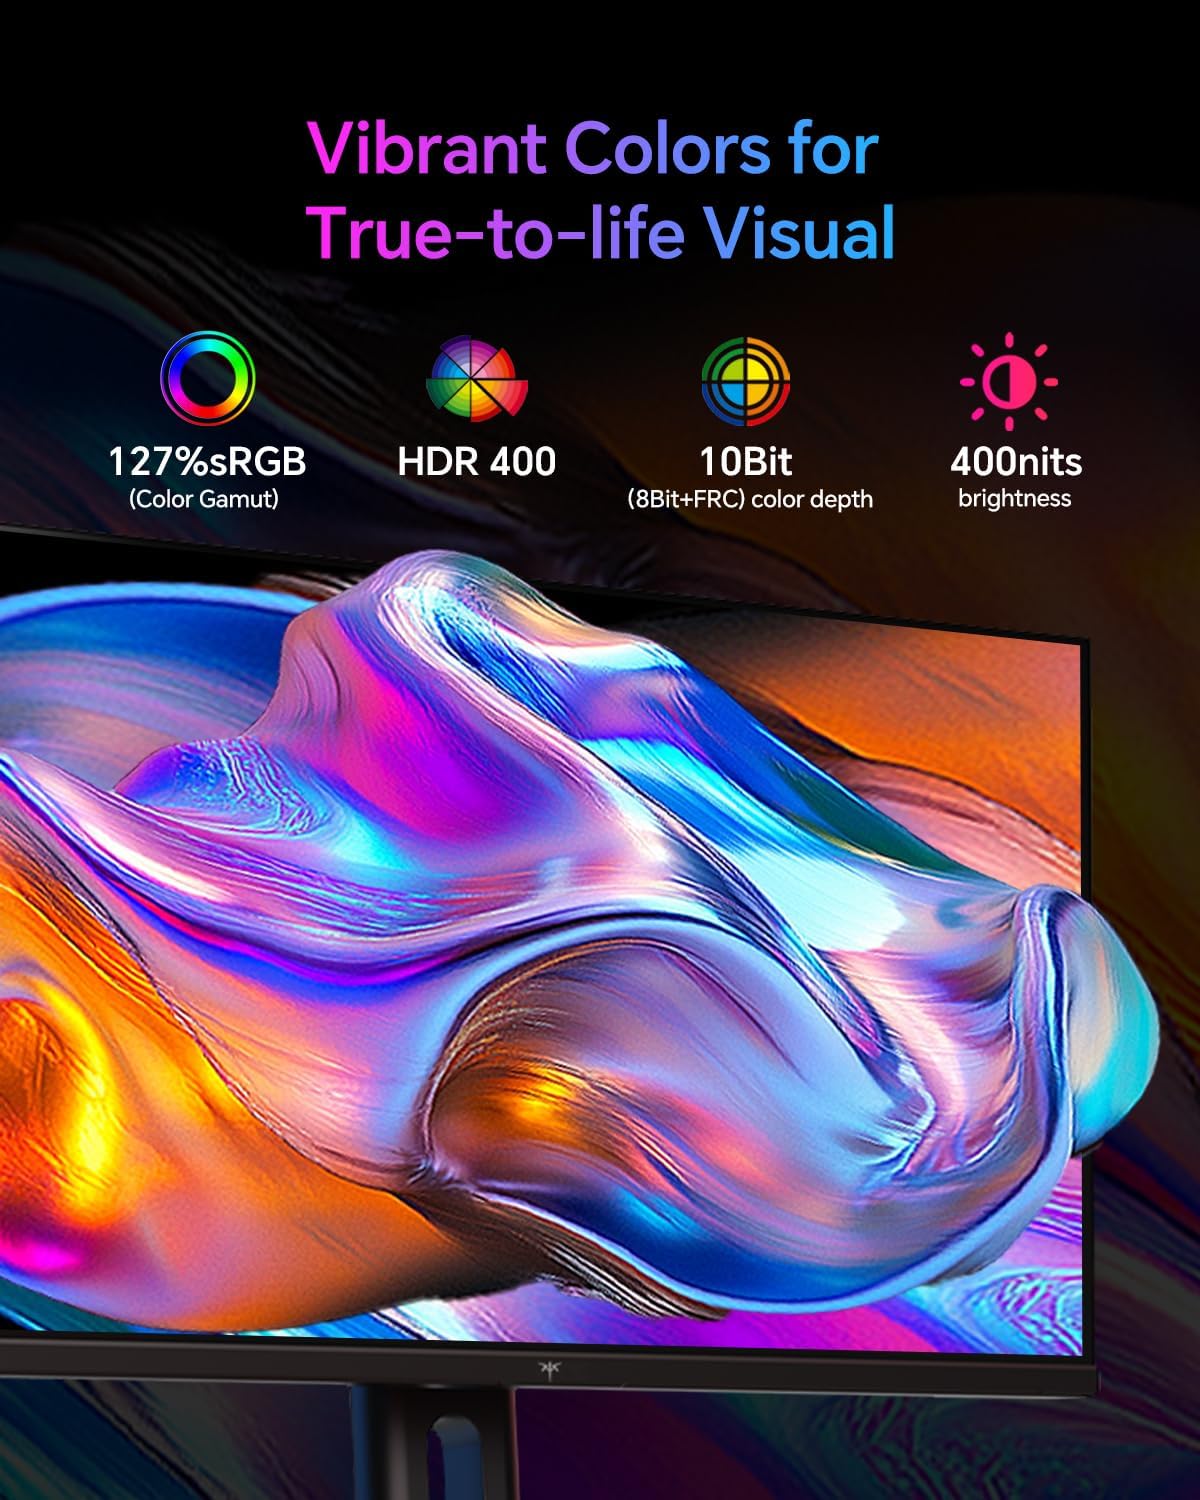
Figure 5: Color and Brightness Features
5.3 Eye Comfort Features
The monitor includes features designed to reduce eye strain during extended use:
- Low Blue Light: Reduces harmful blue light emissions. Activate this mode via the OSD menu.
- Anti-Flicker: Minimizes screen flickering for a more comfortable viewing experience.
- Anti-Glare: The matte screen surface reduces reflections from ambient light.

Figure 6: Eye Comfort Technologies
5.4 Ergonomic Adjustments
The monitor stand allows for various adjustments to optimize your viewing angle:
- Height Adjustment: Adjust the monitor height by 110mm.
- Tilt: Tilt the screen from -5° to 20°.
- Pivot: Rotate the screen 90° (±5°) for portrait mode.
6. Maintenance
To maintain your monitor's performance and appearance:
- Always power off the monitor and disconnect the power cable before cleaning.
- Use a soft, lint-free cloth slightly dampened with water or a mild, non-abrasive screen cleaner.
- Do not spray cleaner directly onto the screen. Apply it to the cloth first.
- Avoid using harsh chemicals, abrasive pads, or solvents.
7. Troubleshooting
If you encounter issues, refer to the table below for common problems and solutions.
| Problem | Possible Cause | Solution |
|---|---|---|
| No image on screen | Power cable disconnected; Video cable disconnected; Incorrect input source selected. | Check power and video cable connections; Select correct input source via OSD. |
| Image is blurry or distorted | Incorrect resolution; Video cable issue. | Set display resolution to 2560x1440; Ensure video cable is securely connected or try a different cable. |
| Screen flickering or tearing | Adaptive Sync not enabled; Graphics card driver issue. | Enable Adaptive Sync in OSD and graphics card settings; Update graphics card drivers. |
| No sound from audio out | Audio cable disconnected; Volume too low; Incorrect audio output device selected. | Check audio cable connection; Adjust volume; Select monitor as audio output device in OS settings. |
8. Specifications
| Feature | Specification |
|---|---|
| Model Number | H24T7 |
| Screen Size | 23.8 Inches |
| Panel Type | Fast IPS |
| Resolution | QHD (2560 x 1440 Pixels) |
| Refresh Rate | 180Hz (up to 185Hz overclocked via DP) |
| Aspect Ratio | 16:9 |
| Brightness | 400 Candela per Square Meter |
| Contrast Ratio | 1000:1 |
| Color Gamut | 99% sRGB |
| Color Depth | 1.08 Billion Colors (10-Bit) |
| HDR Support | HDR400 |
| Adaptive Sync | Compatible with FreeSync & G-Sync |
| Connectivity | 2 x HDMI 2.0, 1 x DisplayPort 1.4, 1 x Audio Out, 1 x USB 2.0 (Upgrade only) |
| Ergonomics | Height Adjustment (110mm), Tilt (-5° to 20°), Pivot (90°±5°) |
| VESA Mount | 100x100mm |
| Product Dimensions | 7.61 x 21.25 x 18.02 inches |
| Item Weight | 7.63 pounds |
9. Warranty and Support
KTC provides a three-year warranty for this product. For any issues or inquiries regarding your KTC H24T7 monitor, please contact our customer support. We aim to respond within 12 hours.
For further assistance, visit the official KTC website or refer to the contact information provided in your Quick Start Guide.


