
RiderX M5
RiderX M5 Electric Dirt Bike User Manual
Model: M5
1. Introduction
Welcome to the RiderX M5 Electric Dirt Bike user manual. This guide provides essential information for the safe assembly, operation, and maintenance of your new electric dirt bike. Please read this manual thoroughly before your first ride to ensure optimal performance and safety.
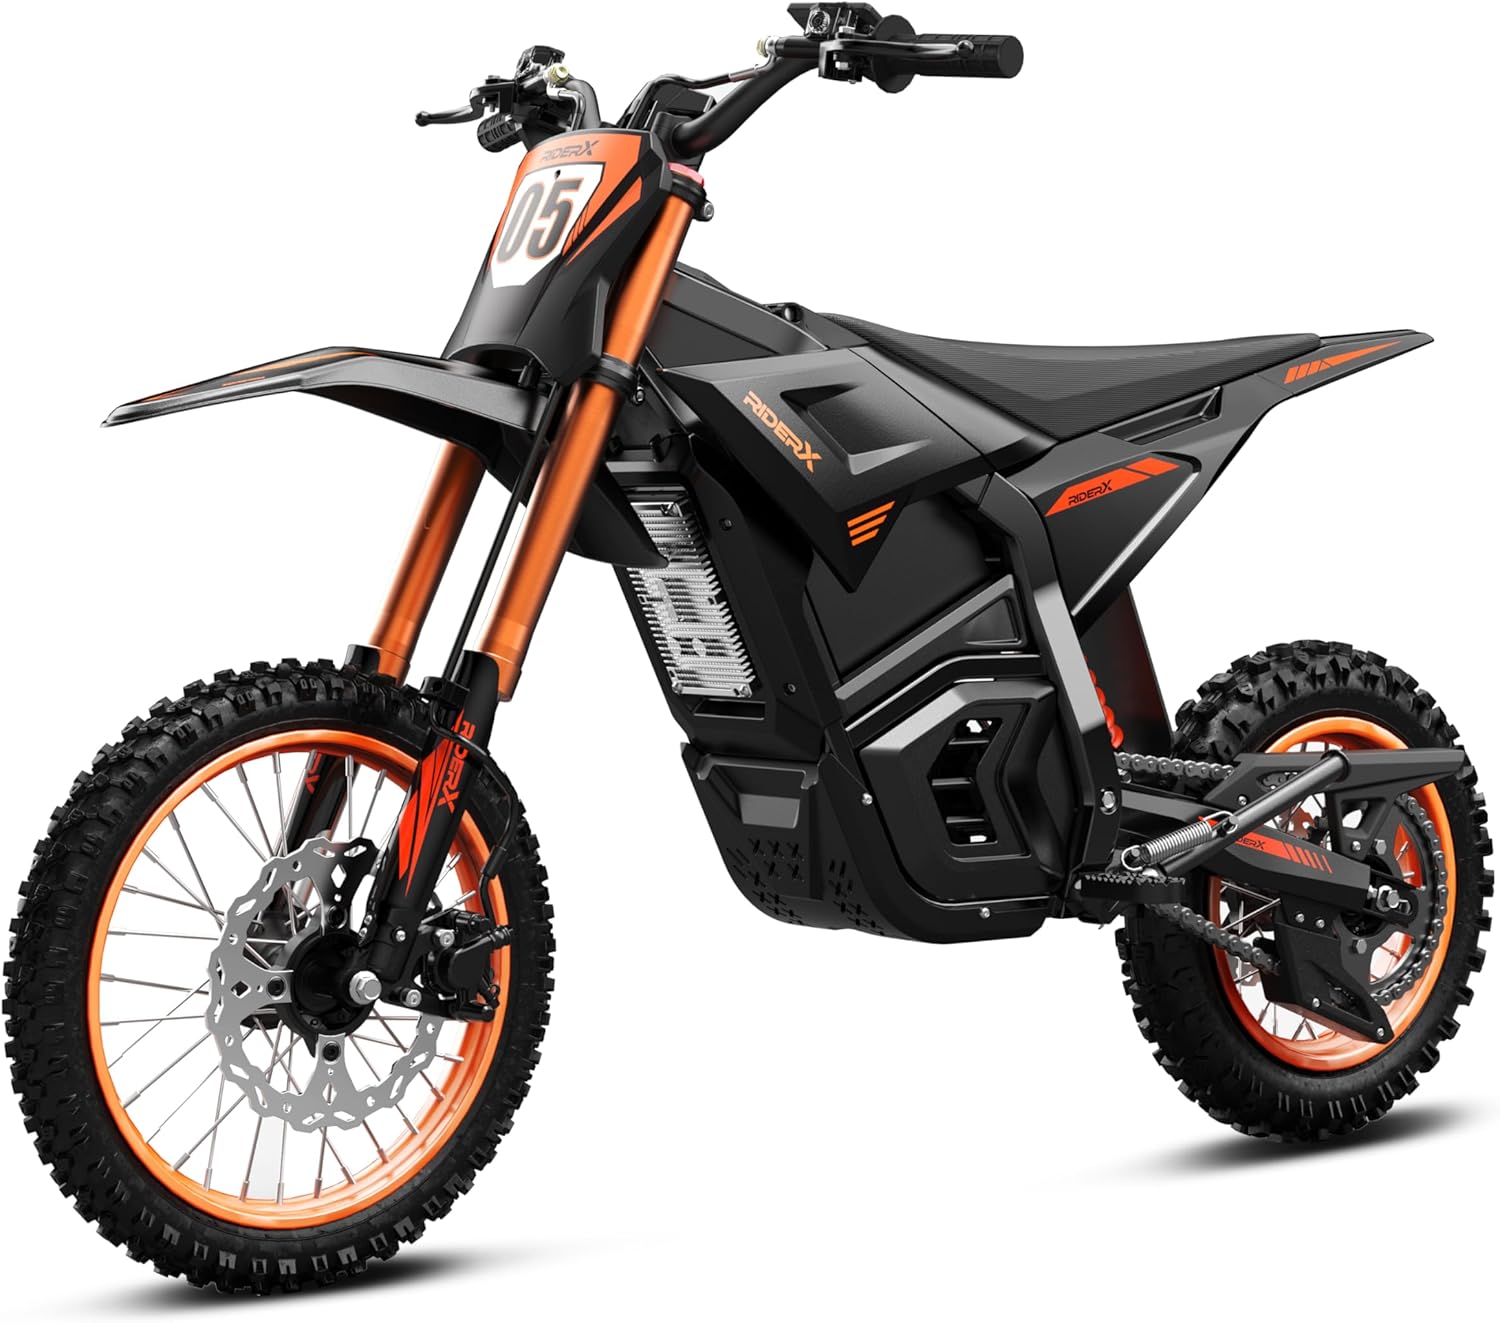
Image 1.1: The RiderX M5 Electric Dirt Bike, showcasing its design and robust build.
2. Safety Information
Your safety is paramount. Operating an electric dirt bike carries inherent risks. Always wear appropriate safety gear, including a helmet, eye protection, gloves, and protective clothing.
2.1 General Safety Guidelines
- Always perform a pre-ride inspection.
- Do not operate the bike under the influence of alcohol or drugs.
- Adhere to local laws and regulations regarding electric vehicle operation.
- Maintain a safe distance from other riders and obstacles.
- The RiderX M5 is designed for ages 13 and up.
- Maximum load capacity is 289 lbs (131 kg). Do not exceed this limit.
2.2 Battery Safety
- Use only the provided charger.
- Do not expose the battery to extreme temperatures or direct sunlight.
- Avoid puncturing or damaging the battery pack.
- If the battery shows signs of damage or overheating, discontinue use immediately and contact support.
3. Package Contents
Upon unpacking, please verify that all items listed below are present:
- RiderX M5 Electric Dirt Bike (90% pre-assembled)
- Tool Kit
- Charger
- User Manual (this document)
If any components are missing or damaged, please contact RiderX customer support immediately.
4. Assembly and Setup
Your RiderX M5 Electric Dirt Bike arrives 90% pre-assembled. The following steps detail the final assembly required before your first ride.
4.1 Required Assembly Steps
- Attach Handlebars: Securely fasten the handlebars to the stem using the provided tools. Ensure all bolts are tightened to the manufacturer's specifications.
- Install Front Wheel: Mount the front wheel, ensuring the brake rotor aligns correctly with the caliper. Tighten the axle nuts firmly.
- Connect Rear Shock: If not already connected, attach the rear shock absorber according to the diagrams in the included quick-start guide.
Refer to the detailed diagrams in the quick-start guide for visual assistance during assembly.
5. Components Overview
Familiarize yourself with the main components of your RiderX M5 Electric Dirt Bike.

Image 5.1: Overview of key components including digital display, soft-touch grip, parking brake master cylinder, motocross-style seat, steel pegs, and hydraulic disc brakes.

Image 5.2: Diagram illustrating handlebar components such as the left handlebar grip, brake lever, digital display, riding mode switch, power switch, throttle grip, and wiring harness.
5.1 Digital Display

Image 5.3: The multifunctional LCD display showing real-time data.
The digital display provides real-time information including:
- Remaining battery level
- Current speed
- Mileage
- Selected gear mode
It also allows access to an engineering mode for customizing speed limits in each mode.
6. Operating Instructions
6.1 Powering On/Off
- To power on, press and hold the power button on the handlebar until the display illuminates.
- To power off, press and hold the power button until the display turns off.
6.2 Riding Modes
The RiderX M5 features 3 speed modes:
- Low-Speed Mode: Limited to 9.5 MPH, ideal for beginners or controlled environments.
- Standard Mode: Provides balanced power and speed for general riding.
- Sport Mode: Unleashes full power for experienced riders and off-road challenges.
Switch between modes using the riding mode switch on the handlebar.
6.3 Braking System

Image 6.1: Close-up of the dual hydraulic disc brakes.
The bike is equipped with dual hydraulic brakes for reliable stopping power. Apply both front and rear brakes smoothly and simultaneously for effective deceleration. Avoid sudden, hard braking, especially at high speeds or on loose surfaces.
7. Charging Instructions
The RiderX M5 is powered by a 48V/23.5Ah removable battery.

Image 7.1: The long-lasting 48V battery with smart protection.
- Ensure the bike is powered off before charging.
- Locate the charging port on the battery or bike frame.
- Connect the charger to the charging port, then plug the charger into a standard electrical outlet.
- The charging indicator light on the charger will typically show red during charging and turn green when fully charged.
- A full charge takes approximately 4-5 hours.
- Do not leave the battery charging unattended for extended periods.
- Unplug the charger once charging is complete.
8. Maintenance
Regular maintenance ensures the longevity and safe operation of your RiderX M5.
8.1 Routine Checks
- Tires: Check tire pressure before each ride. The all-terrain fat tires are designed for durability.
- Brakes: Inspect brake levers and pads for wear. Ensure brakes engage smoothly and effectively.
- Chain: Keep the chain clean and lubricated.
- Fasteners: Periodically check all bolts and nuts for tightness.
- Suspension: Inspect the full suspension system (hydraulic coil sprung inverted forks and rear air suspension) for any damage or leaks.

Image 8.1: The full suspension system, including hydraulic coil sprung inverted forks and rear air suspension.
8.2 Cleaning and Storage
- Clean the bike with a damp cloth. Avoid high-pressure washing directly on electrical components.
- Store the bike in a cool, dry place, away from direct sunlight and extreme temperatures.
- For long-term storage, ensure the battery is charged to approximately 50-70%.
9. Troubleshooting
This section addresses common issues you might encounter.
| Problem | Possible Cause | Solution |
|---|---|---|
| Bike does not power on | Low battery, loose battery connection, faulty power switch | Charge the battery, check battery connections, contact support if issue persists |
| Motor not engaging | Throttle issue, motor connection problem, controller fault | Check throttle cable, inspect motor connections, contact support |
| Reduced range | Under-inflated tires, cold weather, aggressive riding, battery degradation | Ensure proper tire pressure, ride conservatively, charge fully |
| Brakes feel weak | Worn brake pads, air in hydraulic line, misaligned caliper | Inspect and replace pads, bleed brakes (professional recommended), adjust caliper |
For issues not listed here or if troubleshooting steps do not resolve the problem, please contact RiderX customer support.
10. Specifications
Key technical specifications for the RiderX M5 Electric Dirt Bike:
- Model: M5
- Motor: 3000W Brushless Mid-drive Motor (220Nm Torque)
- Max Speed: Up to 38 MPH
- Climbing Ability: 45° slope
- Battery: 48V/23.5Ah Removable Battery (1128Wh High-Density)
- Charging Time: 4-5 hours
- Max Range: Up to 48 miles (varies with conditions)
- Brakes: Dual Hydraulic Disc Brakes
- Suspension: Full Suspension (Hydraulic Coil Sprung Inverted Forks, Rear Air Suspension)
- Frame: Reinforced Carbon Steel Frame
- Max Load: 289 lbs (131 kg)
- Item Weight: 128 lbs (58 kg)
- Product Dimensions: 59.84 x 27.01 x 36.81 inches
- Recommended Age: 13+
- Controller: 120A Continuous/300A Peak Power, Military-Grade IP67 Protection, FOC 3.0 Silent Drive System

Image 10.1: Diagram illustrating the dimensions and weight specifications of the RiderX M5.
11. Warranty and Support
11.1 Warranty Information
- Motor and Battery: 1-year warranty
- Frame: 2-year warranty
Please retain your original packaging for potential after-sales service. The warranty covers manufacturing defects under normal use. It does not cover damage from misuse, accidents, or unauthorized modifications.
11.2 Customer Support
For any questions, technical assistance, or warranty claims, please contact RiderX customer support. Our team guarantees an 8-hour response time for any issues.
Ask a question about this manual
Ask about setup, troubleshooting, compatibility, parts, safety, or missing instructions. Manuals+ will review the question and use this page’s manual context to help answer it.