
Slevoo SJ-RO100R
Slevoo SJ-RO100R Countertop Reverse Osmosis Water Filter Instruction Manual
Model: SJ-RO100R
1. Introduction
This manual provides detailed instructions for the installation, operation, and maintenance of your Slevoo SJ-RO100R Countertop Reverse Osmosis Water Filter. Please read this manual thoroughly before using the product to ensure proper function and longevity.

Image 1.1: Slevoo SJ-RO100R Countertop Reverse Osmosis Water Filter with included filters.
The Slevoo SJ-RO100R is a 5-stage reverse osmosis water filtration system designed for countertop use. It features a 100 GPD (Gallons Per Day) capacity, a 4L water tank, a 180° swivel spout, and a real-time TDS display. This system is engineered to remove various contaminants from tap water, providing purified drinking water without the need for complex installation.
2. Important Safety Information
Please observe the following safety precautions to prevent injury or damage to the product:
- Read all instructions before operating the appliance.
- Do not immerse the main unit in water or other liquids.
- Ensure the power cord is not damaged and is properly connected to a grounded outlet.
- Keep the appliance away from heat sources and direct sunlight.
- This appliance is for indoor use only.
- Do not allow children to operate the appliance without supervision.
- Only use original Slevoo replacement filters.
- Maximum supported water TDS level is 500 PPM.
- Operating temperature range: 41°F (5°C) to 100°F (38°C).
3. Product Components
The Slevoo SJ-RO100R package includes the following items:
- Water Filter Body (Main Unit)
- PPC Filter (Pre-Sediment & Carbon Block)
- RO Filter (Reverse Osmosis Membrane)
- Drip Tray
- User Manual
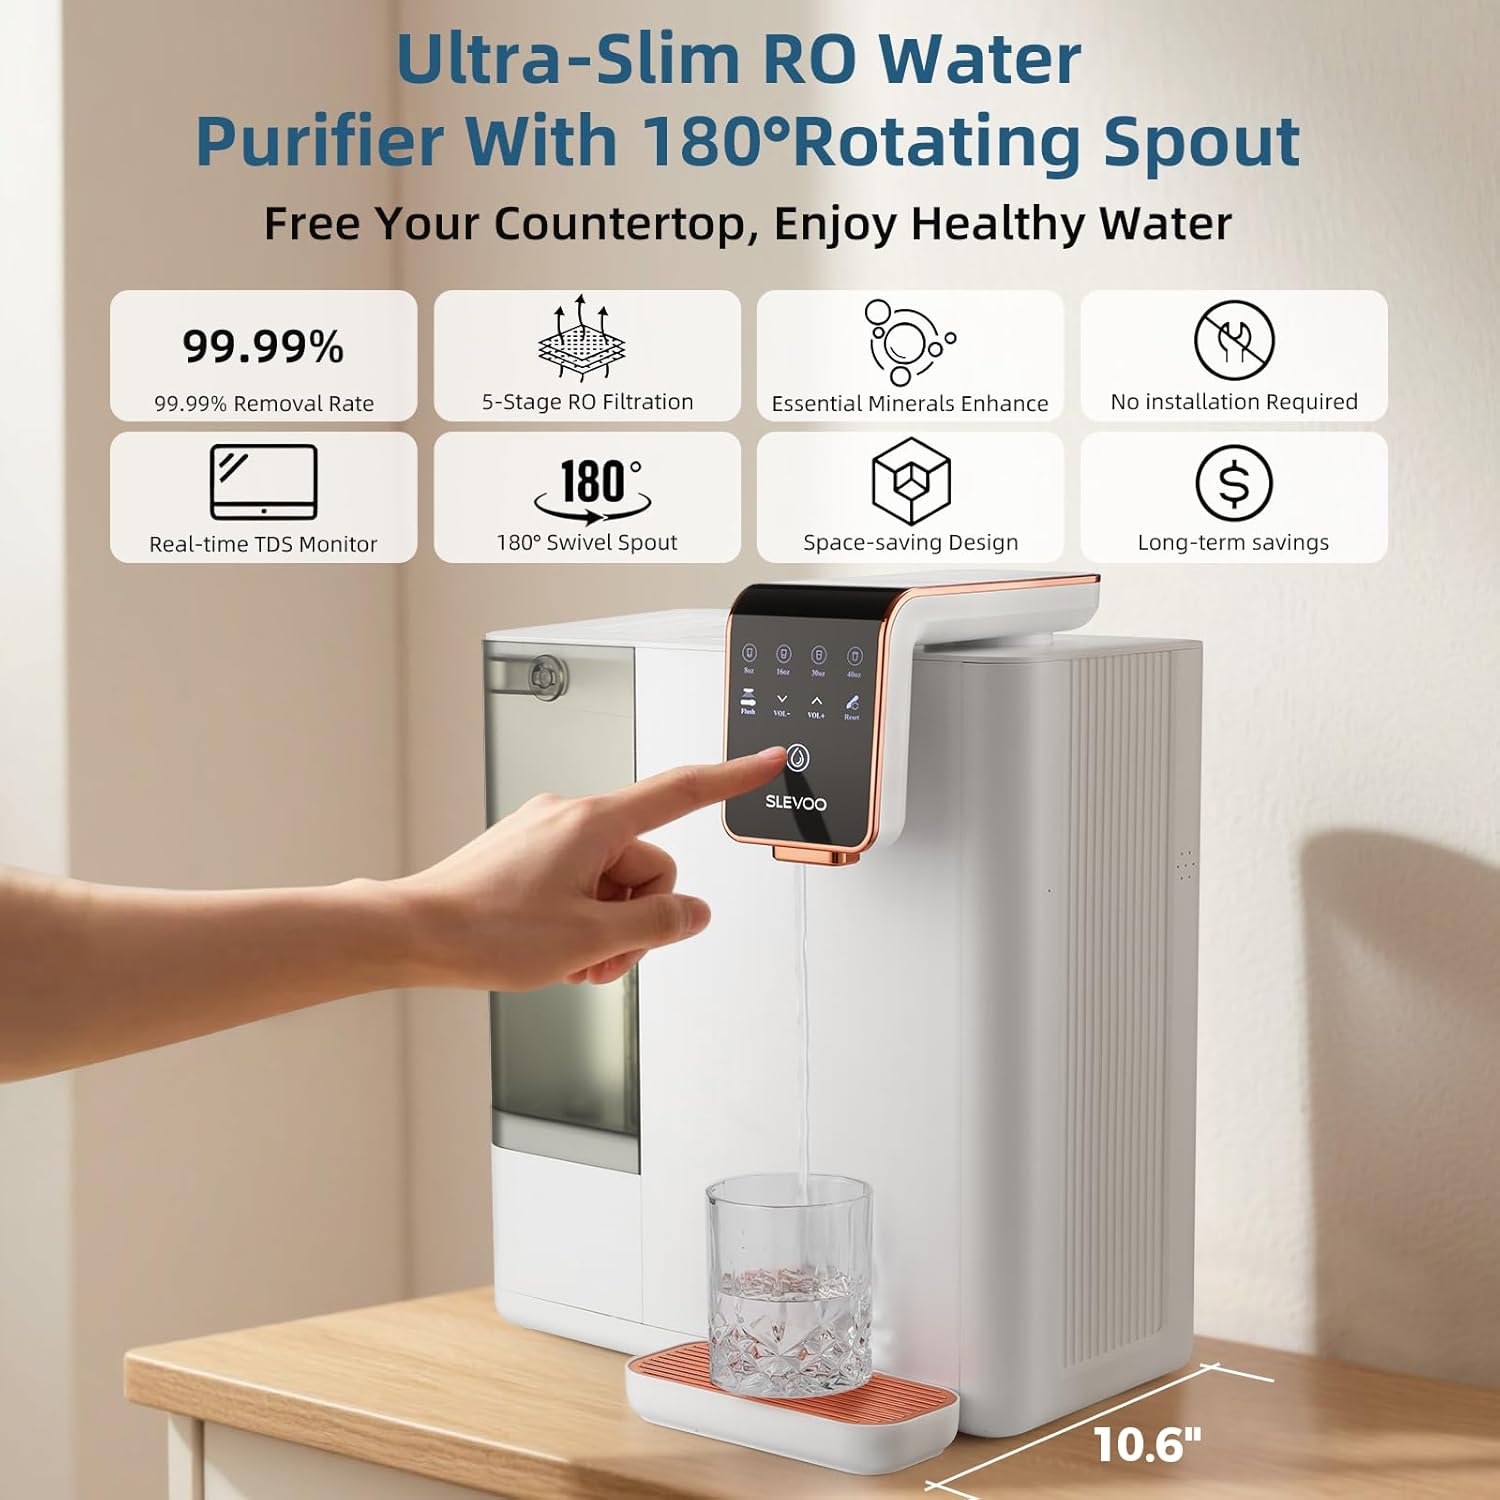
Image 3.1: Overview of the Slevoo SJ-RO100R unit highlighting its compact design and swivel spout.
3.1. Filtration Stages
The system employs a 5-stage filtration process:
- PP (Polypropylene) Filter: Removes larger particles such as plastics, rust, sand, and dirt.
- CTO (Carbon Block) Filter: Absorbs chlorine, odors, and chloramines.
- RO (Reverse Osmosis) Membrane: Removes bacteria, chemicals (PFAS/PFOA/PFOS), heavy metals (lead, arsenic, aluminum, fluoride), and over 1,000 possible contaminants.
- PCF (Post Carbon Filter): Improves water taste.
- Mineral Filter: Restores beneficial minerals like Mg, Ca, Na, K, Zn, Sr.

Image 3.2: Visual representation of the 5-stage water filtration process.
4. Setup Instructions
The Slevoo SJ-RO100R requires no complex plumbing installation. Follow these steps for initial setup:
- Unpack the Unit: Carefully remove all components from the packaging.
- Install Filters: The PPC and RO filters are typically pre-installed or located inside the water tank for shipping. If not, refer to Section 6.1 for filter installation instructions. Ensure they are securely in place.
- Place Drip Tray: Position the drip tray on the base of the unit.
- Fill Water Tank: Remove the 4L side water tank and fill it with tap water. Reinsert the tank securely into the unit.

Image 4.1: The conveniently located side water tank for easy refilling.
- Connect Power: Plug the power cord into a grounded electrical outlet. The unit will power on.
- Initial Flushing (Important): Before first use, the system requires flushing to remove air and carbon fines.
- Place a large container under the spout.
- Press the dispense button or initiate a flush cycle until the tank is empty.
- Refill the water tank and repeat the flushing process at least two more times (total of three full tank flushes). This ensures optimal filter performance and water quality.
- During this process, the TDS display may not be active until flushing is complete.
5. Operating Instructions
5.1. Dispensing Water
- Ensure the water tank is filled.
- Place a glass or container on the drip tray under the spout.
- Select the desired water volume (e.g., 8oz, 16oz, 30oz, 40oz) using the control panel buttons.

Image 5.1: The control panel displaying real-time TDS and water volume options.
- Press the dispense button (often indicated by a water drop icon) to start dispensing. The unit will automatically stop when the selected volume is reached.
- The 180° swivel spout allows for flexible positioning, accommodating various container sizes and counter layouts.
5.2. Real-Time TDS Display
The integrated display shows the Total Dissolved Solids (TDS) levels of both raw tap water and purified water in real-time. This allows you to monitor the effectiveness of the filtration system.
- A lower TDS reading for purified water indicates effective contaminant removal.
- The display also shows filter lifespan indicators, prompting you when a filter change is needed.
6. Maintenance
6.1. Filter Replacement
Regular filter replacement is crucial for maintaining water quality and system performance. The unit's display will indicate when filters need to be replaced.
- PPC Filter Lifespan: Approximately 12 months.
- RO Filter Lifespan: Approximately 24 months.
To replace filters:
- Power Off: Unplug the unit from the power outlet.
- Access Filters: Open the filter compartment cover.
- Remove Old Filter: Press and hold the "LOOSEN" button next to the filter you wish to replace. Twist the filter counter-clockwise and lift it out.

Image 6.1: The filter replacement mechanism, showing the 'LOOSEN' and 'TIGHTEN' buttons for easy filter changes.
- Install New Filter: Insert the new filter into the corresponding slot, align the tabs, and twist clockwise until it clicks into place. Press and hold the "TIGHTEN" button to secure it.
- Reset Filter Life: After replacing a filter, press and hold the "Reset" button on the control panel for the specific filter (PPC or RO) to reset its lifespan indicator.
- Flush System: After replacing filters, perform an initial flush as described in Section 4. This removes any air or loose carbon particles from the new filters.
6.2. Cleaning the Unit
- Exterior: Wipe the exterior of the unit with a soft, damp cloth. Do not use abrasive cleaners or solvents.
- Drip Tray: Regularly empty and clean the drip tray to prevent water overflow and bacterial growth.
- Water Tank: Clean the raw water tank periodically with mild soap and water. Rinse thoroughly before refilling.
7. Troubleshooting
| Problem | Possible Cause | Solution |
|---|---|---|
| No water dispensed / "Error" code |
|
|
| High TDS reading for purified water |
|
|
| Slow water dispensing |
|
|
| Unusual taste or odor in purified water |
|
|
If the problem persists after attempting these solutions, please contact Slevoo customer support.
8. Specifications
| Feature | Detail |
|---|---|
| Model Name | SJ-RO100R |
| Filtration Stages | 5-Stage Reverse Osmosis |
| RO Membrane Capacity | 100 GPD |
| Water Tank Capacity | 4 Liters (135 oz) |
| Dimensions (L x W x H) | 15.94" x 7.28" x 16.93" (40.5 cm x 18.5 cm x 43 cm) |
| Weight | 19.35 Pounds (8.78 kg) |
| Installation Type | Countertop (No installation required) |
| Power Source | Corded Electric |
| Supported Water TDS Level Maximum | 500 PPM |
| Operating Temperature Range | 41°F - 100°F (5°C - 38°C) |
| PPC Filter Lifespan | 12 Months |
| RO Filter Lifespan | 24 Months |
| Pure to Waste Water Ratio | 3:1 |

Image 8.1: Dimensions of the Slevoo SJ-RO100R, illustrating its compact footprint.
9. Warranty and Customer Support
Slevoo provides up to 1 year of reliable after-sales service for this product. The unit is built with food-grade materials and tested to SGS standards for quality and safety.
For any questions, technical assistance, or warranty claims, please contact Slevoo customer support. Our trained water specialists are available to assist you throughout the product's life.

Image 9.1: Slevoo customer support team ready to assist.
Replacement filters can be purchased through authorized Slevoo retailers or online channels. Please refer to the product packaging or Slevoo's official website for specific part numbers.
Related documentsSJ-RO100R


Ask a question about this manual
Ask about setup, troubleshooting, compatibility, parts, safety, or missing instructions. Manuals+ will review the question and use this page’s manual context to help answer it.