
Introduction
The LUX TQX Smart Thermostat is an advanced, connected thermostat designed to provide optimal comfort and energy efficiency in your home. Featuring Matter compatibility, it seamlessly integrates with various smart home ecosystems including Alexa, Apple Home, and Google Assistant. The TQX system includes a remote sensor and supports additional sensors to ensure accurate temperature and occupancy detection across multiple rooms. This manual provides essential information for installation, operation, and maintenance of your new thermostat.
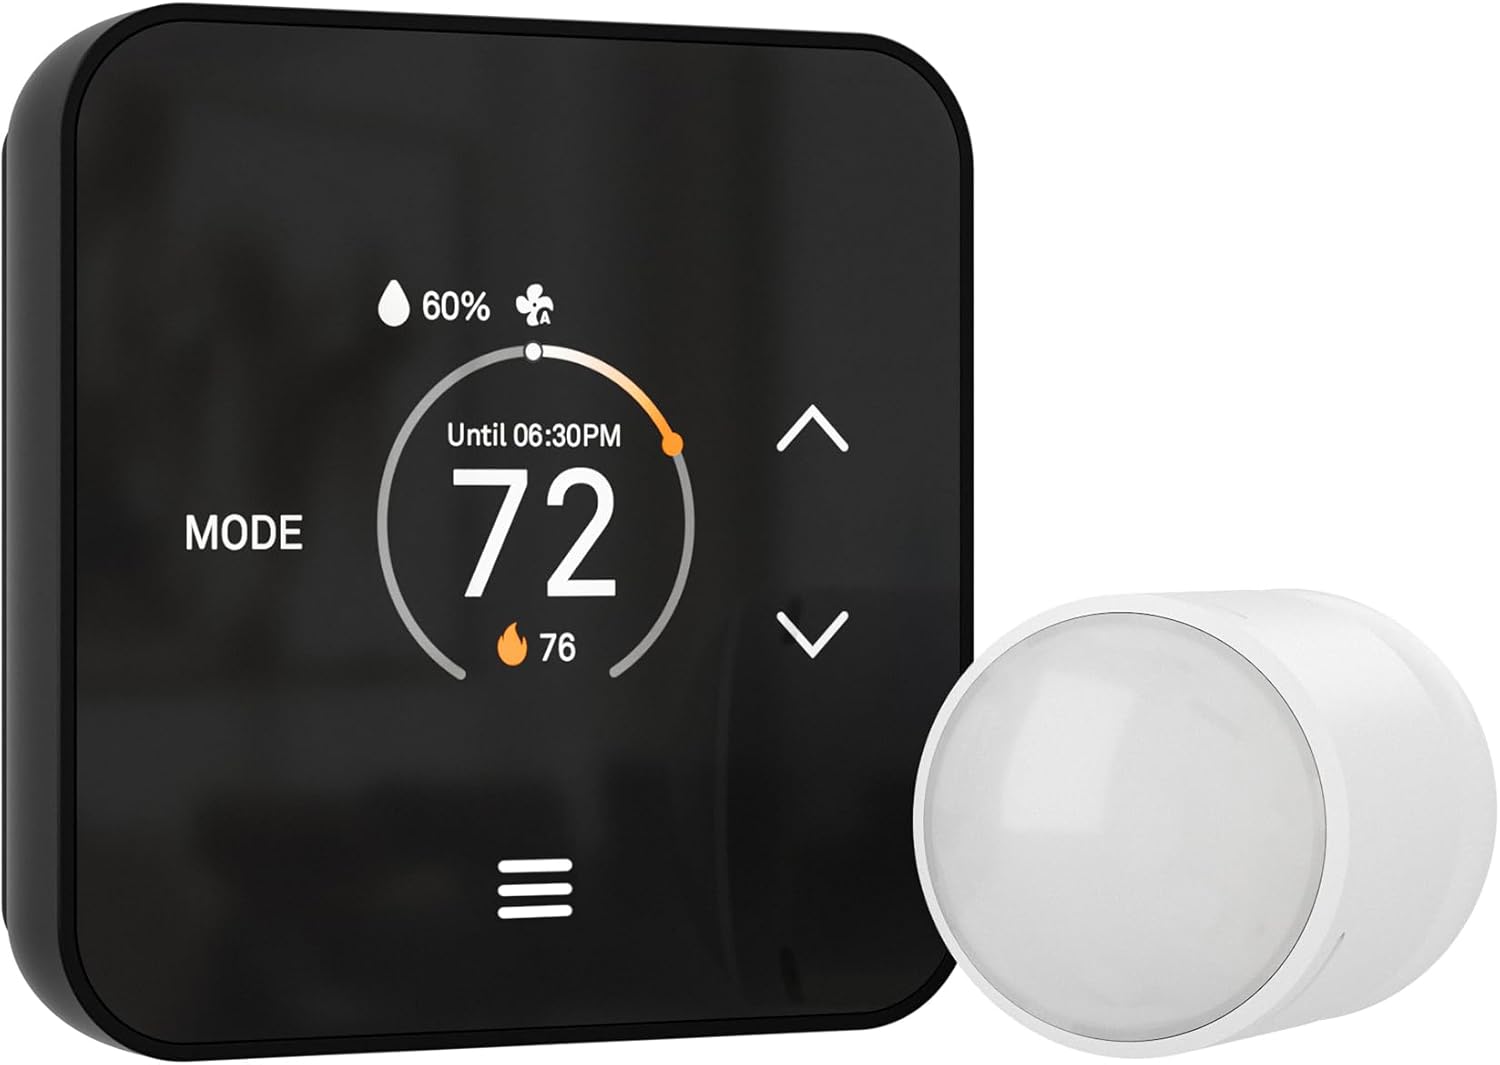
The LUX TQX Smart Thermostat, shown in black, alongside its white remote sensor. The thermostat features a digital display showing temperature, humidity, and mode settings.
Safety Information
- Always turn off power to the heating and cooling system at the main circuit breaker before installing or servicing the thermostat.
- Installation should be performed by a qualified technician if you are unsure about any steps.
- Do not use this thermostat with 120V/240V line voltage systems. It is designed for 24V systems only.
- Keep the thermostat and remote sensors away from direct sunlight, drafts, and heat sources for accurate readings.
- Ensure all wiring connections are secure to prevent electrical hazards.
What's in the Box
Verify that all components are present before beginning installation:
- TQX Smart Thermostat x 1
- Remote Sensor x 1
- Lux Power Bridge (C-wire replacement) x 1
- Trim Plate x 1
- Mounting Hardware
- Instruction Manual x 1
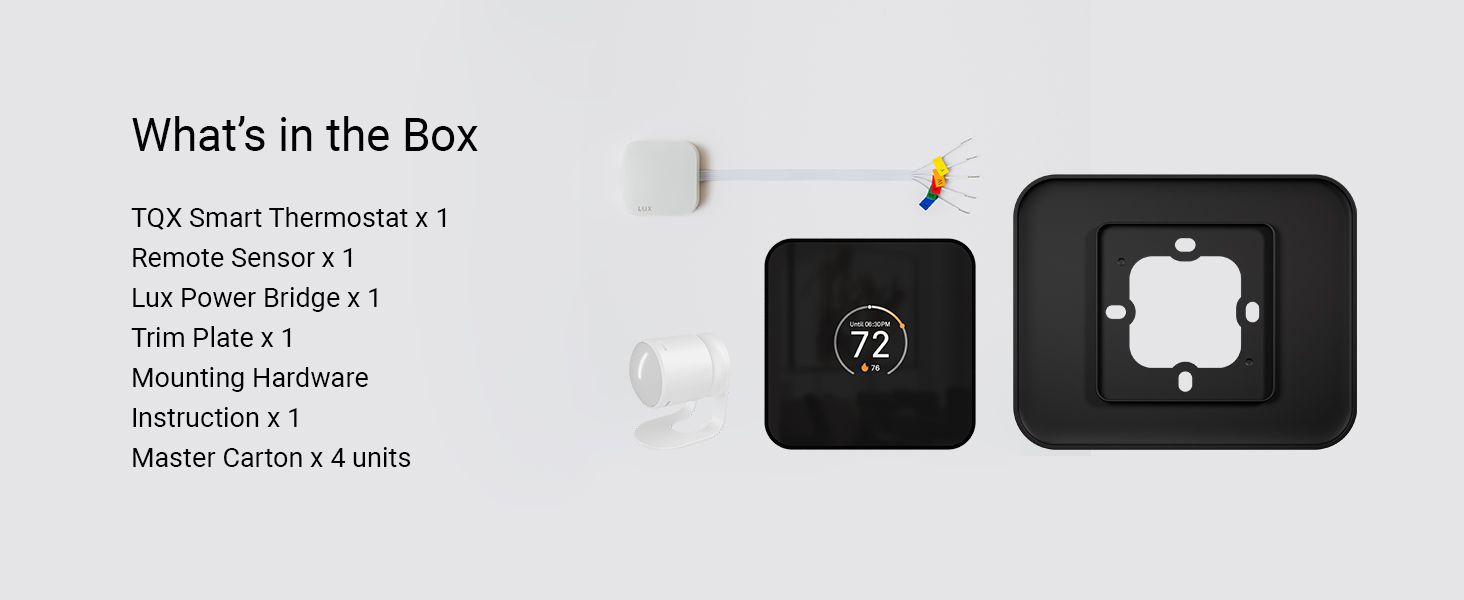
An image displaying the contents of the LUX TQX Smart Thermostat package, including the thermostat, remote sensor, Lux Power Bridge, trim plate, and mounting hardware.
Setup
Installation
- Power Off: Before starting, turn off the power to your HVAC system at the circuit breaker.
- Remove Old Thermostat: Carefully remove your old thermostat from the wall. Take a picture of the wiring for reference.
- Mount Trim Plate (Optional): If needed, install the included trim plate to cover any marks from your old thermostat.
- Wiring: Connect the wires from your HVAC system to the corresponding terminals on the TQX backplate. Refer to the wiring diagram below for compatibility.
- Install Thermostat: Secure the TQX Smart Thermostat onto the mounted backplate.
- Power On: Restore power to your HVAC system at the circuit breaker.
Wiring Compatibility (C-Wire)
The TQX Smart Thermostat requires a C-wire for constant power. If your existing system does not have a C-wire, use the included Lux Power Bridge as a C-wire replacement. Consult the table below to determine your system's compatibility and C-wire needs.
A table illustrating C-wire compatibility requirements for various HVAC system types, indicating when a LUX Power Bridge is needed.
App Connection & Matter Integration
The TQX Smart Thermostat uses Matter protocol for seamless integration with your preferred smart home platform (Apple Home, Google Home, Amazon Alexa, Samsung SmartThings, Home Assistant). A Matter-enabled smart speaker or hub is required for connectivity.
- Ensure your Matter-enabled smart speaker/hub is set up and connected to your home network.
- On the TQX thermostat screen, navigate to the Matter pairing option to display the QR code.
- Open your smart home app (e.g., Apple Home, Google Home) and select the option to add a new accessory.
- Scan the Matter QR code displayed on the thermostat using your smartphone camera.
- Follow the on-screen prompts in your smart home app to complete the pairing process and assign the thermostat to a room.

A smartphone scanning a Matter QR code displayed on the LUX TQX Smart Thermostat for easy integration with smart home systems.
Official product video demonstrating the features and benefits of the LUX TQX Smart Thermostat, including its smart home integration, remote sensor capabilities, and energy-saving functions.
Operating Instructions
Basic Operation
- Adjusting Temperature: Use the up and down arrows on the thermostat's display or within your smart home app to set your desired temperature.
- Changing Modes: Press the 'MODE' button on the thermostat or select the mode in your app to switch between Heat, Cool, Auto, or Off.
- Display: The intelligent display features a light sensor for comfortable brightness and can automatically turn on/off based on room occupancy.
Remote Sensor Usage
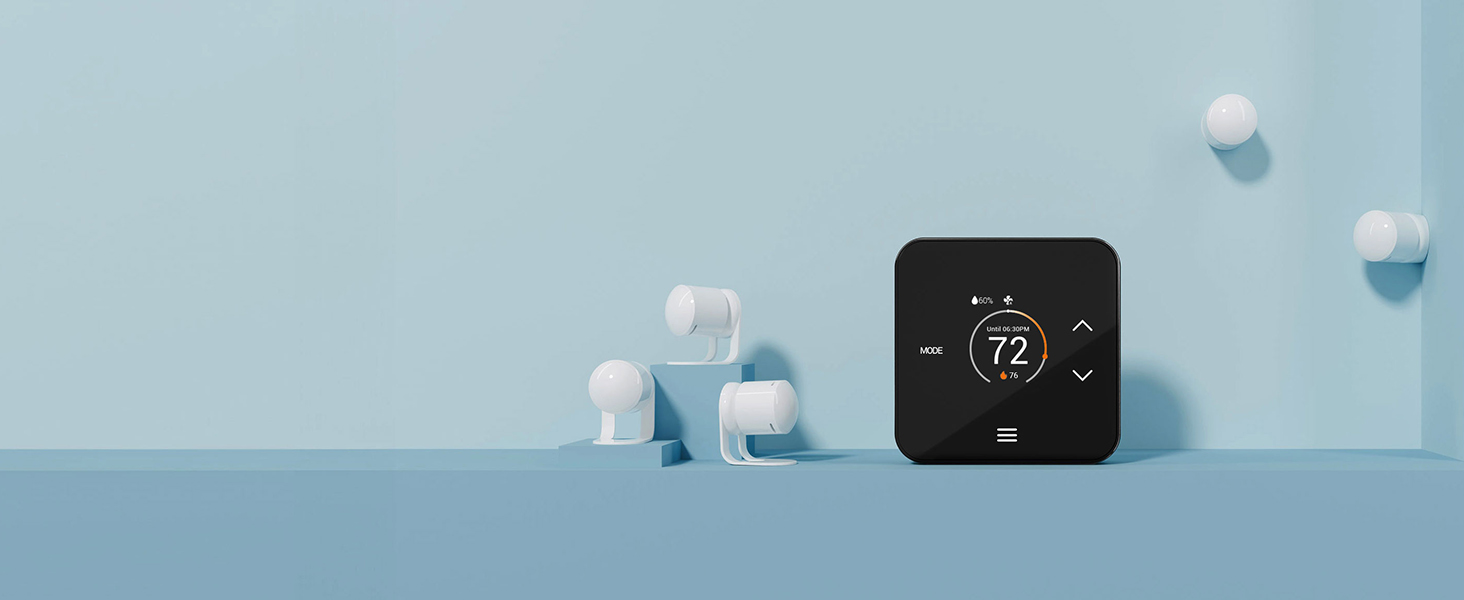
The TQX thermostat comes with one remote sensor and can be paired with up to five additional sensors (sold separately). These sensors monitor temperature, humidity, and occupancy to provide whole-house comfort.
- The TQX system adjusts the overall temperature based on combined sensor data from all rooms collectively.
- Each single sensor does not regulate individual rooms independently.
- Place remote sensors in key living areas to optimize comfort where it matters most.

A small white remote sensor, part of the TQX system, placed on a wooden shelf, designed to monitor temperature and occupancy in different rooms.
Scheduling
Set personalized heating and cooling schedules directly on the thermostat or through your connected smart home app. The auto-scheduling feature can learn your routine to optimize energy savings and comfort.
Maintenance
- Cleaning: Wipe the thermostat screen and body with a soft, damp cloth. Avoid abrasive cleaners or solvents.
- Battery Replacement: The remote sensor uses 2 CR2 batteries (included). Replace them when the low battery indicator appears in your smart home app or on the thermostat.
- Firmware Updates: Ensure your thermostat's firmware is up to date through your smart home app to benefit from the latest features and improvements.
Troubleshooting
- Thermostat not powering on: Check the circuit breaker for your HVAC system. Verify C-wire connection or proper installation of the Lux Power Bridge.
- Cannot connect to smart home app: Ensure your Matter-enabled smart speaker/hub is online and within range. Re-attempt the Matter pairing process.
- Inaccurate temperature readings: Ensure remote sensors are not placed near heat sources, direct sunlight, or drafts. Verify sensor battery levels.
- HVAC system not responding: Check all wiring connections at the thermostat and the HVAC unit. Ensure the correct system type is configured in the thermostat settings.
- Display not waking up: Check occupancy detection settings in your smart home app. Ensure the light sensor is not obstructed.
Specifications
| Feature | Detail |
|---|---|
| Brand | LUX |
| Model Name | TQX Smart Thermostat (TQX-BL-L14) |
| Controller Type | Amazon Alexa, Android, Apple HomeKit, Google Assistant, iOS |
| Special Feature | Auto-Scheduling, Occupancy Detection |
| Color | Black |
| System Compatibility | Conventional (up to 2 heat, 2 cool), Heat Pump (up to 4 heat, 2 cool), PTAC, Fan Coil (2-pipe or 4-pipe). Not compatible with 120V/240V line voltage. |
| Connectivity Technology | Bluetooth, Wi-Fi, Matter |
| Power Source | C-Wire (Lux Power Bridge included for no C-wire systems) |
| Display Type | LED with Light Sensor |
| Control Method | App, Remote, Touch, Voice |
| Mounting Type | Wall Mount |
| Included Components | 1 Remote sensor, trim plate, Lux Power Bridge |
Warranty and Support
For warranty information and technical support, please refer to the official LUX Thermostats website or contact their customer service directly. Details regarding product registration, troubleshooting guides, and frequently asked questions can typically be found on the manufacturer's support pages.
Manufacturer: EME Delaware
For further assistance, please visit the LUX Store on Amazon or the official LUX Thermostats website.


