
Introduction
This manual provides detailed instructions for the assembly, operation, and maintenance of your PARTPHONER Shoe Storage Cabinet, Model PATI026AW1. Please read all instructions carefully before beginning assembly and retain this manual for future reference.
Safety Information
WARNING: Failure to follow these safety instructions may result in injury or damage to the product.
- Always fix the shoe storage cabinet to the wall using the provided anti-tip kit to prevent tipping. This is crucial for the safety of children and pets.
- Ensure all screws and fasteners are securely tightened during assembly. Periodically check for loose connections.
- Do not overload the cabinet shelves or drawers. Distribute weight evenly.
- Keep small parts and packaging materials away from children during assembly.
- Assemble the unit on a soft, clean surface to prevent scratches.

Image: Illustration of anti-tip kit installation to prevent accidents. The top left panel shows a child pulling on an unsecured cabinet, indicating a tipping hazard. The bottom left panel shows the cabinet secured to the wall with the anti-tip kit, indicating safe installation. The top right panel shows a detailed diagram of the anti-tip hardware. The bottom right panel shows the cabinet in use, secured to the wall.
Package Contents
Before assembly, verify that all components listed below are present and undamaged. If any parts are missing or damaged, please contact customer support.
- Side Panels (Left & Right)
- Top Panel
- Bottom Panel
- Back Panel
- Flip Drawers (2 units)
- Adjustable Shelves for drawers
- Metal Legs/Base
- Motion Sensor LED Light
- Hardware Pack (screws, dowels, anti-tip kit, handles)
- User Manual (this document)
Specifications
| Brand | PARTPHONER |
| Model Number | PATI026AW1 |
| Product Dimensions (D x W x H) | 9.5" x 31.5" x 45" (24.13 cm x 80.01 cm x 114.3 cm) |
| Item Weight | 46 pounds (20.87 kg) |
| Material | Engineered Wood, Metal (handles) |
| Number of Drawers | 2 (Flip-down style) |
| Number of Shelves | 4 (Adjustable within drawers) |
| Features | Motion Sensor LED Light, Anti-Tipping Kit, Open Top Shelf |

Image: Detailed dimensions of the shoe storage cabinet. The front view shows a width of 31.5 inches and a height of 31.5 inches for the main cabinet body, with an overall height of 45 inches including the legs. The side view shows a depth of 9.5 inches and a leg height of 6.7 inches.
Assembly Instructions
Follow these steps carefully to assemble your shoe storage cabinet. It is recommended to have two people for assembly.
Step 1: Prepare the Base
Attach the metal legs to the bottom panel of the cabinet using the provided screws. Ensure they are securely fastened.
Step 2: Assemble the Main Frame
Connect the side panels to the bottom panel. Then, slide the back panel into the grooves of the side panels. Secure with screws as indicated in the hardware diagram.
Step 3: Install Flip Drawers
Assemble the two flip drawers according to the separate drawer assembly instructions. Insert the adjustable shelves into the desired positions within each drawer. Attach the assembled drawers to the main cabinet frame using the designated hinges and hardware. Ensure the drawers open and close smoothly.

Image: The shoe cabinet with its two flip-down drawers open, showcasing the internal storage compartments and how shoes are organized. The top shelf is also visible, holding decorative items.

Image: A detailed view of one flip drawer with its internal adjustable shelf. The image highlights that the shelf can be set in two positions or removed entirely to accommodate various shoe types, from high heels to boots. Dimensions for depth (8.7" and 12.8") and height (4.5" and 6.6") are shown.
Step 4: Attach the Top Panel
Place the thickened top panel onto the assembled frame and secure it with the appropriate fasteners. This panel also forms the open storage shelf.

Image: A close-up view emphasizing the 1.0-inch thick countertop, designed to provide robust support for items placed on the open top shelf.
Step 5: Install Motion Sensor LED Light
Mount the motion sensor LED light in the designated area under the top shelf. Ensure it is positioned correctly for optimal motion detection. Refer to the light's separate instructions for charging and setting modes.
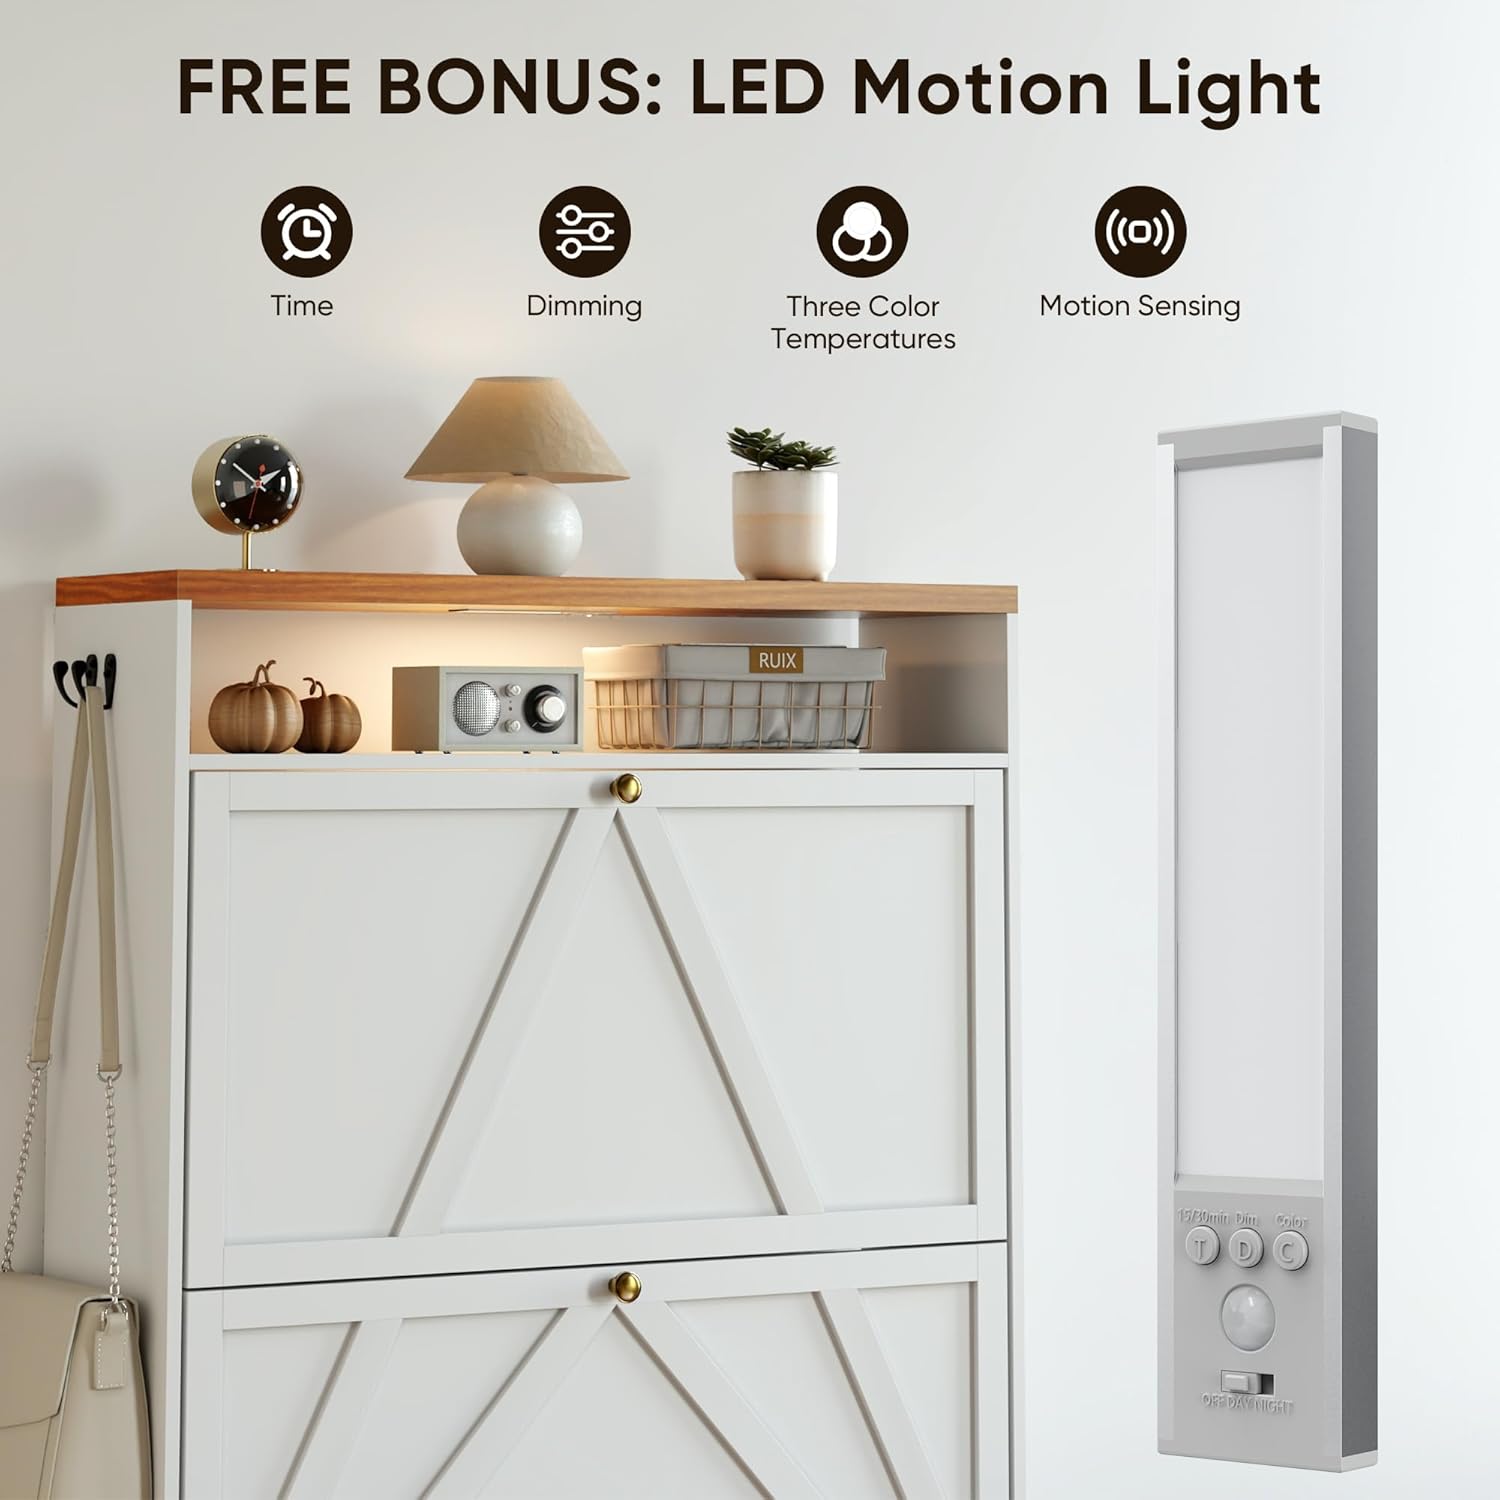
Image: The motion sensor LED light is shown next to the cabinet, highlighting its key features: adjustable time, dimming capability, three color temperature options, and motion sensing functionality.
Step 6: Install Anti-Tip Kit
Secure the cabinet to a wall stud using the provided anti-tip kit. This step is essential for stability and safety. Follow the specific instructions included with the anti-tip hardware.
Operating Instructions
Using the Flip Drawers
Gently pull the handles on the front of each drawer to flip them open. The drawers are designed to tilt forward, providing easy access to your shoes. Push the drawers back until they click into place to close them securely.
Adjusting Interior Shelves
Each flip drawer contains adjustable shelves. To adjust, carefully remove the shelf and reposition it into the desired slots to accommodate different shoe heights. The shelves can also be removed entirely for storing taller items or larger shoes.
Motion Sensor LED Light Operation
The included LED light features a motion sensor. It will automatically turn on when motion is detected nearby and turn off after a period of inactivity. The light typically has settings for time duration, dimming, and color temperature, which can be adjusted via controls on the light unit itself. Refer to the separate instructions provided with the LED light for detailed settings.
Video: This video demonstrates the functionality of the PARTPHONER Shoe Storage Cabinet, including the operation of the flip drawers and the motion sensor LED light. It shows how shoes can be stored and accessed efficiently.
Maintenance
- Cleaning: Wipe the cabinet surfaces with a soft, damp cloth. Avoid harsh chemicals or abrasive cleaners that may damage the finish.
- Dusting: Regularly dust the cabinet and open shelf to maintain its appearance.
- Hardware Check: Periodically inspect all screws and fasteners to ensure they remain tight. Tighten any loose connections to maintain stability.
- Motion Sensor Light: Recharge the LED light as needed. Keep the sensor area clean and unobstructed for optimal performance.
Troubleshooting
| Problem | Possible Cause | Solution |
|---|---|---|
| Drawers do not close properly or are stiff. | Misaligned hinges, obstruction, or loose screws. | Check hinge alignment and tighten all screws. Ensure no shoes or objects are blocking the drawer mechanism. |
| Cabinet feels wobbly or unstable. | Loose assembly screws, uneven floor, or anti-tip kit not installed. | Tighten all assembly screws. Ensure the cabinet is on a level surface. Install the anti-tip kit immediately if not already done. |
| Motion sensor light not turning on. | Battery low/dead, sensor obstructed, or incorrect settings. | Charge the LED light. Ensure the sensor is clean and unobstructed. Check the light's settings (motion mode, time duration). |
Warranty and Support
For warranty information or if you require further assistance, please contact PARTPHONER customer support. Details can typically be found on the product packaging or the retailer's website where the product was purchased.
Please have your model number (PATI026AW1) and purchase date available when contacting support.