1. Important Safety Information
Please read all instructions carefully before using the Momcozy Portable Wireless Bottle Warmer. Retain this manual for future reference. Failure to follow these safety instructions may result in fire, electric shock, injury, or property damage.
- Always keep the device out of reach of children.
- Do not immerse the main unit in water or other liquids.
- Ensure the charging port is dry before connecting the charging cable.
- Use only the provided charging cable or a certified equivalent.
- Do not operate the device if it has been damaged in any way.
- Always check the temperature of the warmed liquid before feeding your baby.
- Do not heat empty bottles or containers.
- Avoid touching hot surfaces during and immediately after operation.
- Ensure the lid is securely closed during operation to prevent spills.
- Clean the device regularly as instructed in this manual to prevent residue buildup.
2. Product Overview
2.1 Product Description
The Momcozy Portable Wireless Bottle Warmer MW05EU is designed for convenience and efficiency, allowing parents to warm baby bottles and water anywhere, anytime. Its compact and lightweight design, combined with a 500ml capacity and leak-proof stainless steel construction, makes it ideal for travel. The device offers rapid heating, precise temperature control, and multiple modes for breast milk, formula, and water.
2.2 Package Contents
- 1 x Momcozy Portable Wireless Bottle Warmer MW05EU
- 1 x Measuring Cup
- 1 x Bottle Basket
- 1 x Steam Insert
- 1 x User Manual
- 1 x USB Charging Cable (Type-C)
2.3 Product Diagram
The image below illustrates the Momcozy Portable Wireless Bottle Warmer, showing its design and how liquid is dispensed. The digital display indicates the current temperature and battery status.
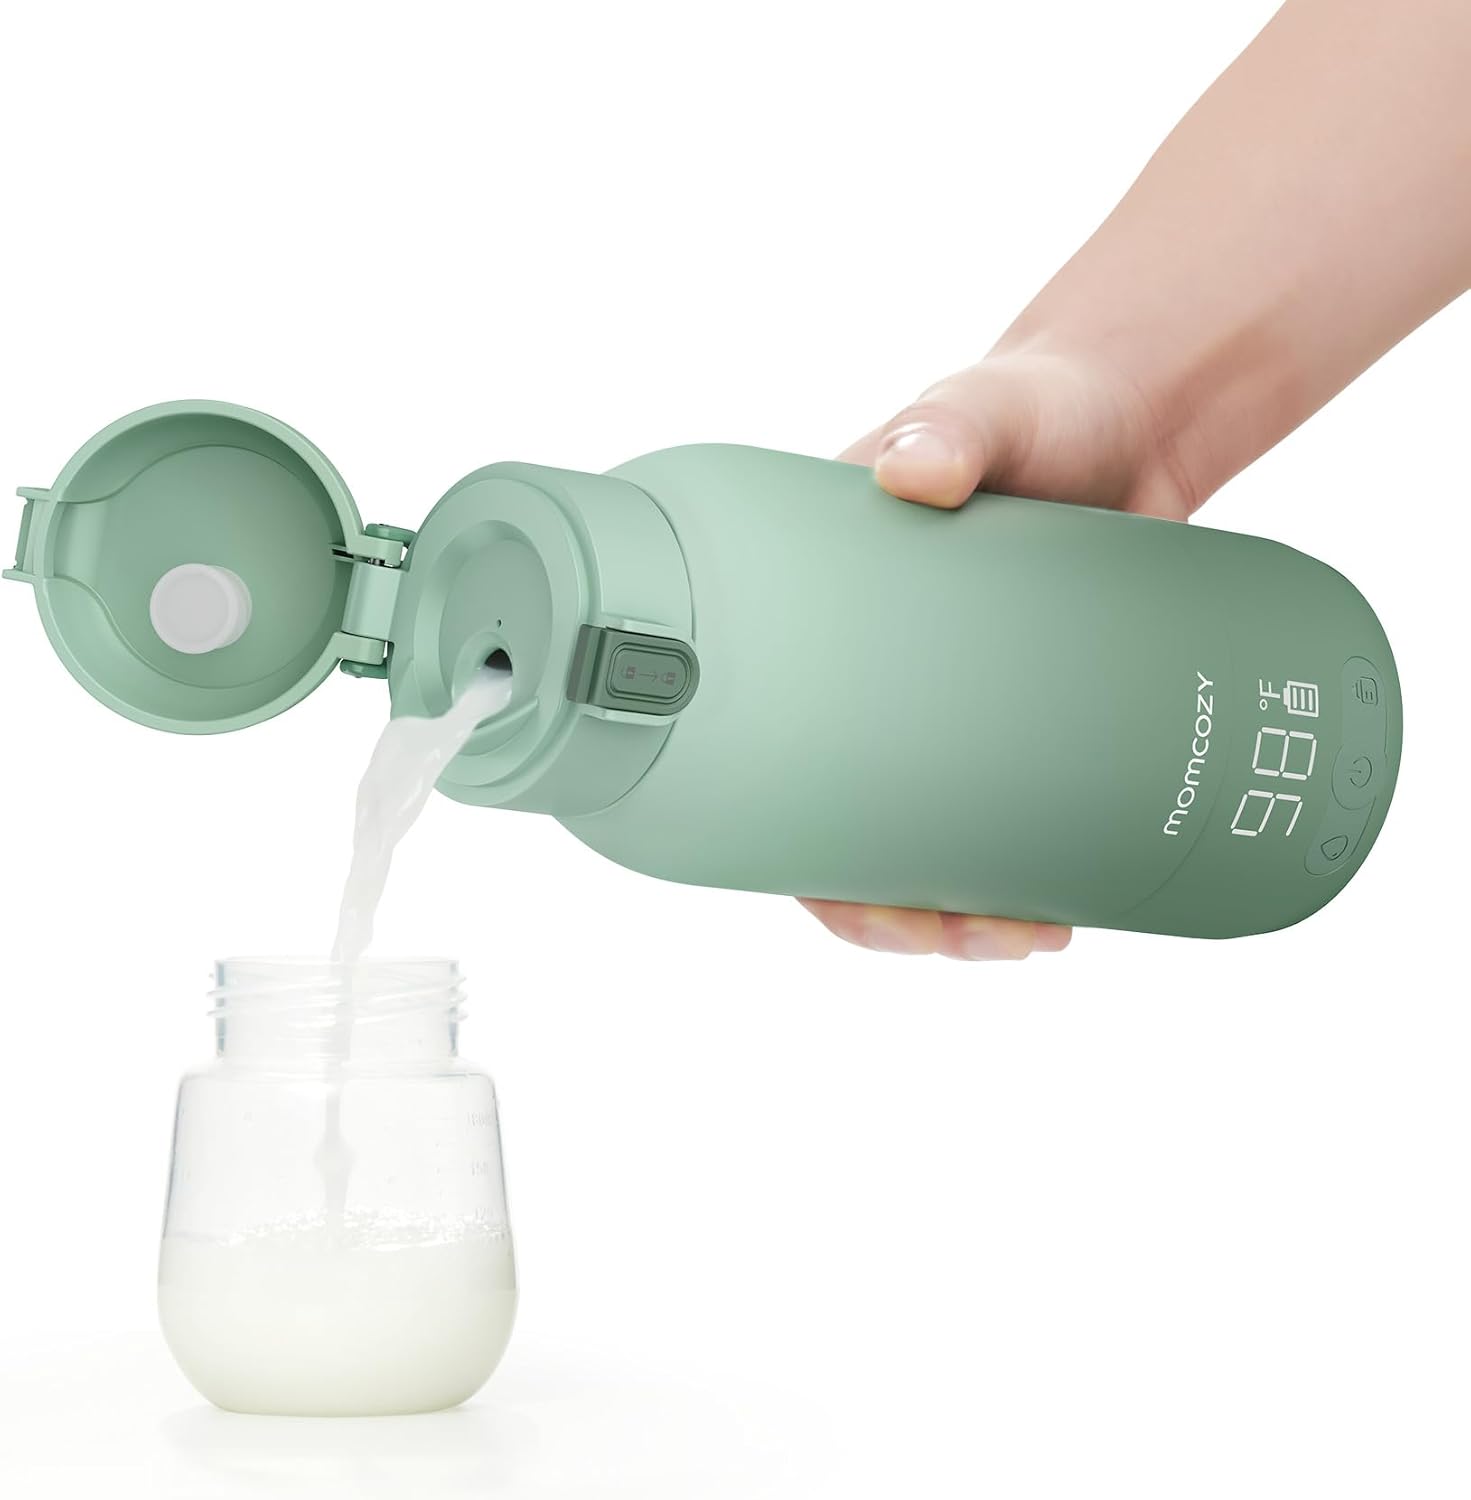
Image: Momcozy Portable Wireless Bottle Warmer in use, showing liquid being poured from the warmer into a baby bottle. The warmer features a digital display and a secure lid.
3. Getting Started
3.1 Charging the Device
Before first use, fully charge the bottle warmer. Connect the USB charging cable to the charging port on the device and to a suitable USB power adapter (not included). The battery indicator on the digital display will show charging status. A full charge typically takes several hours.
3.2 Initial Cleaning
Before using the warmer for the first time, clean all parts that will come into contact with milk or water. Refer to the 'Maintenance and Care' section for detailed cleaning instructions.
4. Operation
The Momcozy Portable Wireless Bottle Warmer is designed to heat liquids to a safe and consistent temperature of 37°C (98.6°F) to preserve nutrients and prevent overheating. The device features a touch-sensitive control panel.
4.1 General Operation Principles
- Power On: Press and hold the power button to turn on the device. The display will illuminate.
- Add Liquid: Always add the liquid (milk or water) to the bottle warmer before starting the heating process. Do not activate the heating function with an empty chamber.
- Select Settings: Use the control panel to select the desired mode (warming, thawing, sterilizing), initial liquid temperature (ambient or cold), and bottle material (glass, plastic, silicone) if applicable.
- Start Heating: Press the start button to begin the heating cycle. The display will show the current temperature and a timer.
- Automatic Shut-off: The device will automatically shut off or switch to keep-warm mode once the target temperature is reached.
4.2 Warming Milk/Water (from Ambient or Cold)
- Ensure the device is charged and clean.
- Place the bottle basket inside the warmer.
- Insert the baby bottle containing milk or water into the basket.
- Add 40ml of water into the warmer's chamber using the measuring cup. This water creates steam for heating.
- Cover the warmer with the transparent lid.
- Press the power button to turn on the device.
- Select the initial temperature of the liquid: 'NORM' for ambient temperature or 'COLD' for refrigerated liquid.
- Select the bottle material: Press the bottle icon button to cycle through 'GLASS', 'PLASTIC', or 'SILICA' (silicone).
- Select the liquid quantity: Press the graduated scale icon button to select the volume of liquid to be warmed (e.g., 150ml).
- Press the power button briefly to start the warming process. The timer will display.
- The warming process typically takes 3-5 minutes for rapid heating.
4.3 Thawing Milk
- Follow steps 1-3 from 'Warming Milk/Water'.
- Insert the bottle or milk storage bag containing frozen milk.
- Add water to the warmer's chamber until it reaches above the milk level in the bottle/bag, ensuring it does not exceed the maximum fill line.
- Do NOT cover with the transparent lid during thawing.
- Press the square icon button repeatedly until 'THAW' function is displayed.
- Select bottle material and quantity as described in step 8 and 9 of 'Warming Milk/Water'.
- Press the power button briefly to start thawing.
4.4 Sterilization
- Ensure the bottle to be sterilized is clean.
- Place the bottle basket inside the warmer.
- Insert the bottle into the basket.
- Add 100ml of water into the warmer's chamber using the measuring cup.
- Cover the warmer with the transparent lid.
- Press the square icon button repeatedly until 'STEAM' function is displayed.
- Press the power button briefly to start sterilization. The timer will display for 8 minutes.
- The device will automatically shut off after the sterilization cycle is complete.
4.5 Keep Warm Function
After warming, the device can maintain the liquid at 37°C for up to 24 hours. If the device is not manually turned off after a warming cycle, it will automatically enter this keep-warm mode.
5. Maintenance and Care
5.1 Cleaning
Regular cleaning is essential to maintain hygiene and device performance. Always unplug the device and allow it to cool completely before cleaning.
- Exterior: Wipe the exterior of the warmer with a damp cloth. Do not use abrasive cleaners or immerse the unit in water.
- Interior Chamber: After each use, empty any remaining water from the heating chamber. Clean the interior with warm soapy water and a soft brush or sponge. Rinse thoroughly.
- Residue Removal: If brown residue or mineral deposits accumulate in the heating chamber, fill the chamber with a solution of equal parts white vinegar and water. Let it soak for 30 minutes to an hour, then scrub gently with a soft brush and rinse thoroughly. Repeat if necessary.
- Accessories: The bottle basket, measuring cup, and steam insert can be washed with warm soapy water and rinsed.
- Ensure all parts are completely dry before reassembling or storing the device.
5.2 Storage
Store the bottle warmer in a cool, dry place, away from direct sunlight and moisture. Ensure it is clean and dry before storage. The compact design allows for easy storage by stacking accessories inside the main unit.
6. Troubleshooting
If you encounter any issues with your Momcozy Portable Wireless Bottle Warmer, refer to the following common problems and solutions:
| Problem | Possible Cause | Solution |
|---|---|---|
| Device does not turn on. | Low battery; device not charged. | Charge the device fully using the provided USB cable. |
| Liquid not heating or heating slowly. | Insufficient water in the chamber; incorrect settings; very cold liquid. | Ensure 40ml of water is added for warming. Verify correct initial temperature and bottle material settings. Allow more time for very cold or frozen liquids. |
| Temperature displayed is inaccurate. | Sensor obstruction; device not calibrated. | Ensure the temperature sensor is clean. If issues persist, contact customer support. |
| Battery drains quickly. | Frequent use; heating very cold liquids; aging battery. | Battery life varies with usage. Heating colder liquids consumes more power. Ensure full charge before use. If battery life significantly degrades, contact support. |
| Leakage from the device. | Lid not properly sealed; damaged gasket. | Ensure the lid is securely closed. Check the silicone gasket for proper placement and any signs of damage. Replace if necessary. |
| Brown residue in heating chamber. | Mineral deposits from water. | Clean with a vinegar and water solution as described in the 'Maintenance and Care' section. |
7. Technical Specifications
| Feature | Specification |
|---|---|
| Model Number | MW05EU |
| Manufacturer | Momcozy |
| Composition | Plastic, Stainless Steel |
| Package Dimensions | 30.1 x 11.5 x 11.4 cm |
| Item Weight | 990 grams |
| Power Source | Rechargeable Battery (USB-C) |
| Capacity | 500 ml (Insulated Bottle) |
| Target Temperature | 37°C (98.6°F) |
8. Warranty and Customer Support
8.1 Warranty Information
Momcozy products are manufactured to high-quality standards. For specific warranty details, please refer to the warranty card included with your product or visit the official Momcozy website. Keep your purchase receipt as proof of purchase for warranty claims.
8.2 Customer Support
If you have any questions, concerns, or require assistance with your Momcozy Portable Wireless Bottle Warmer MW05EU, please contact Momcozy customer support. Contact information can typically be found on the product packaging, the official Momcozy website, or through your retailer.


