1. Introduction
This manual provides essential information for the safe and efficient operation of your Luqeeg 32A Digital Programmable Outdoor Distribution Box Timer Switch. This device is designed to automatically control the power supply to various electrical equipment, such as pool pumps, water heaters, and outdoor lighting, based on user-defined schedules. Its IP65 water-resistant and dustproof design ensures reliable performance in outdoor environments.
Please read this manual thoroughly before installation and use, and retain it for future reference.
2. Safety Instructions
WARNING: Disconnect the main power supply before performing any installation, wiring, or maintenance on this device to prevent electric shock or injury.
- Installation and wiring must be performed by a qualified electrician in accordance with all local and national electrical codes.
- Ensure the device is securely mounted in a location protected from direct impact.
- Do not exceed the maximum load capacity of 32A.
- Do not open the device housing unless instructed by a qualified professional.
- Keep children away from the device during operation and maintenance.
- Regularly inspect the device for any signs of damage or wear.
3. Product Overview
The Luqeeg Digital Timer Switch is housed in a durable, weather-resistant enclosure, making it suitable for outdoor applications. It features a clear digital display for time and program settings, along with intuitive control buttons.

Figure 3.1: Front view of the timer switch with the protective cover open, revealing the digital display and control panel.
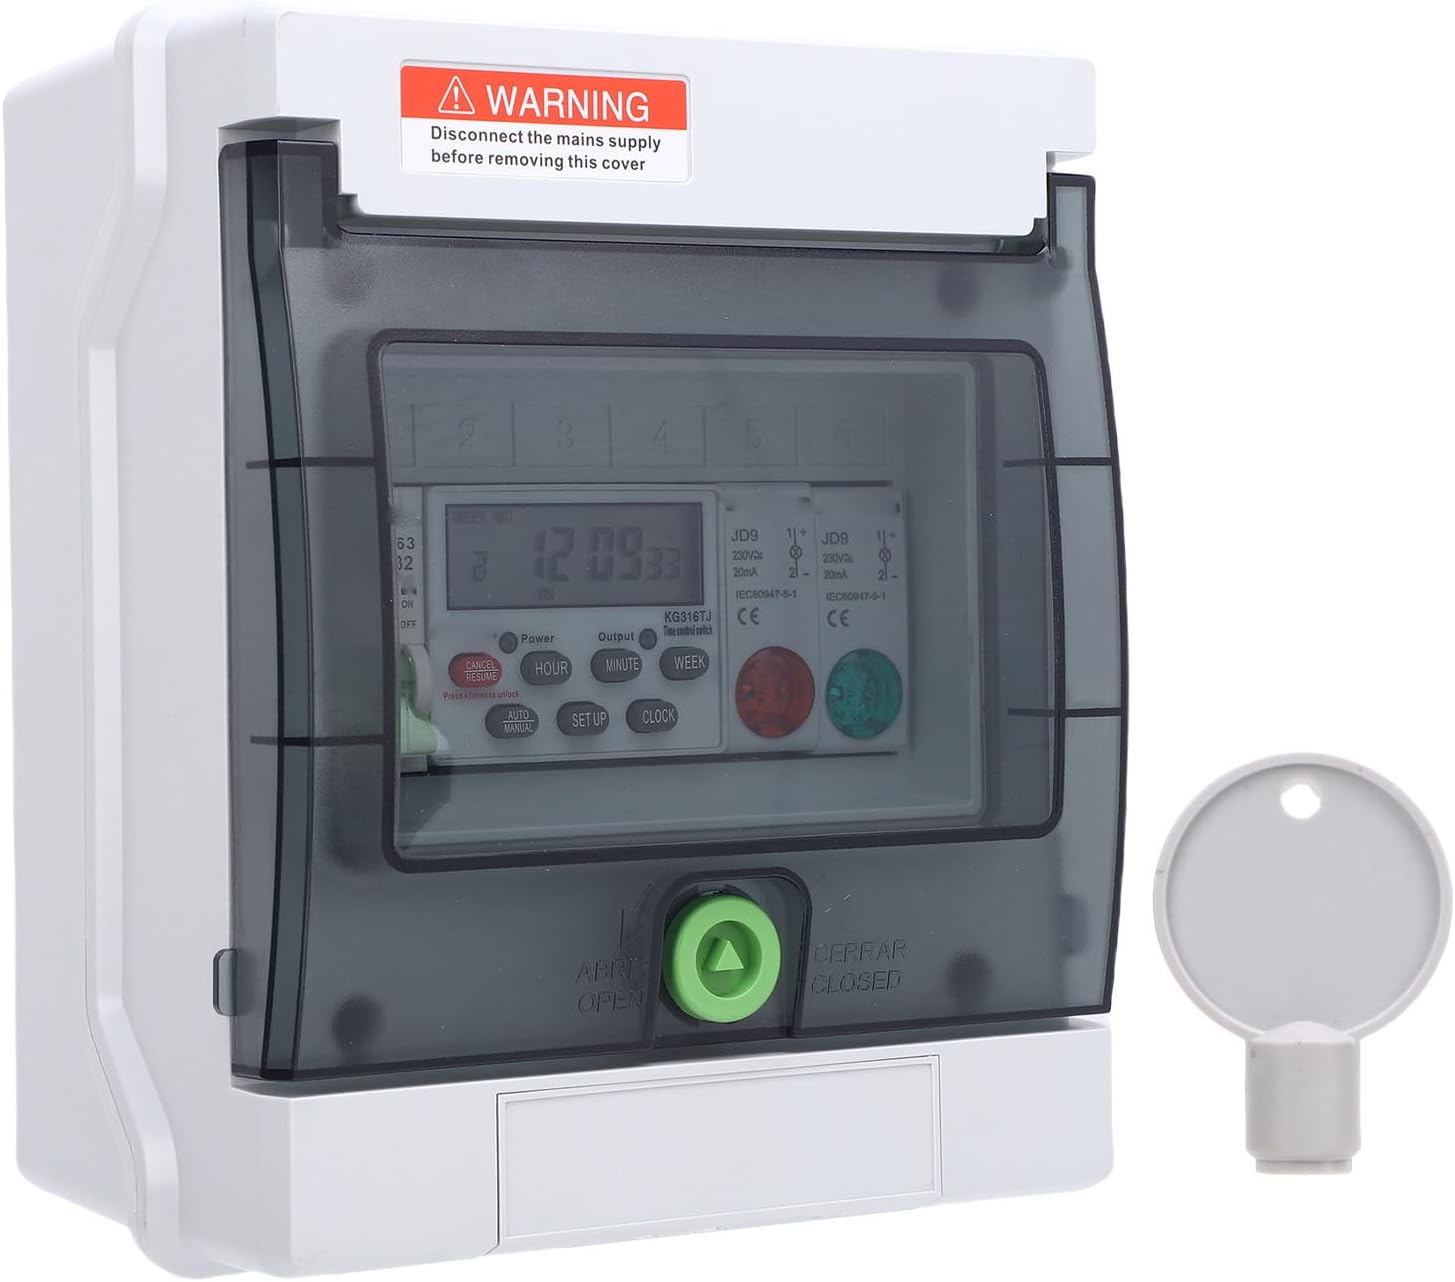
Figure 3.2: Detailed view of the timer's control buttons and digital screen, alongside the provided key for the lockable cover.
The enclosure is designed with a lockable cover to protect the internal wiring and settings from tampering and environmental elements. A key is provided for securing the cover.

Figure 3.3: The key used to lock and unlock the protective cover of the timer switch.
4. Setup and Installation
4.1 Mounting
The timer switch should be mounted vertically on a flat, stable surface using appropriate fasteners. Ensure sufficient space around the unit for wiring and ventilation.
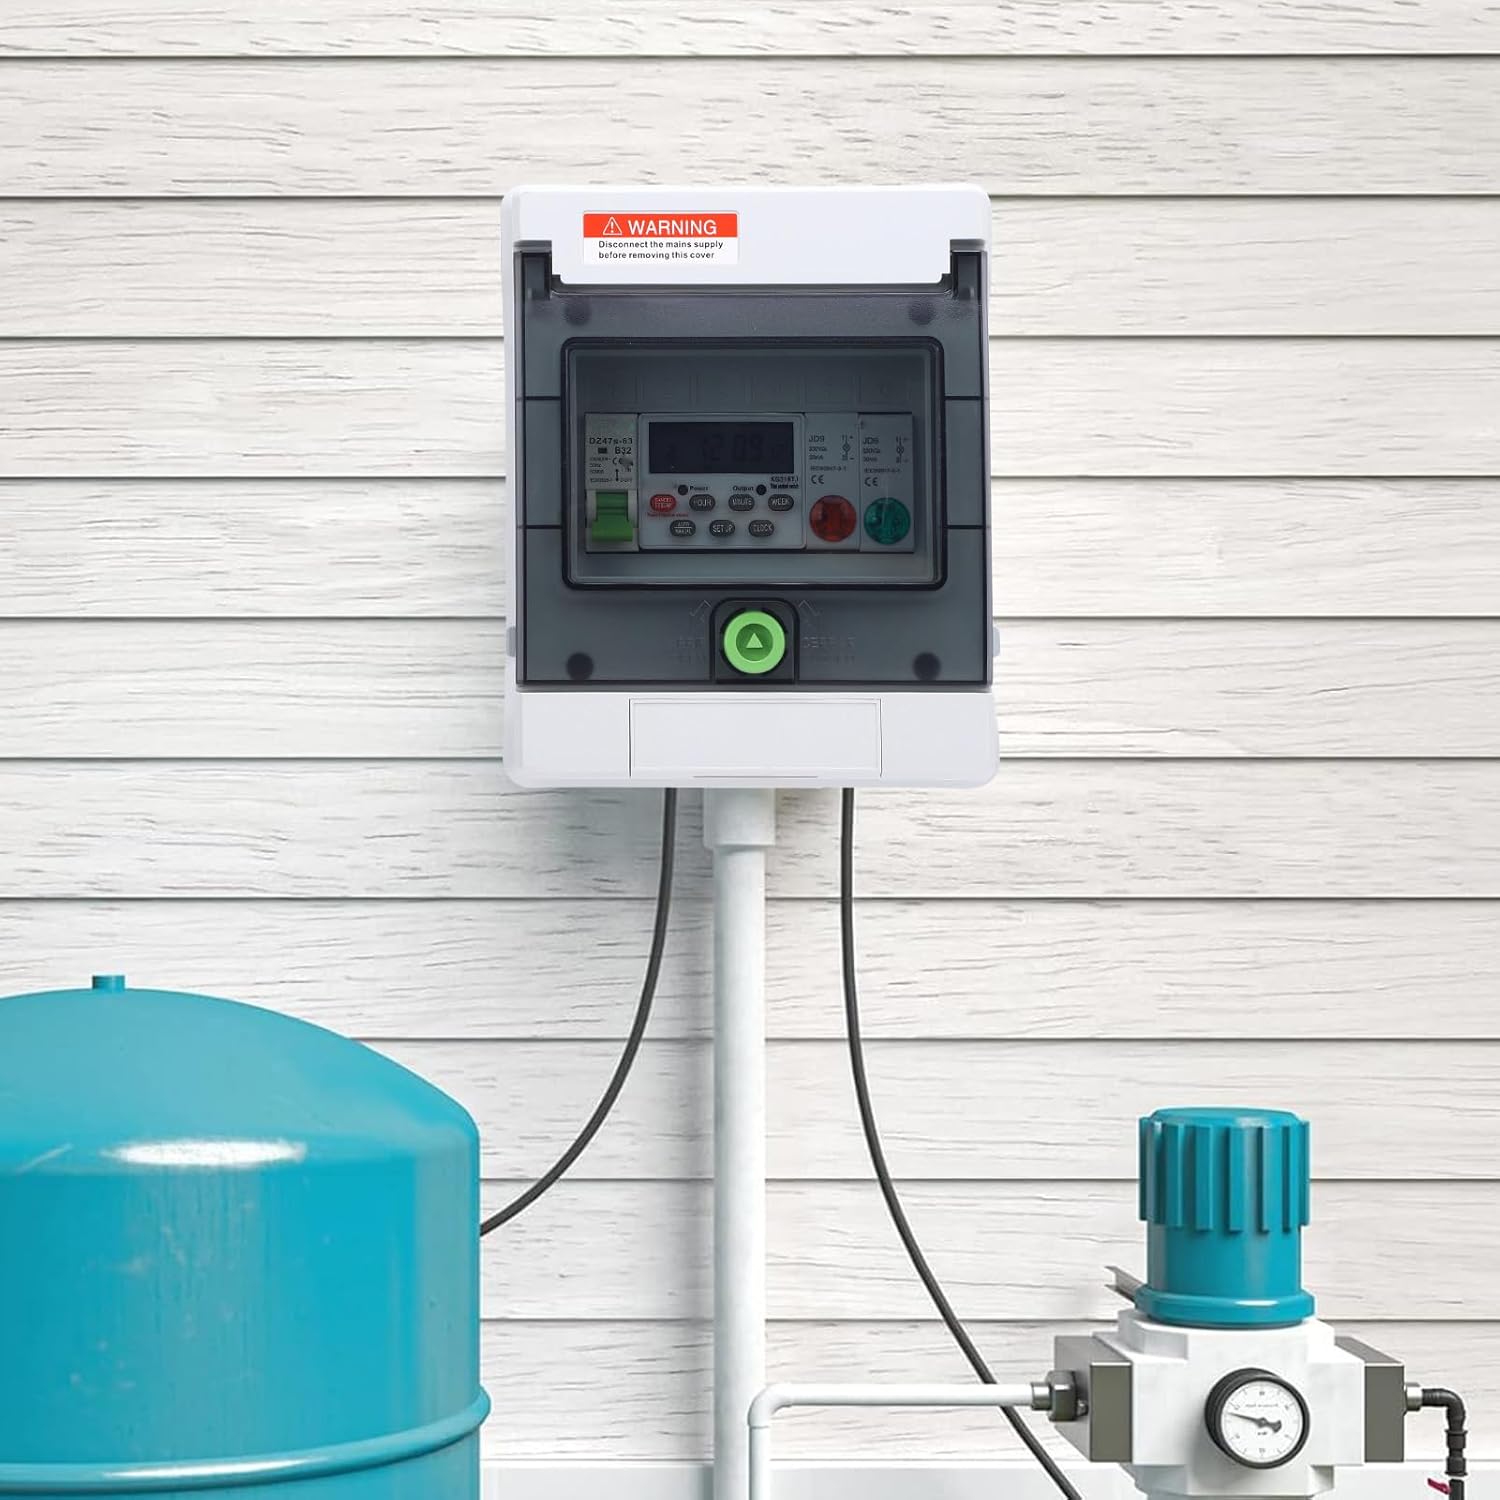
Figure 4.1: Example installation of the timer switch on an outdoor wall, demonstrating its application with other equipment.
4.2 Wiring
IMPORTANT: All wiring must be done with the main power supply disconnected. Consult a qualified electrician if you are unsure about any wiring procedures.
- Open the protective cover using the provided key.
- Identify the input (power supply) and output (to appliance) terminals inside the enclosure. Refer to the internal wiring diagram if available.
- Connect the incoming live, neutral, and ground wires from your main power supply to the designated input terminals.
- Connect the live, neutral, and ground wires of the appliance you wish to control to the designated output terminals.
- Ensure all connections are secure and properly insulated.
- Close and lock the protective cover.

Figure 4.2: The timer switch integrated into an outdoor setup, controlling a pool pump system.
5. Operating Instructions
After successful installation and power connection, the digital display will illuminate. The timer has several buttons for setting the time and programming schedules.
5.1 Setting Current Time
- Press the 'CLOCK' button.
- Use the 'HOUR', 'MINUTE', and 'WEEK' buttons to set the current hour, minute, and day of the week respectively.
- Press 'CLOCK' again to save the settings.
5.2 Programming ON/OFF Schedules
The timer allows for multiple ON/OFF programs. Follow these steps to set a program:
- Press the 'SETUP' button once to enter program setting mode. The display will show '1 ON'.
- Use 'HOUR', 'MINUTE', and 'WEEK' buttons to set the desired ON time and day(s) for the first program.
- Press 'SETUP' again. The display will show '1 OFF'.
- Use 'HOUR', 'MINUTE', and 'WEEK' buttons to set the desired OFF time and day(s) for the first program.
- Repeat steps 1-4 for additional programs (e.g., '2 ON', '2 OFF', etc.).
- After setting all desired programs, press the 'CLOCK' button to exit program setting mode and return to the current time display.
5.3 Manual Override
The 'AUTO/MANUAL' button allows you to manually override the programmed settings. Pressing this button cycles through modes such as 'AUTO ON', 'AUTO OFF', 'ON', and 'OFF'. Select 'AUTO ON' or 'AUTO OFF' for the timer to follow its programmed schedule.
5.4 Canceling/Correcting Settings
To cancel or correct a specific program setting, navigate to that program using the 'SETUP' button and then press the 'CANCEL' button. If a horizontal line appears on the display, it indicates an invalid or canceled setting.
6. Maintenance
The Luqeeg Digital Timer Switch is designed for minimal maintenance due to its IP65 rating, which protects it from dust and water jets. However, regular checks are recommended:
- Periodically inspect the enclosure for any cracks or damage that could compromise its water resistance.
- Ensure the protective cover is securely closed and locked, especially after accessing the internal components.
- Clean the exterior with a soft, damp cloth. Do not use abrasive cleaners or solvents.
- Verify that all wiring connections remain tight and free from corrosion.
7. Troubleshooting
| Problem | Possible Cause | Solution |
|---|---|---|
| Device does not power on. | No power supply; incorrect wiring; internal fuse blown. | Check main power supply. Verify wiring connections. Consult an electrician for fuse replacement. |
| Appliance does not turn ON/OFF as programmed. | Incorrect program settings; manual override active; appliance fault. | Review and correct program settings. Ensure 'AUTO ON' or 'AUTO OFF' mode is selected. Check the appliance for functionality. |
| Display is blank or flickering. | Low internal battery (if applicable); unstable power supply. | Ensure stable power. If issue persists, contact support. |
| Protective cover cannot be locked. | Obstruction; damaged lock mechanism. | Check for any obstructions. Inspect the lock mechanism for damage. |
If you encounter problems not listed here or if the suggested solutions do not resolve the issue, please contact customer support.
8. Specifications

Figure 8.1: Approximate dimensions of the Luqeeg Digital Timer Switch.
- Model: Digital Timer Switch 32A
- Rated Current: 32A
- Voltage: 230V (implied from images)
- Protection Rating: IP65 (Water-resistant and Dustproof)
- Programmable: Yes, multiple ON/OFF cycles
- Dimensions (LxWxT): Approx. 77.38 x 18 x 64.59mm / 3.05 x 0.71 x 2.54in (based on image PT06)
- Applications: Pool pumps, water heaters, outdoor lighting, billboards, etc.
9. Warranty and Support
This product comes with a standard manufacturer's warranty. For specific warranty terms and conditions, please refer to the documentation provided at the time of purchase or contact your retailer.
For technical support, troubleshooting assistance, or inquiries regarding your Luqeeg Digital Timer Switch, please contact Luqeeg customer service through the retailer's platform or the official brand website.


