
1. Introduction
The MGSTN Snap Cam is an ultra-compact and lightweight wearable action camera designed for hands-free recording. It captures high-definition video and is suitable for various activities, from daily vlogging to outdoor sports. This manual provides essential information for setting up, operating, and maintaining your Snap Cam.
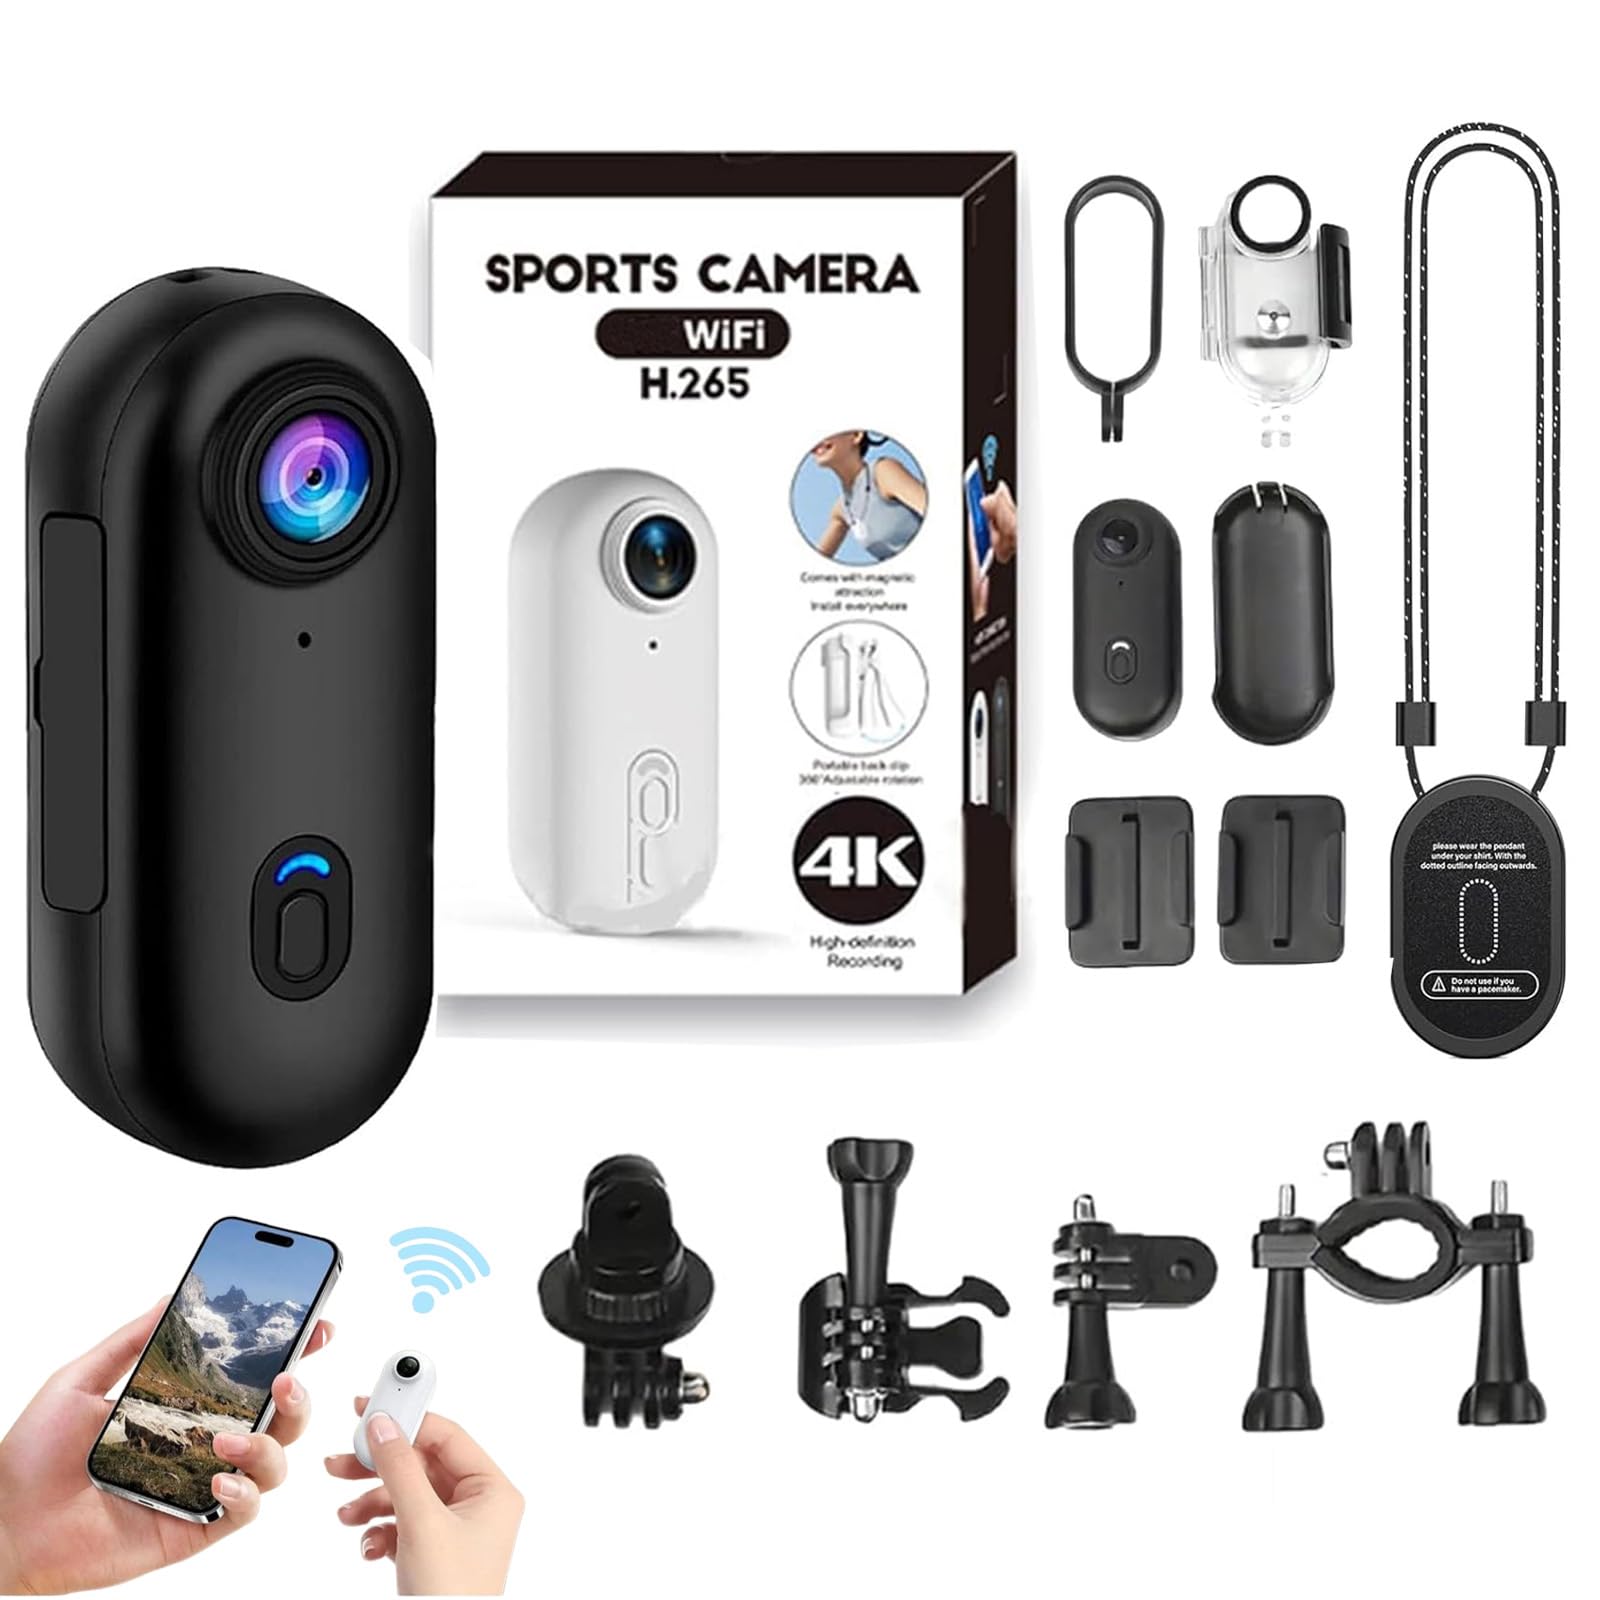
Image 1.1: The MGSTN Snap Cam 4K Mini Handsfree Bodycam.
Video 1.1: An overview of the MGSTN Snap Cam's features and accessories, demonstrating its compact size, 4K resolution capabilities, and various mounting options including a magnetic necklace, waterproof case, and back clip mount. It also highlights the companion app for real-time footage tracking.
2. What's in the Box
Verify that all items are present in your package:
- The Snap Cam unit
- Waterproof Case
- Magnetic Necklace/Lanyard
- Back Clip Mount
- USB Charging Cable
- User Manual (this document)
- Other mounting accessories (may vary by package)
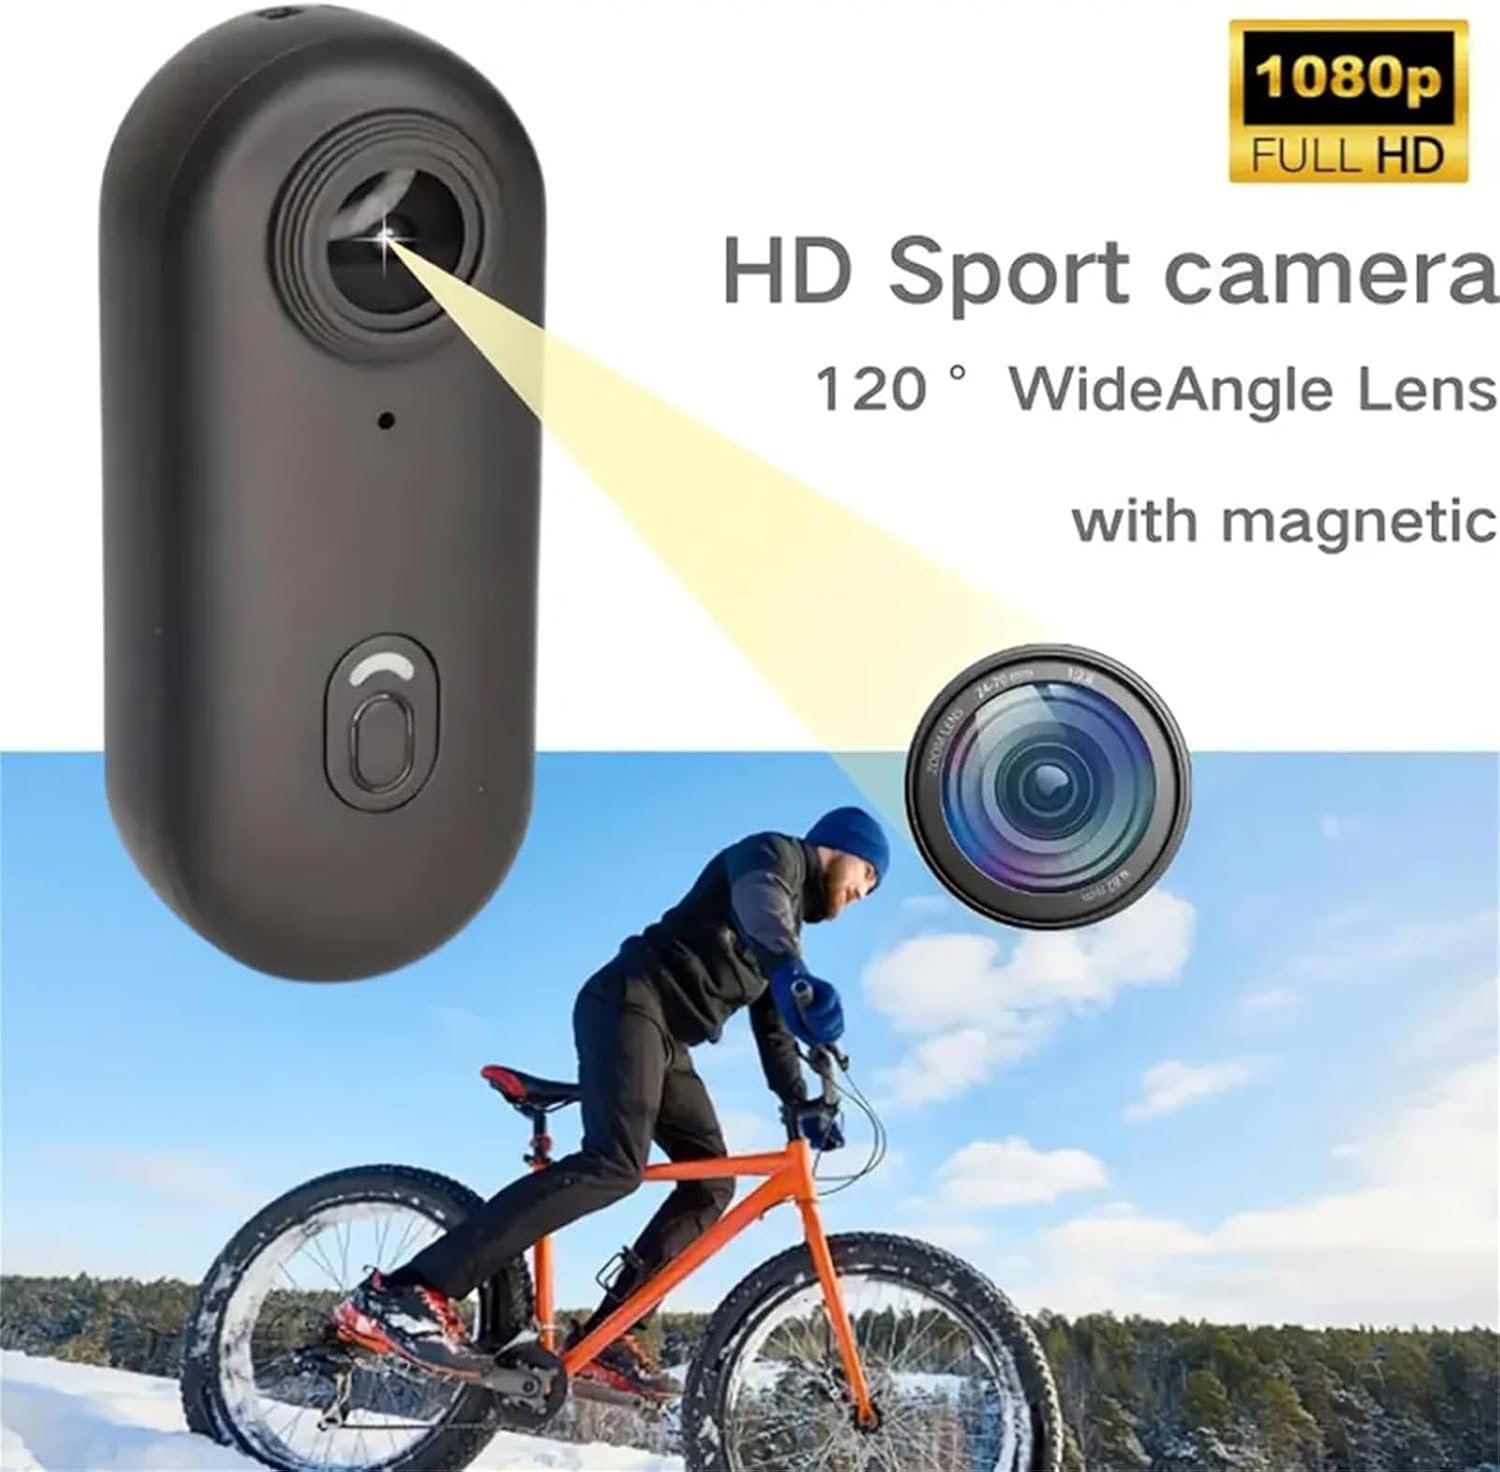
Image 2.1: Snap Cam with various accessories, including the waterproof case, magnetic lanyard, and mounting options.
3. Product Overview
The Snap Cam features a compact design with essential controls and indicators.

Image 3.1: Key controls and indicators on the Snap Cam.
- Lens: Wide-angle lens for capturing footage.
- Power/Record Button: Used to power on/off the device and start/stop recording.
- Indicator Light: Displays device status (e.g., power, recording, Wi-Fi, charging).
- Microphone: For audio recording.
- USB Port: For charging and data transfer.
- Micro SD Card Slot: For memory card insertion.

Image 3.2: Physical dimensions of the Snap Cam.
4. Setup
4.1. Inserting a Micro SD Card
A Micro SD card (not included) is required for recording. The camera supports up to 128GB. Use a Class 10, UHS Speed Class 3 (U3), or Video Speed Class 60 (V60) card for optimal performance, especially for 4K recording.
- Locate the Micro SD card slot on the side of the camera.
- Gently insert the Micro SD card with the contacts facing down until it clicks into place.
- To remove, push the card in again until it springs out.
4.2. Charging the Battery
Before first use, fully charge the Snap Cam.
- Connect the camera to a USB power source using the provided USB cable.
- The indicator light will illuminate during charging.
- The indicator light will turn off once charging is complete.
- A full charge provides approximately 90 minutes of 4K recording or 150 minutes of 1080P recording. The camera supports recording while charging.
Image 4.1: The indicator light turns off when charging is complete.
5. Operating the Camera
5.1. Power On/Off and Recording
- Power On: Press and hold the Power/Record button for a few seconds until the indicator light illuminates.
- Start Recording: Once powered on, press the Power/Record button once to start recording. The indicator light will flash to indicate recording is in progress.
- Stop Recording: Press the Power/Record button once again to stop recording. The indicator light will return to a steady state.
- Power Off: Press and hold the Power/Record button for a few seconds until the indicator light turns off.
Image 5.1: Visual guide for basic camera operations.
5.2. Loop Recording
The Snap Cam supports loop recording, which automatically overwrites the oldest files when the memory card is full. This ensures continuous recording without manual deletion of old footage.
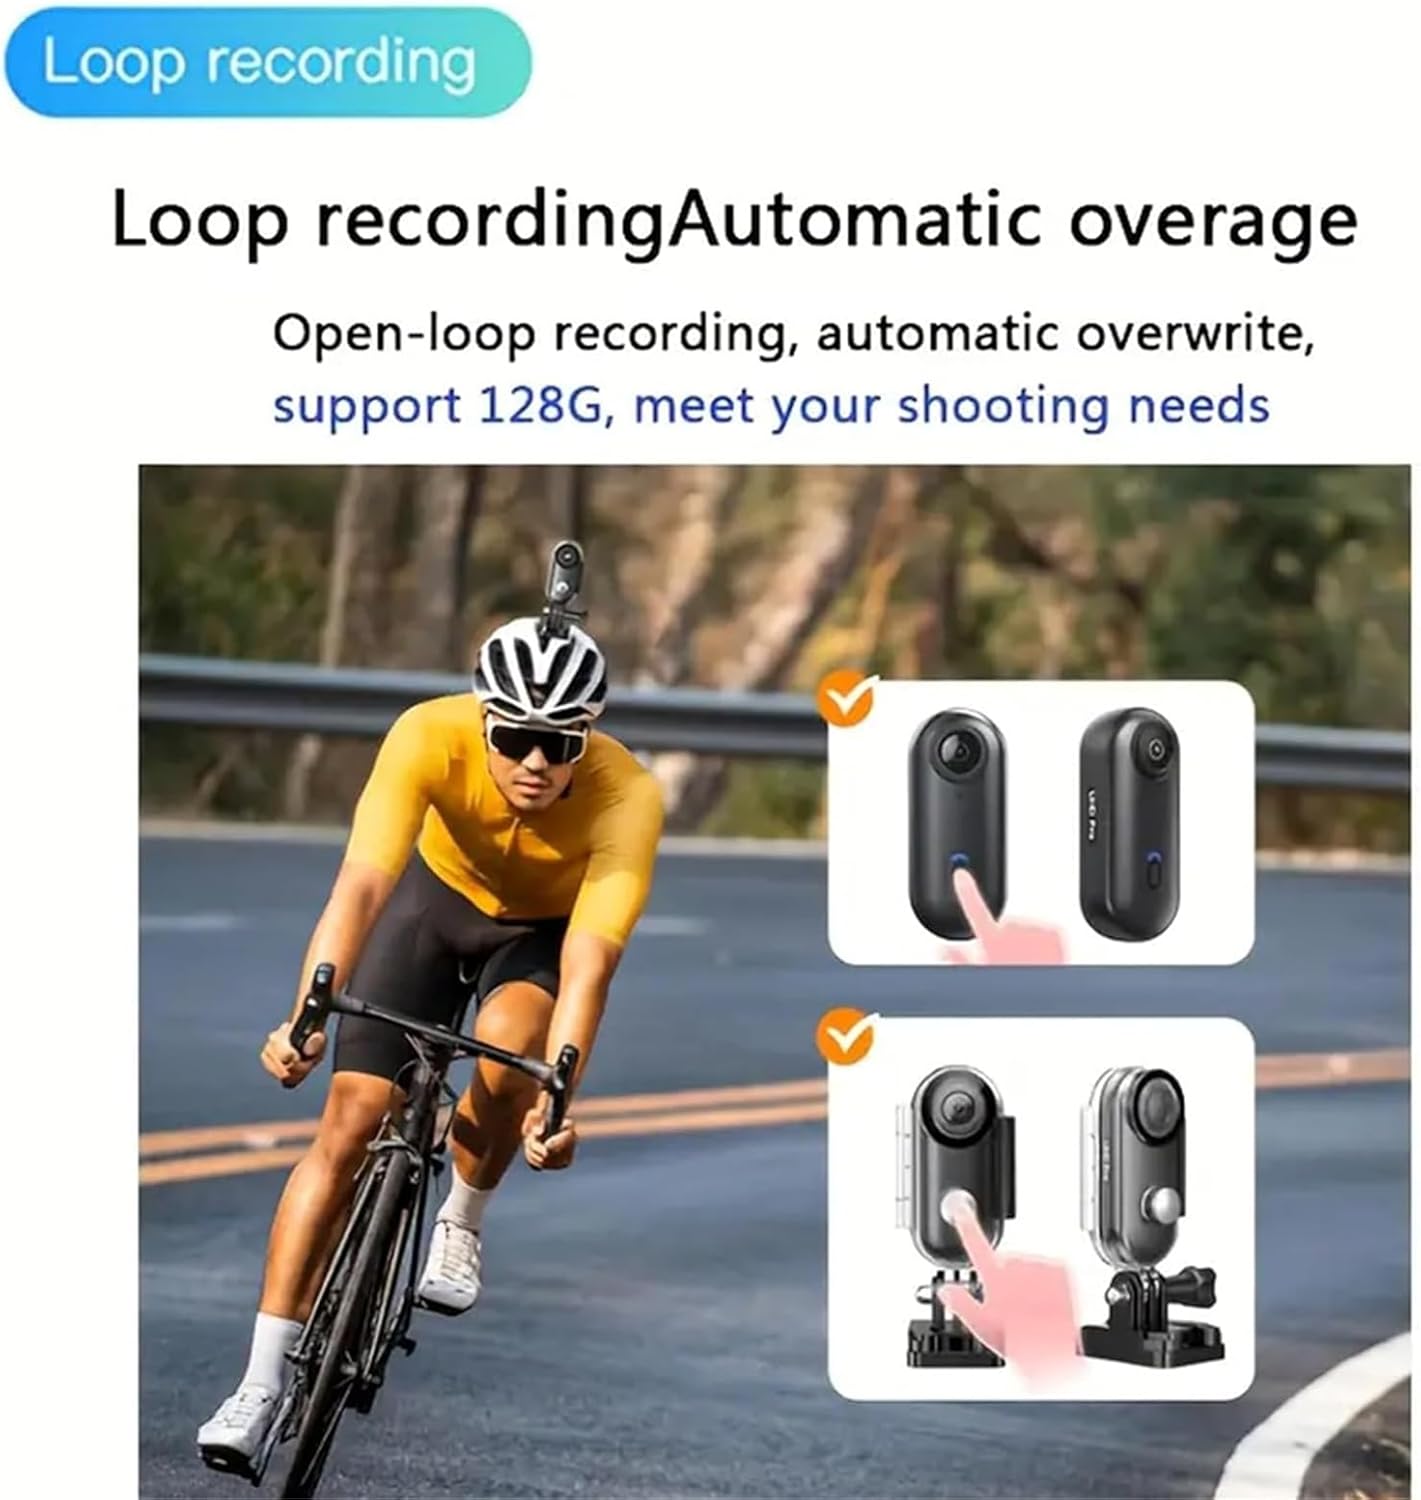
Image 5.2: Loop recording functionality.
5.3. Wi-Fi Connectivity and App Usage
The built-in Wi-Fi allows for easy transfer of footage to your smartphone and real-time viewing.
- Activate Wi-Fi Mode: Double-click the Power/Record button after the camera is powered on. The blue-green LED will flash to indicate Wi-Fi mode is active.
- Connect to App: On your smartphone, open Wi-Fi settings and connect to the camera's hotspot (SSID will be displayed on the camera or in the app).
- Use the App: Open the dedicated Snap Cam app (download from your app store) to view live footage, transfer files, and adjust settings.
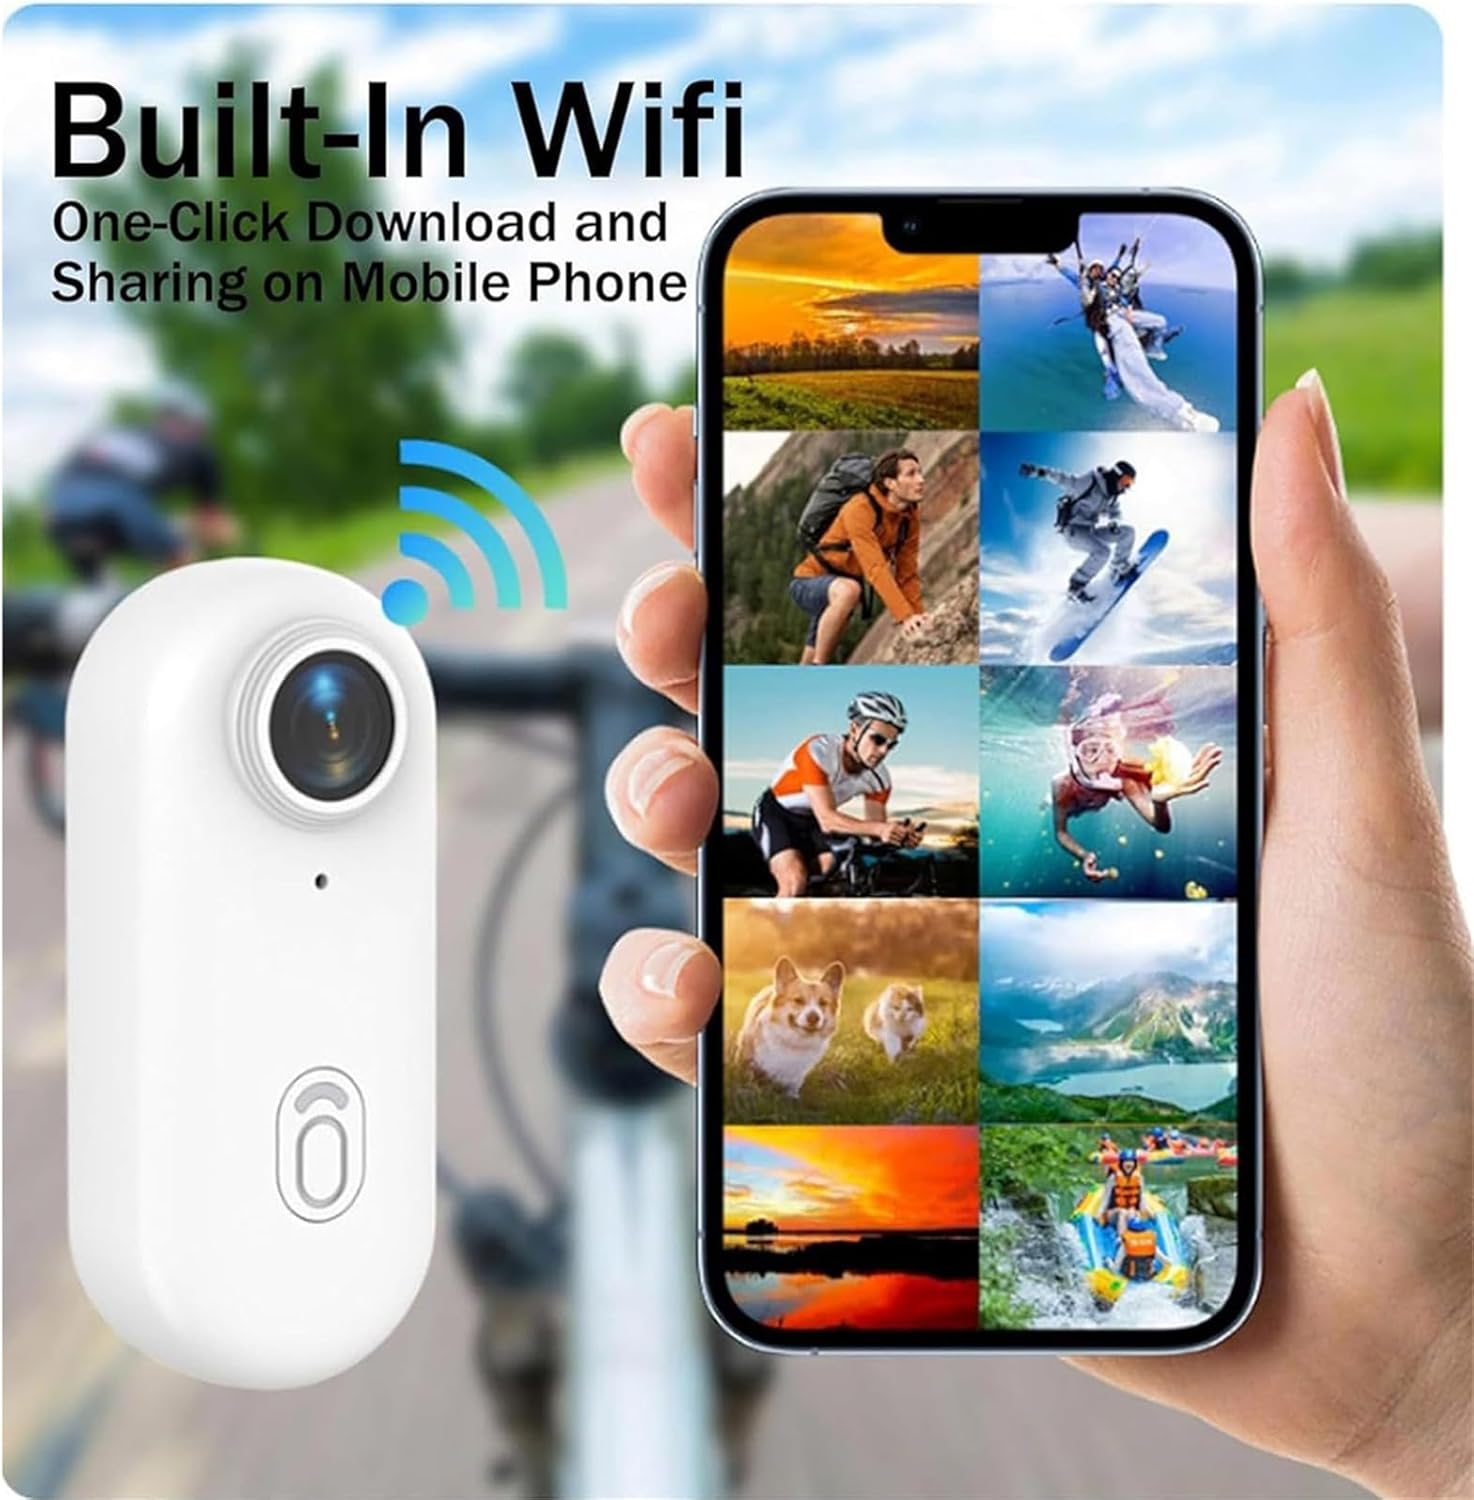
Image 5.3: Seamless file transfer and live view via Wi-Fi.

Image 5.4: Step-by-step quick guide for Wi-Fi connection.
5.4. Using the Waterproof Case
The included waterproof case allows the Snap Cam to be used at depths of up to 30 meters (98 feet). The camera itself is not waterproof without the case.
- Ensure the camera is securely placed inside the waterproof case.
- Verify that the case is properly sealed before submerging.
- After use in water, rinse the case with fresh water and dry thoroughly.

Image 5.5: The Snap Cam in its waterproof case for underwater use.
5.5. Mounting Options
The Snap Cam offers flexible mounting options for various scenarios:
- Magnetic Lanyard: Wear around your neck for easy POV shots.
- Back Clip Mount: Clip onto clothing, backpacks, or belts.
- Helmet Mount: Attach to helmets for cycling or other sports.
- Handlebar Mount: Secure to bicycle handlebars.

Image 5.6: Versatile mounting options for the Snap Cam.

Image 5.7: The back clip allows for flexible positioning.
6. Maintenance
6.1. General Care
- Keep the camera clean and free from dust and debris.
- Use a soft, dry cloth to clean the camera body.
- For the lens, use a specialized lens cleaning cloth and solution.
- Avoid exposing the camera to extreme temperatures or direct sunlight for extended periods.
6.2. Waterproof Case Care
- After each use in water, especially saltwater, rinse the waterproof case thoroughly with fresh water.
- Allow the case to air dry completely before storing.
- Regularly inspect the O-ring seal for any signs of damage or wear. Replace if necessary to maintain waterproof integrity.
7. Troubleshooting
| Problem | Possible Cause | Solution |
|---|---|---|
| Camera does not power on. | Battery is depleted. | Charge the camera fully using the provided USB cable. |
| Camera does not record. | No Micro SD card inserted or card is full/corrupted. | Insert a compatible Micro SD card. Format the card if necessary (refer to app settings). Ensure sufficient storage space. |
| Cannot connect to Wi-Fi/App. | Wi-Fi mode not activated on camera; incorrect password; app issues. | Double-click the Power/Record button to activate Wi-Fi mode. Ensure you are connecting to the correct Wi-Fi network. Restart both camera and phone. Reinstall the app if problems persist. |
| Video quality is poor. | Lens is dirty; insufficient lighting; incorrect resolution setting. | Clean the lens. Ensure adequate lighting. Check resolution settings in the app. |
| Camera gets warm during use. | Normal operation, especially during 4K recording or prolonged use. | This is normal. If it becomes excessively hot, power off the camera and allow it to cool down. |
8. Specifications
| Feature | Detail |
|---|---|
| Brand | MGSTN |
| Model Number | SZFG |
| Video Capture Resolution | 4K, 1080p |
| Effective Video Resolution | 4 Kilopixels |
| Lens Type | Wide Angle (120°) |
| Flash Memory Type | Micro SD (supports up to 128GB, Class 10, U3/V60 recommended) |
| Video Capture Format | MP4 |
| Connectivity Technology | Bluetooth, Wi-Fi |
| Water Resistance Level | Waterproof (with included case, up to 30m/98ft) |
| Battery Average Life | 90 minutes (4K), 150 minutes (1080P) |
| Special Features | 360 Degree Capture, Time Lapse, Loop Recording, Recording while Charging |
| Form Factor | Ultra Compact |
9. Warranty and Support
9.1. Warranty Information
The product warranty information is not explicitly provided in the product details. Please refer to your purchase documentation or contact the seller for specific warranty terms.
9.2. Customer Support
For further assistance, technical support, or inquiries, please refer to the MGSTN brand store on Amazon or contact the seller directly through your purchase platform.