
1. Introduction
This manual provides comprehensive instructions for the ATOMSTACK Swift 12W Laser Engraver, a high-precision laser cutting and engraving machine designed for various materials including wood, metal, dark acrylic, glass, and leather. It features a powerful 12W laser, fast engraving speeds, and broad software compatibility. Please read this manual thoroughly before operation to ensure safe and effective use of your device.
2. Safety Information
Operating a laser engraver involves potential hazards. Adhere to all safety guidelines to prevent injury or damage.
- Eye Protection: Always wear the provided safety glasses or equivalent laser-protective eyewear during operation. Never look directly at the laser beam.
- Ventilation: Operate the machine in a well-ventilated area to dissipate fumes and smoke produced during engraving or cutting.
- Fire Hazard: Laser processing can ignite flammable materials. Keep a fire extinguisher nearby and never leave the machine unattended during operation.
- Material Compatibility: Only engrave or cut materials specified as safe for laser processing. Avoid PVC, vinyl, or other materials that produce toxic fumes when burned.
- Children and Pets: Keep children and pets away from the operating area.
- Emergency Stop: Familiarize yourself with the emergency stop procedure.
- Stable Surface: Place the machine on a stable, level, and non-flammable surface.

Image: The ATOMSTACK Swift 12W Laser Engraver with eye protection glasses, highlighting the importance of safety during operation.
3. Package Contents
Verify that all components are present and undamaged upon unboxing.

Image: All components of the ATOMSTACK Swift 12W Laser Engraver laid out on a table, including frame parts, laser module, cables, and tools.
- Front X-axis assembly (with cable)
- Rear X-axis assembly
- X-axis assembly
- Left Y-axis assembly (with motor)
- Right Y-axis assembly
- Optical Shaft
- Laser module
- Power adapter
- USB cable
- Product Manual
- Timing Belt
- L-shaped Allen wrench set (H2/H2.5/H3)
- Wrench
- M5x8 Screws (x6)
4. Assembly Instructions
The ATOMSTACK Swift 12W is designed for quick and easy assembly. Follow these steps:
- Connect the Frame Assemblies:
Place the five main frame assemblies as shown in the diagram. Ensure the X-axis assembly has the belt facing downward and the Y-axis assembly with the motor is on the left side. Align and connect these five assemblies to form the basic frame.

Image: A user connecting the frame components, ensuring proper alignment of the X and Y axis assemblies.
- Secure with Screws:
Secure the connected assemblies using the six M5x8 screws provided. Tighten them firmly to ensure stability.

Image: Close-up of a hand tightening an M5x8 screw to secure the frame of the laser engraver.
- Install Optical Shaft:
Install the optical shaft onto the X-axis assembly. Push the X-axis toward the front X-axis assembly, ensuring it is fully inserted and aligned parallel. Then tighten the coupling and the timing pulley.
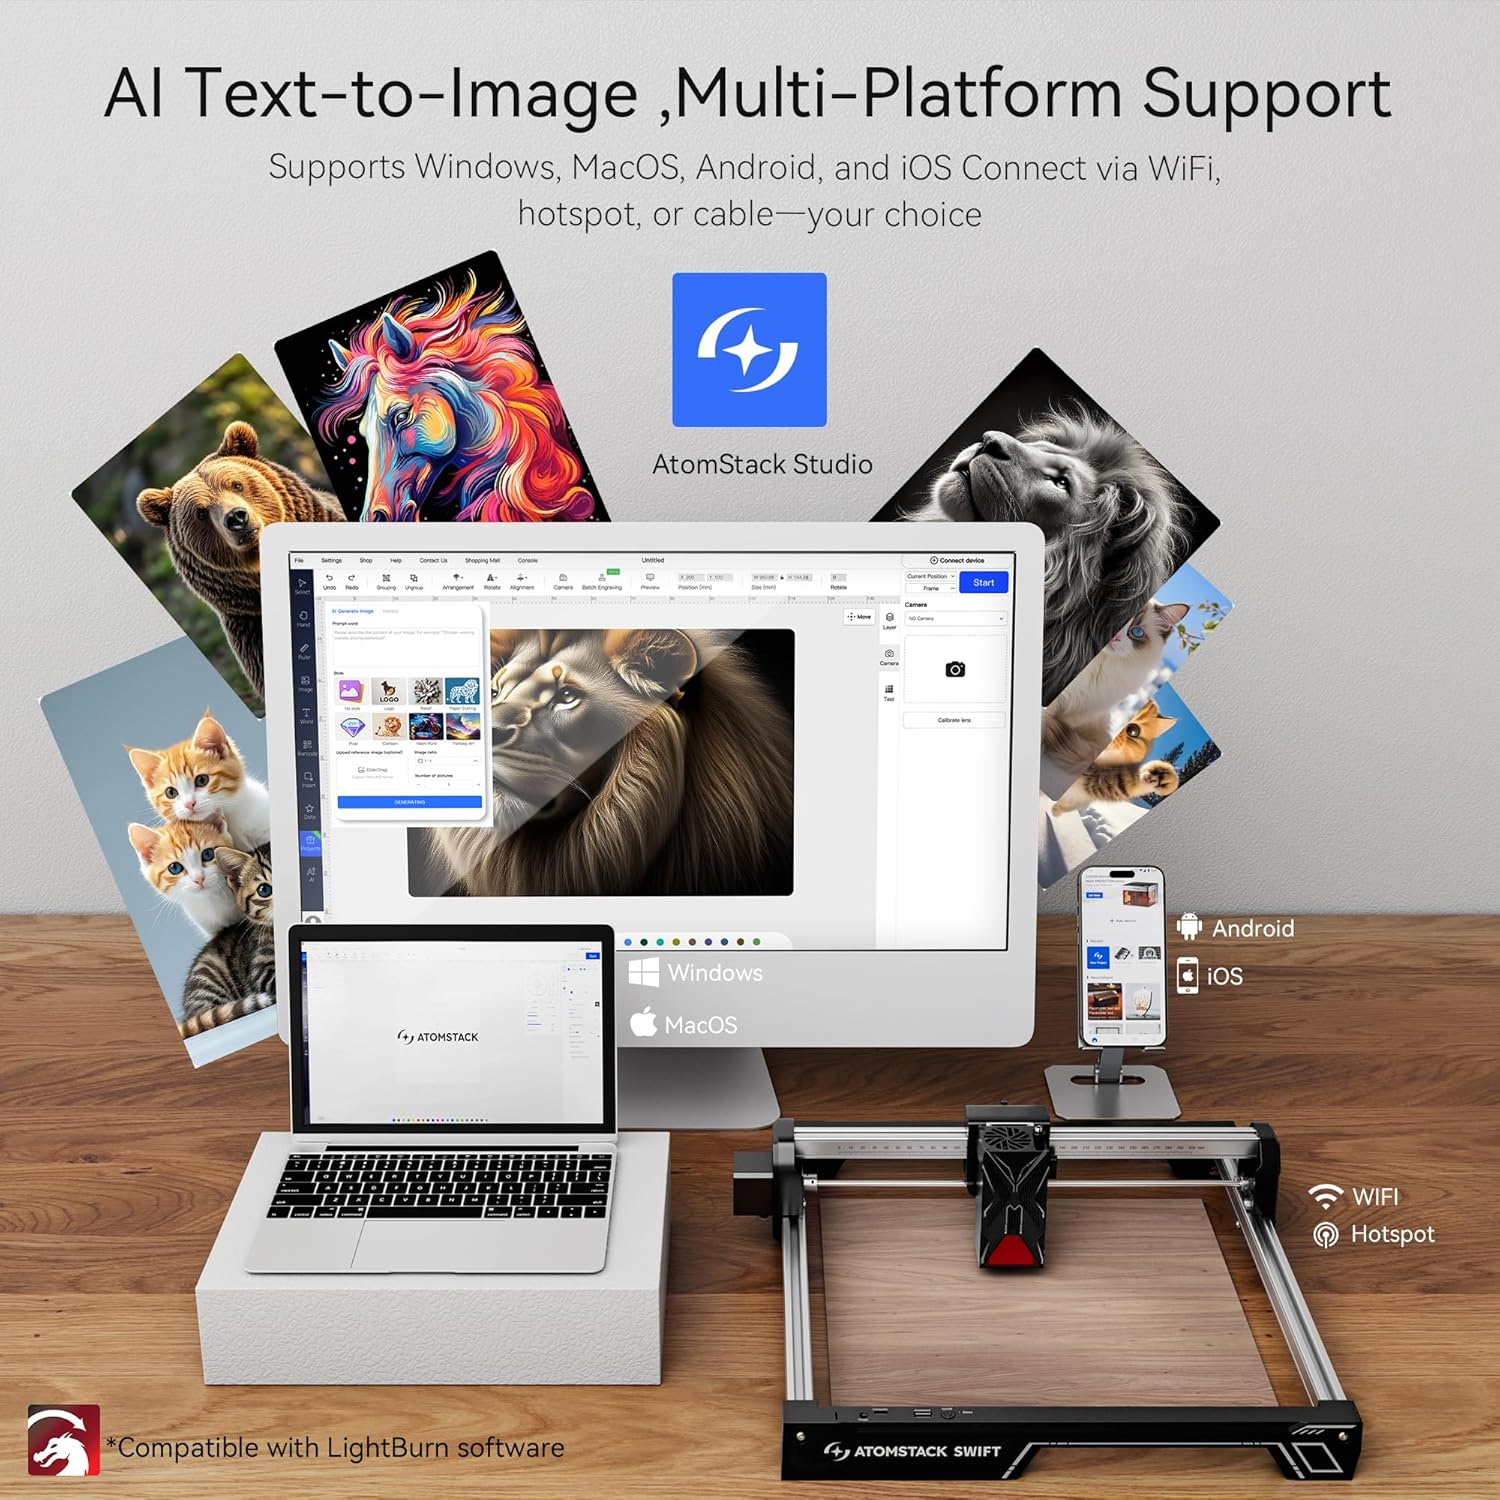
Image: A user inserting the optical shaft into the X-axis assembly, followed by tightening the coupling and timing pulley.
- Install Laser Module:
Install the laser module onto the X-axis assembly and tighten the thumb screw to secure it in place.
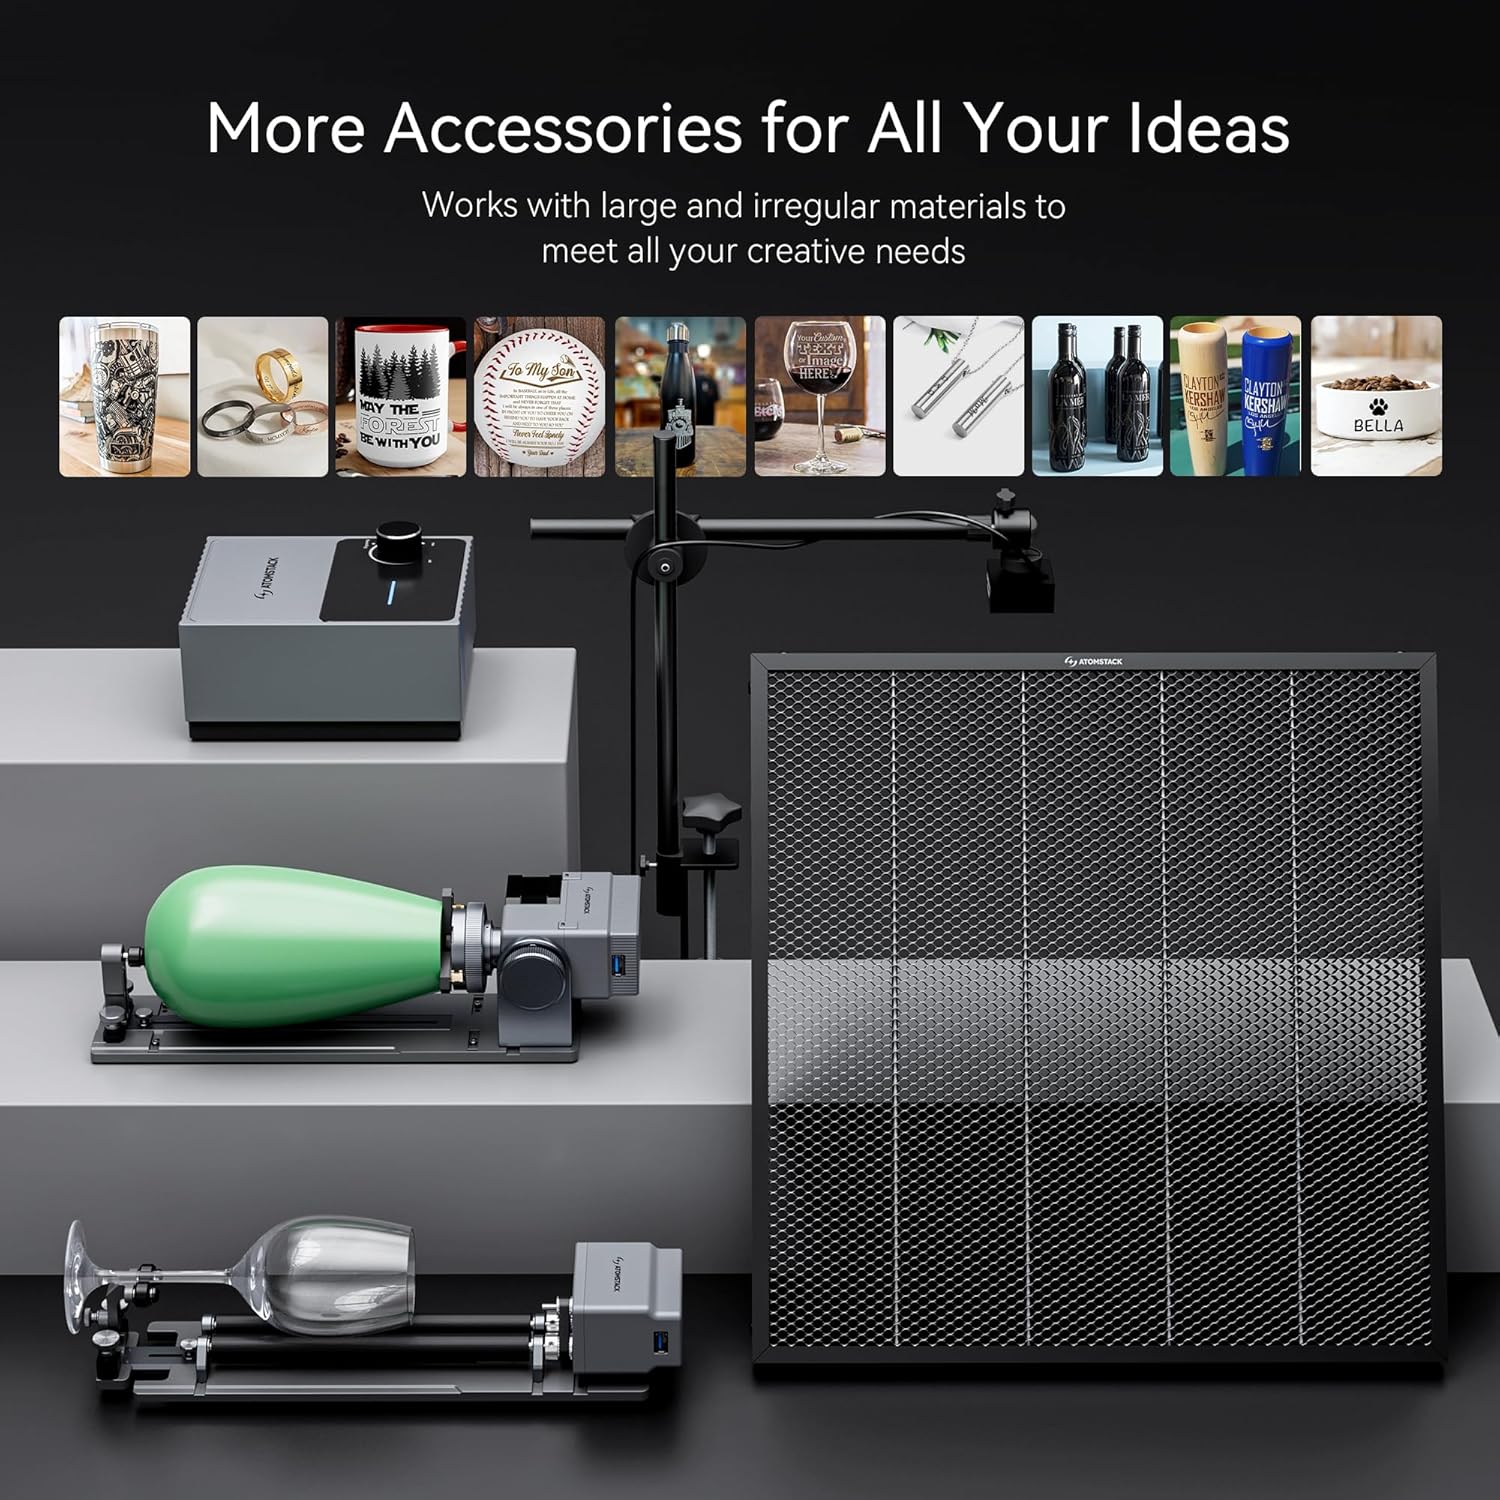
Image: The laser module being installed onto the X-axis and secured with a thumb screw.
- Connect Cables:
Connect the motor cable, limit switch cables, and laser module cable to their respective ports. Ensure all connections are secure.

Image: Close-up of a hand connecting the various cables (motor, limit switch, laser module) to the main unit.
- Adjust Eccentric Nut (if needed):
Use an open-end wrench to adjust the eccentric nut until the X-axis can slide down smoothly when the machine is tilted at 45 degrees. This ensures proper movement and prevents binding.
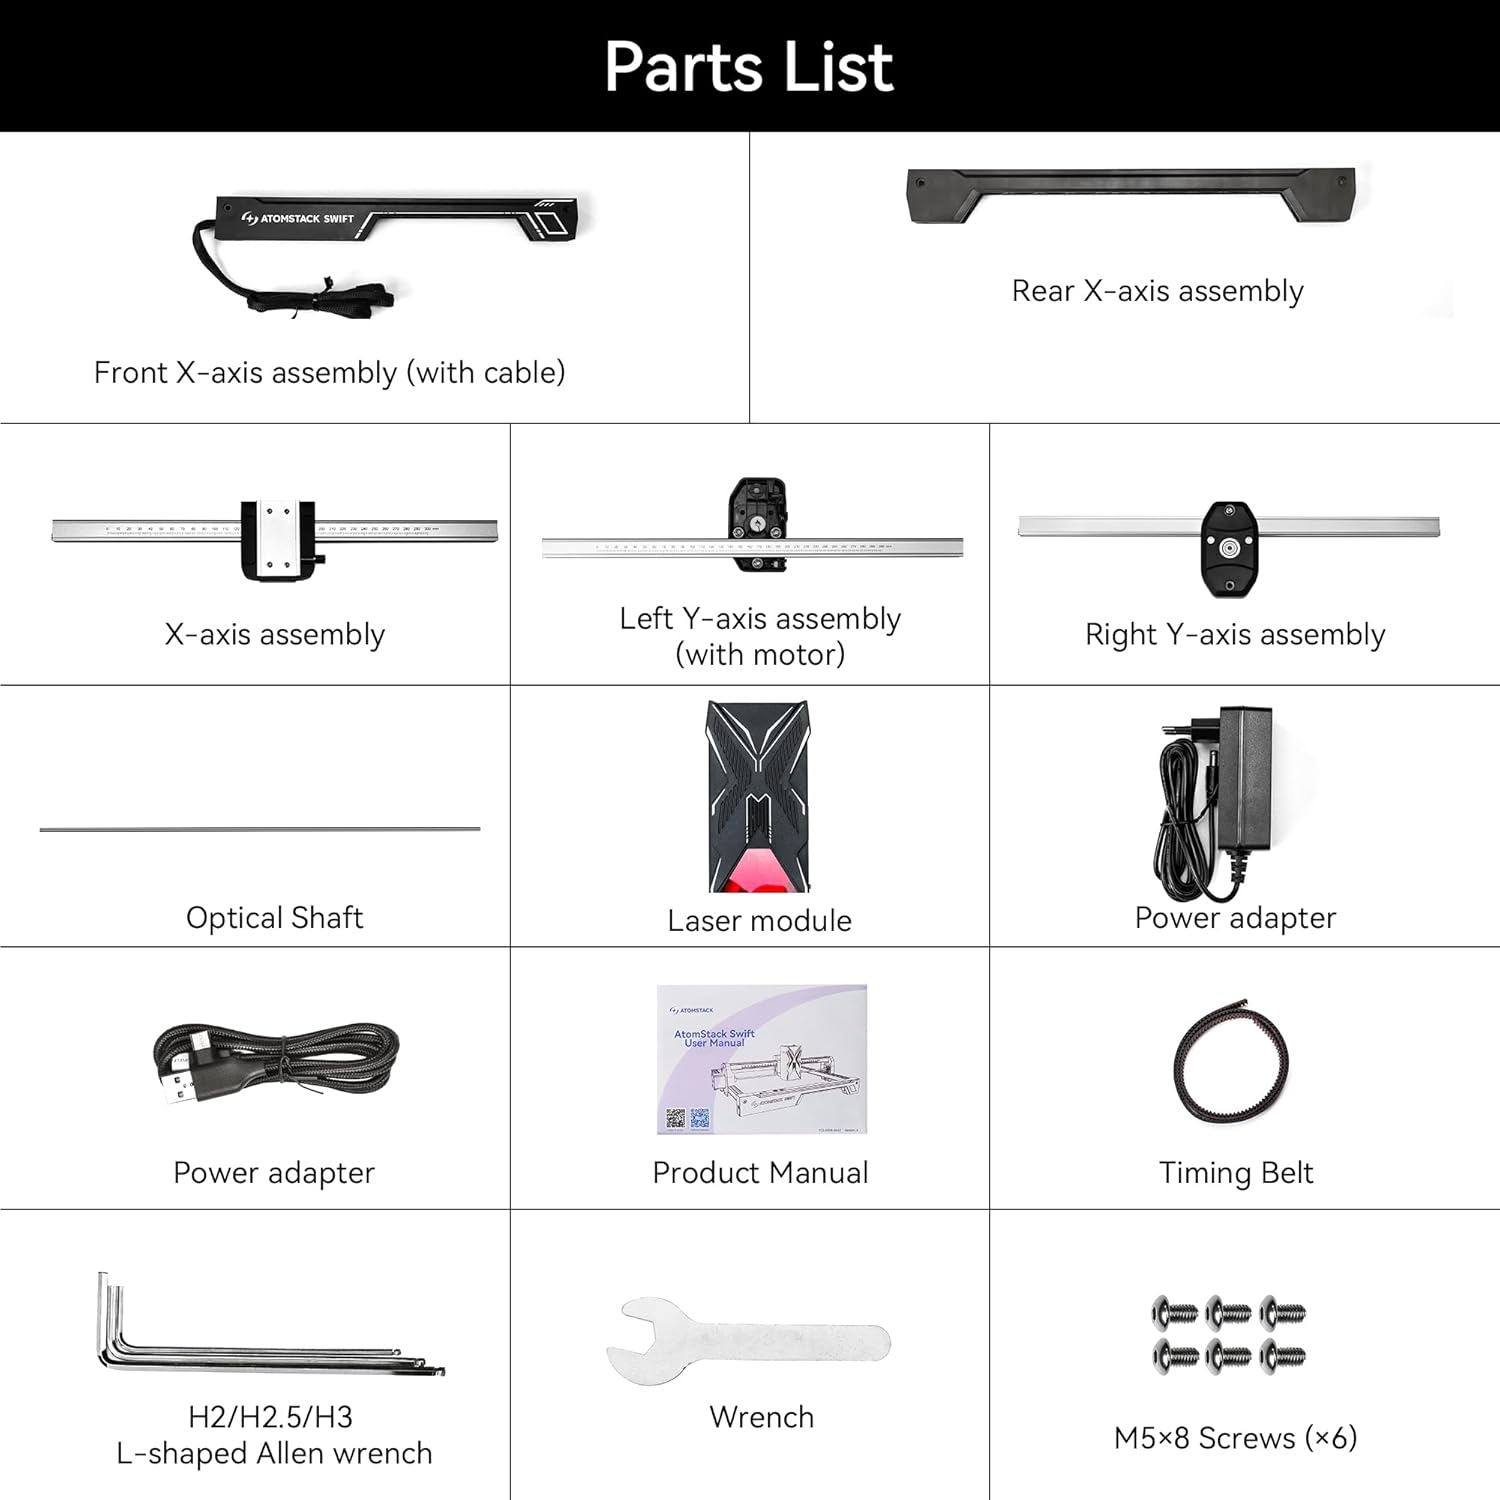
Image: A hand using a wrench to adjust the eccentric nut for smooth X-axis movement.
Assembly Video Guide:
Video: Detailed unboxing and installation guide for the ATOMSTACK Swift Laser Engraver, demonstrating each assembly step.
5. Operation Guide
5.1 Focusing the Laser
Accurate focusing is crucial for optimal engraving and cutting results.
- Place your workpiece directly under the laser module.
- Adjust the focus by turning the side knob on the laser module until the laser spot is at its smallest and sharpest point on the material surface.
- If the hand-tightened screw interferes with the optical shaft, pull out the black part, rotate it outward, and then release it to allow full adjustment.

Image: Illustration of precise cross-cursor alignment, demonstrating how to achieve accurate laser focusing on the material.
5.2 Software Compatibility
The ATOMSTACK Swift 12W supports various software for design and control:
- ATOMSTACK Studio: Official app and PC software developed by ATOMSTACK.
- LightBurn: Popular third-party software for laser engravers.
- LaserGRBL: Free and open-source software for GRBL-based laser engravers.
- Connectivity options include Type-C, USB cable, WiFi, and Hotspot.
- Supported operating systems: Windows, macOS, Android, iOS.
- Supported file formats: JPG, JPEG, SVG, PNG, BMP, PDF, G-Code, DXF.

Image: Display of the ATOMSTACK Swift 12W Laser Engraver connected to various devices (laptop, tablet, smartphone) running different compatible software.
5.3 Engraving and Cutting Operations
The ATOMSTACK Swift 12W offers high precision and strong cutting performance.
- High Precision: Achieves a laser spot size of 0.06 x 0.08 mm for intricate details.
- Fast Speed: Engraving speeds can reach up to 10000 mm/min (400 mm/s).
- Materials: Suitable for wood, bamboo, paper, leather, cardboard, cork, slate, felt, MDF, coated metal, dark acrylic, glass, and more.
- Cutting Capability: Can cut 4mm black acrylic in one pass and 8mm basswood plywood in one pass.

Image: Visual comparison of cutting capabilities on 4mm black acrylic and 8mm basswood plywood, highlighting the 12W laser output.
Image: Examples of various materials such as plywood, non-woven fabric, wood, plastic, glass, paper, plated metal, stone, rubber, food, ceramic tile, and stainless steel, demonstrating the versatility of the engraver.
5.4 Advanced Features
- Resume Engraving: The machine can continue work seamlessly after unexpected power outages, minimizing material waste.
- Safety Sensors: Equipped with a flame detector and gyroscope for enhanced safety during operation.
- Expandability: Compatible with various accessories like air assist systems (purchased separately) for improved cutting performance and cleaner results.

Image: The laser engraver shown continuing an engraving task after a simulated power interruption, illustrating the resume engraving feature.
Operation Video Guides:
Video: A short preview demonstrating the ATOMSTACK Swift 7W Laser Engraver in action, showcasing its laser power measurement. Note: This video features the 7W model.
Video: An overview of the ATOMSTACK Swift Laser Engraver and Cutter, highlighting its features and various applications.
6. Maintenance
Regular maintenance ensures the longevity and optimal performance of your laser engraver.
- Clean the Lens: Periodically clean the laser lens with a specialized lens cleaning solution and cloth to maintain beam quality.
- Lubricate Moving Parts: Apply a small amount of lubricant to the guide rails and lead screw to ensure smooth movement of the laser module.
- Check Belts: Inspect the timing belts for wear and tear. Ensure they are properly tensioned; loose belts can affect engraving accuracy.
- Clear Debris: Regularly remove dust and debris from the machine, especially around the laser module and ventilation areas.
7. Troubleshooting
If you encounter issues, refer to these common troubleshooting steps:
| Problem | Possible Cause | Solution |
|---|---|---|
| Laser not firing or weak output | Incorrect focus, dirty lens, loose cable, low power setting. | Adjust focus, clean lens, check all cable connections, increase laser power in software. |
| Machine not moving or erratic movement | Loose belts, motor cable disconnected, software error, jammed axis. | Check belt tension, reconnect motor cables, restart software/machine, clear any obstructions. |
| Engraving/cutting is inaccurate or distorted | Loose belts, unstable surface, incorrect speed/power settings, material shifting. | Tighten belts, ensure machine is on a stable surface, adjust speed/power, secure material firmly. |
| Software not connecting to machine | Incorrect port selection, driver issues, faulty USB cable. | Verify COM port, reinstall drivers, try a different USB cable. |
For further assistance, please contact ATOMSTACK customer support.
8. Specifications
Key technical specifications for the ATOMSTACK Swift 12W Laser Engraver:
- Brand: ATOMSTACK
- Model: Swift 12W
- Laser Power: 12W (12000 Milliwatts)
- Engraving Accuracy: 0.06 x 0.08 mm spot size
- Engraving Speed: Up to 10000 mm/min (400 mm/s)
- Working Area: 300 x 300 mm
- Product Dimensions: 9.98 x 7 x 23 inches
- Item Weight: 6.24 pounds
- Connectivity: Type-C, USB, WiFi, Hotspot
- Supported OS: Windows, macOS, Android, iOS
- Supported File Formats: JPG, JPEG, SVG, PNG, BMP, PDF, G-Code, DXF
9. Warranty and Support
ATOMSTACK provides reliable customer service and warranty coverage for your product.
- Warranty Period: 1 year from the date of receipt.
- Customer Service: 24/7 service available.
- Contact: For any problems or technical assistance, please contact ATOMSTACK directly via the Amazon platform. Technicians aim to provide a solution within 24 hours.
For more information, visit the official ATOMSTACK Store: ATOMSTACK Official Store


