
GMKtec G10
GMKtec G10 Mini PC User Manual
Model: G10
1. Introduction
Thank you for choosing the GMKtec G10 Mini PC. This compact and powerful desktop computer is designed for a wide range of applications, from office productivity and home entertainment to light gaming. Featuring an AMD Ryzen 5 3500U processor, 16GB of RAM, and a 512GB SSD, the G10 offers robust performance in a small form factor. This manual provides essential information for setting up, operating, maintaining, and troubleshooting your new Mini PC.
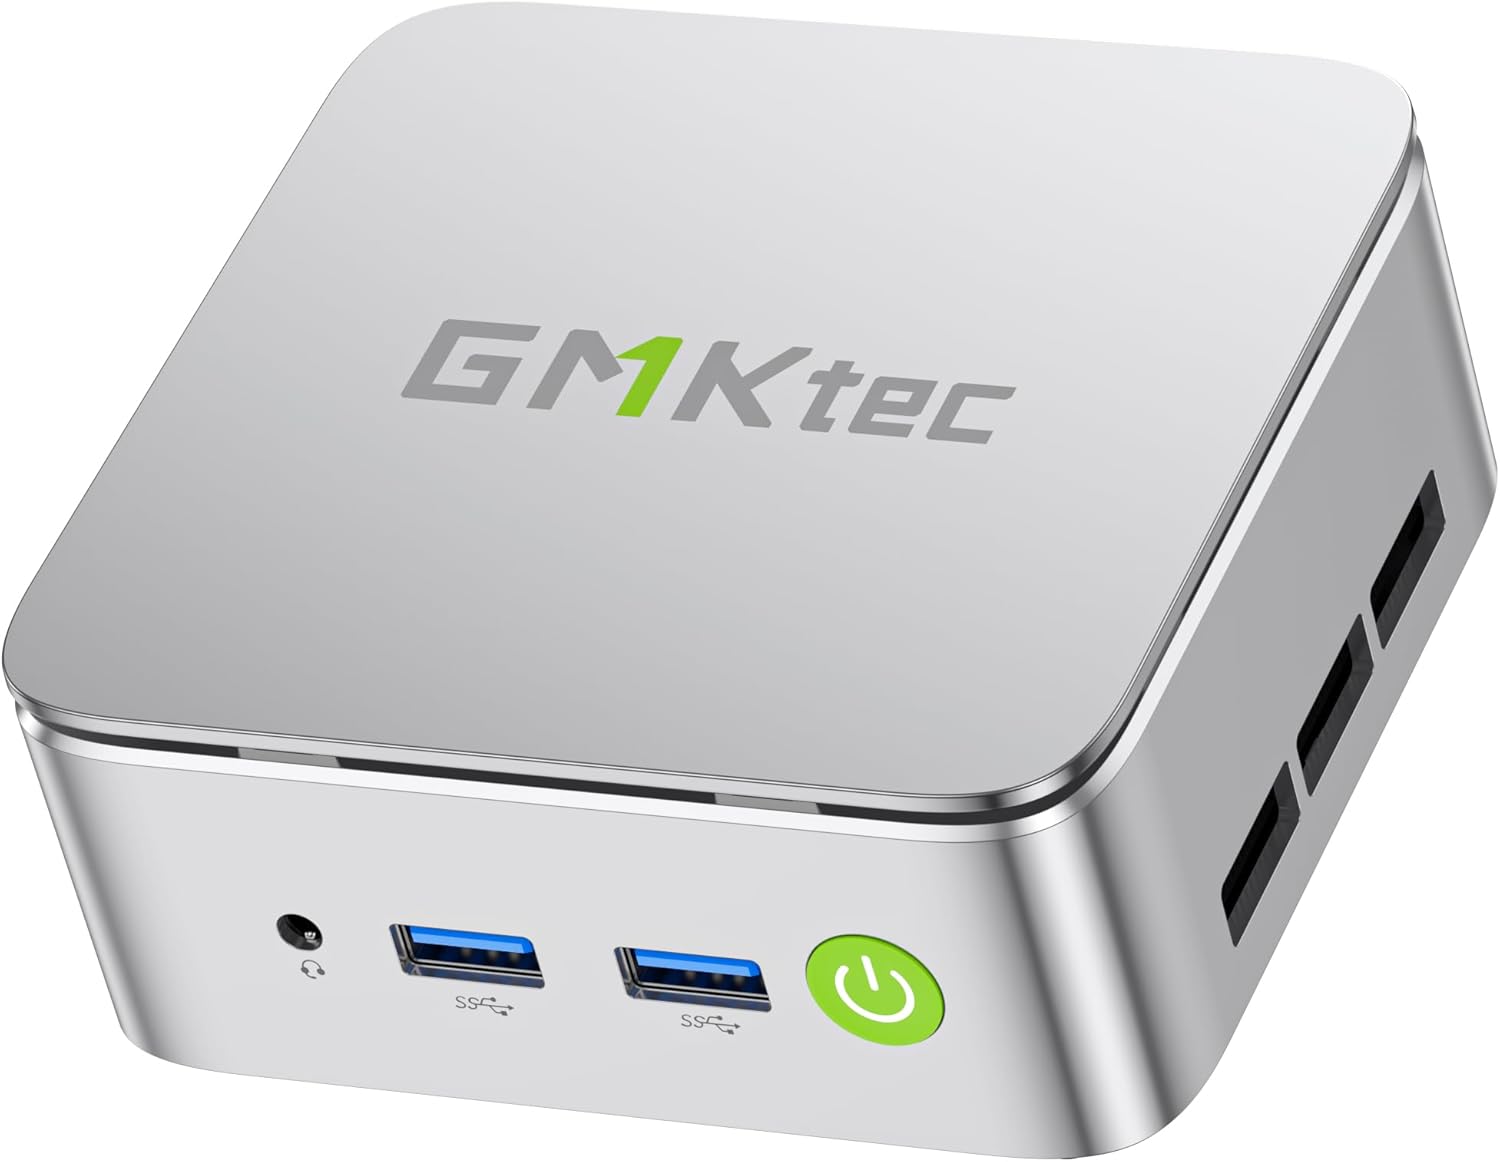
Image: The GMKtec G10 Mini PC, a compact silver-colored device with front-facing USB ports and a power button.
2. What's in the Box
Please check the contents of your package to ensure all items are present:
- GMKtec Nucbox G10 AMD Ryzen 5 3500U Mini PC Computer
- Power Supply & Cable
- HDMI Cable
- VESA Mount and Screws
- User Manual (this document)
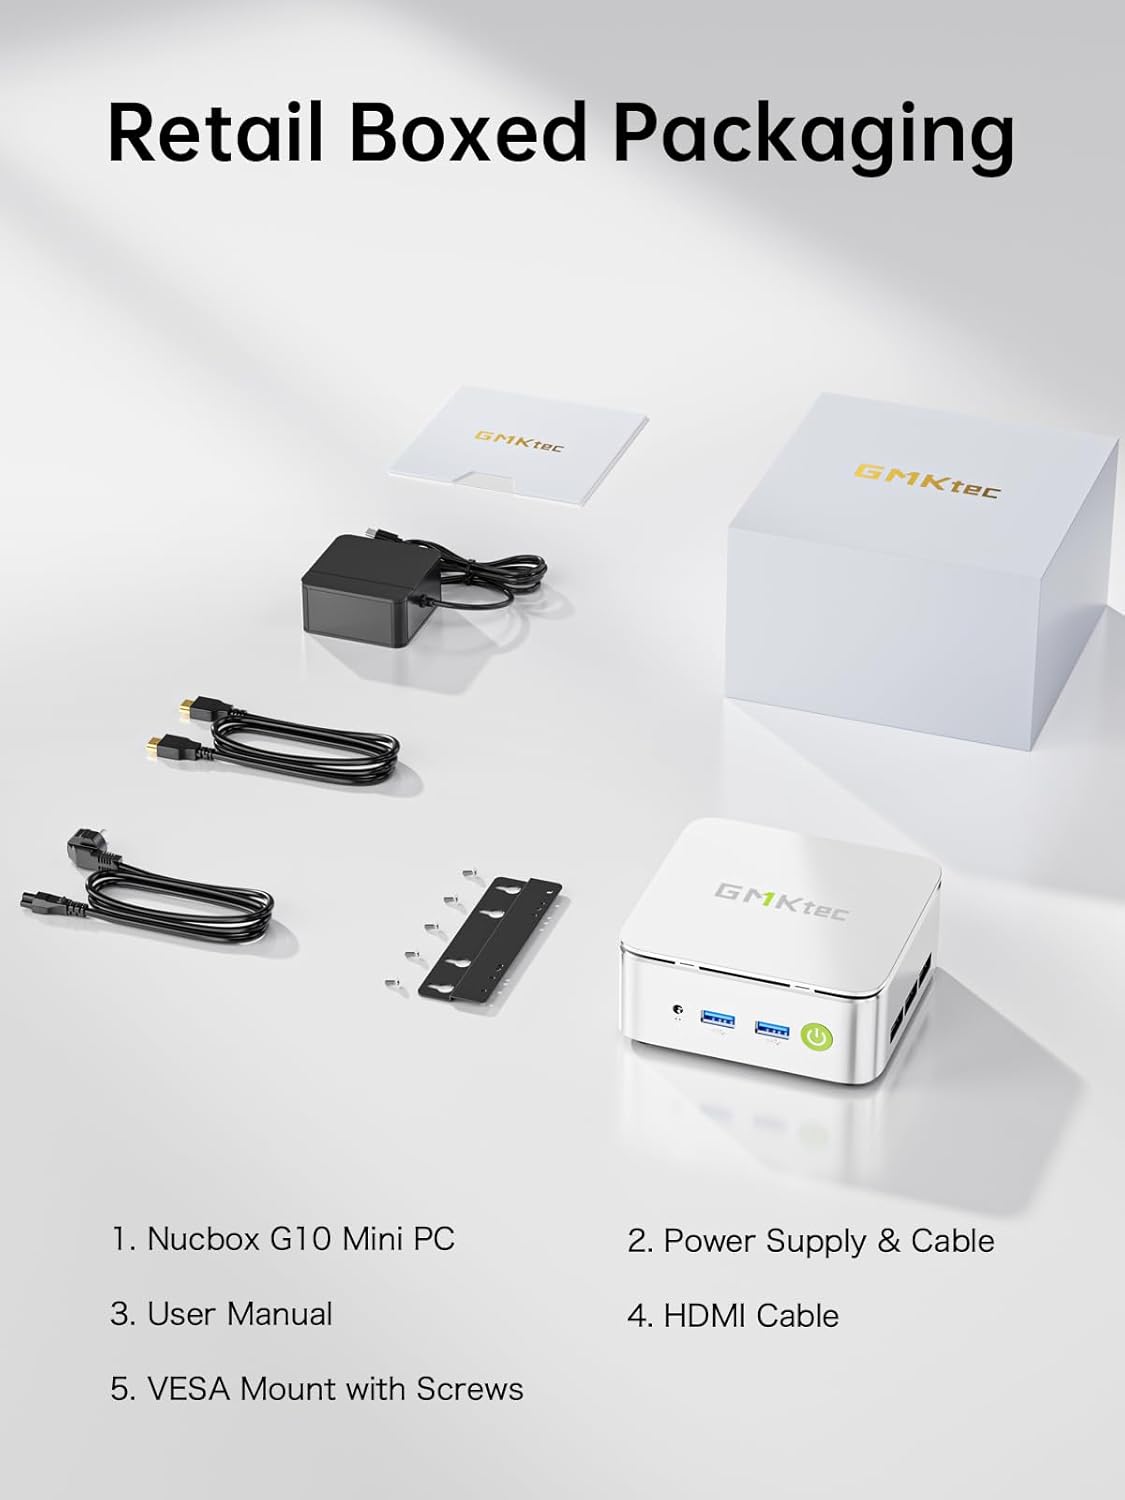
Image: All components included in the GMKtec G10 Mini PC retail packaging, neatly laid out.
3. Product Overview
Front Panel

Image: Close-up of the GMKtec G10 Mini PC's front panel, showing the audio jack, two USB 3.2 ports, and the power button.
- Audio Jack (CTIA): Connect headphones or a headset.
- USB 3.2 (5Gbps) Ports (x2): High-speed data transfer for peripherals like keyboards, mice, and external drives.
- Power Button: Press to power on or off the device.
Rear Panel

Image: Close-up of the GMKtec G10 Mini PC's rear panel, displaying various connectivity ports.
- Kensington Lock Slot: For physical security.
- Type-C (PD Only): Power Delivery input.
- USB 2.0 Port: For standard USB devices.
- Type-C (DP/DATA/PD): Full-function USB-C port supporting DisplayPort, data transfer, and power delivery.
- 2.5G Giga LAN Port: For high-speed wired network connection.
- HDMI 2.1 (4K@60Hz) Port: Connect to a display for high-resolution video output.
- DisplayPort 1.4 (4K@60Hz) Port: Connect to a display for high-resolution video output.

Image: A comprehensive diagram illustrating all front and rear ports of the GMKtec G10 Mini PC and their respective functions.
4. Setup Guide
Initial Connection
- Connect to Display: Use the provided HDMI cable to connect the Mini PC's HDMI port to your monitor or TV. Alternatively, use the DisplayPort or a compatible USB-C to DisplayPort cable.
- Connect Peripherals: Plug in your USB keyboard and mouse into the available USB ports on the front or rear panel.
- Connect Power: Connect the power adapter to the DC-in port on the rear of the Mini PC, then plug the power cable into a wall outlet.
- Power On: Press the power button on the front panel. The power indicator light will illuminate.
First Boot
Upon the first boot, the system may guide you through the initial setup process for the pre-installed operating system (OS Pro). Follow the on-screen instructions to configure language, region, network settings, and user accounts.
5. Operating Instructions
Power Management
- Power On: Press the power button.
- Shut Down: From the operating system, select 'Shut Down'. Alternatively, press and hold the power button for 5 seconds to force a shutdown (not recommended for regular use).
- Restart: From the operating system, select 'Restart'.
Network Connectivity
- Wired Connection: Connect an Ethernet cable from your router/modem to the 2.5G Giga LAN port on the Mini PC.
- Wireless Connection (Wi-Fi 5): The Mini PC supports Wi-Fi 5. Navigate to your operating system's network settings, select your Wi-Fi network, and enter the password.

Image: The GMKtec G10 Mini PC on a desk, illustrating its Wi-Fi, Bluetooth 5.0, and 2.5GbE Ethernet capabilities for stable internet and peripheral connections.
Multi-Display Setup
The GMKtec G10 Mini PC supports up to three 4K displays simultaneously via its HDMI 2.1, DisplayPort 1.4, and full-function USB-C ports.
- Connect your primary monitor to the HDMI port.
- Connect your second monitor to the DisplayPort.
- Connect your third monitor to the full-function USB-C port using a compatible USB-C to DisplayPort/HDMI adapter or cable.
- Configure display settings within your operating system to extend or duplicate your desktop.

Image: A GMKtec G10 Mini PC connected to two large monitors and a tablet, demonstrating its triple screen HD display capability.
6. Specifications
| Feature | Specification |
|---|---|
| Processor | AMD Ryzen 5 3500U (4 Cores, 8 Threads, 2.1 GHz Base, 3.7 GHz Boost) |
| Graphics | AMD Radeon Vega 8 Graphics (1200 MHz) |
| RAM | 16GB DDR4 SO-DIMM (2x8GB Dual Channel) |
| Storage | 512GB M.2 2280 NVMe SSD |
| Storage Expansion | Dual M.2 2280 PCIe 3.0 slots (supports up to 16TB SSD) |
| Memory Expansion | Supports up to 64GB DDR4 RAM |
| Network | 2.5GbE Ethernet, Wi-Fi 5 (802.11ac), Bluetooth 5.0 |
| Video Output | HDMI 2.1 (4K@60Hz), DisplayPort 1.4 (4K@60Hz), USB-C (DP/Data/PD) |
| USB Ports | 2x USB 3.2, 1x USB 2.0, 2x USB-C (1x PD Only, 1x Full Function) |
| Audio | 1x 3.5mm CTIA Audio Jack |
| Operating System | OS Pro |
| Dimensions (LxWxH) | 4.1 x 3.8 x 1.7 inches |
| Weight | 2.2 pounds |

Image: An infographic highlighting key features such as the AMD Ryzen 5 3500U processor, handheld size, Radeon Vega 8 Graphics, Wi-Fi + Bluetooth, silent turbo cooling, 16GB DDR4, 512GB SSD, and OS compatibility.
7. Maintenance
General Care
- Keep the Mini PC in a clean, dry environment away from direct sunlight and excessive heat.
- Ensure proper ventilation by not blocking the air vents.
- Clean the exterior with a soft, dry cloth. Avoid using liquid cleaners or solvents.
Storage and Memory Upgrades
The GMKtec G10 Mini PC is designed for easy upgrades of its storage and memory components.

Image: An exploded view diagram of the GMKtec G10 Mini PC, highlighting the SO-DIMM DDR4 slots and M.2 2280 SSD slots for memory and storage expansion.
- RAM: The device supports dual-channel DDR4 SO-DIMM memory and can be expanded up to 64GB.
- SSD: It features dual M.2 2280 PCIe 3.0 slots, allowing for storage expansion up to 16TB (2x 8TB).
- For detailed upgrade instructions, please refer to the official GMKtec support resources or consult a qualified technician.
8. Troubleshooting
This section addresses common issues you might encounter with your GMKtec G10 Mini PC.
No Power
- Ensure the power adapter is securely connected to both the Mini PC and a working power outlet.
- Verify the power outlet is functional by plugging in another device.
- Check the power adapter for any visible damage.
No Display Output
- Confirm the HDMI/DisplayPort cable is firmly connected to both the Mini PC and the monitor.
- Ensure the monitor is powered on and set to the correct input source (HDMI, DisplayPort, USB-C).
- Try a different display cable or monitor if available.
Network Connectivity Issues
- Wired: Check if the Ethernet cable is properly connected and if the router/modem is working.
- Wireless: Verify Wi-Fi is enabled in the operating system settings. Ensure you are connecting to the correct network and entering the correct password. Restart your router/modem.
System Slowdown
- Close unnecessary applications running in the background.
- Ensure the Mini PC has adequate ventilation and is not overheating.
- Check for available operating system updates and install them.
9. Warranty and Support
GMKtec offers a 1-year limited warranty for each Mini PC, starting from the date of purchase. This warranty covers all defects due to design and workmanship. For any issues or inquiries, please refer to the following support options:

Image: A graphic detailing GMKtec's warranty and support options, including Amazon support and direct email support.
- Amazon Support: For purchases made on Amazon, you can contact customer support by logging into your Amazon account, navigating to 'Your Orders', and selecting 'Ask Product Question' for the GMKtec G10 Mini PC.
- After-Sales Support: For direct assistance, you can send an email to the GMKtec After-Sales Team at support@gmktec.com. GMKtec provides 24/7 customer support.
With a professional after-sales team always ready to attend to your needs, you can simply relax and enjoy your Mini PC.
Related documentsG10


Ask a question about this manual
Ask about setup, troubleshooting, compatibility, parts, safety, or missing instructions. Manuals+ will review the question and use this page’s manual context to help answer it.